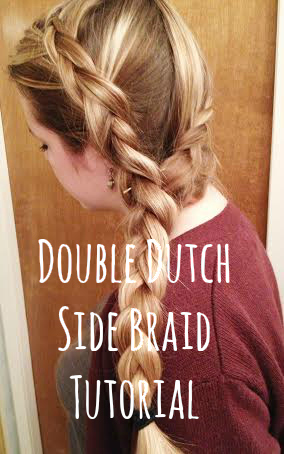
Remember the dutch side braid I did two weeks ago? I got some requests, so I decided to do a mini-tutorial for you, using my little sister/twin as a hair model. I also added the second dutch braid in the back because usually all the little hairs in back start falling out of the braid by the end of the day (super annoying). The second braid coming around the back solves this problem.
Feel free to ask any questions and I will try to answer them!
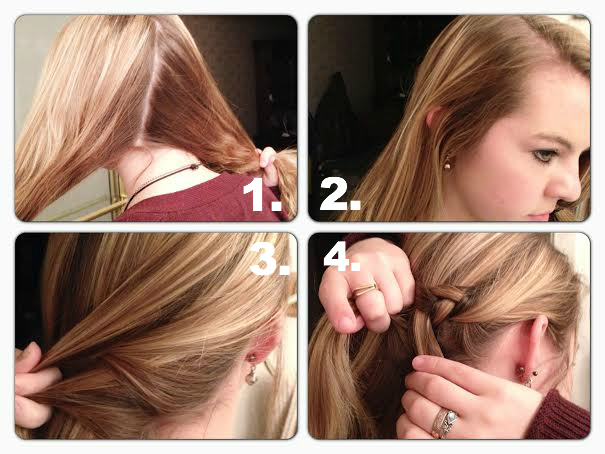
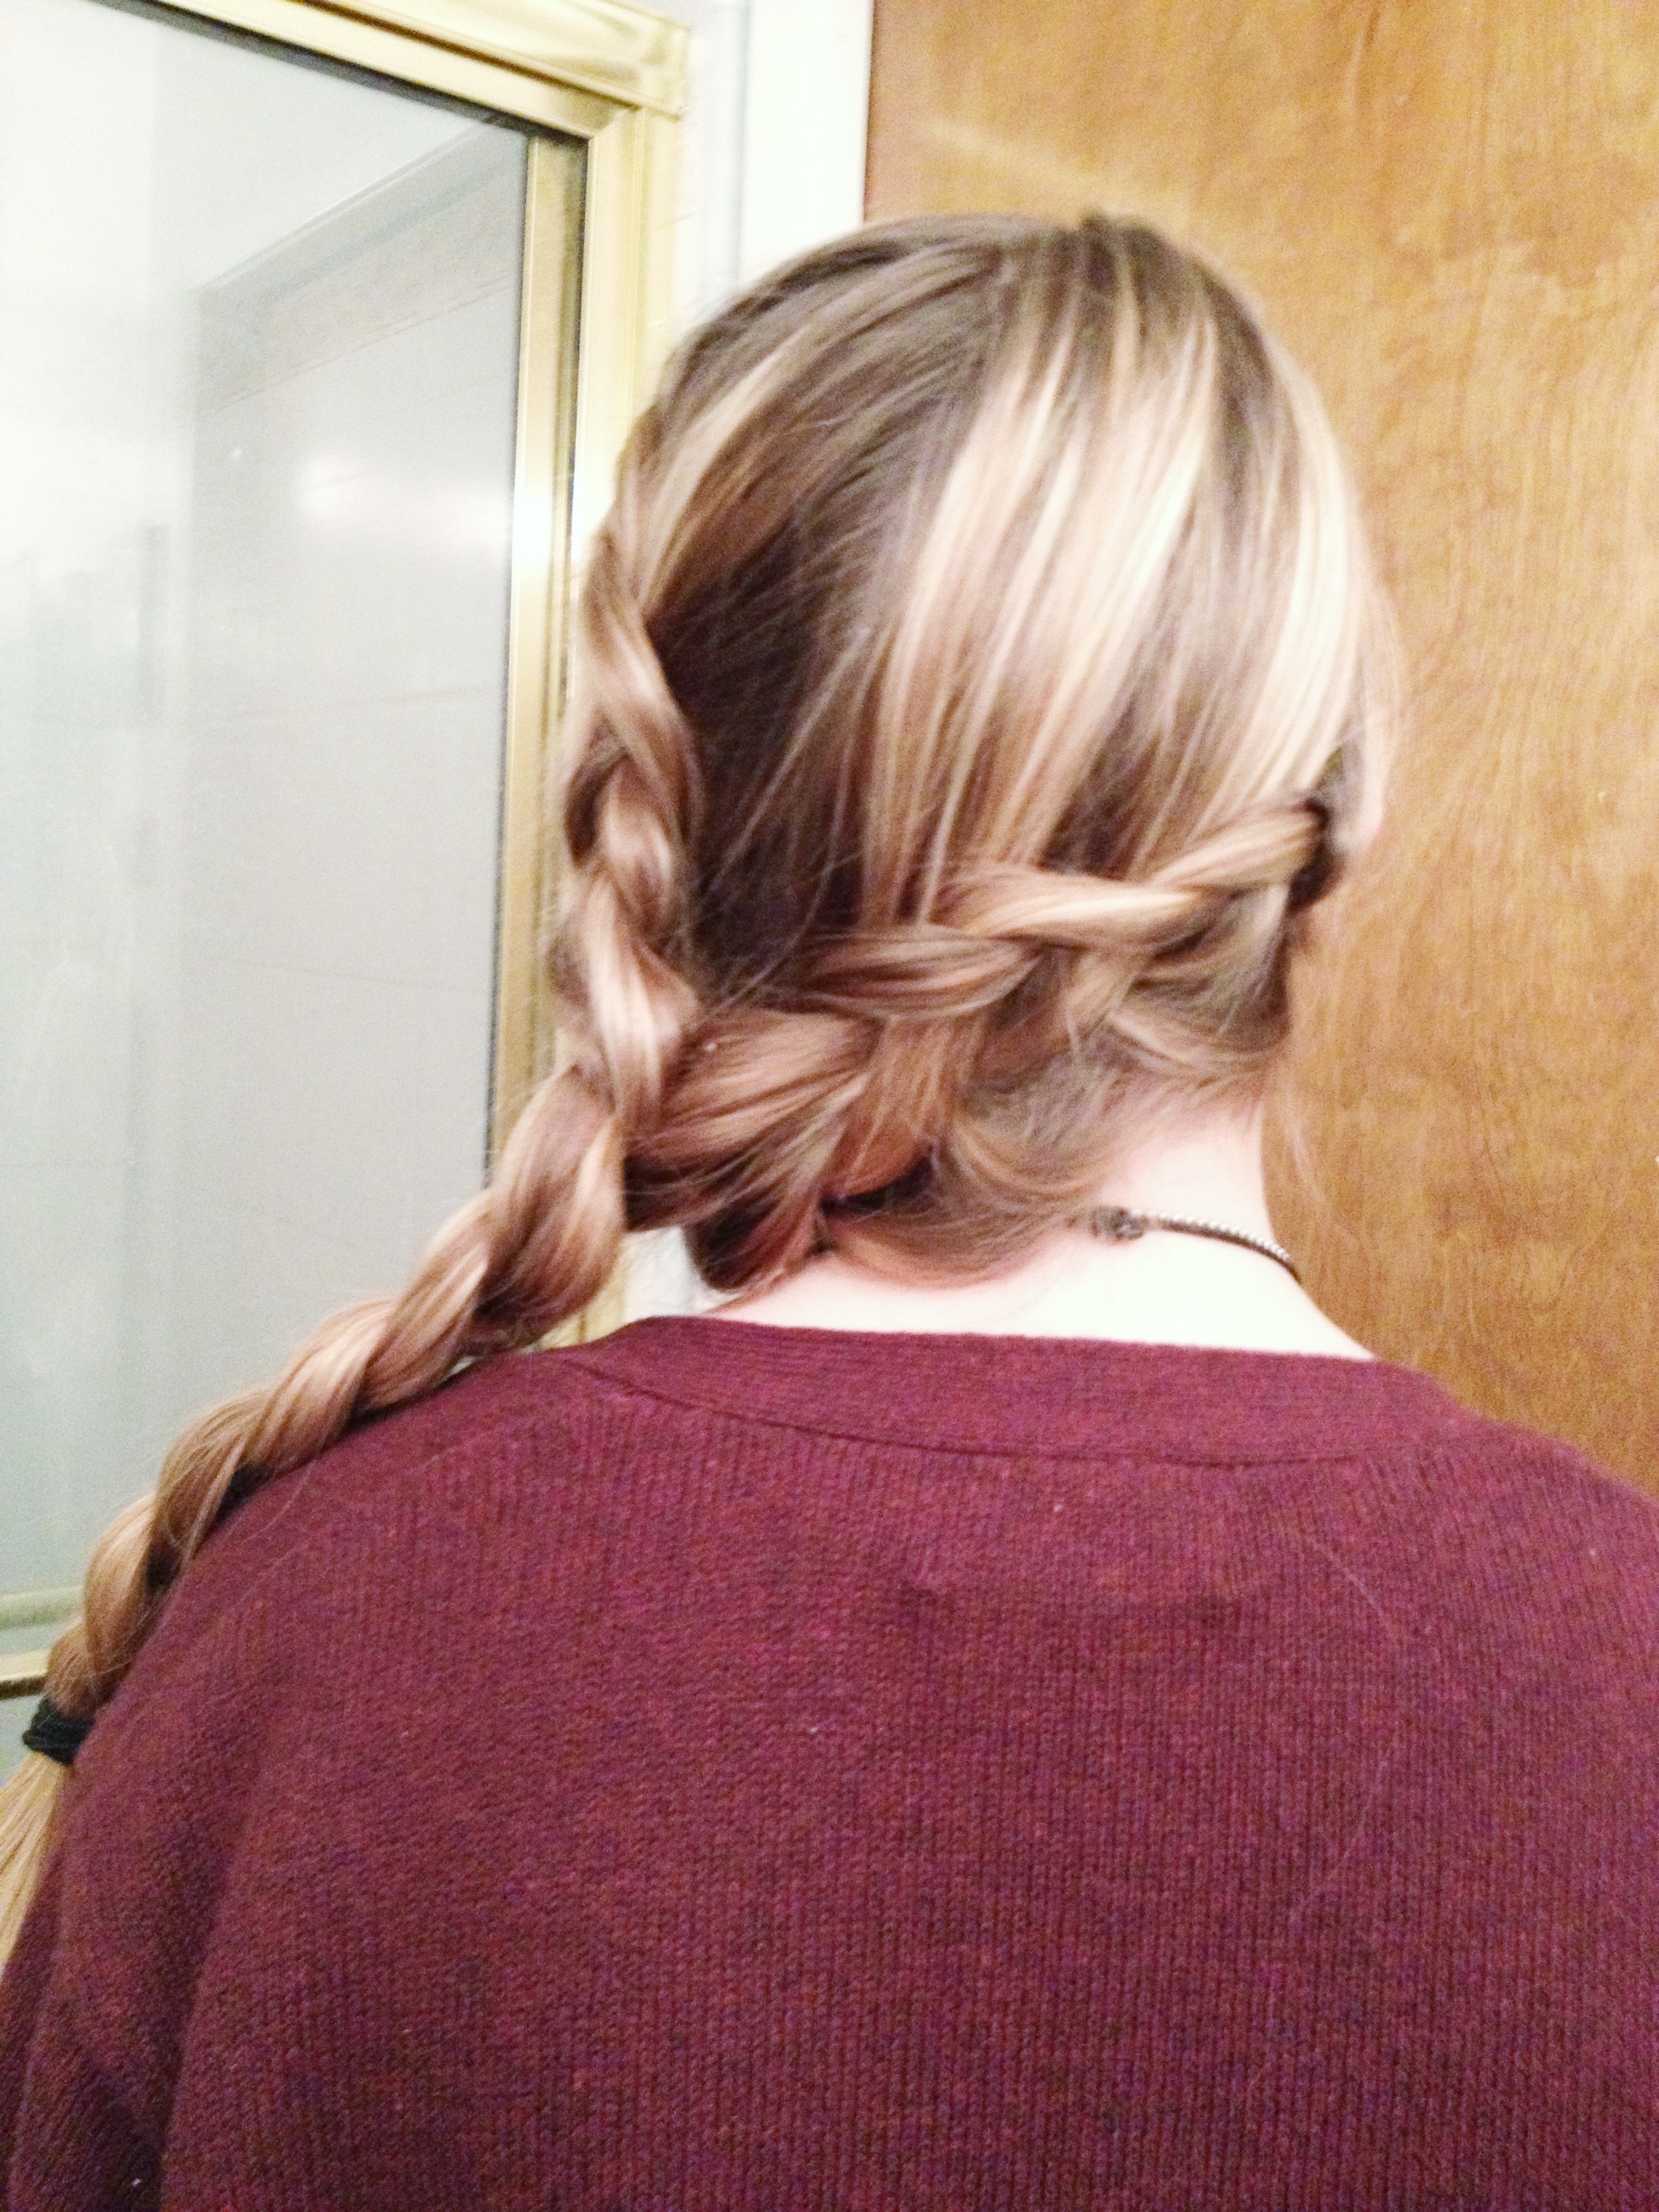
1. Start with a deep part on the top of your head. Make another deep part onto the back of the head so that the opposite side has more hair than the first part. The part line will be diagonal.
2. Tie off the first deep part side and begin on the smaller part side.
3. Begin french braiding, while pulling the hair around towards the opposite shoulder.
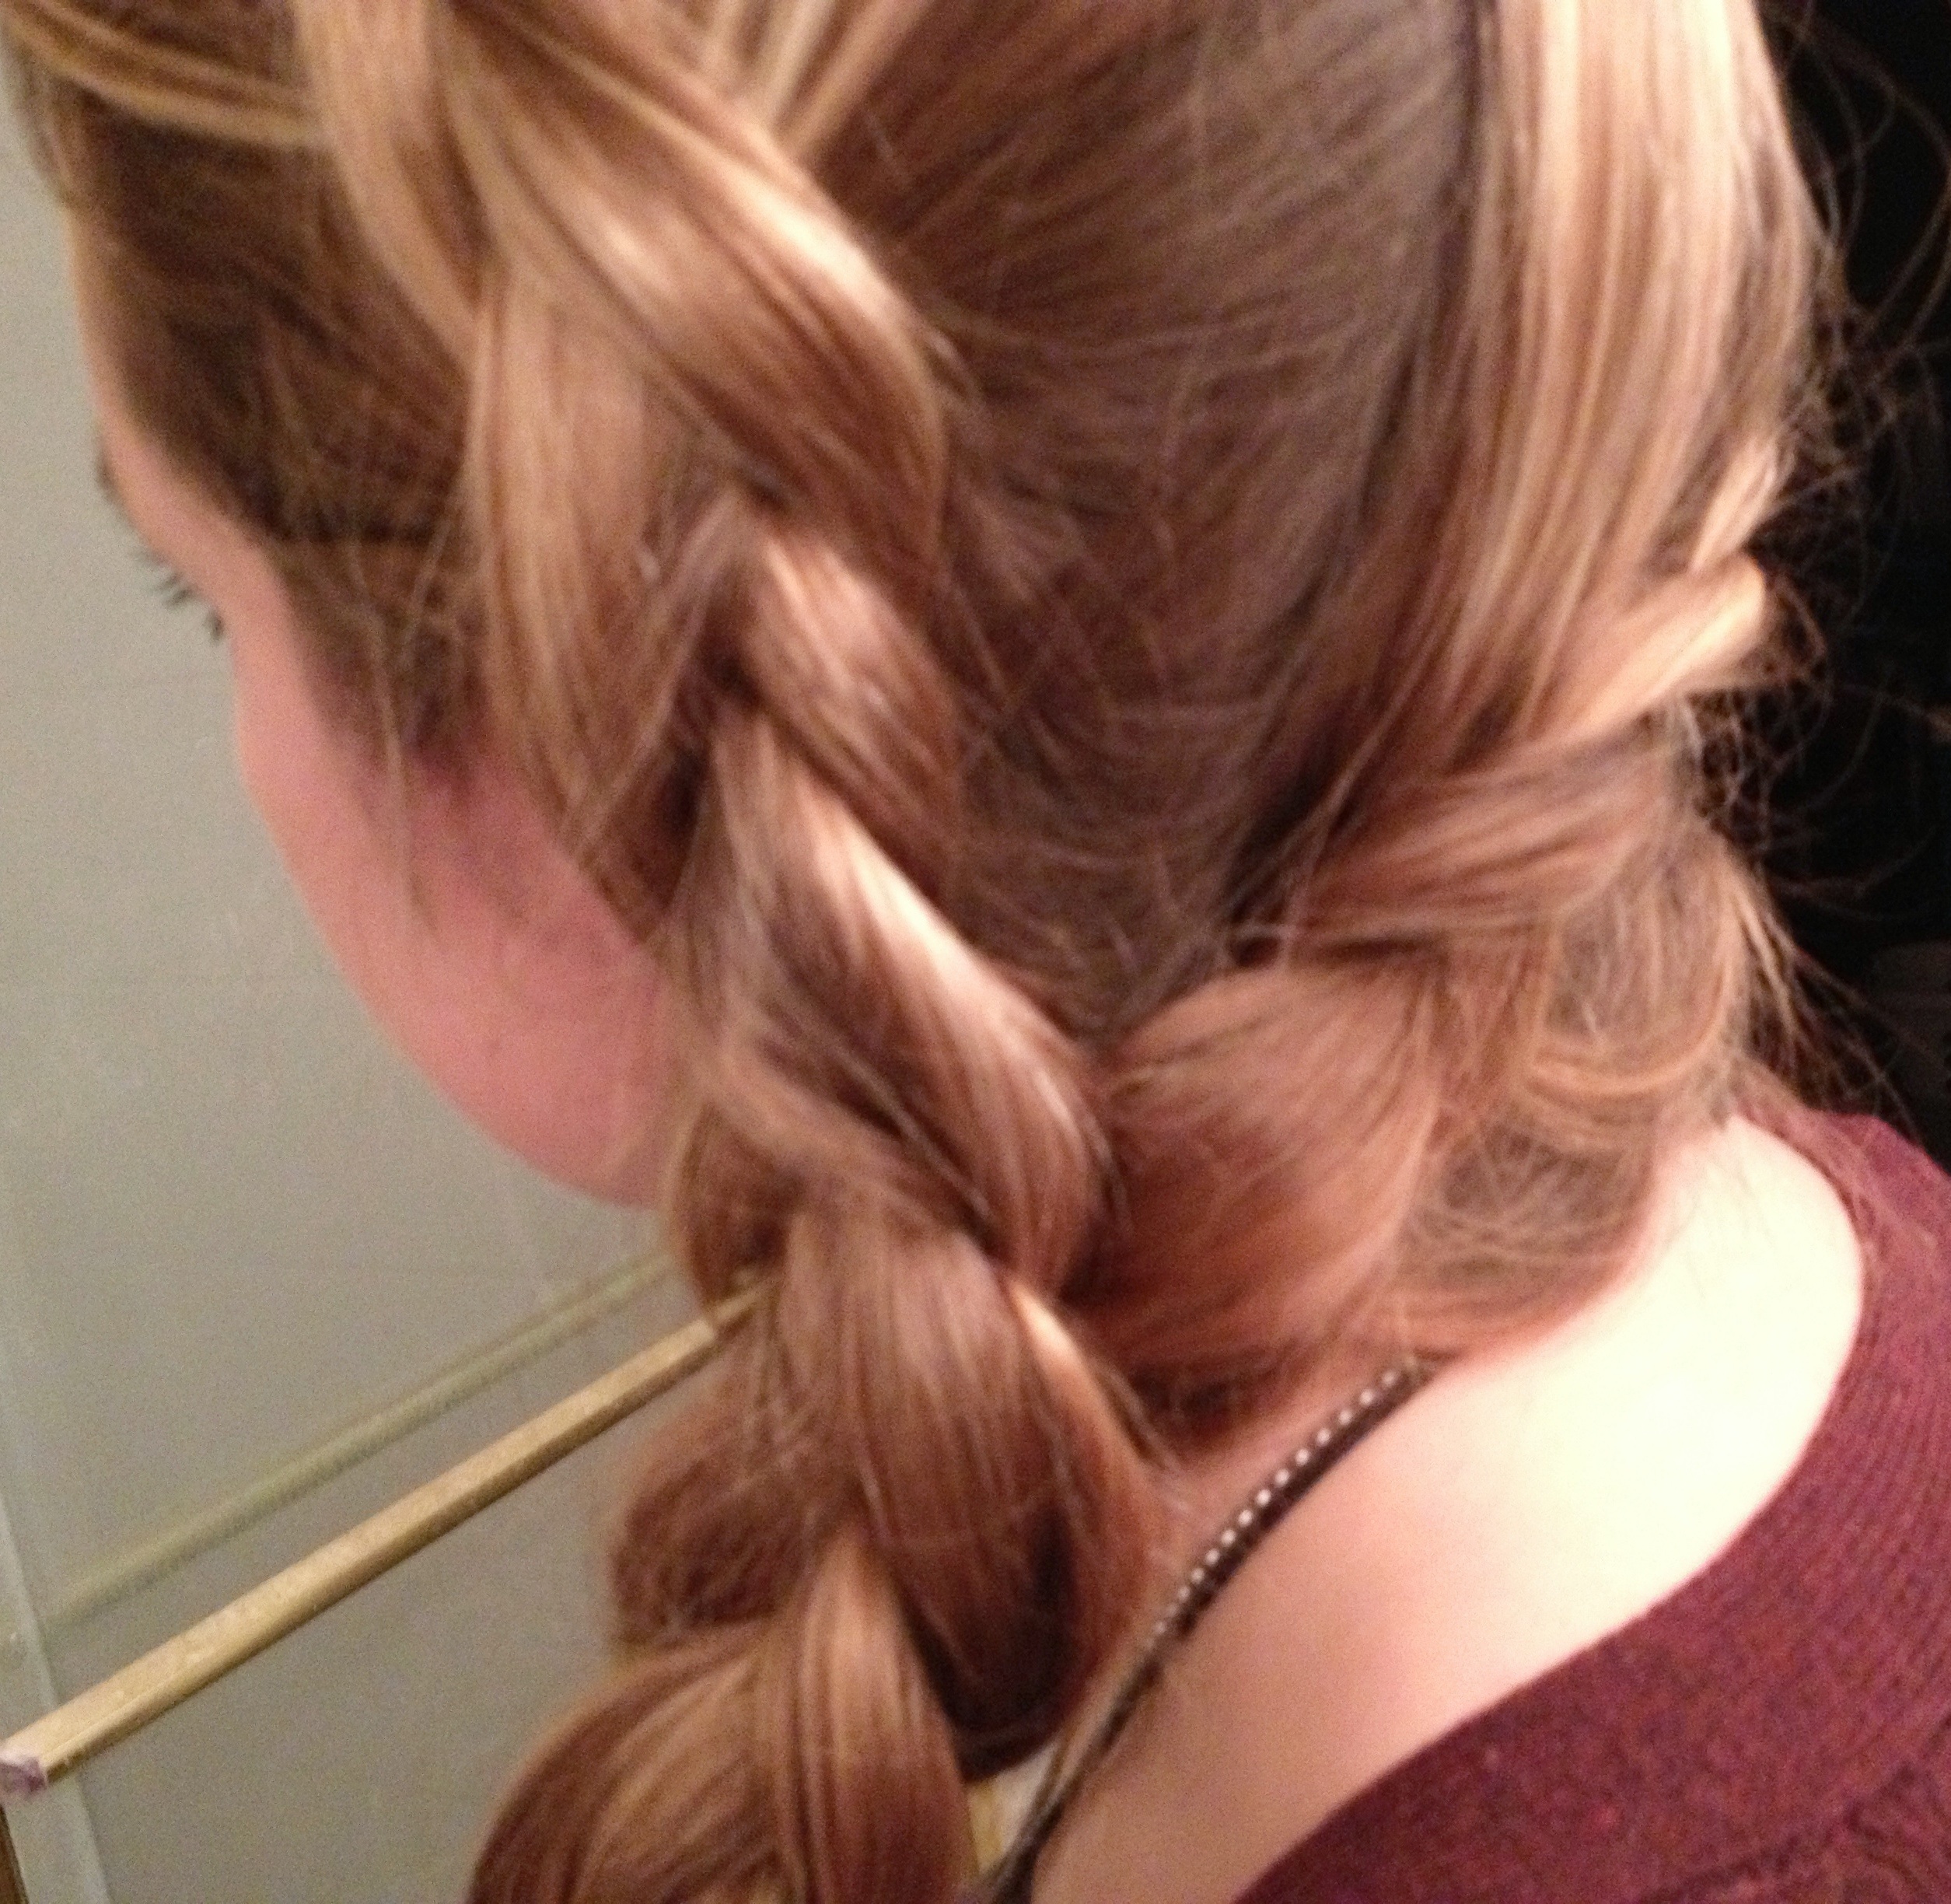
4. Instead of a normal french braid, where the strands are crossed over one another, cross them under (a dutch or inside out french braid).
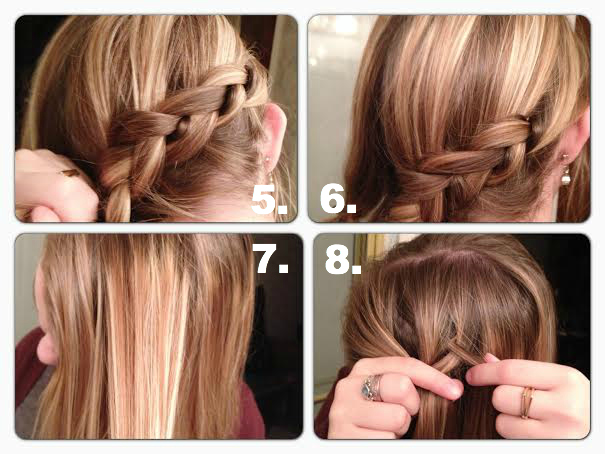
5. Continue to braid until you run out of hair on that side.
6. Braid it normally for a few inches and tie it off. Loosen the dutch braid with your fingers to make it bigger.
7. Start on the 2nd deeper part side. Start with a small section of hair in the very middle, between the part and the front hairline.
8. French braid in the same way, crossing the strands underneath, directing the hair straight down.
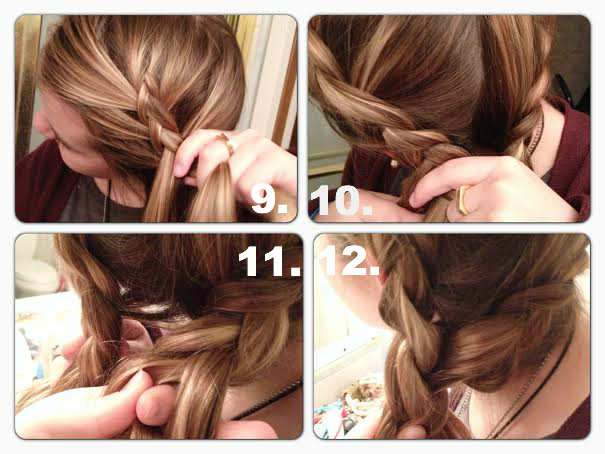
9-10. Continue braiding until you run out of hair.
11. Once all the hair on the 2nd side is caught up into the braid, undo the tie on the first braid. Unravel it all the way up to the base of the head. Begin merging the braids together by taking one strand of the first braid at a time and braiding it into the 2nd braid. This should take 3 crossovers.
12. Finish braiding normally!
Related posts
 Boho Braid Tuck Tutorial |
 Momiform– The Sock Bun with Braids |
 Momiform– ACTUAL dress pants |
The Fart-Eaters |
Leave a Reply