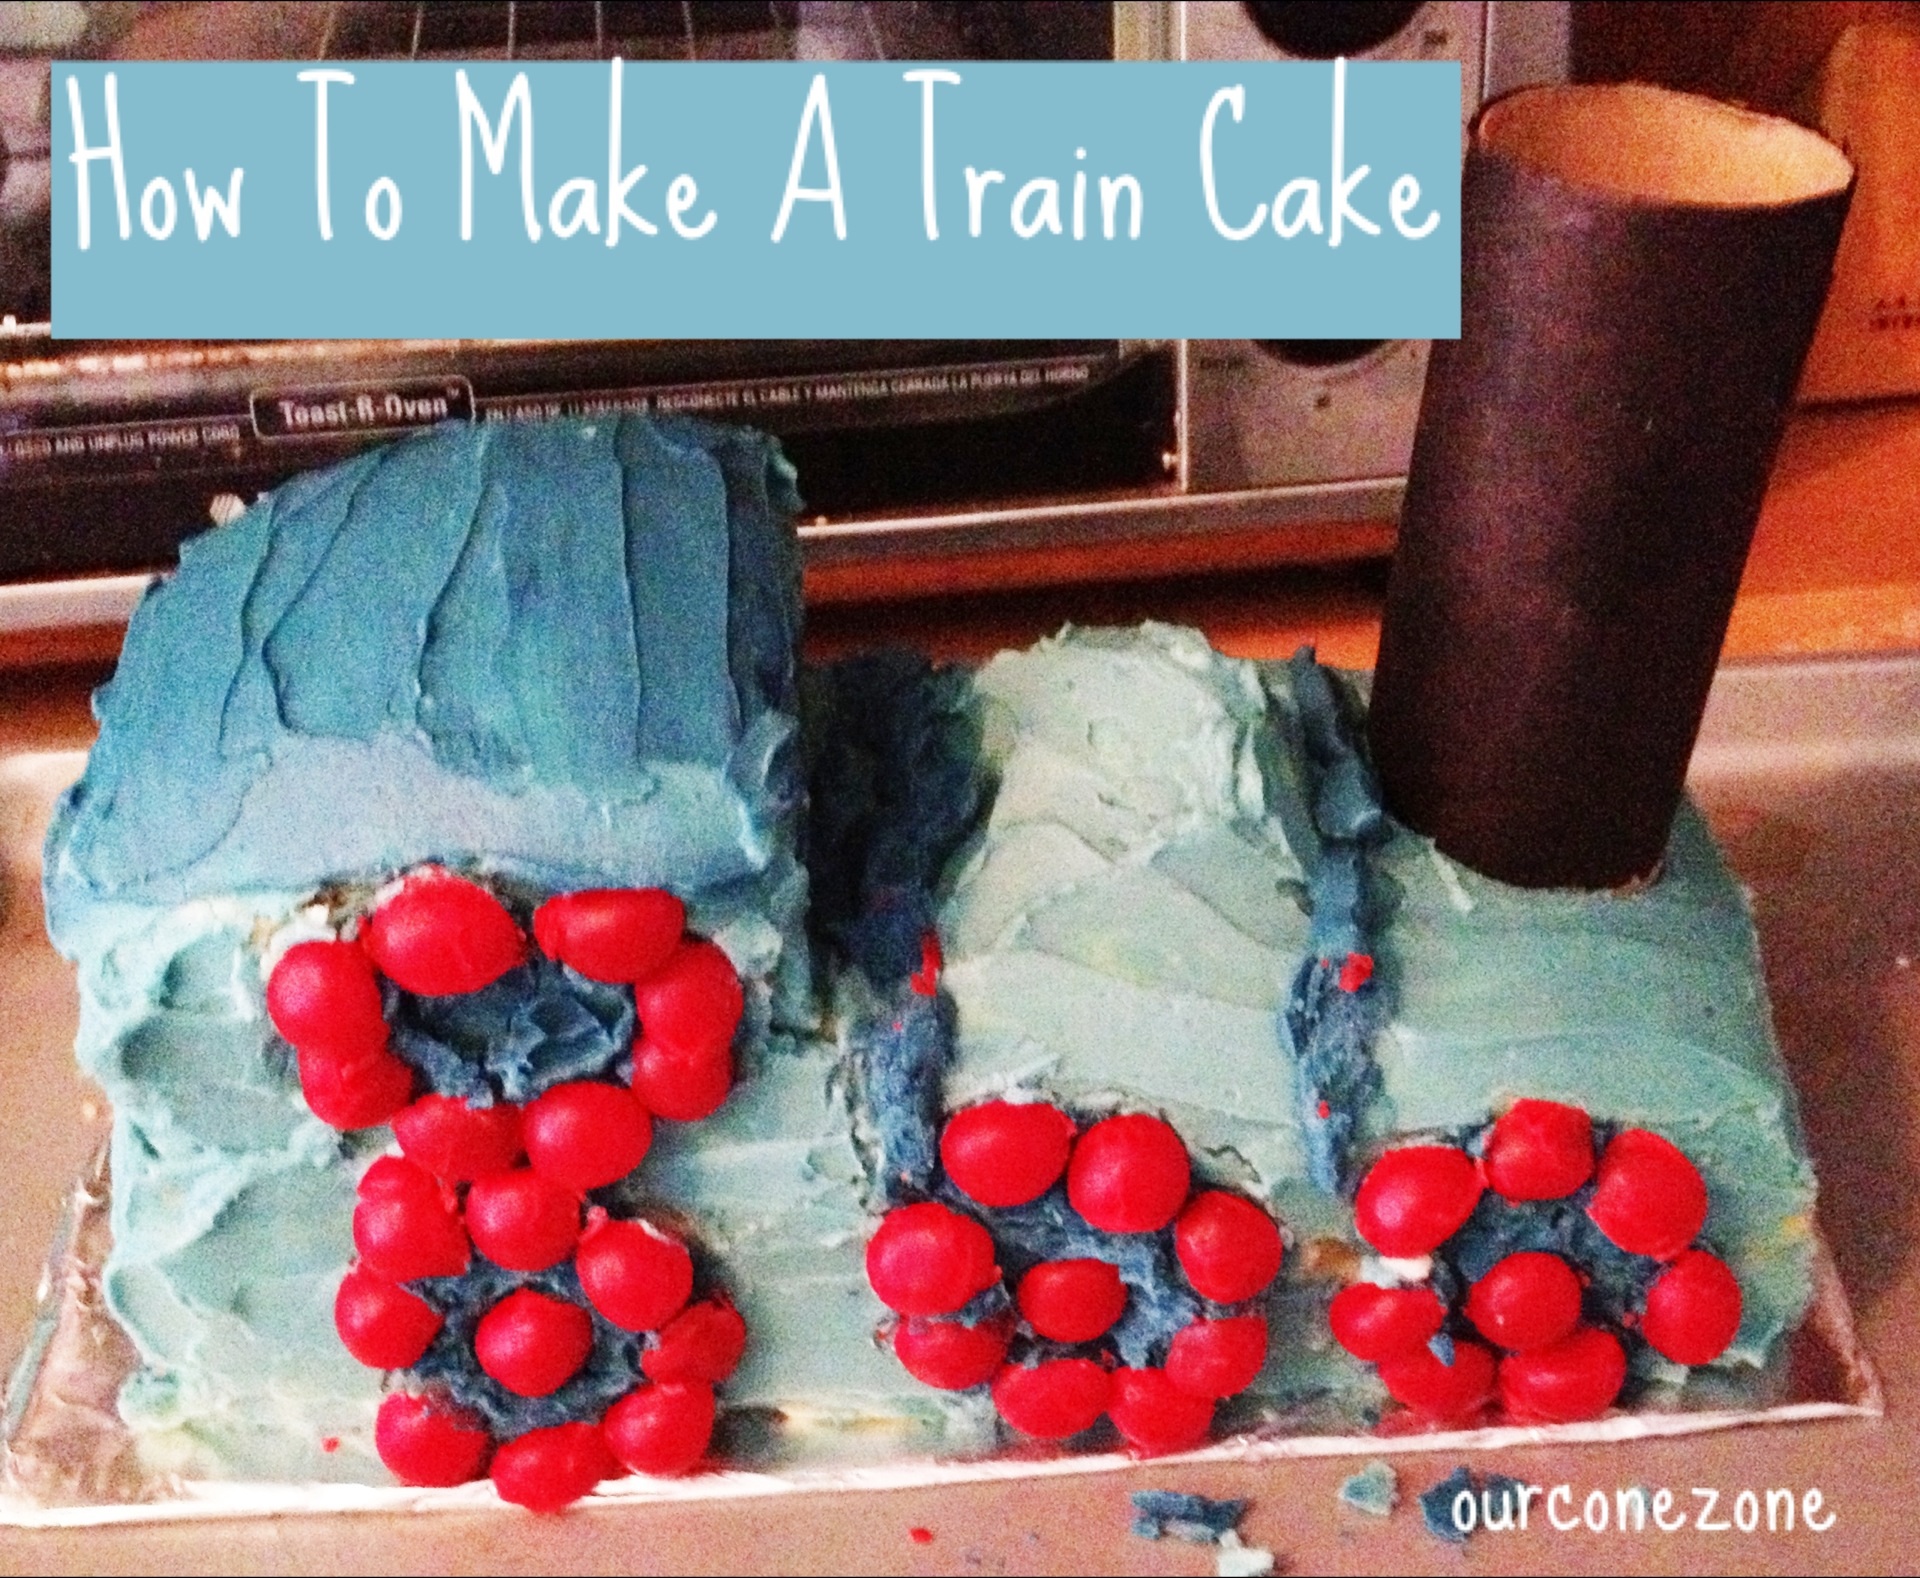
As I was getting ready for Gregory’s 3rd birthday party (aka, trolling around Pinterest for weeks!), I saw many pictures of train themed birthday cakes, but absolutely NO instructions on how to make one. It seemed that everyone with a cute train cake decided to pay a bakery to do it.
If you’ve been a reader for a while now, you know that I almost never pay someone else to do something if I have the faintest idea that I could attempt it myself. We also wanted to keep Gregory’s entire party for 30+ people to under $75, so paying someone to make the cake was out of the question (note: here are pictures of Gregory’s Barnyard Cake and Basketball Cake, along with AJ’s Dump Truck Cake).
I was nervous about this particular cake because I also decided to make it gluten free. See, even though my kids are not allergic to gluten, I am. And I’m tired of all the birthday parties and subsequent birthday cakes that I haven’t been able to eat. Additionally, we had several guests who avoid gluten as well, so it seemed like a reasonable thing to do.
I saved quite a few gluten-free cake recipes, but in the end I went with Bob’s Red Mill pre-packaged gluten free vanilla bean cake. Our local Big Lots had it in stock for only $3, so I went for it. It was DELICIOUS, let me tell you (especially right out of the oven!). And it came out great! No depressed/deflated center, as gluten-free recipes are prone to do. I also only used eggs from our local farm, so the entire cake was organic and super healthy!
 ‘
‘
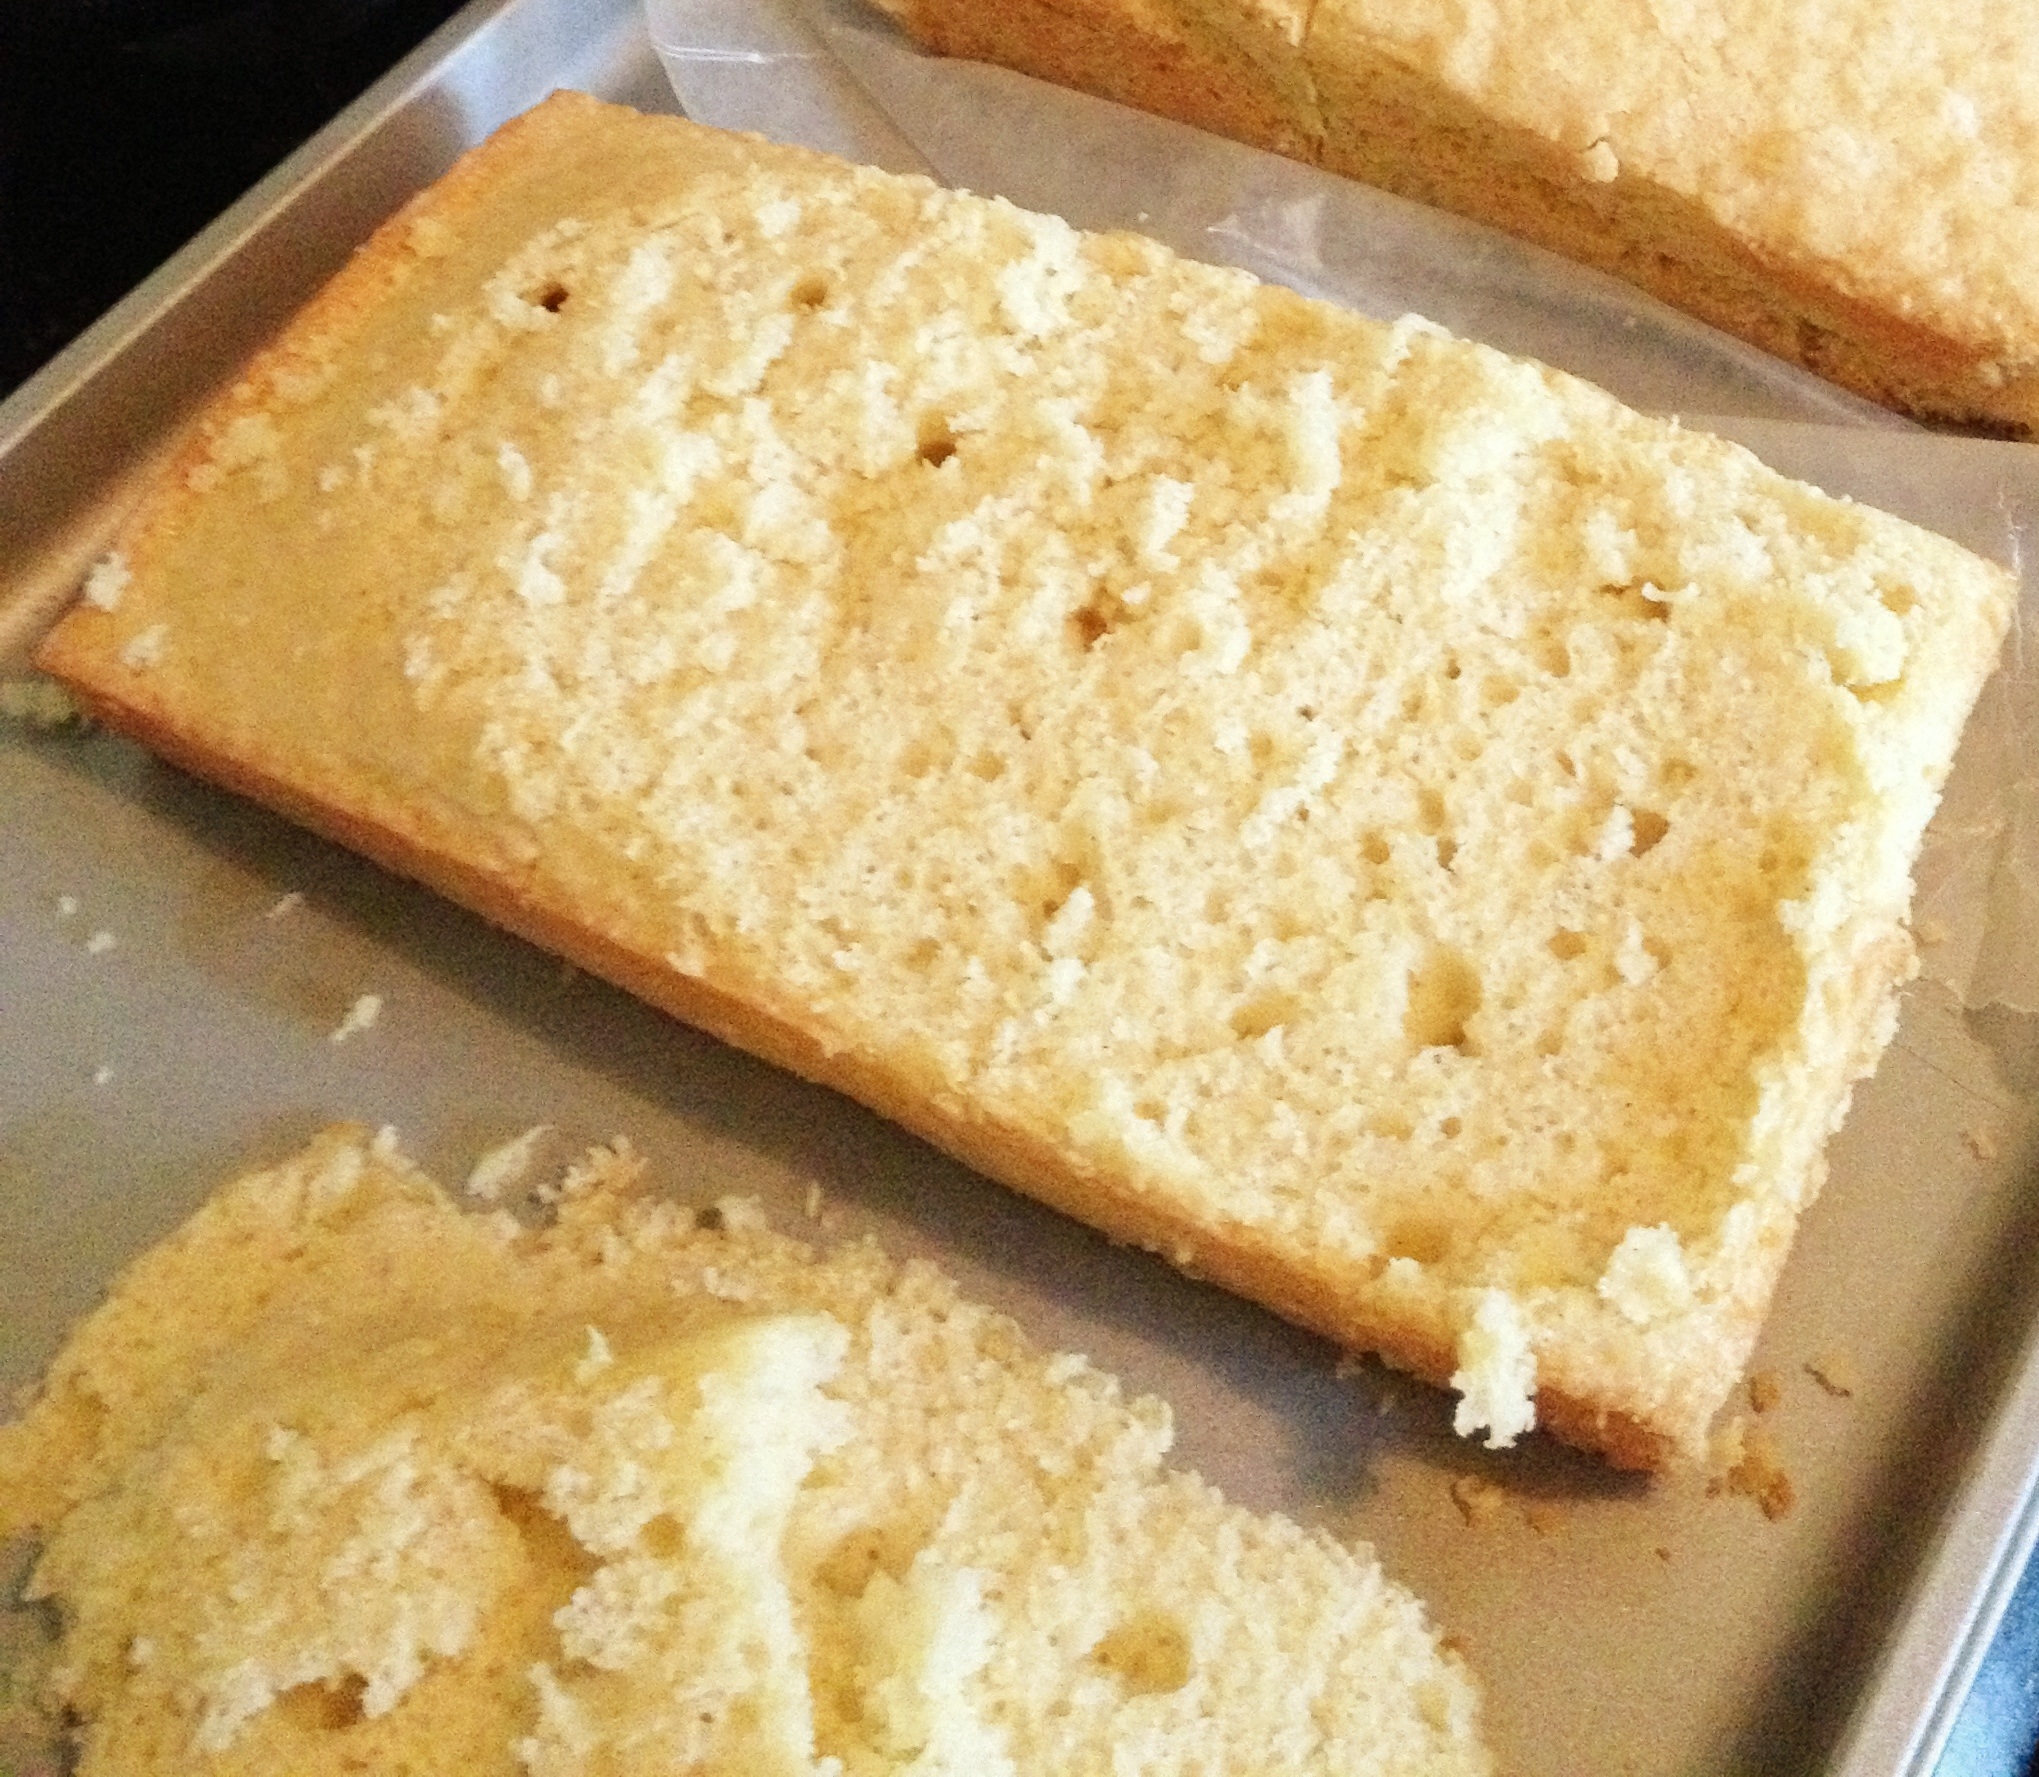
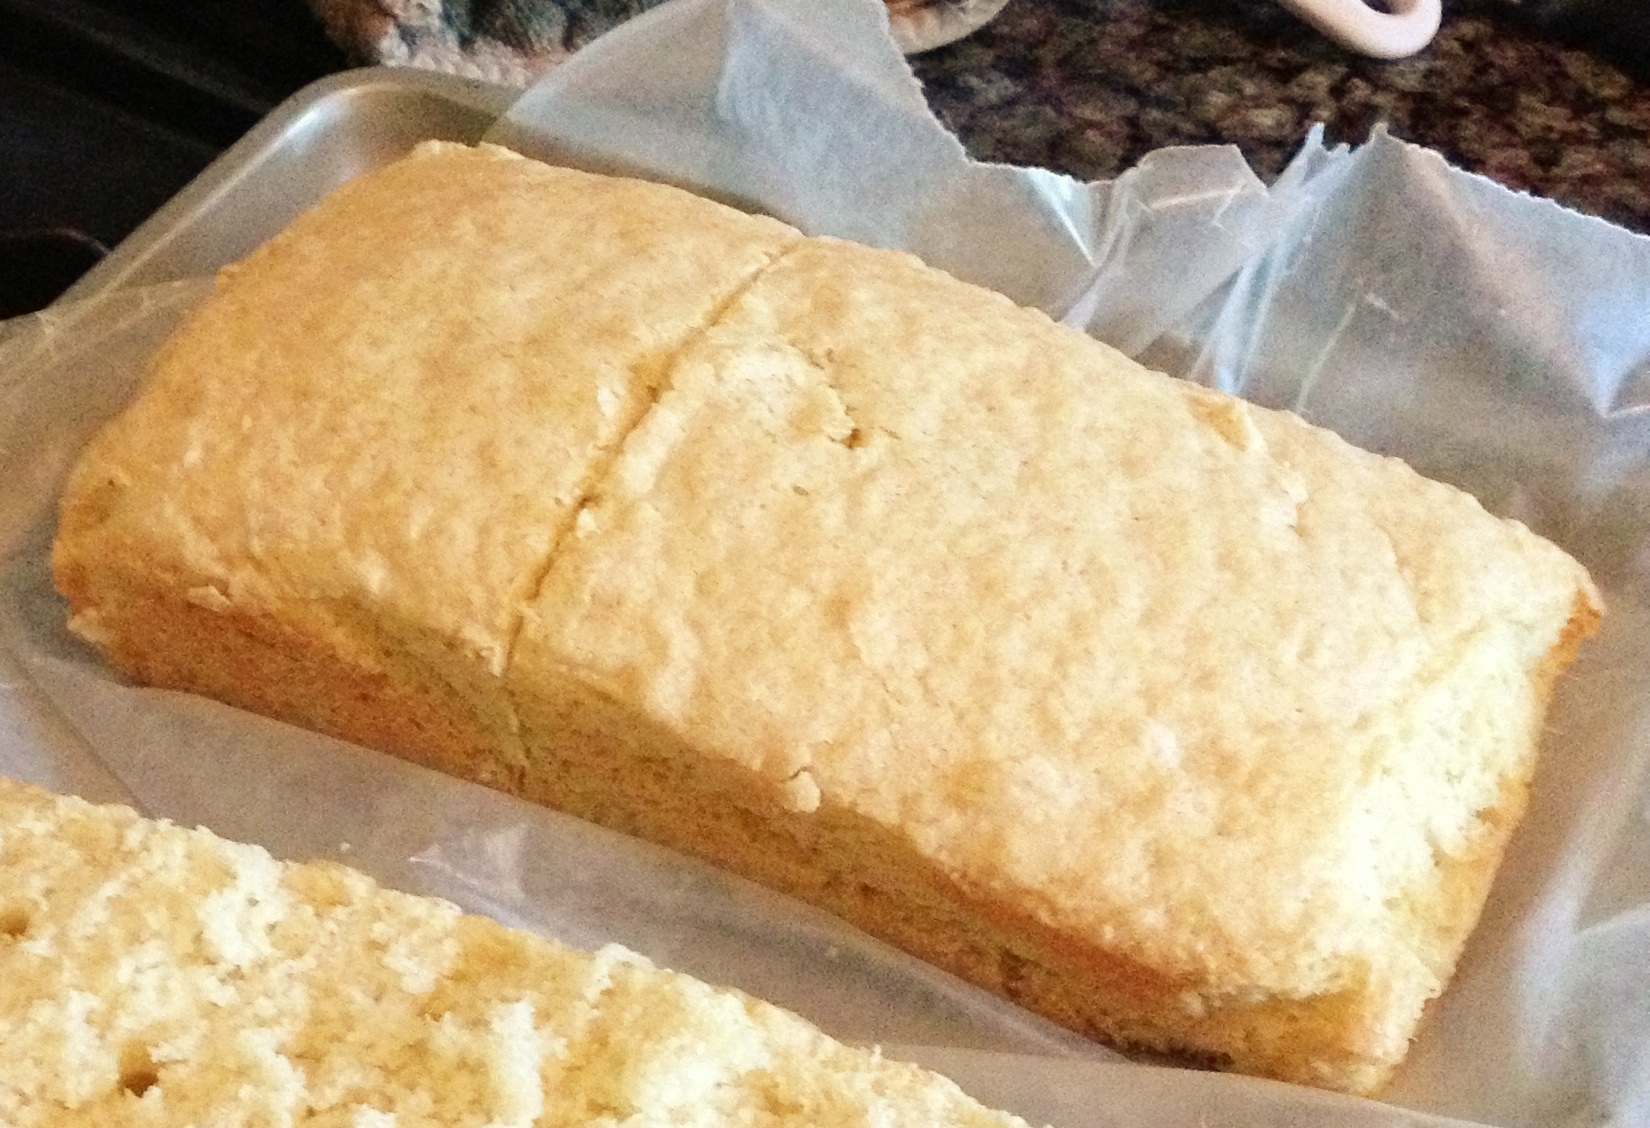
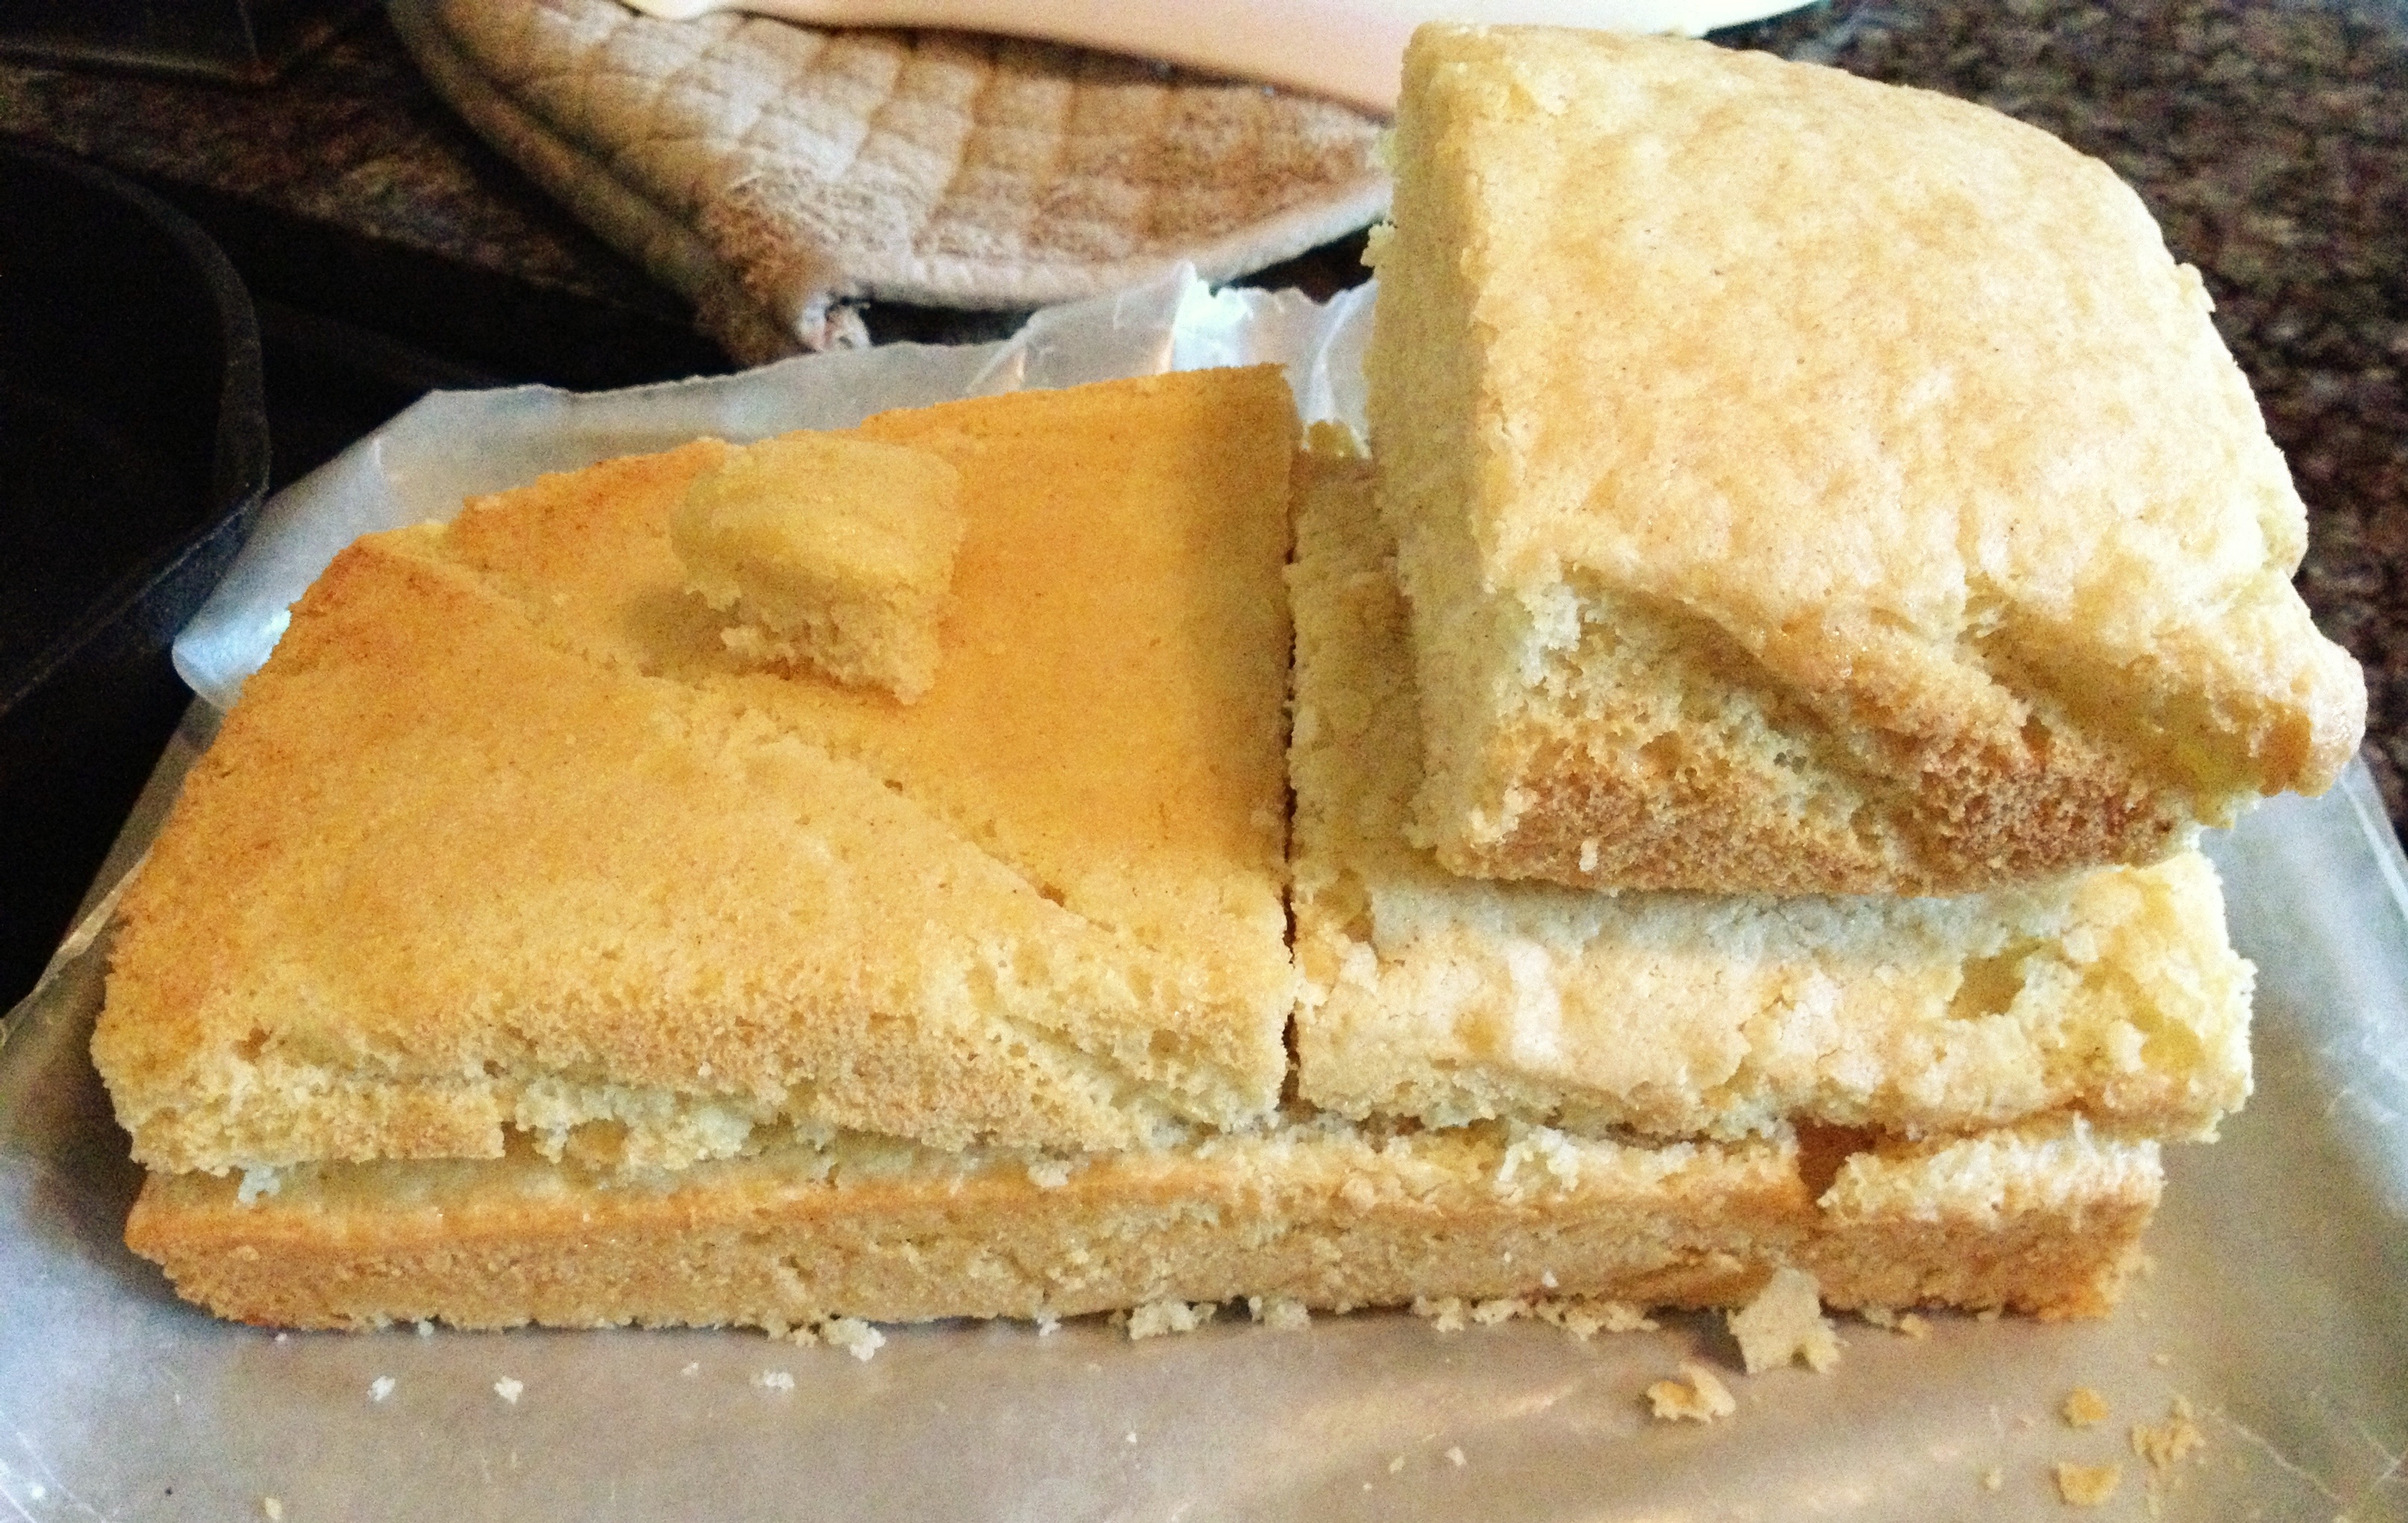
In order to get the cake shape that I wanted, I used two bread loaf pans instead of any of the other suggestions. This meant I had to cook them for 40 minutes instead of the recommended 30, but it gave me exactly the shape I needed for the train. It did mean, however, that the top was a bit more “rounded” (picture a loaf of bread) than I needed for my flat-rectangle train.
So, once the two “loaves” were done, I sawed off the top half to make it flat on top. I saved the part I sawed off for the “boiler” bump on top, and for taste testing 🙂
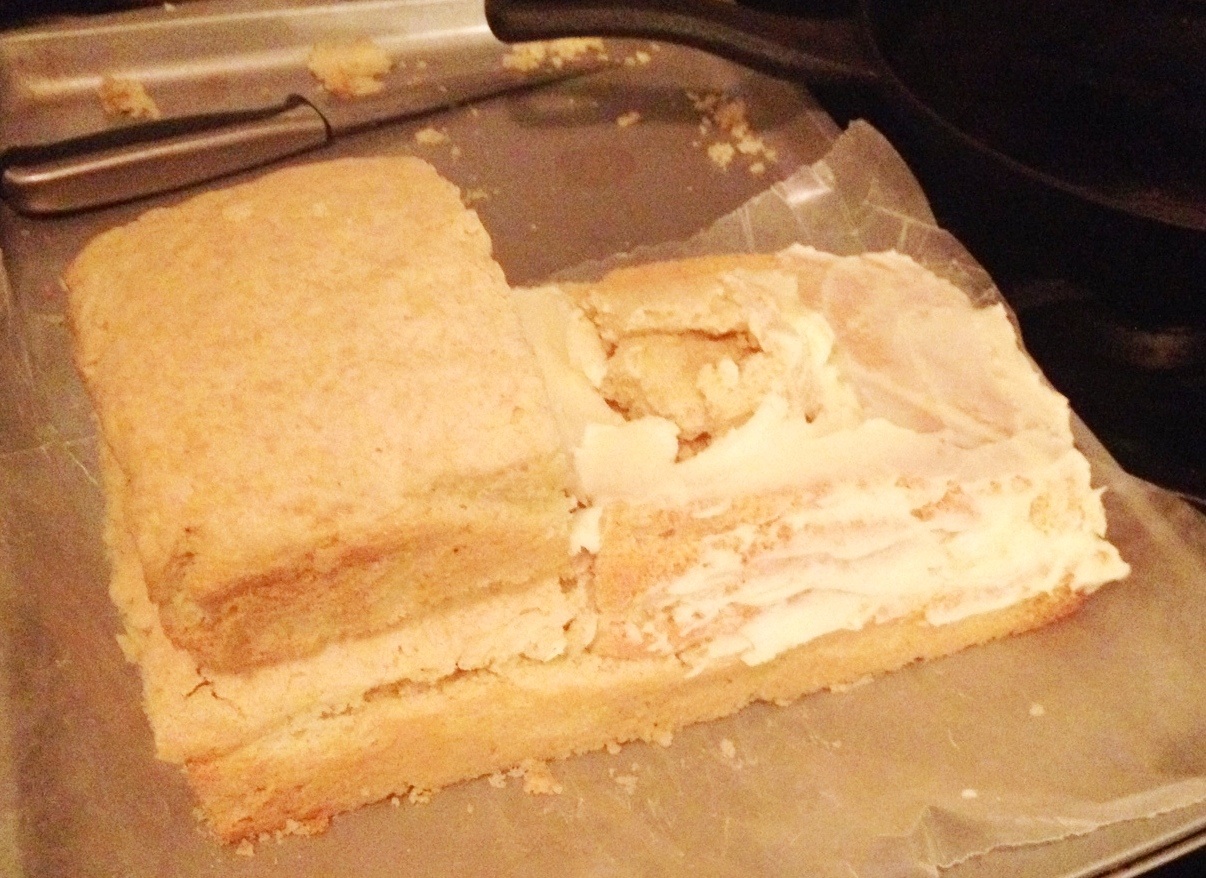
Next, I took the 2nd loaf and cut off a small square.
I then took the long rectangle shape leftover after the square and cut the height in half, creating two thin, long rectangle pieces. Using these and the square shape, I assembled my “train”. I also took some scrap to construct a “boiler” on top.
Next, I whipped up a batch of vanilla frosting, using 2 cubes of organic un-salted butter, 4 cups of confectioner’s sugar, 1 tbsp. of vanilla extract, and 1/4 cup of organic half and half.

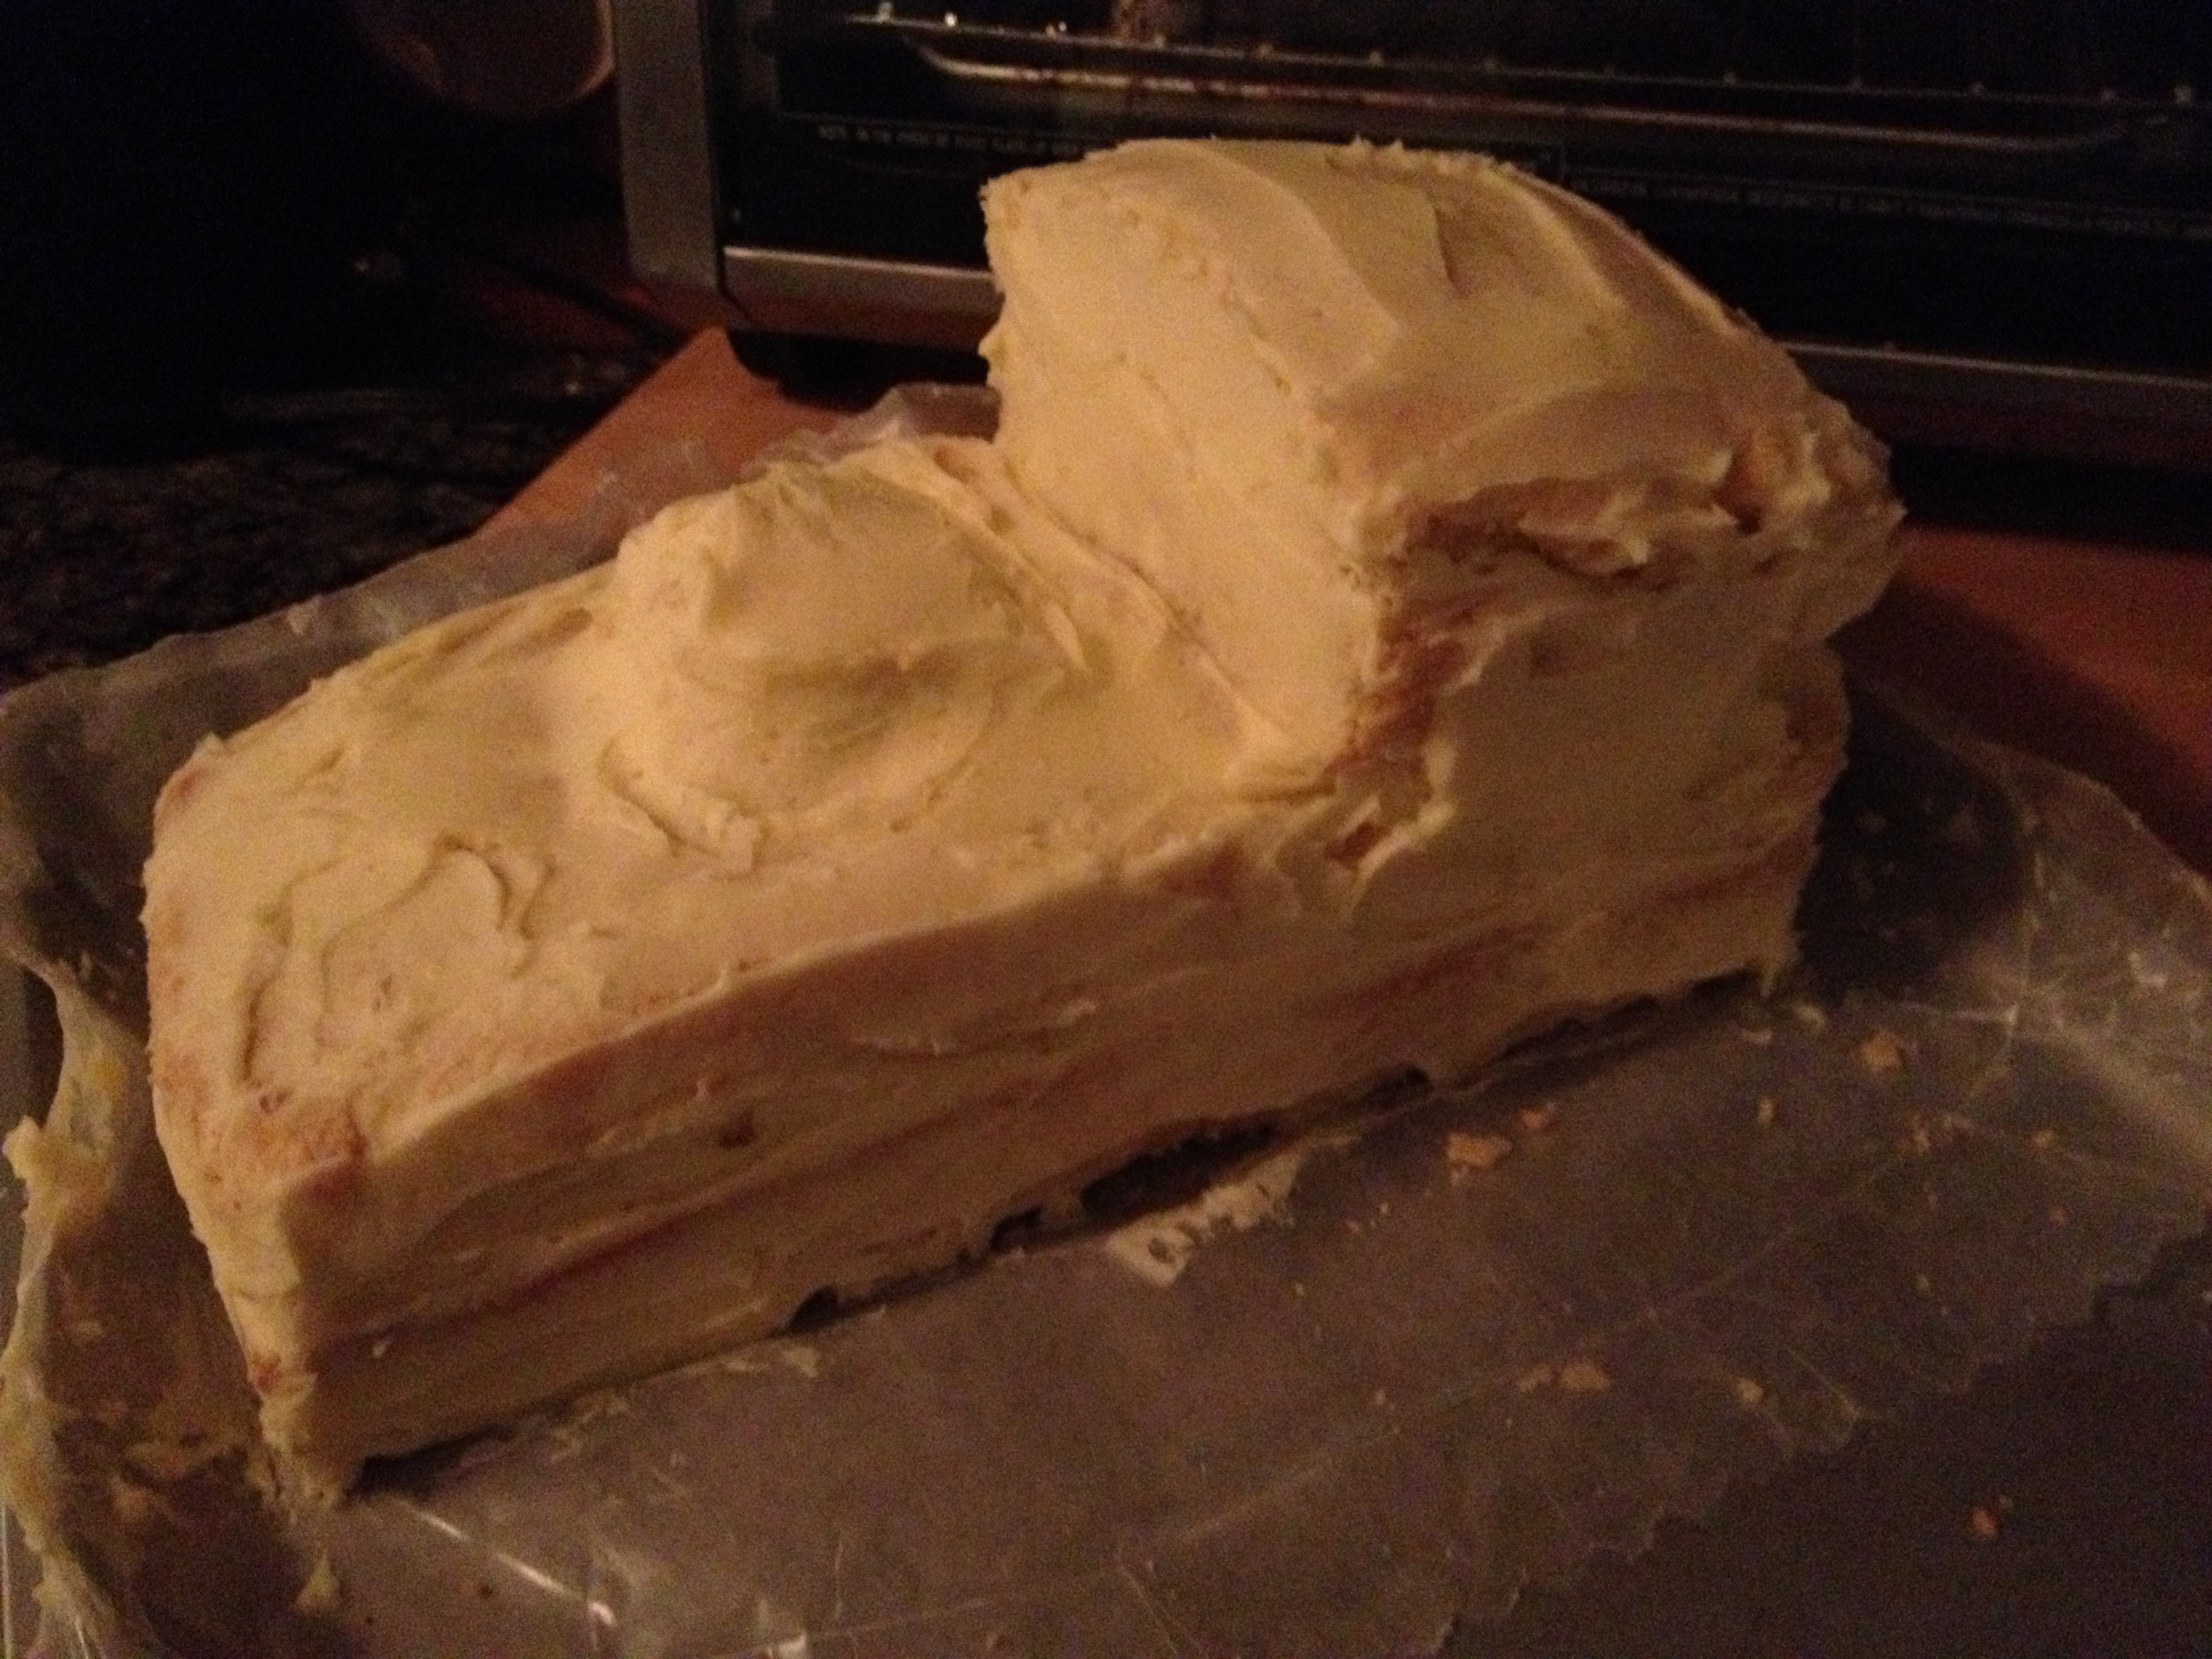
The biggest lesson I’ve learned when decorating a cake is to do what’s called a crumb coating. Trust me– without this step, your cake will look terrible! I also have learned to do this step on a piece of wax paper so that you can easily transfer it to something less messy later on.
Once the first coat of frosting was on, I placed the cake in the fridge for four hours. Preferably, you could leave it all night to harden, but I was on a bit of a time crunch.
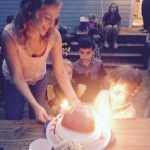
The last step is to decorate the cake! I pulled out one of Gregory’s Thomas engines for this step and tried to add as many details as I could. I dyed one batch of the frosting a light blue, then dyed the rest a darker blue. I refuse to use red dye for health reasons, so I added red candies (to be taken off before eating) instead. Once the decorating was done, I ditched the wax paper for a clean foil covered piece of cardboard.
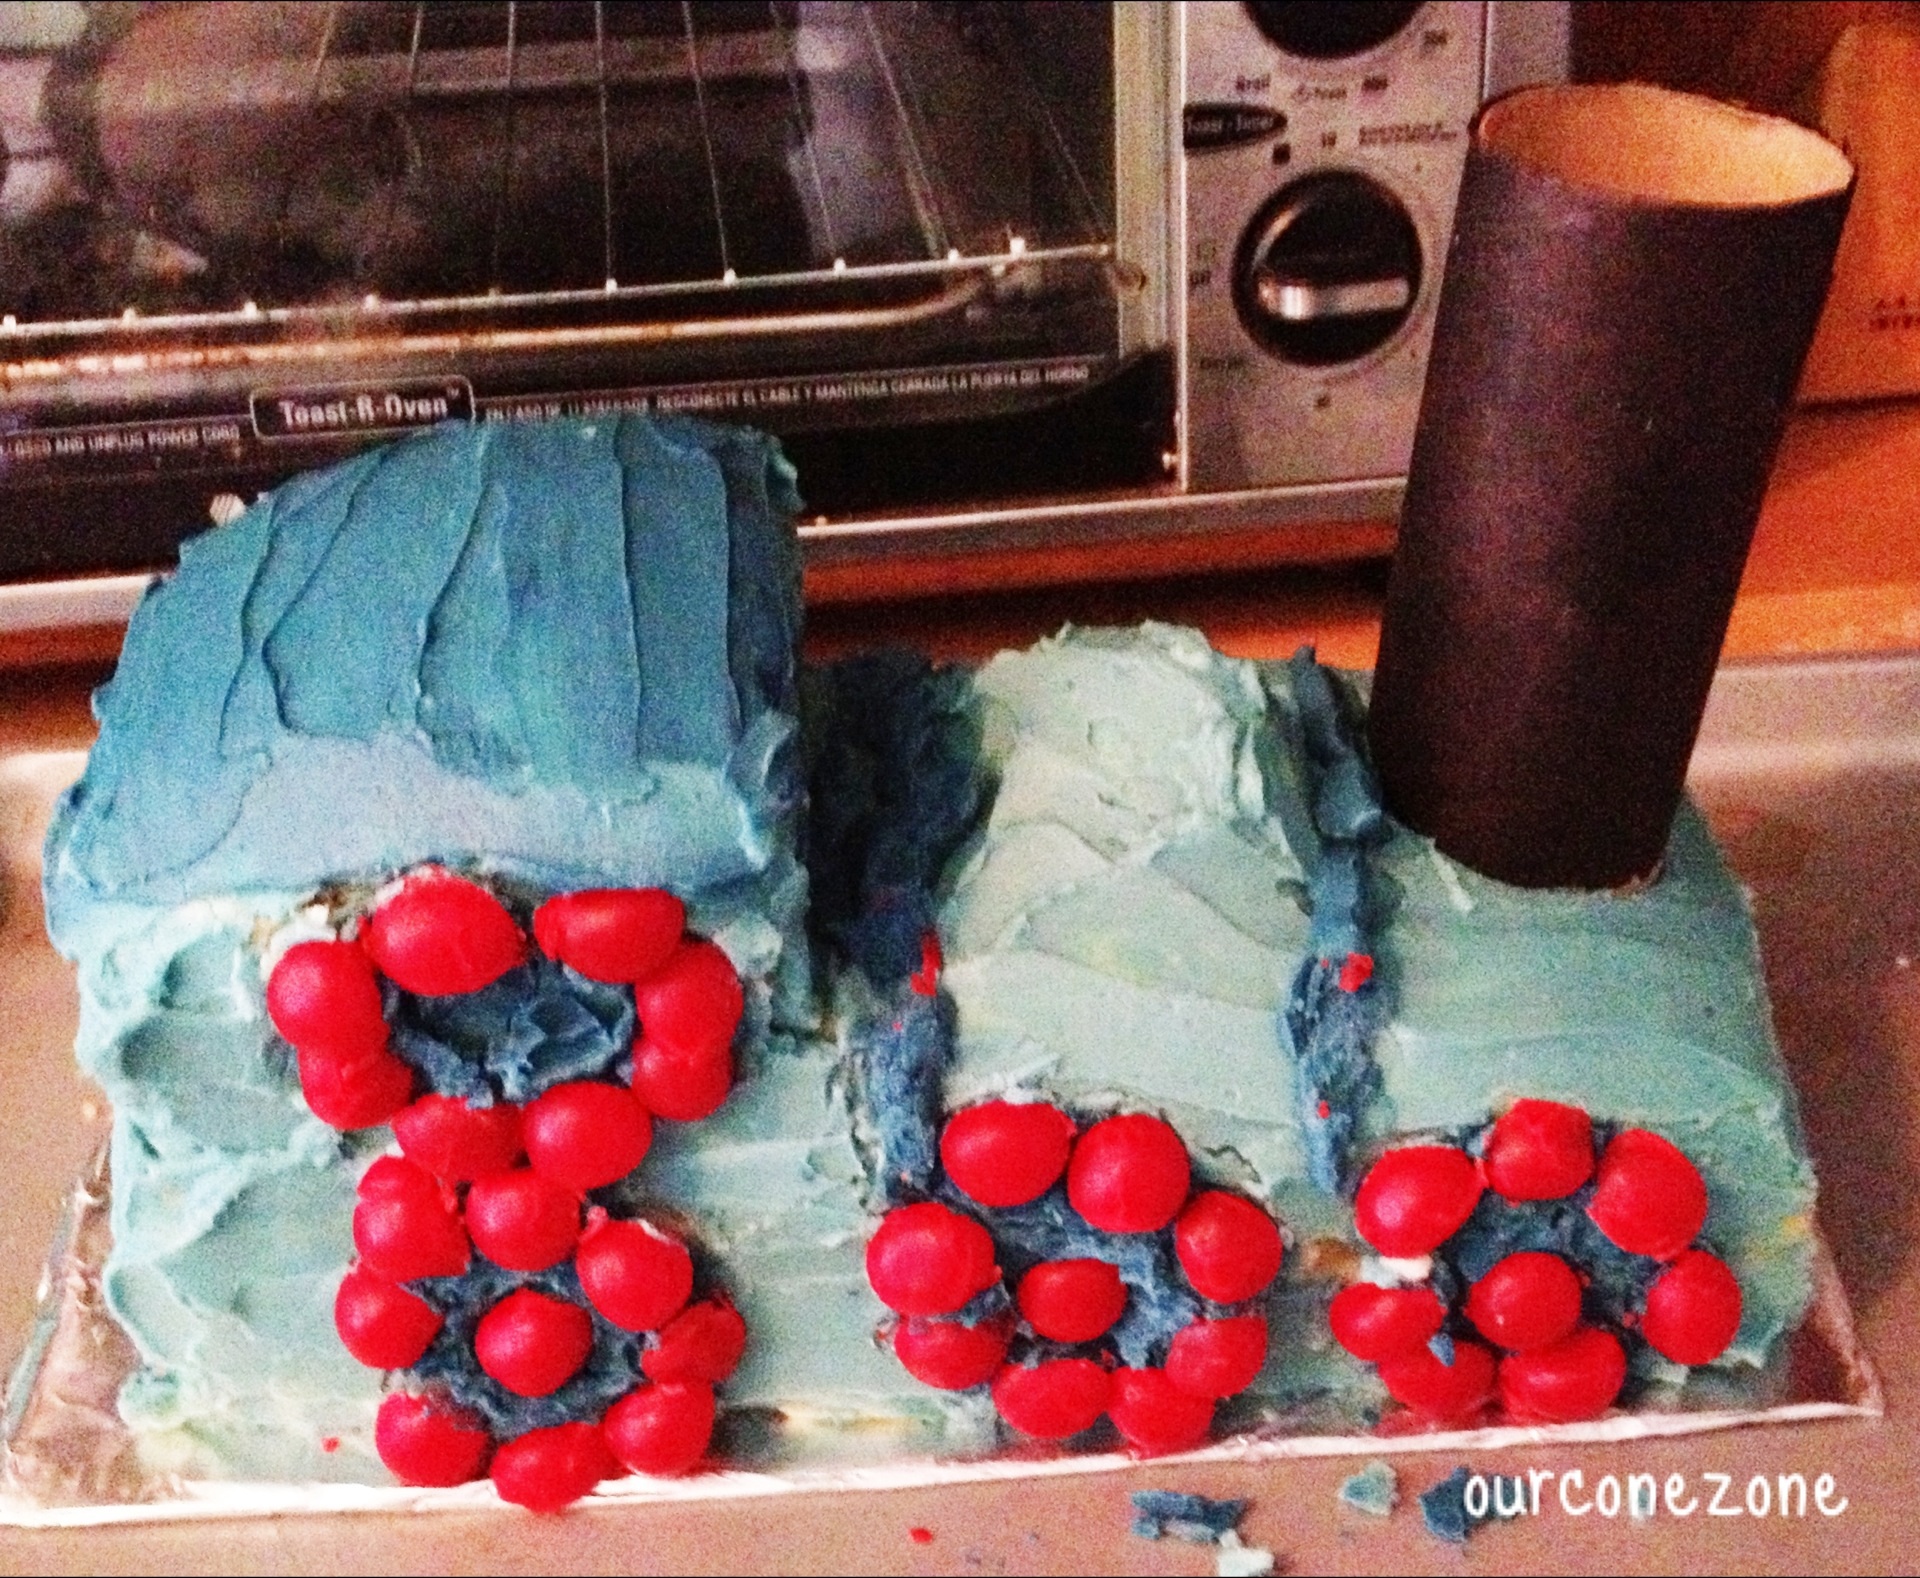
If I was a professional, or even had any professional cake decorating tools (I used a ziplock baggie with the corner cut off to squeeze out the frosting!), this could’ve turned out even better. I do not have any tools, however, and I did not want to spend too much of our $75 budget on the cake when there were food and decorations to be bought as well!
Related posts
 Should 2 Year Olds Have Birthday Parties? |
 First Birthday Parties |
Gregory’s 2nd Party! |
 My oldest is 5 |
What is a crumb coating?
Steph, it’s just the coat of frosting that you put on to let harden before you decorate. It’s called a crumb coating because it keeps crumbs from “bleeding” through the frosting!
I’m not even sure how I ran across your blog, but I just wanted to comment and say it’s cute. And so is this train cake! I look forward to next year when my twins can actually appreciate the cakes I make them! (They just turned 1)
Thanks, Elizabeth! I’m now following you back! So excited to see all of your ideas about country living 🙂
ahh this is such a cute idea for a cake, it doesn’t seem too hard either!
Thanks, Hailey! If I can do it, anyone can!