It’s happened! We now have a tile floor in our laundry room. But I still feel that it’d have been better if it had a touch of industrial flooring because that requires minimal maintenance. This DIY project is not for the faint of heart, however. We are EXHAUSTED and very sore. As a result, this is going to be mostly pictures, with more explanation later.
We started on Saturday afternoon, after the boys went down for a nap.
The BEFORE:

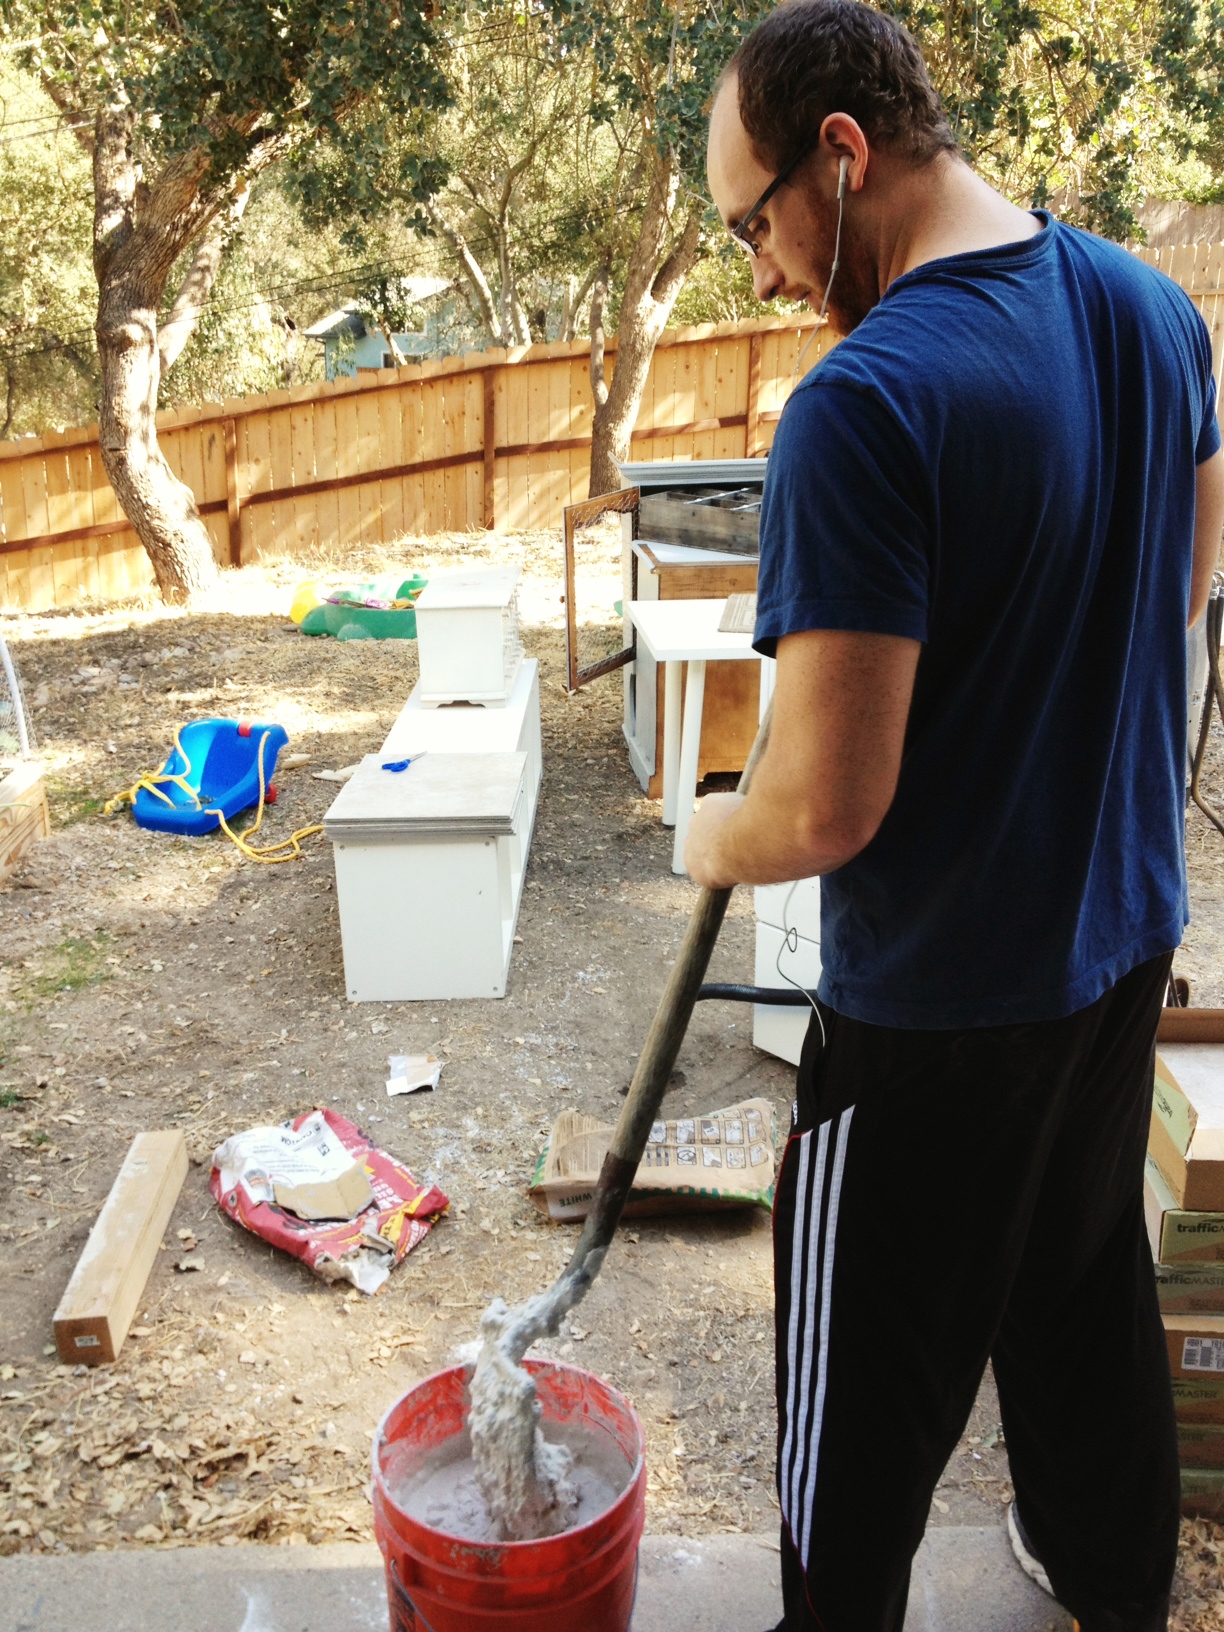
Then my strong hubby mixed the mortar while listening to the Dodgers lose.
Next, we placed the tiles on top of the mortar, with spacers to help our newbie selves out. We also decided to use a board to even things out.
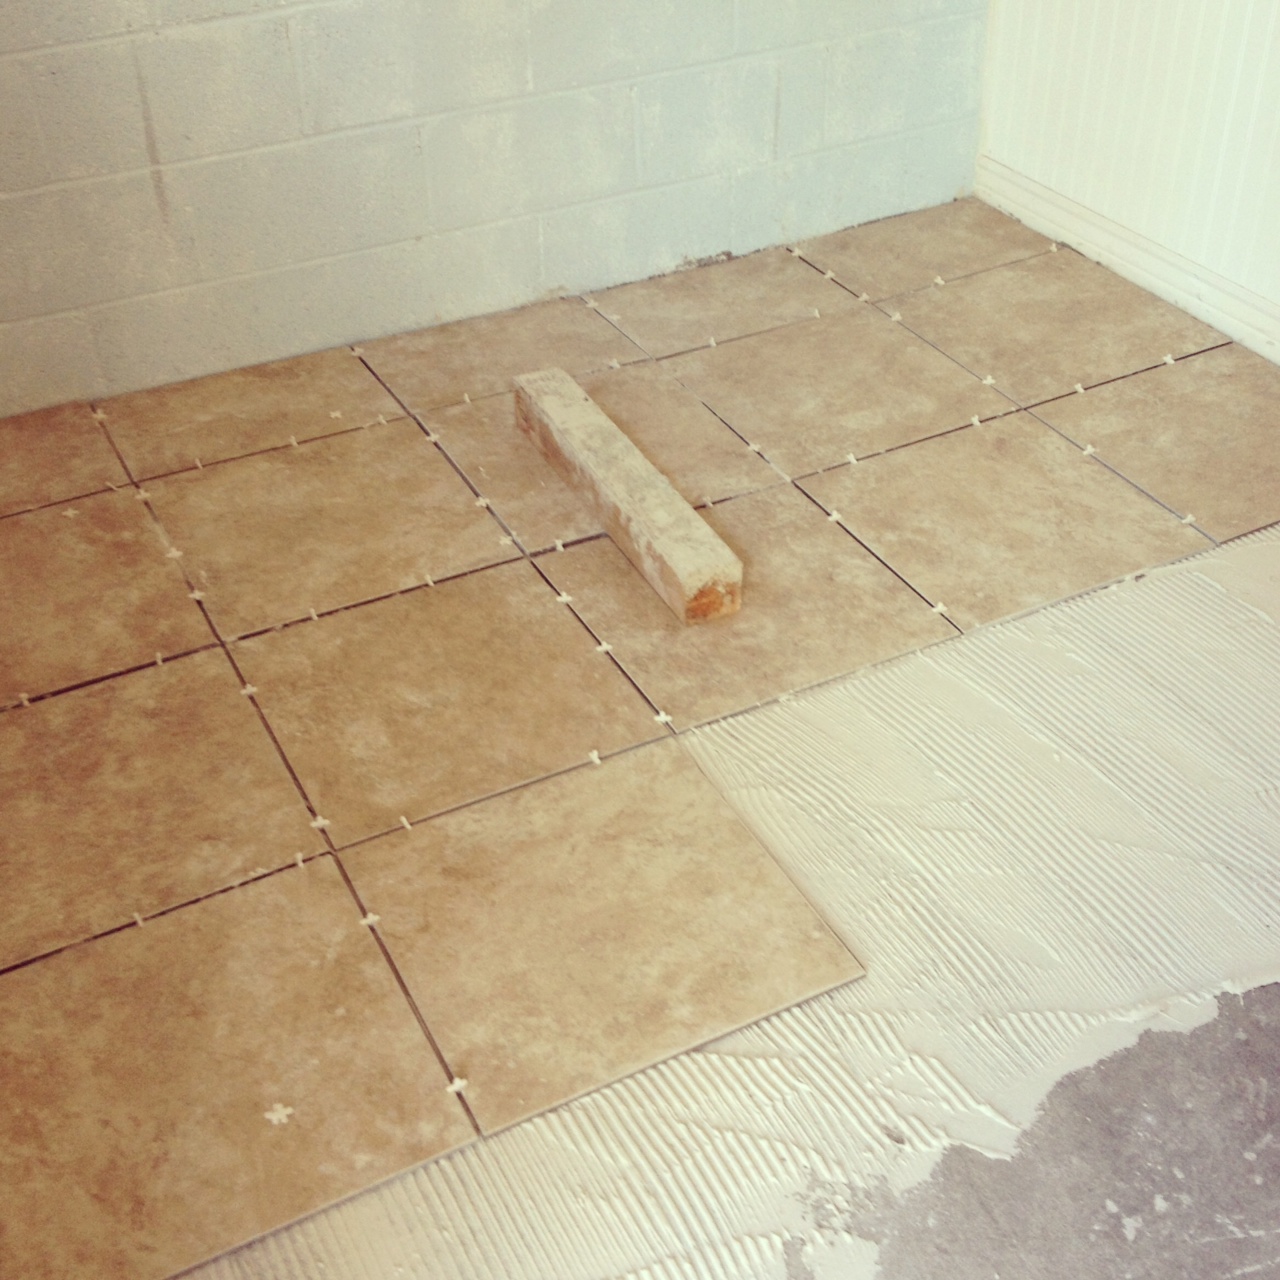
Admiring our handiwork!

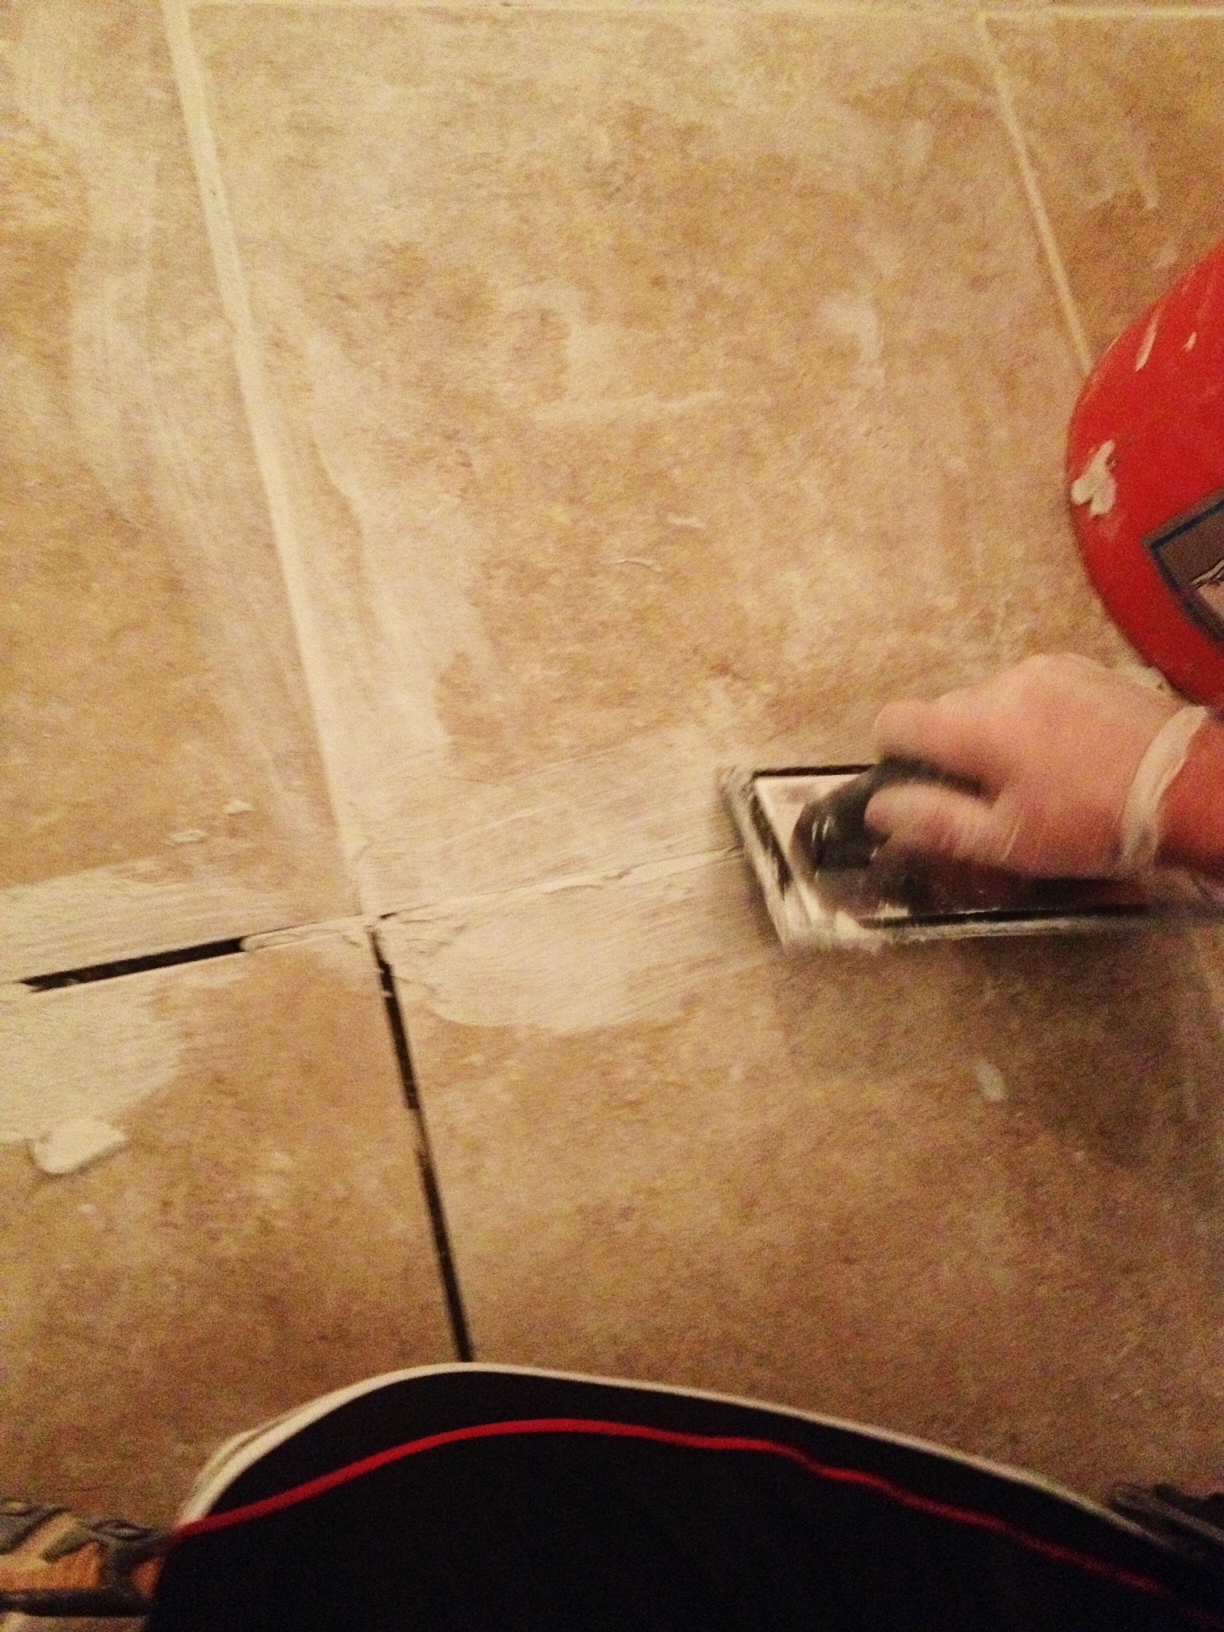
After church on Sunday, once the boys were in bed, we did the grouting. Jesse spooned out the grout with a float, and I followed about 10 minutes behind with a sponge.
…approximately 10 years later….

And then, we stepped back to admire our handiwork!
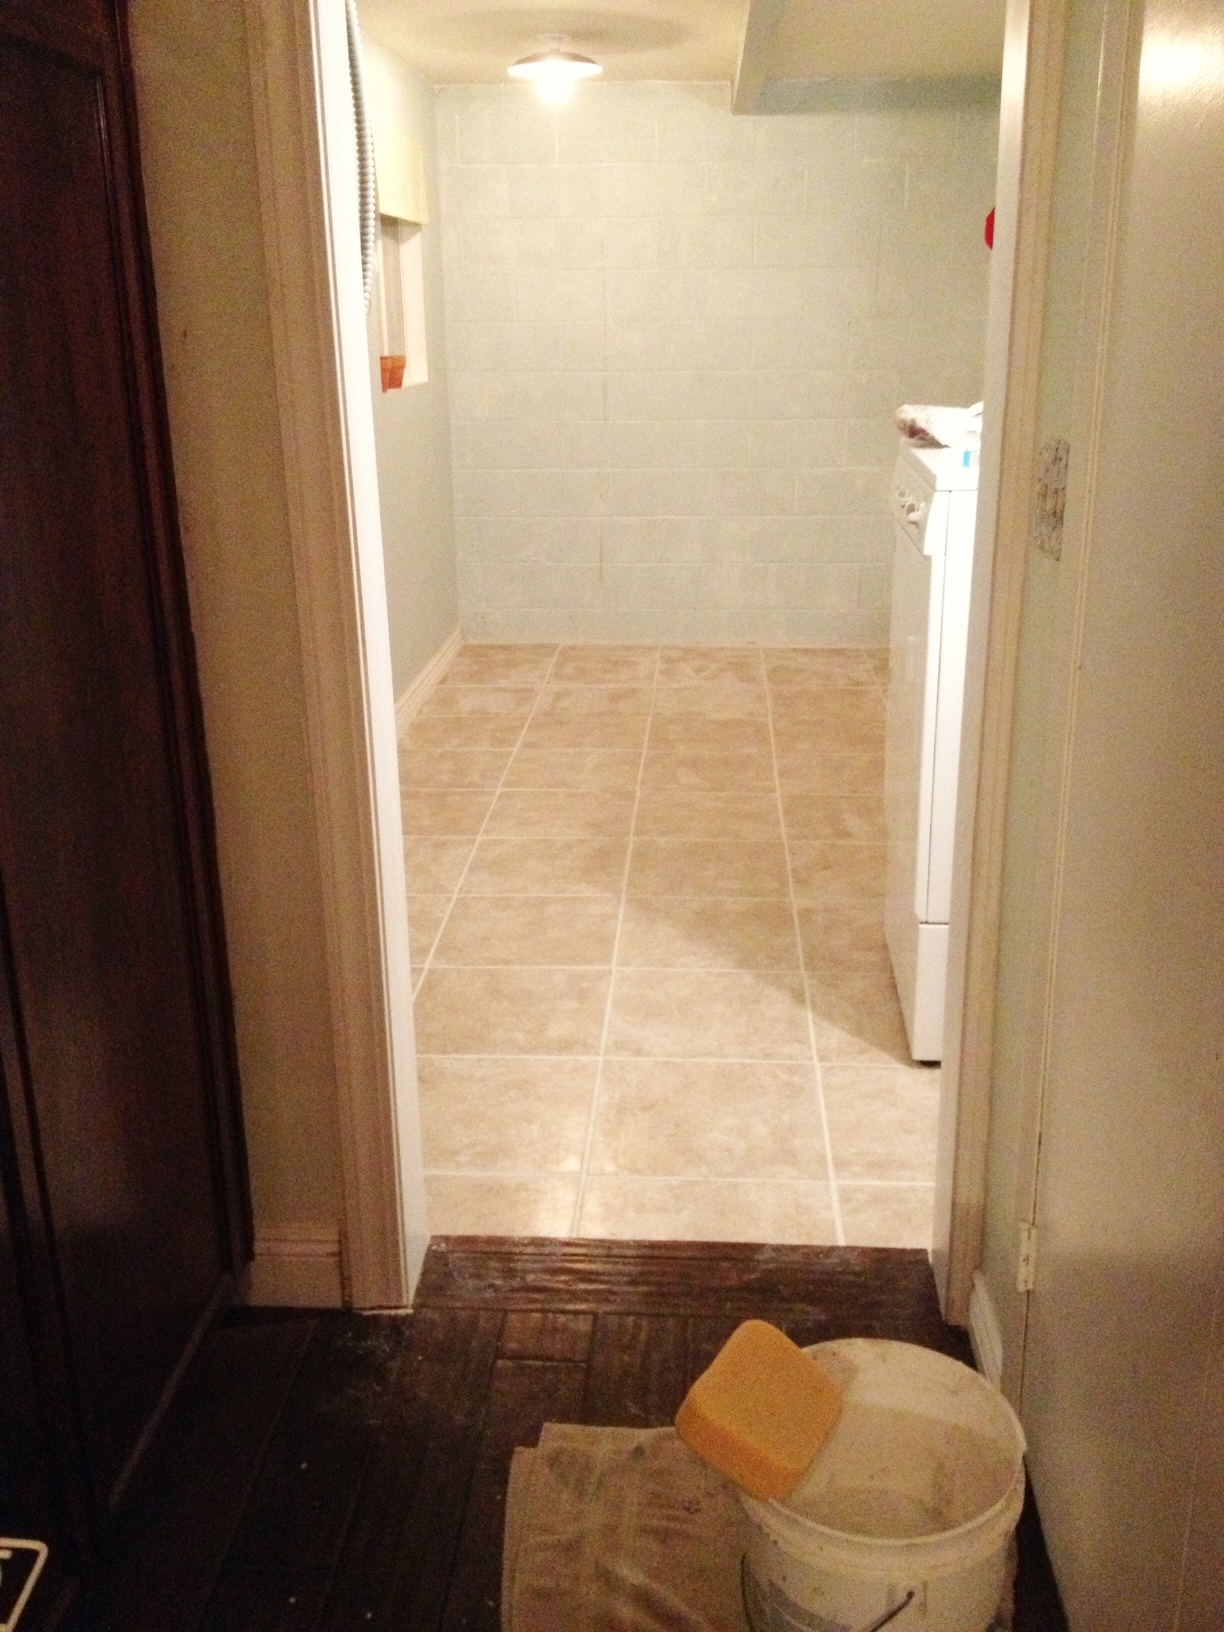
Once the floor is fully dry, we’ll be moving all the furniture back in. I’ll have pictures of our finished laundry room up by Tuesday! Stay tuned!
Related posts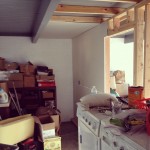 Laundry Room Floor Part 1 |
 Laundry Room Reveal– The Tour |
 to “pine” for |
 What’s Your Spring Cleaning Routine? |
It looks GREAT!!! Don’t forget to seal the grout, it’ll help in a high traffic area like that.
Steph, we definitely are going to seal it, but the directions say to wait 3 days, so alas, we’ll have to move stuff again…
Awesome job! Can’t wait to see the pictures once you move the furniture back in!
Thanks, Sandy! I’ll try to get them up tomorrow morning!
Looks great! Its probably a breeze to clean lol
http://yourbeautyfixreviews.blogspot.com/
Haha, I’ll guess we’ll find out!