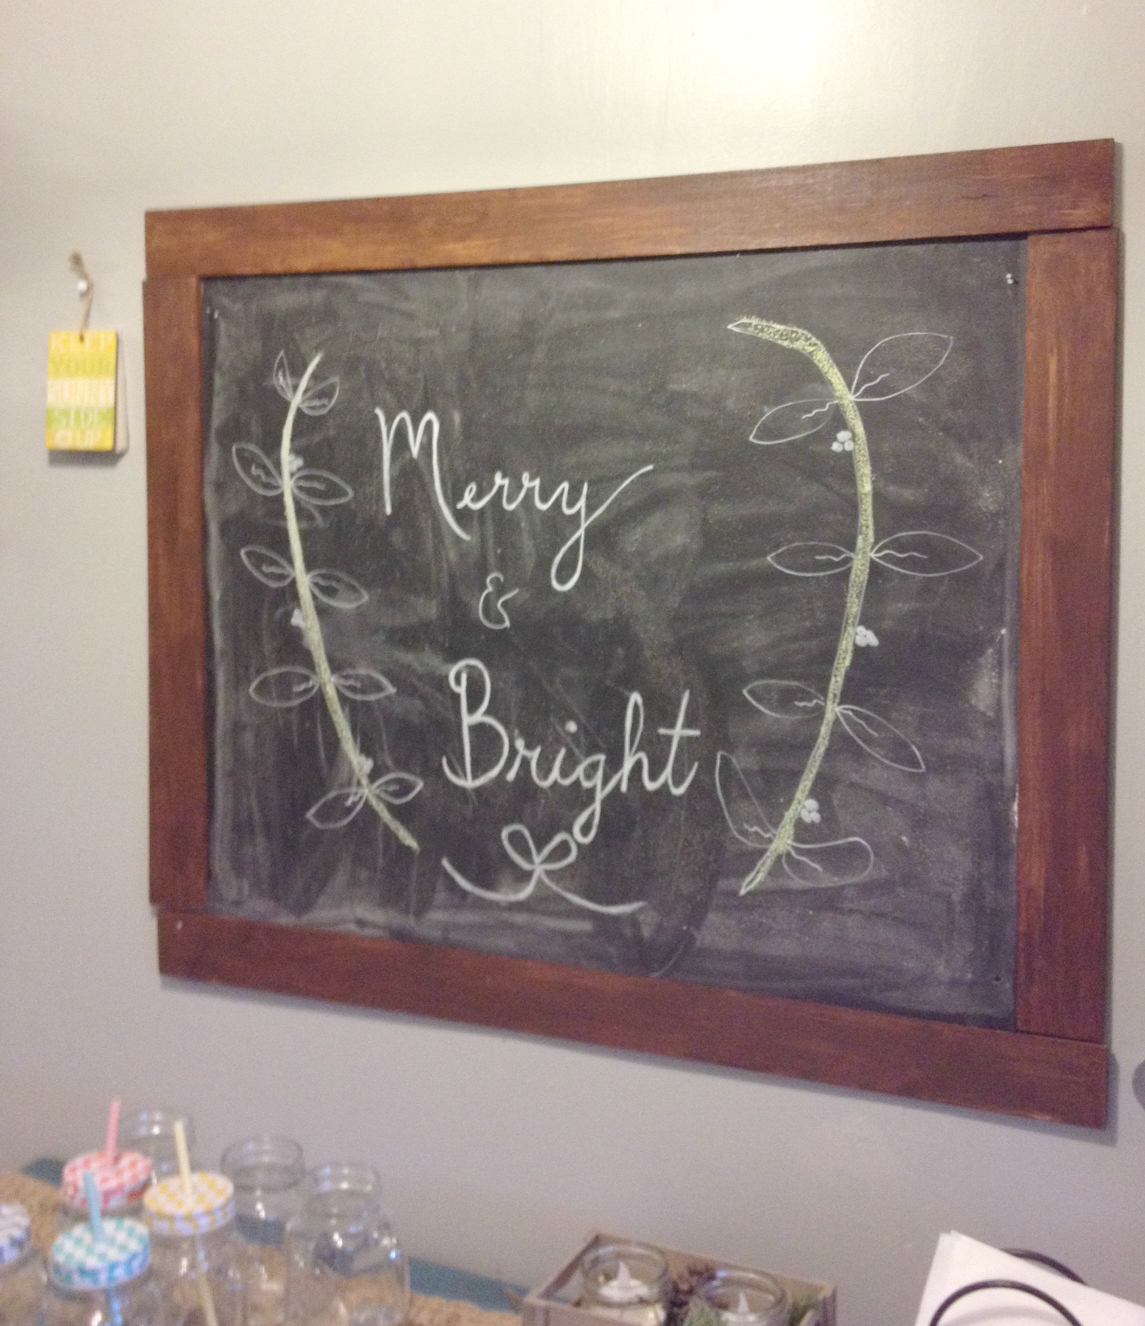
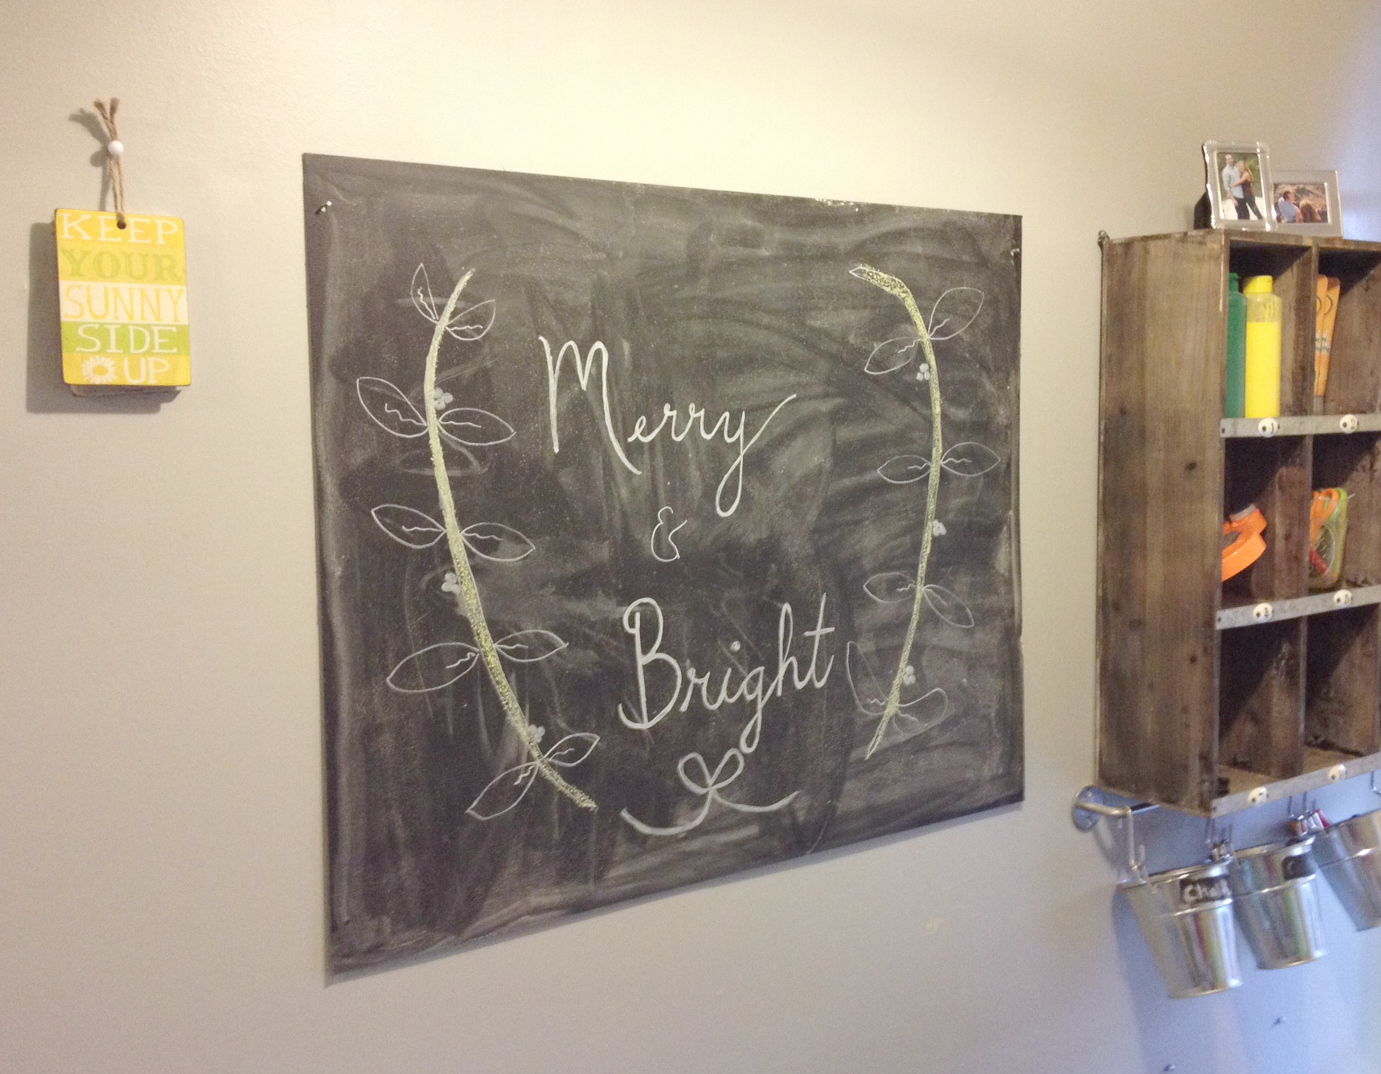
Before I get to the part where we re-arranged our entire town home in order to make it livable for the time being, let me show you the cheap Wall Chalkboard that I made for under $20. I’ve always loved the idea of having a giant chalkboard in the eating area for drawing menus and making seasonal art, and one day my brain had a flash of inspiration about how I could repurpose things around the house.
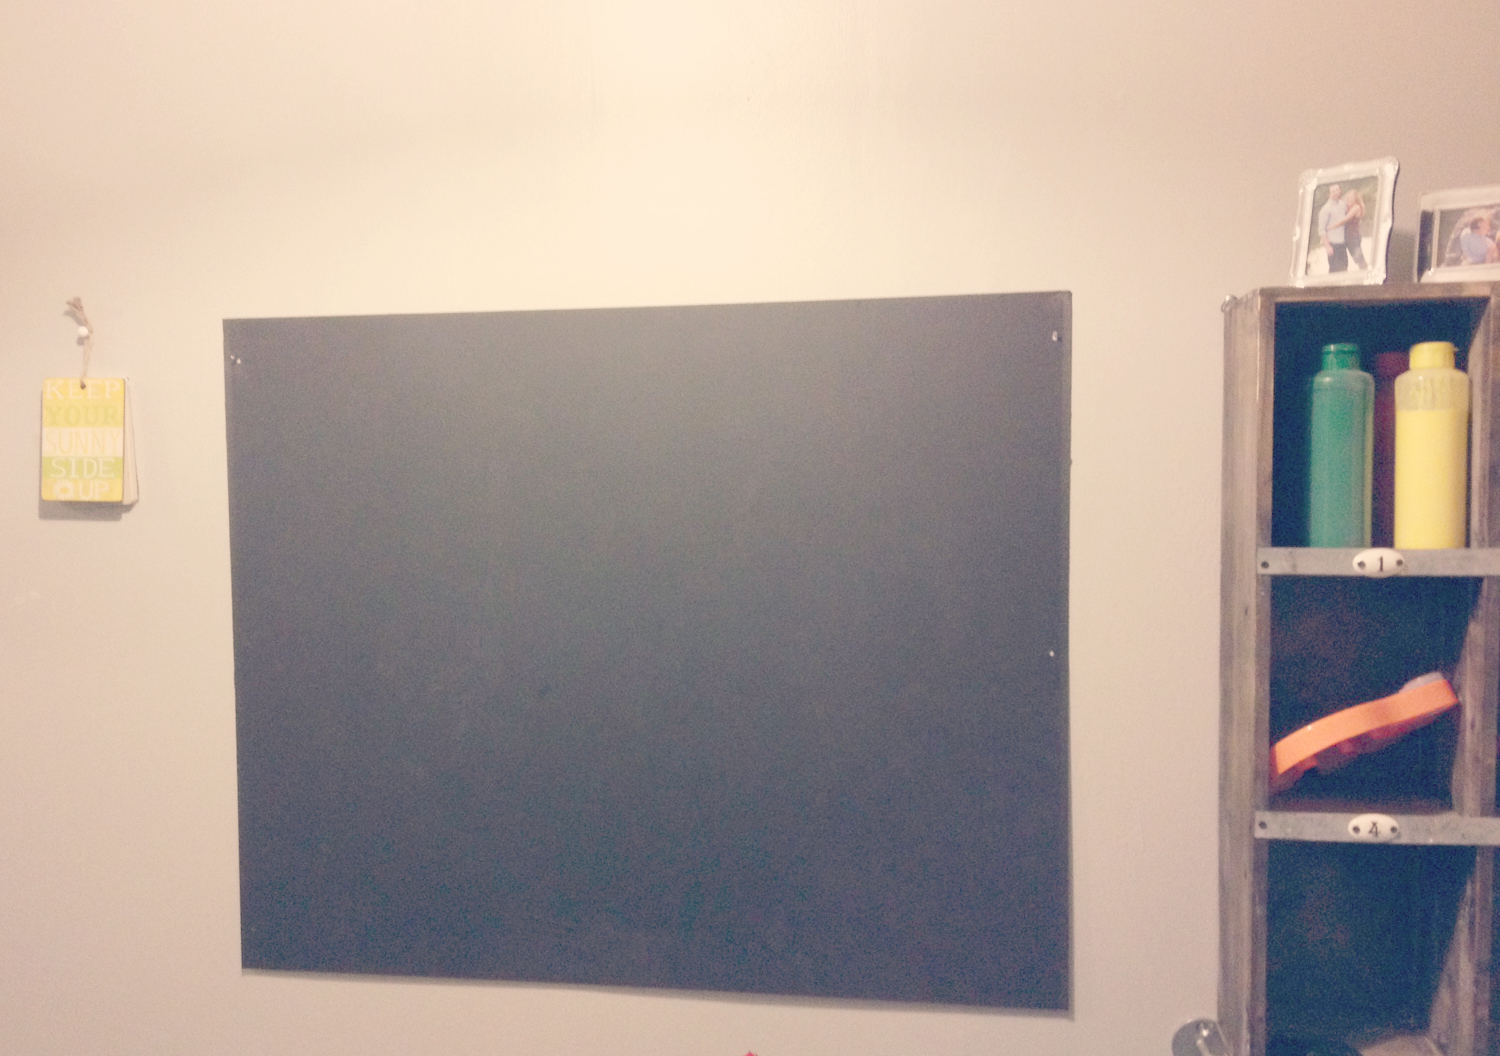
See, for instance, this old sheet of metal? It was originally stuck behind the stove as a backsplash, but it was ugly and the paint was peeling off, so I had Jesse unscrew it from the wall. It’s been sitting unused in our sunroom for months now. 
I turned it over and gave it a fresh coat of chalkboard paint. Jesse then used the nail holes to hang it into the wall. It’s very lightweight, so it only took two small finishing nails– nothing heavy duty that would damage the wall.
After waiting 3 days for the paint to cure, I primed the chalkboard by rubbing chalk all over it, then erasing with a Mr. Clean Magic Eraser (this little secret does the trick, I tell you!).
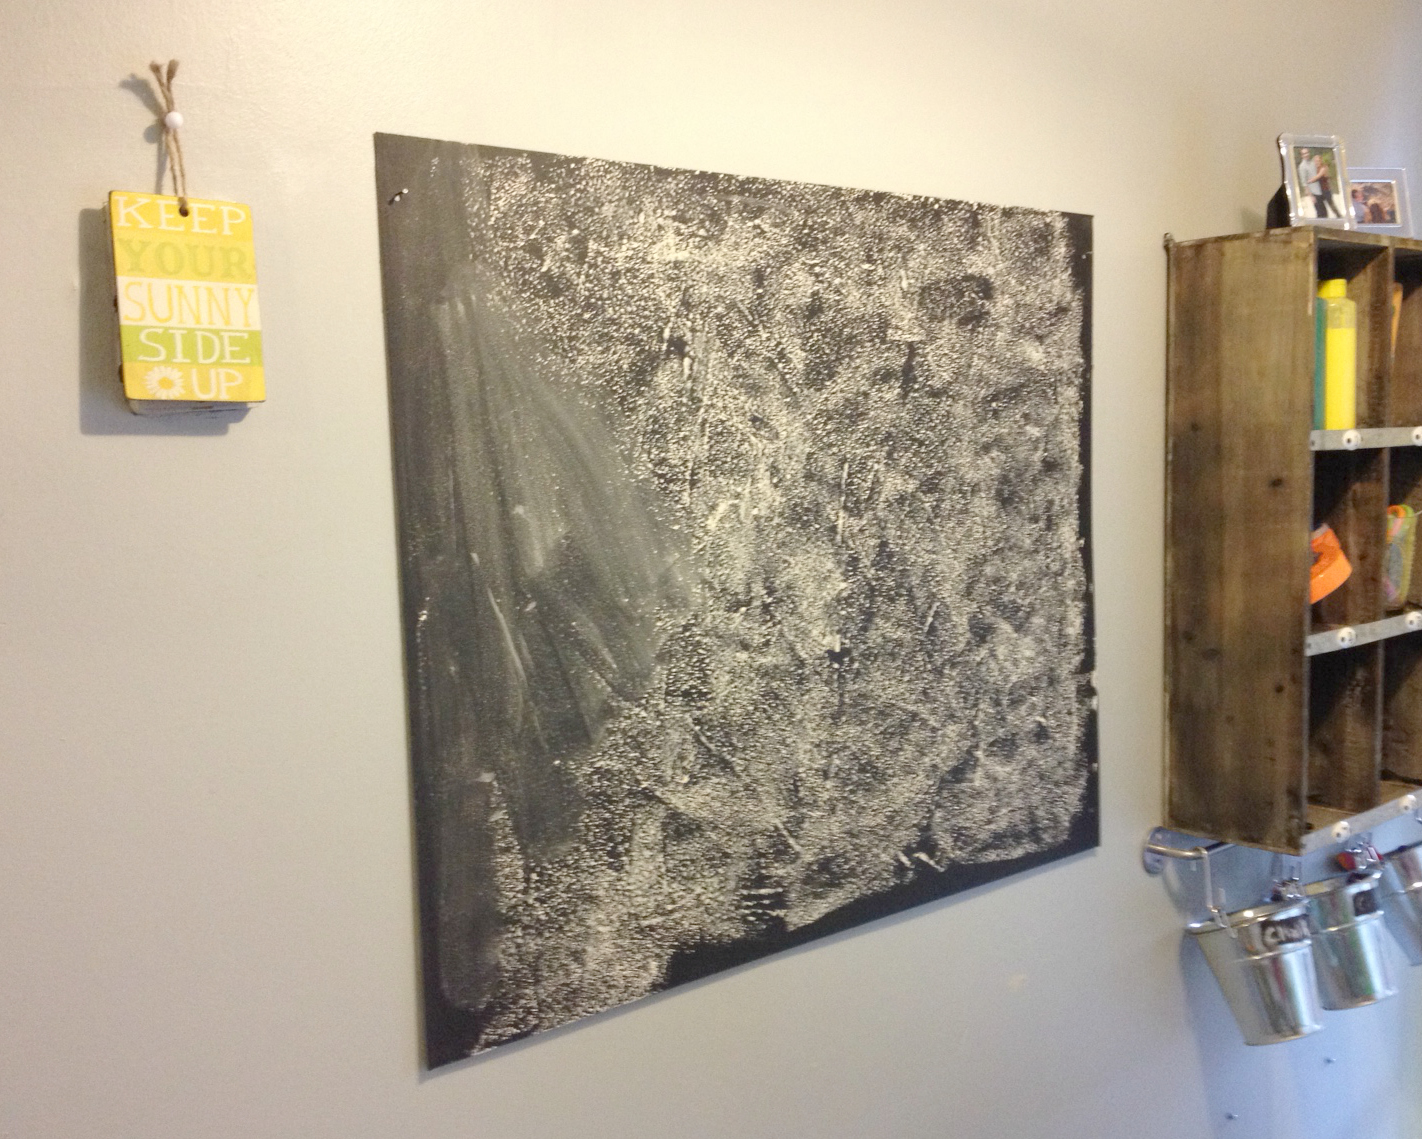
Because I was impatient, I went ahead and started doodling before adding the trim.
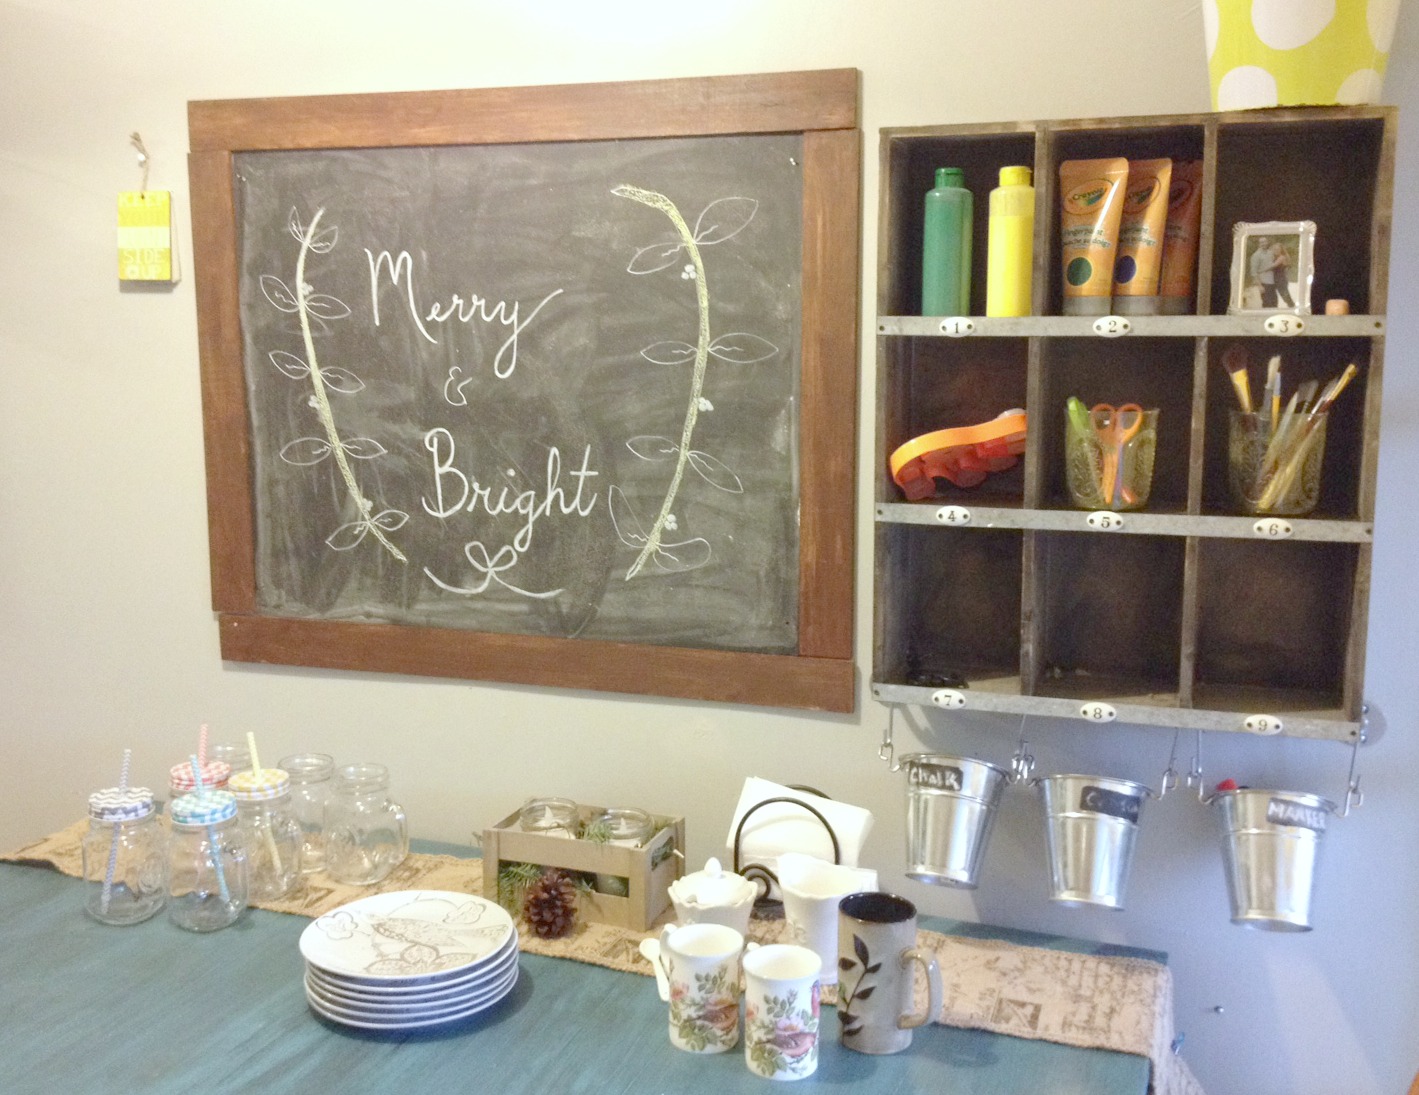
I cut four pieces of craft board from Home Depot for less than $10 (after cutting them to size in the store) and stained them using “Antique Walnut” that I already had. I then hung them using 3M strips instead of nails.

And…voila! Chalkboard in the kitchen! Isn’t she nifty?
 DIY Command Center |
 The Boys’ New Dresser |
 Our Texas Playroom |
 House Tour: The Nursery |
I did something similar to create an art space for my kids at our house and they love it. I’m actually using it as part of our Advent calendar this year since the one I ordered didn’t show up :
http://www.ourcharmedlife.net/2014/12/our-advent-calendar-kwaj-style.html
Found you through the Let’s Be Friends Blog Hop!
Cheers, Amber at OurCharmedLife.net
We did our Advent calendar on a different chalkboard! 🙂