Our Cone Zone

  • Home
  • About
  • Essentials
  • Contact
  • Sponsor

House Tour– The Boys’ Room

January 13, 2016 1 Comment

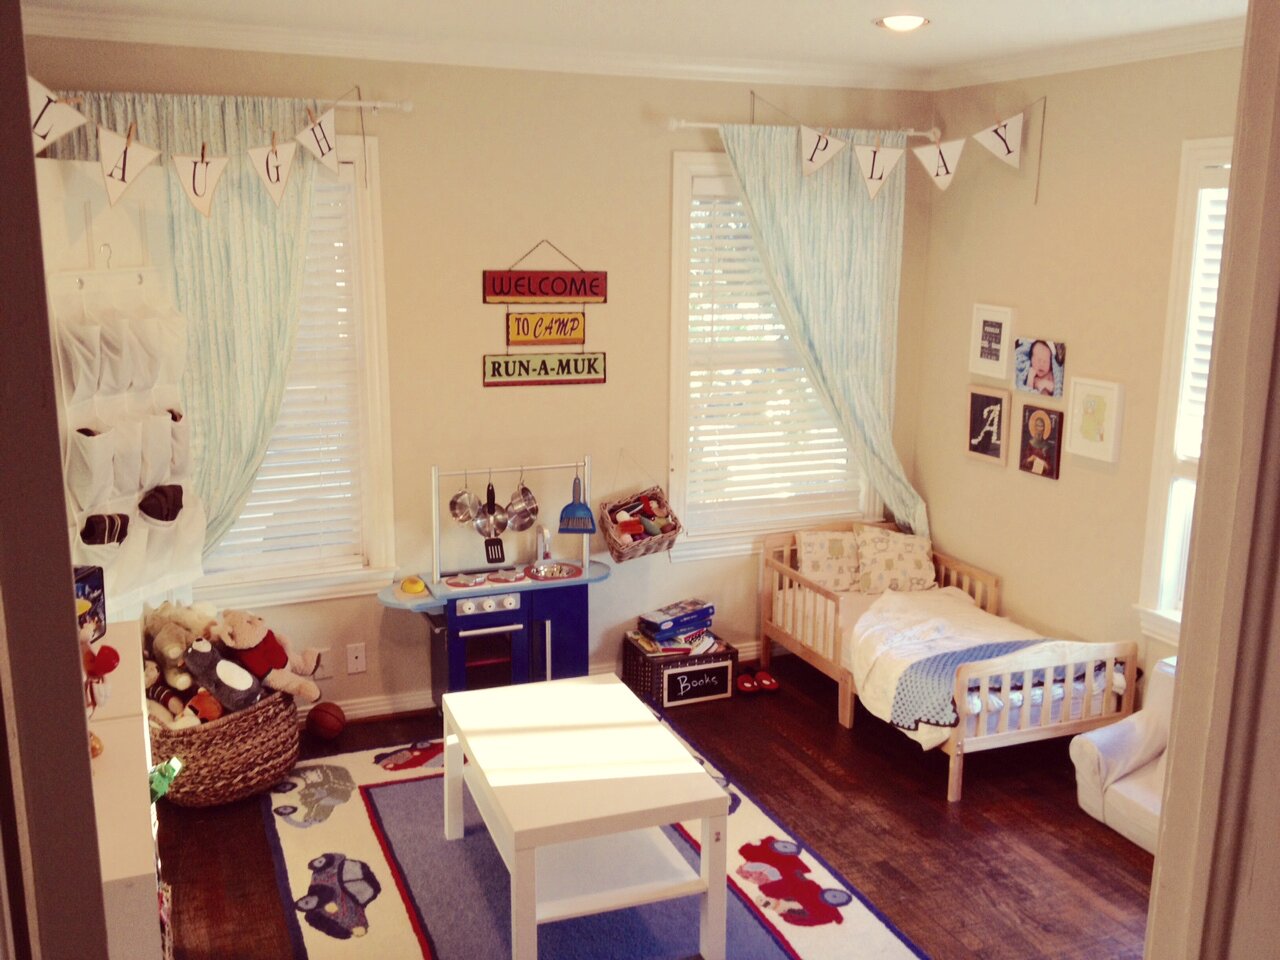
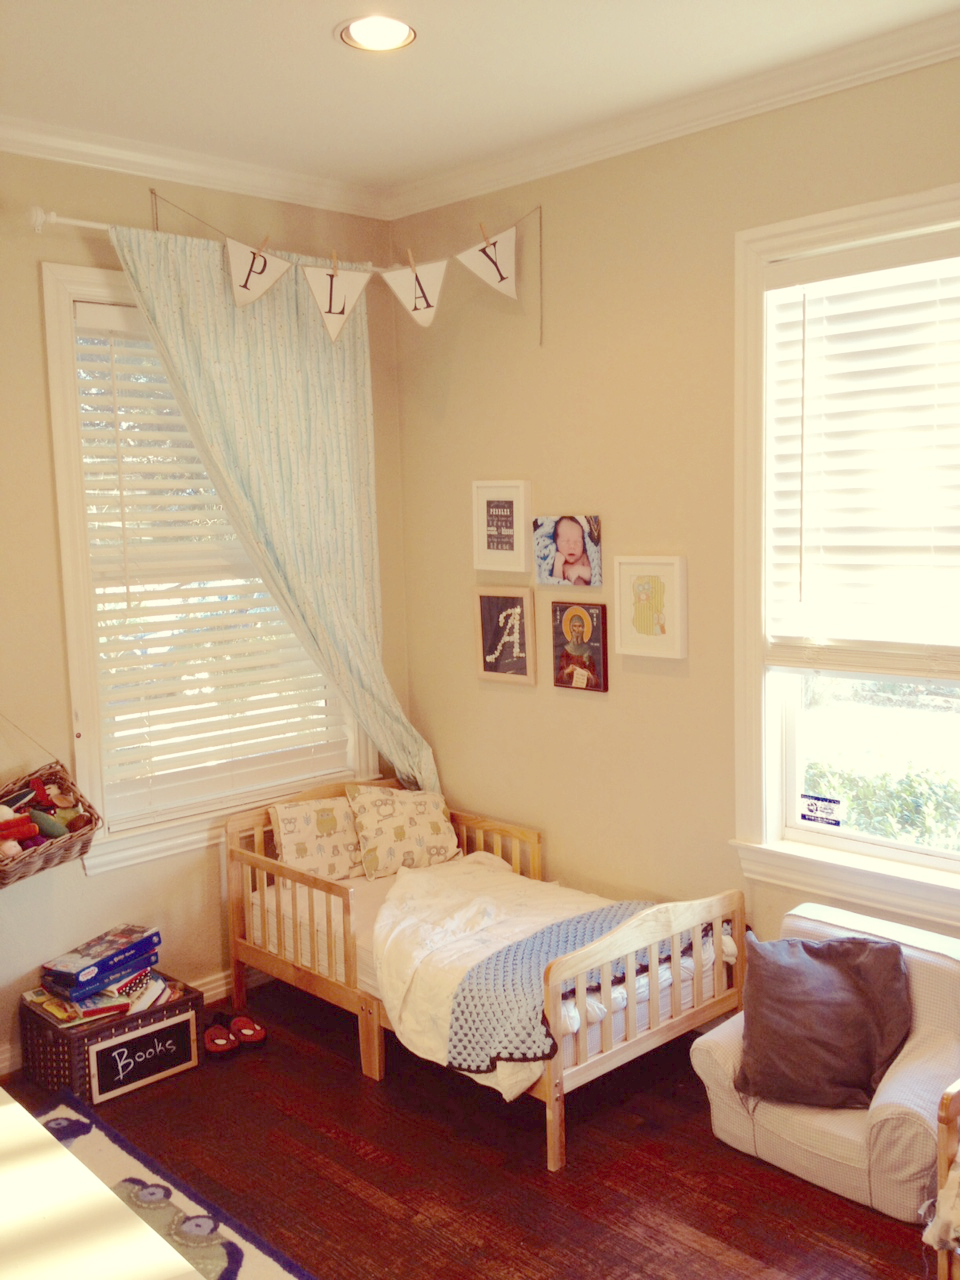
Boys Room with toddler beds

It’s been a while since I posted– because we were in SOUTH AFRICA for half of December! I have plenty of pictures to show, so stay tuned for that.

In the meantime, I finally decided to take pictures of the boys room, mainly because we just bought them bigger beds and the room will change drastically. I am using the transition to “real” beds (hint: we bought bunkbeds!) as an excuse to phase out some of the more “baby” decor, and replace it with boyish things. If you are looking for trailers for sale then you could decorate it this way as well.

But I know that I will one day want to look back and remember this little room as it was for one year.

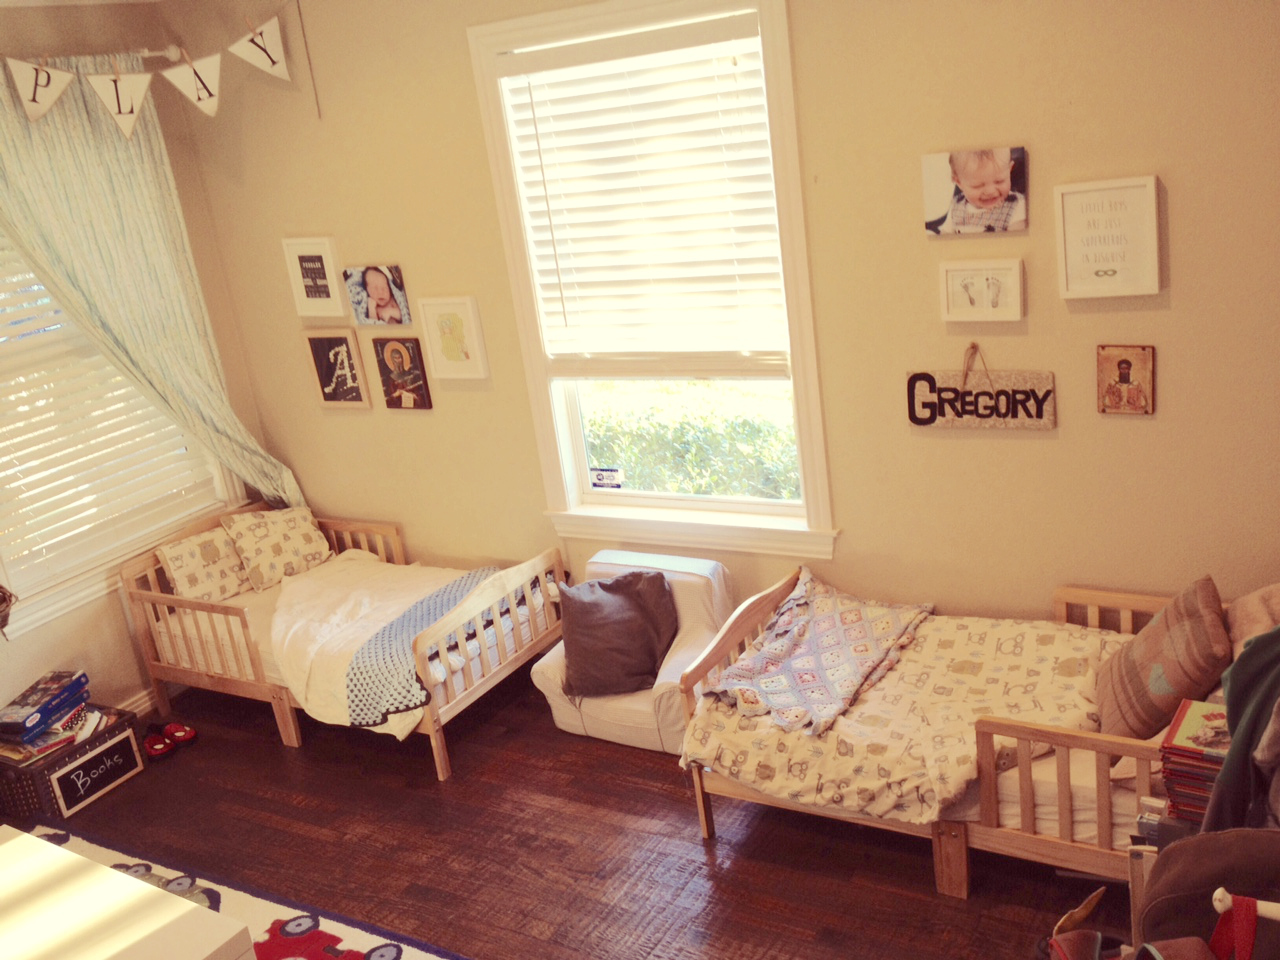
Their two little toddler beds fit so nicely along one wall 🙂

Boys Room Two Toddler Beds


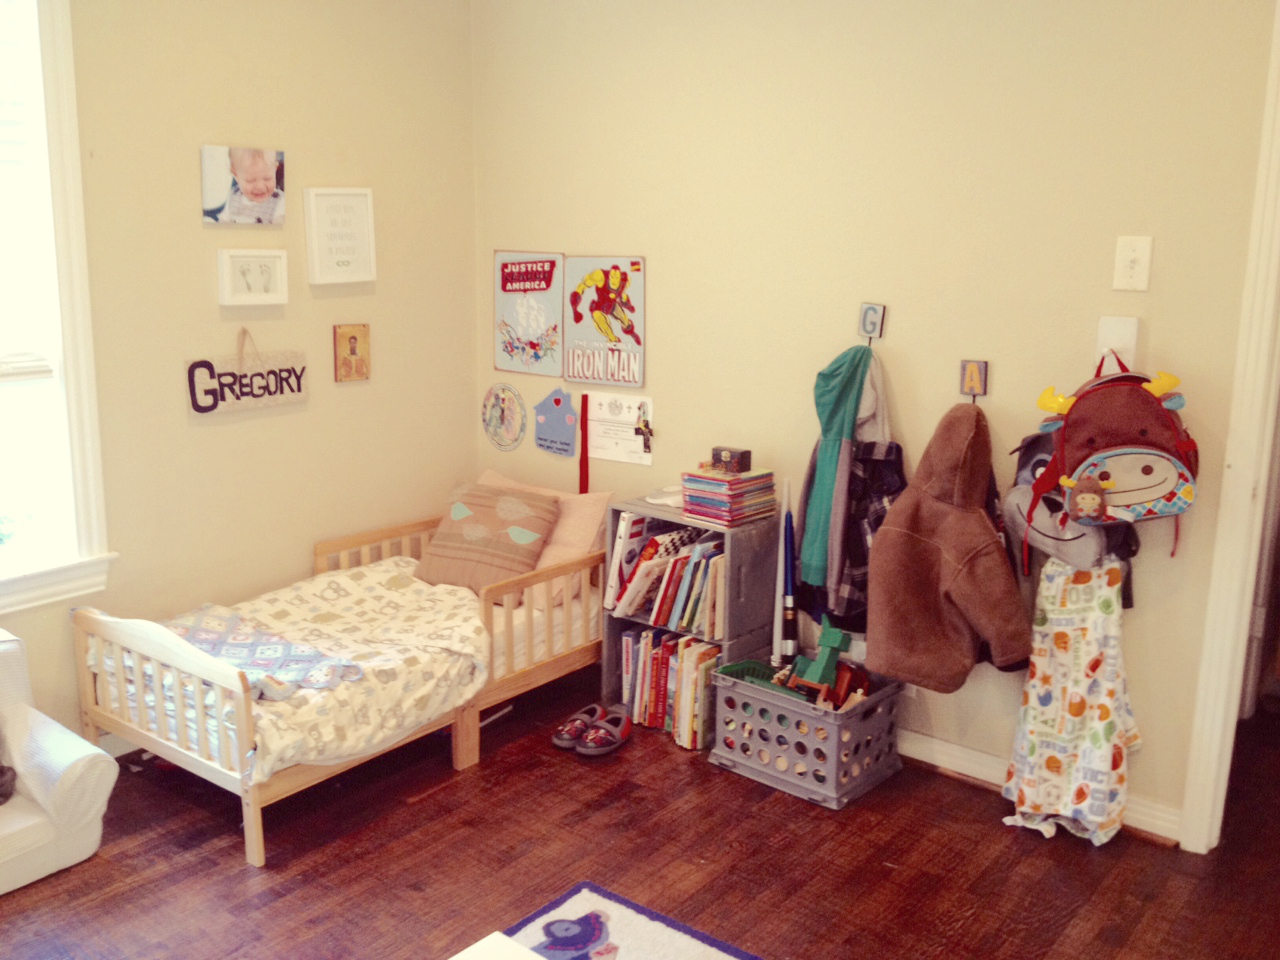
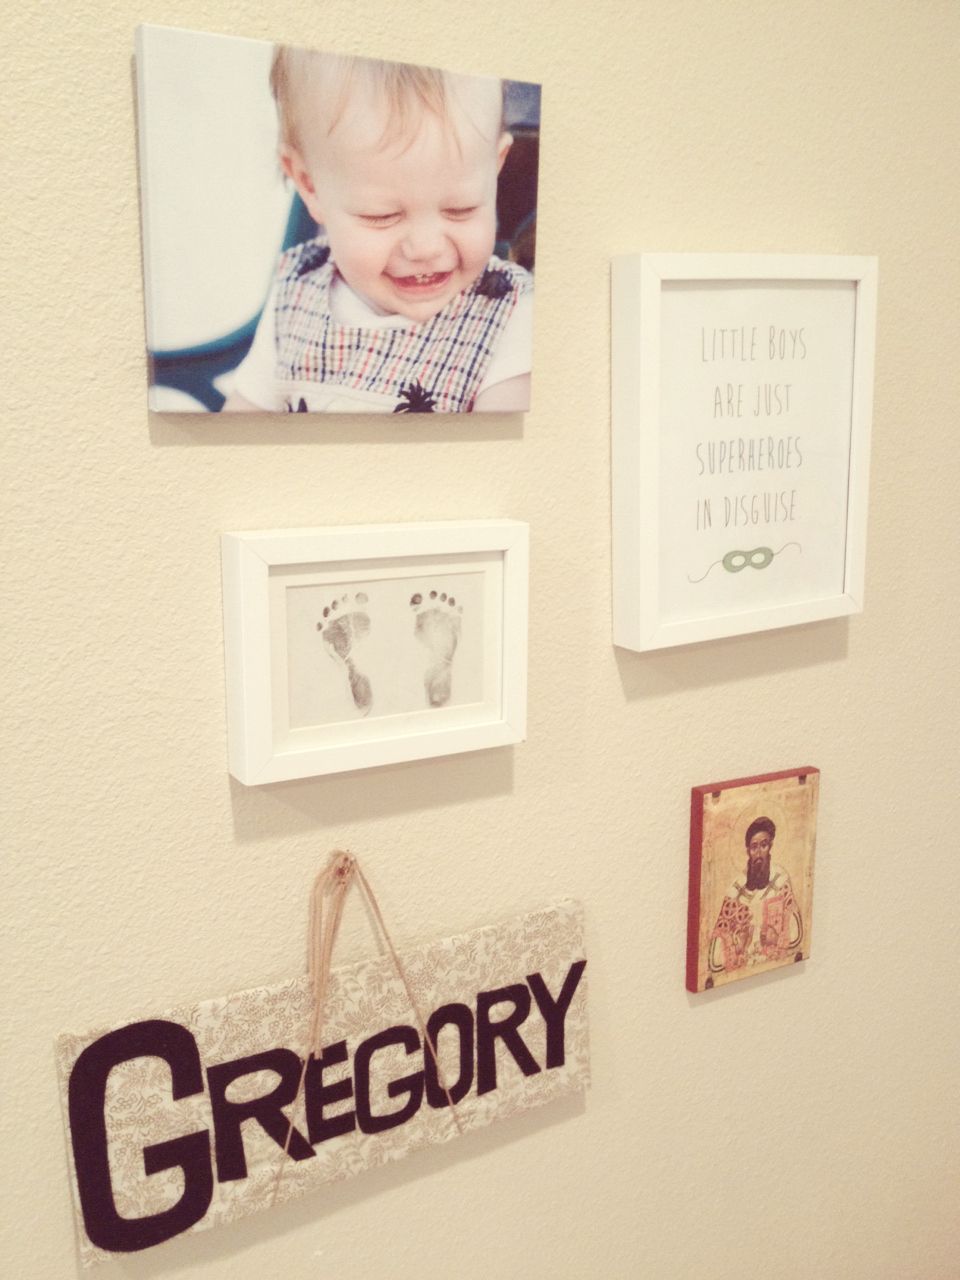
This is Gregory’s side of the room. While I have a few memorable things up on the wall (his baby footprints, his saint, etc.) I also gave him some freedom to hang a few of his “treasures” from Sunday School and his medal from soccer. Over on the wall, they each have a hook for sweatshirts, along with another set of hooks for bathrobes and backpacks.

Boys Room Gregory's Side

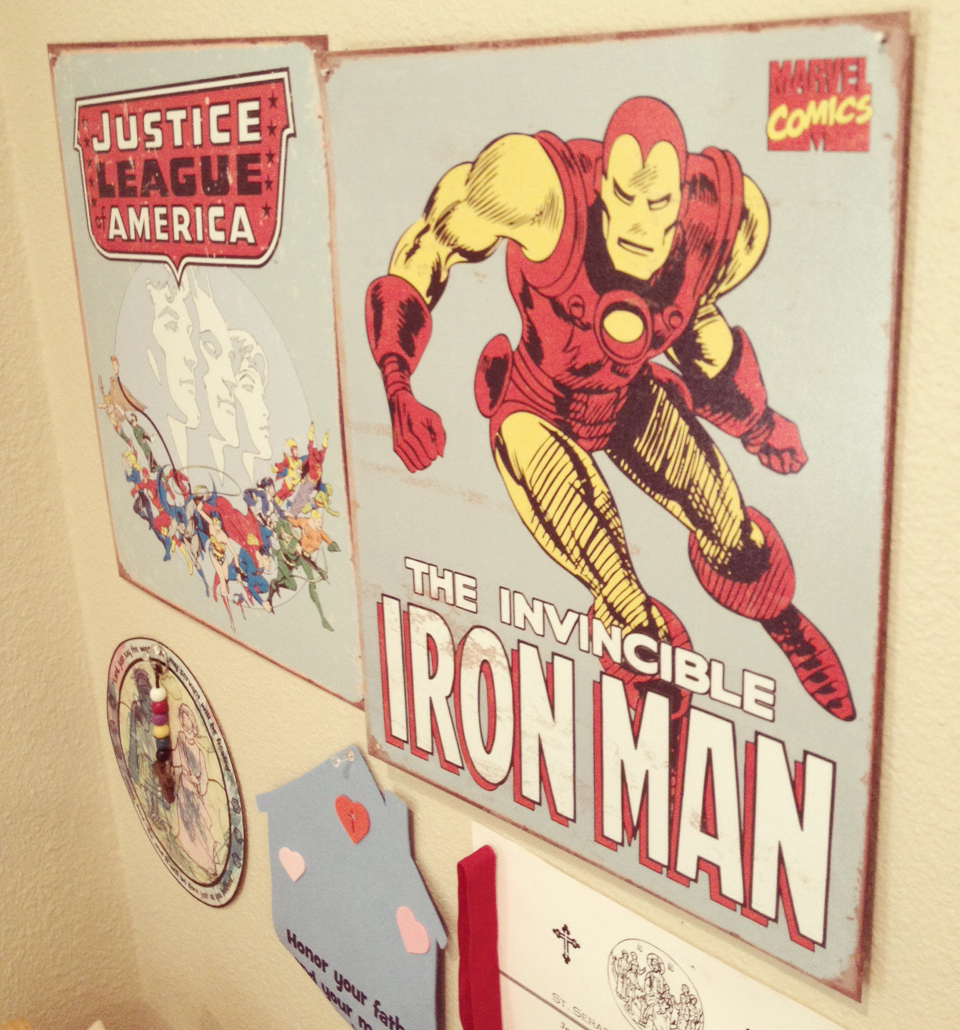
Boys Room Vintage Posters on wall Boys Room Footprints in frame


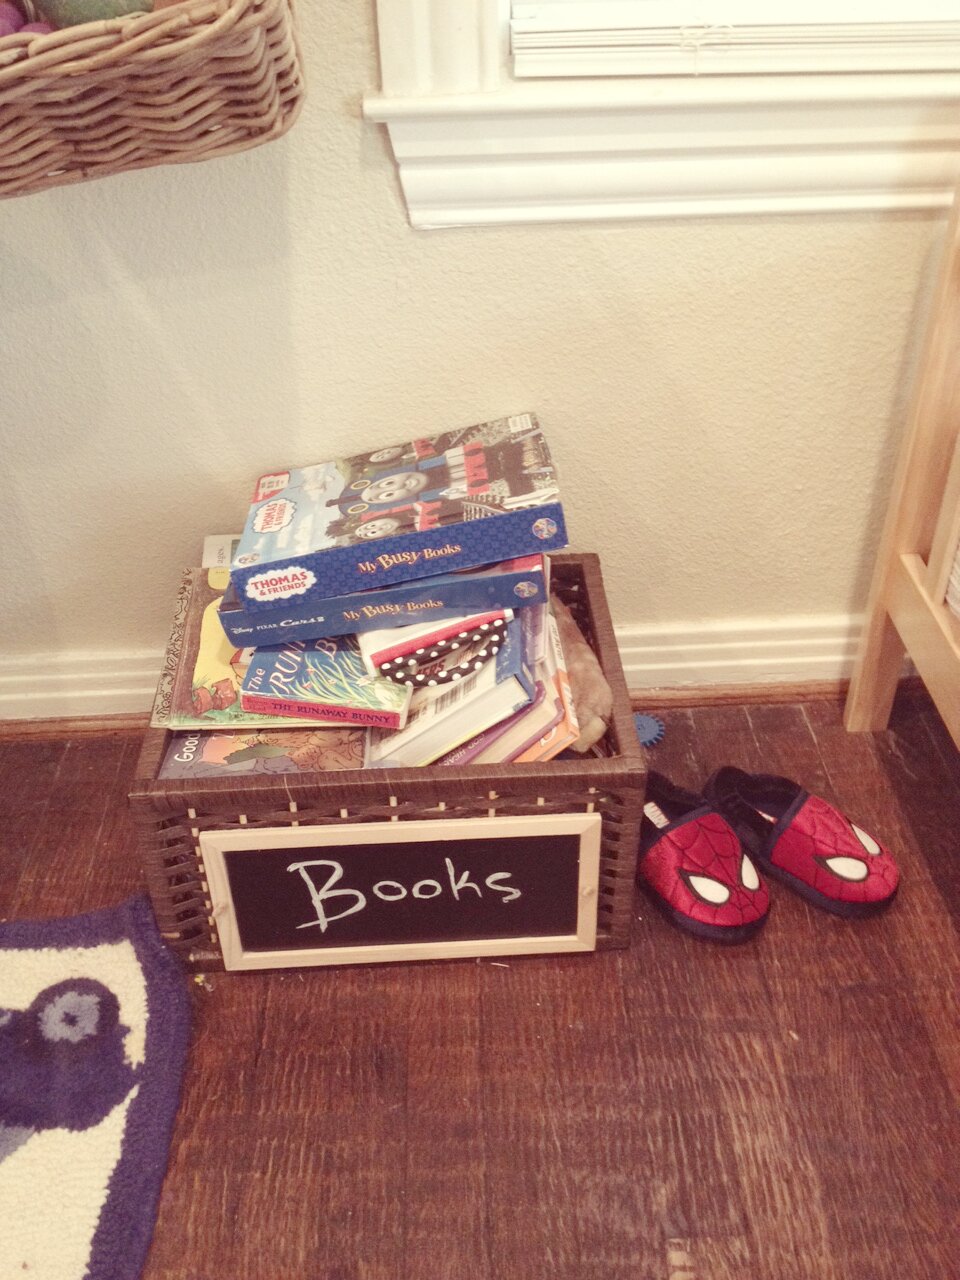
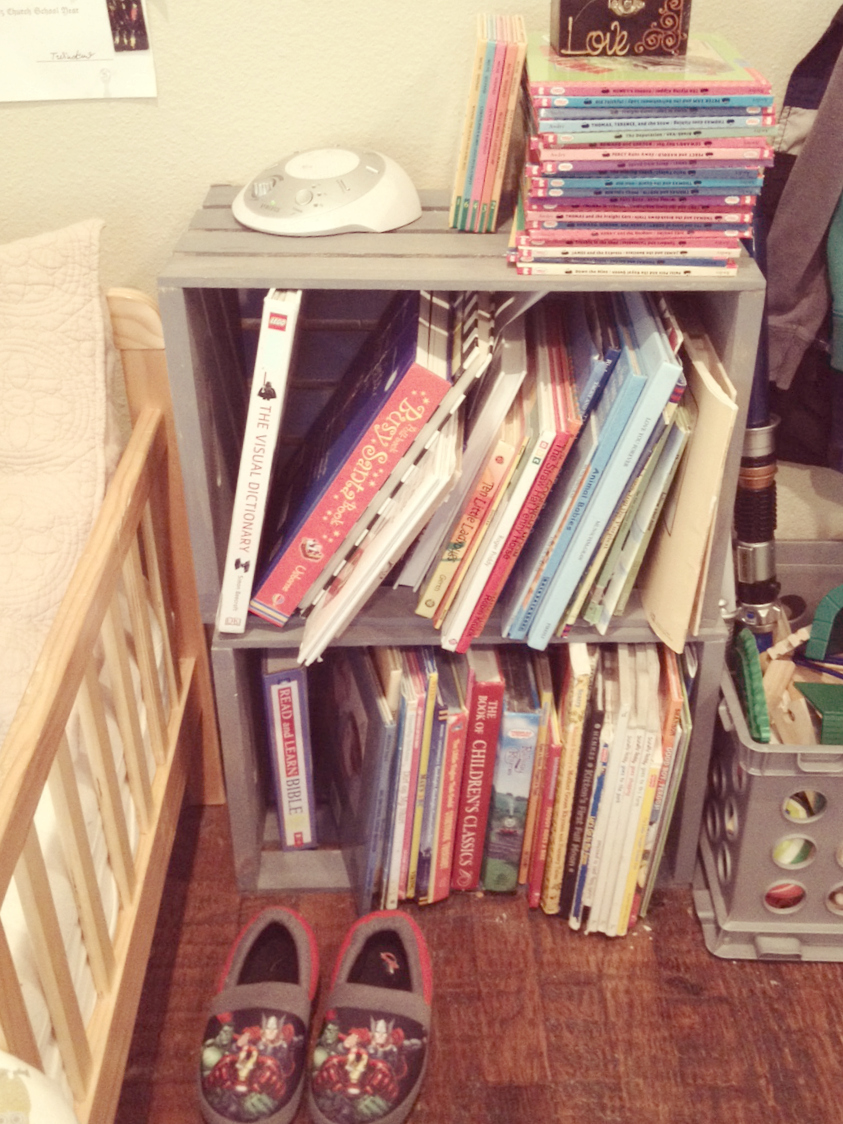
Next to his bed are a few crates housing his books. He loves sitting on his bed or in his little chair to read!Boys Room Crate Bookshelves
 

On the other side of the room is AJ’s bed and his books.

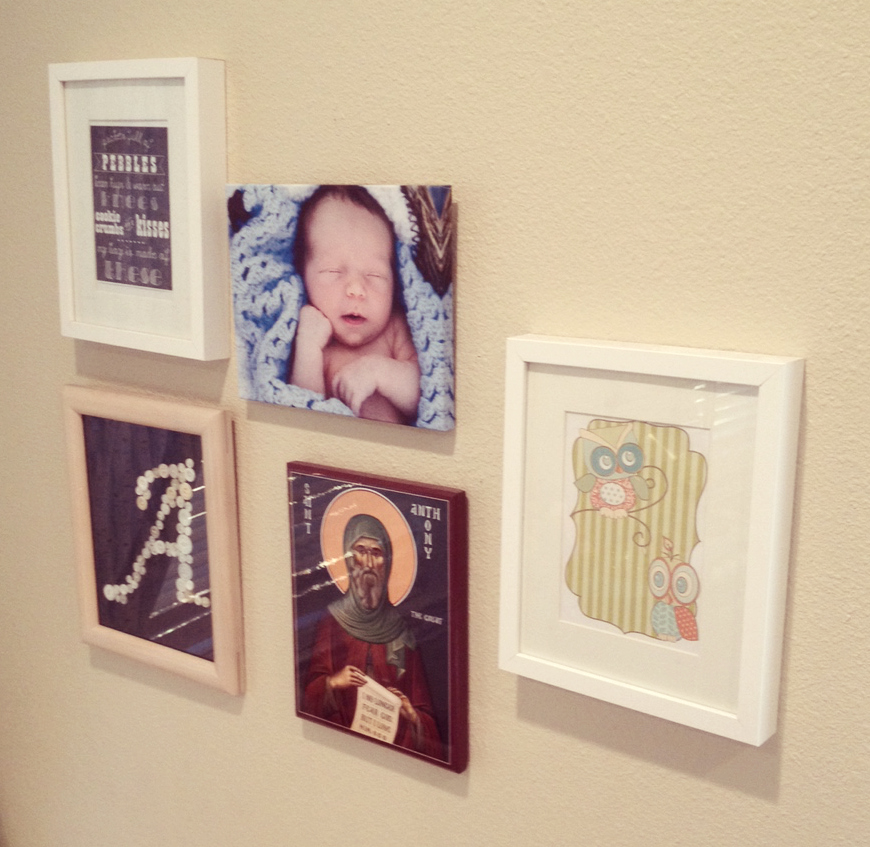
Boys Room AJ's side

Boys Room Pictures in Frame

Boys Room AJ's Books


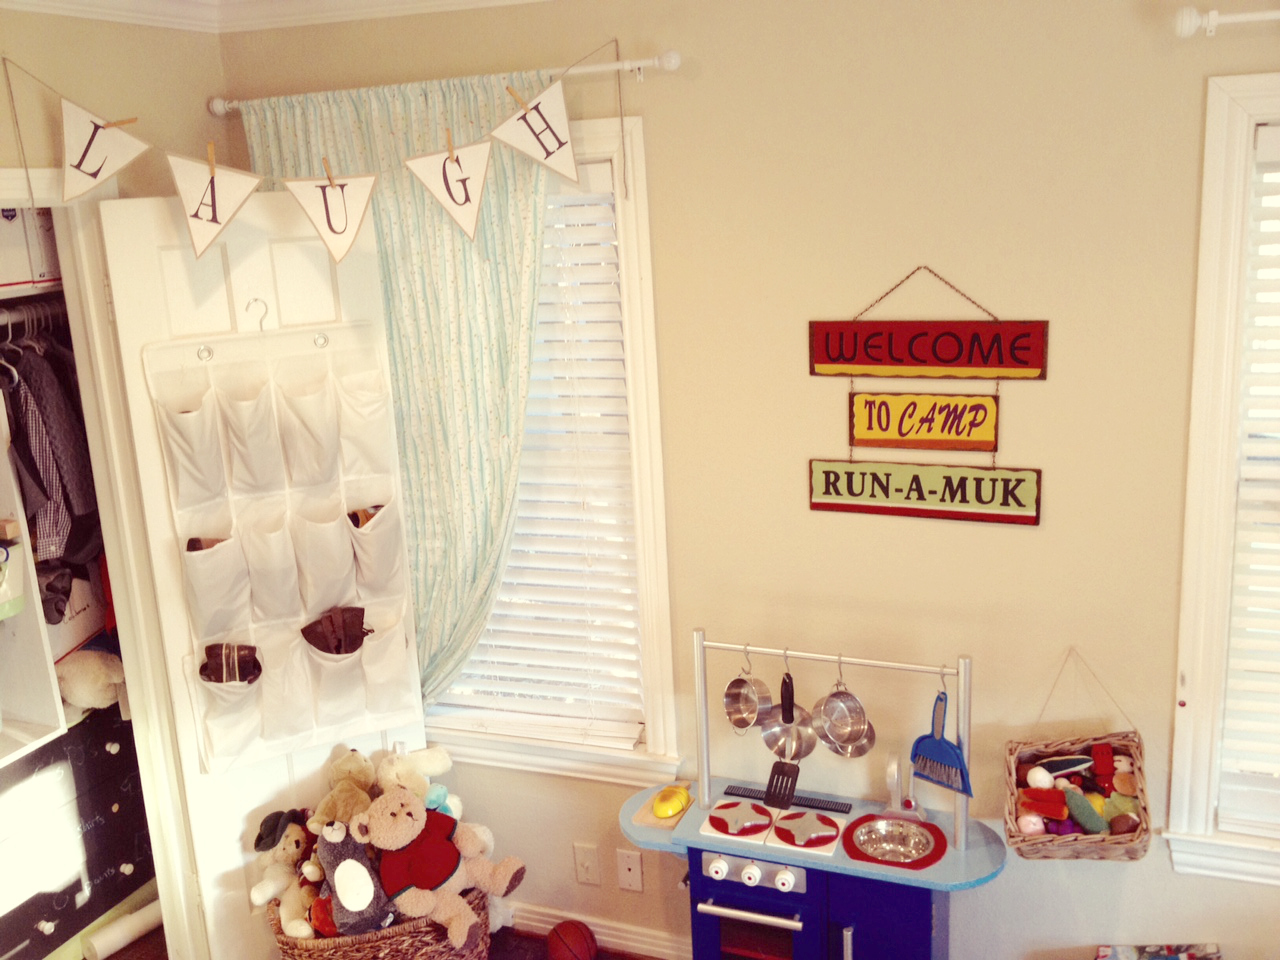
On the wall next to AJ’s side is the play kitchen and stuffed animal basket.

Boys Room Play Kitchen


A small peek inside their closet with the chalkboard dresser fronts:Boys Room Closet
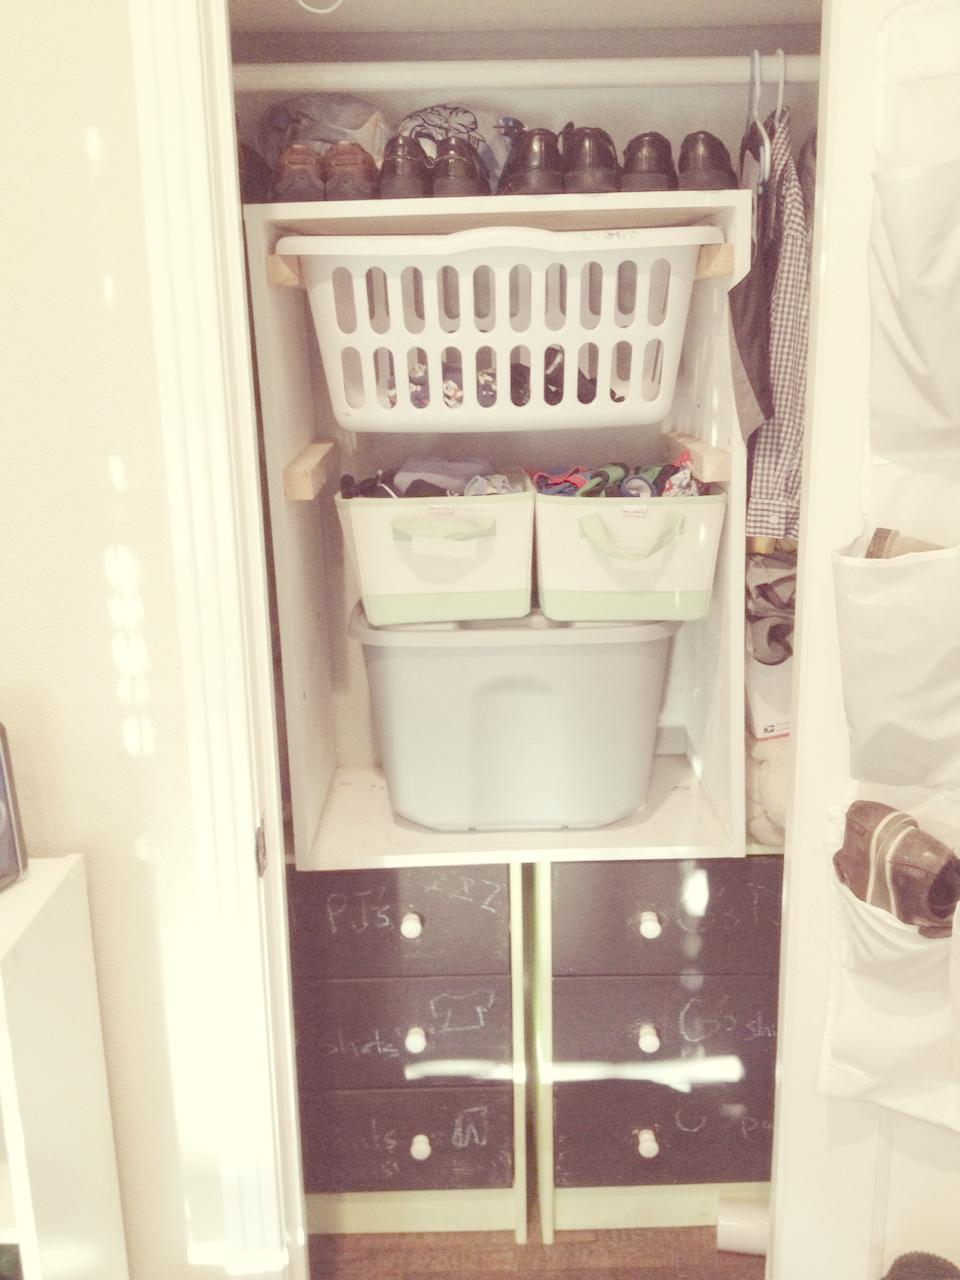
To install the closet and other doors, we had to visit this retailers website to get our choice of furnishments, and we weren’t disappointed in the slightest.

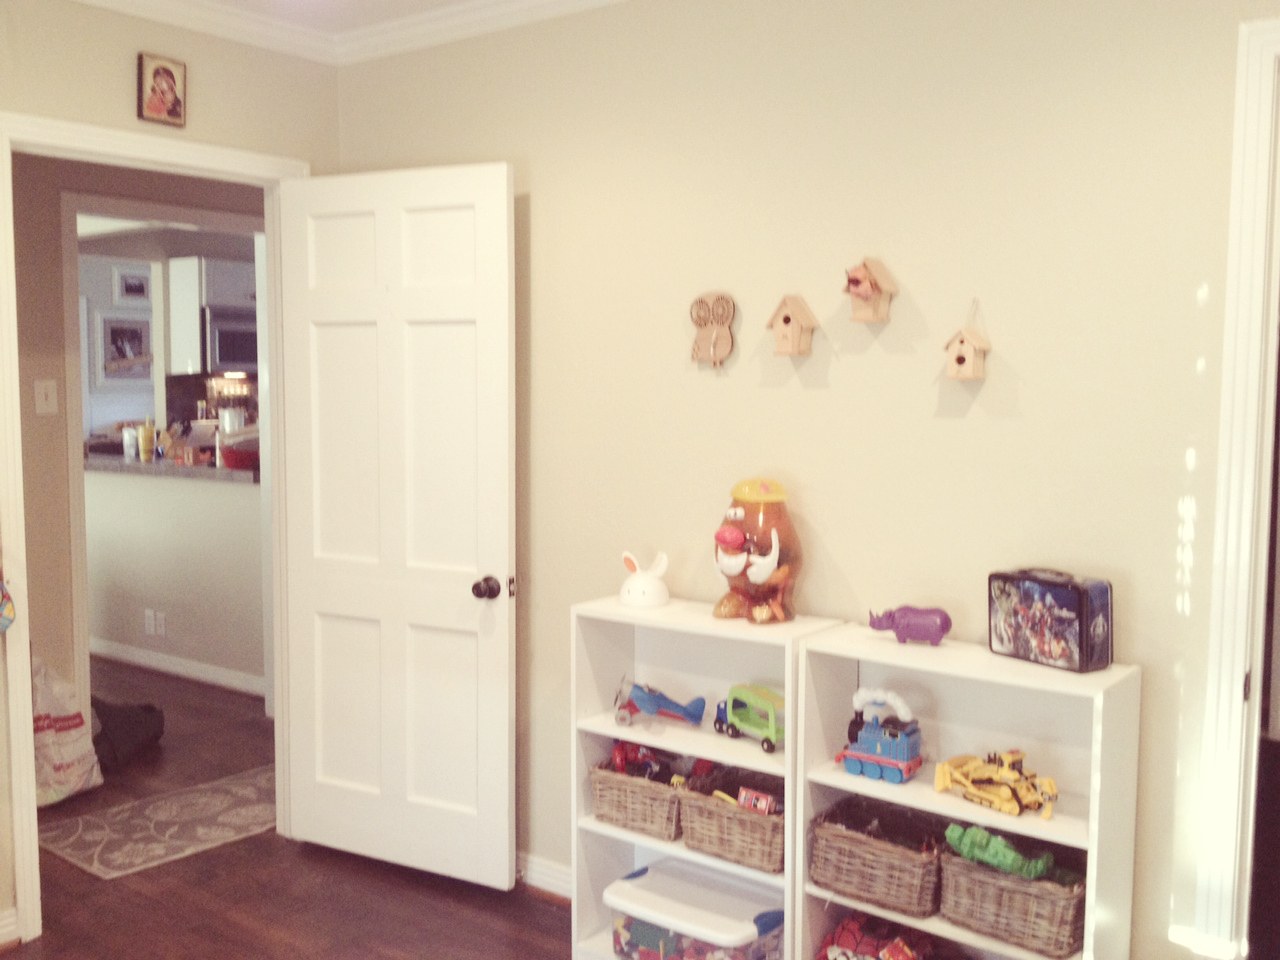
As I’ve explained in previous posts, we keep just a few toys out and rotate them. I stuck to this technique when we had our foster boys– my rule was that I had to be able to pick it all up in under 10 minutes, or there was too much stuff. Turns out, they play more happily when there’s less out at a time anyways!Boys Room Toy Shelves with Baskets


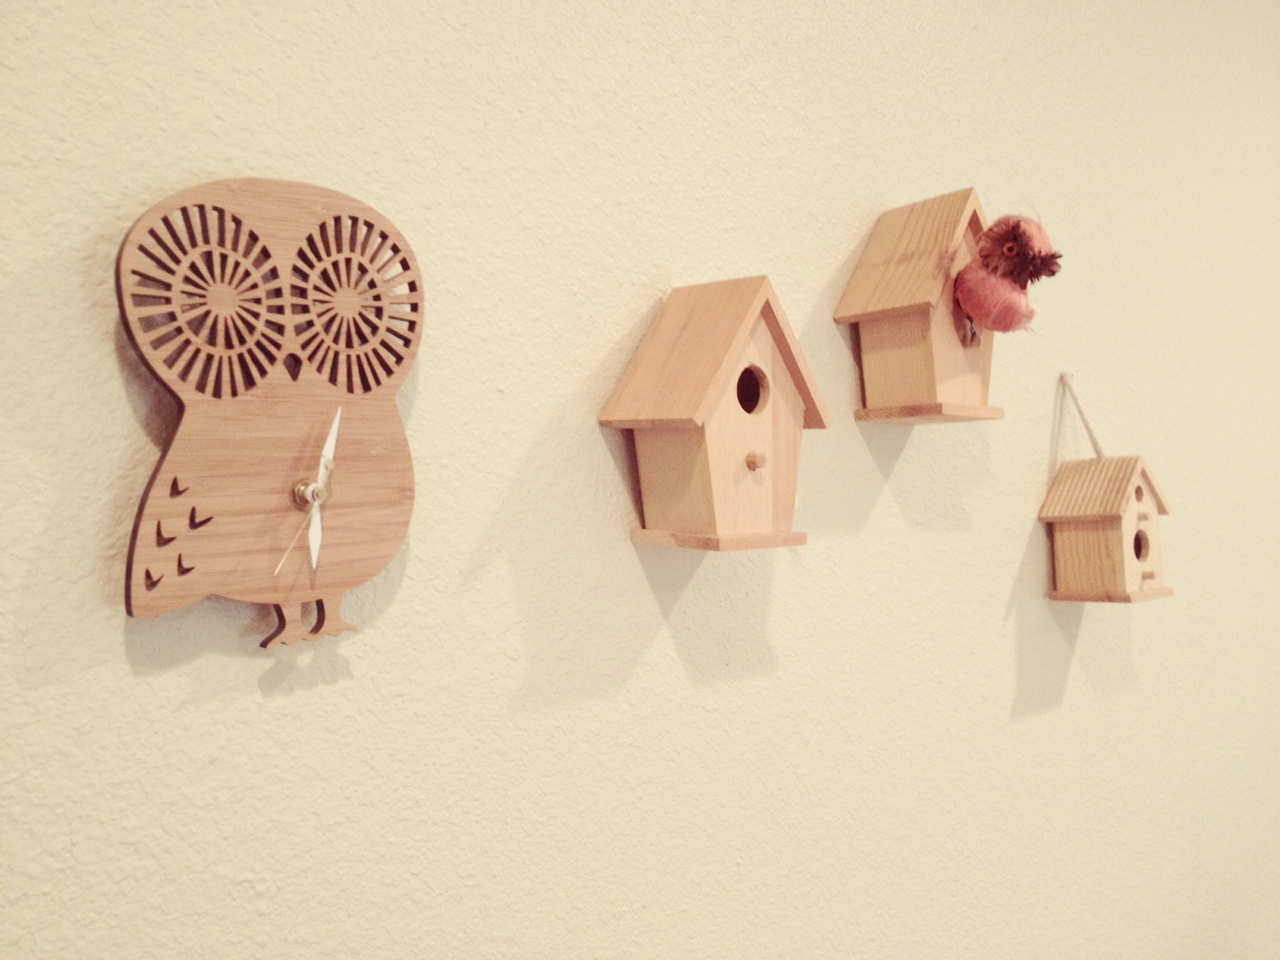
Above the toys shelves is some of the remaining Baby Room decor. Boys Room Owls on the wall
 

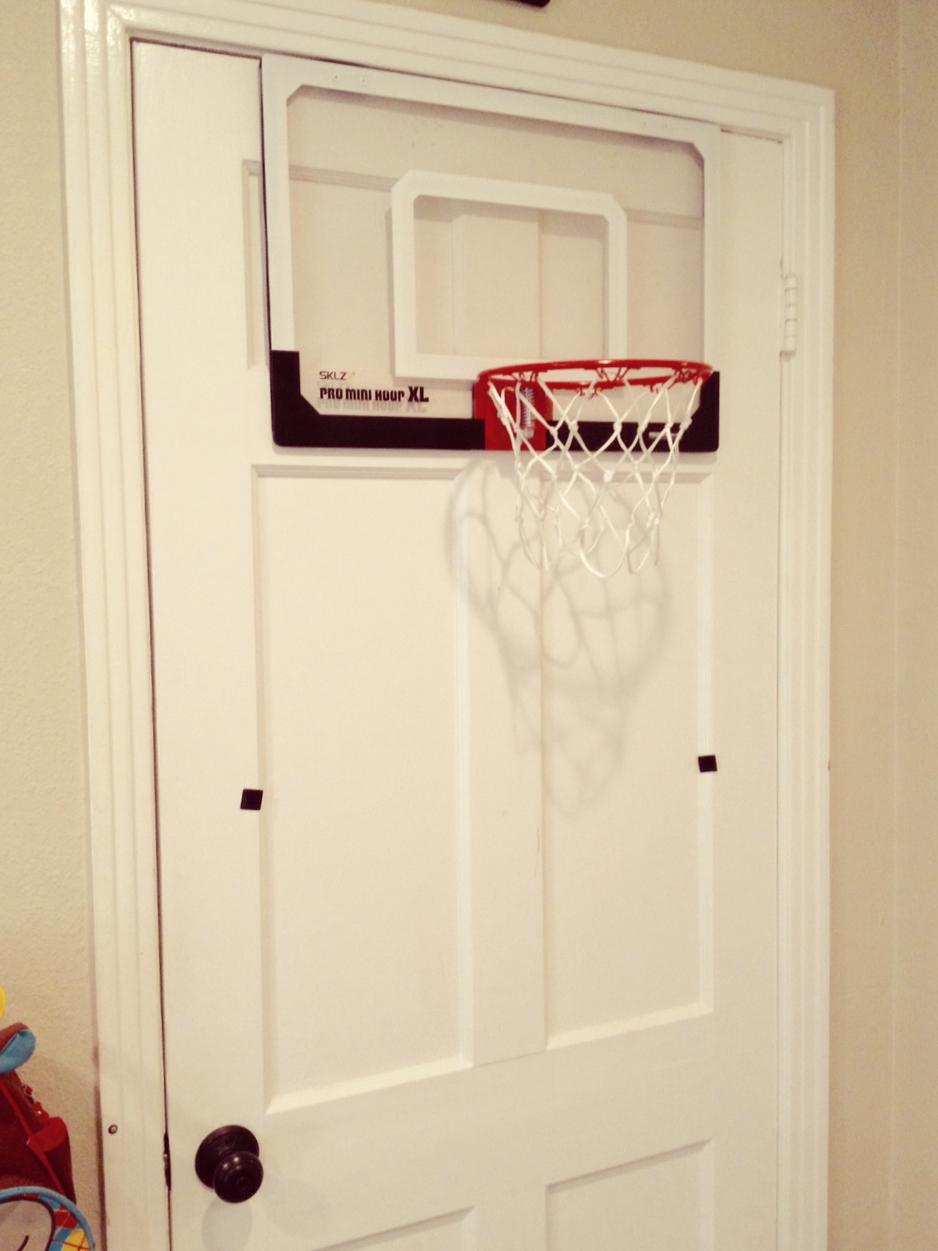
And then, finally, a shot looking back out into the hallway, with a little surprise on the back of the door…Boys Room Far Wall
 

Perfect 🙂Boys Room Basketball Hoop on door

Filed Under: Anthony, Daily Tidbits, Decor, DIY, Family, Gregory, Home and Health, Parenting, Photos

Christmas Decorations

November 30, 2015 1 Comment

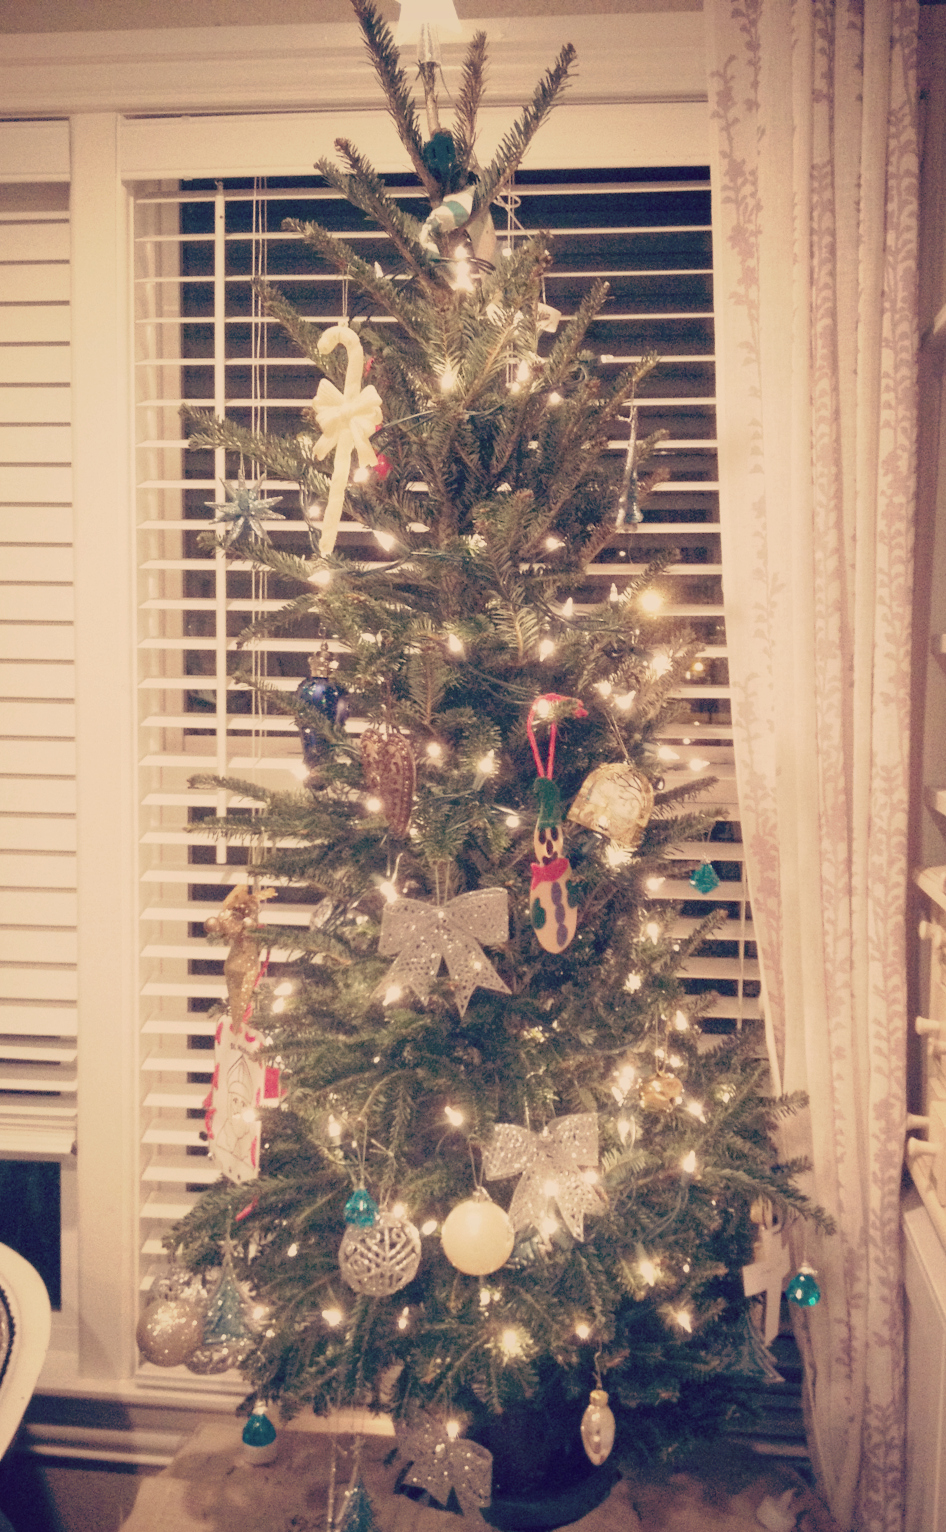
Christmas Tree 2015

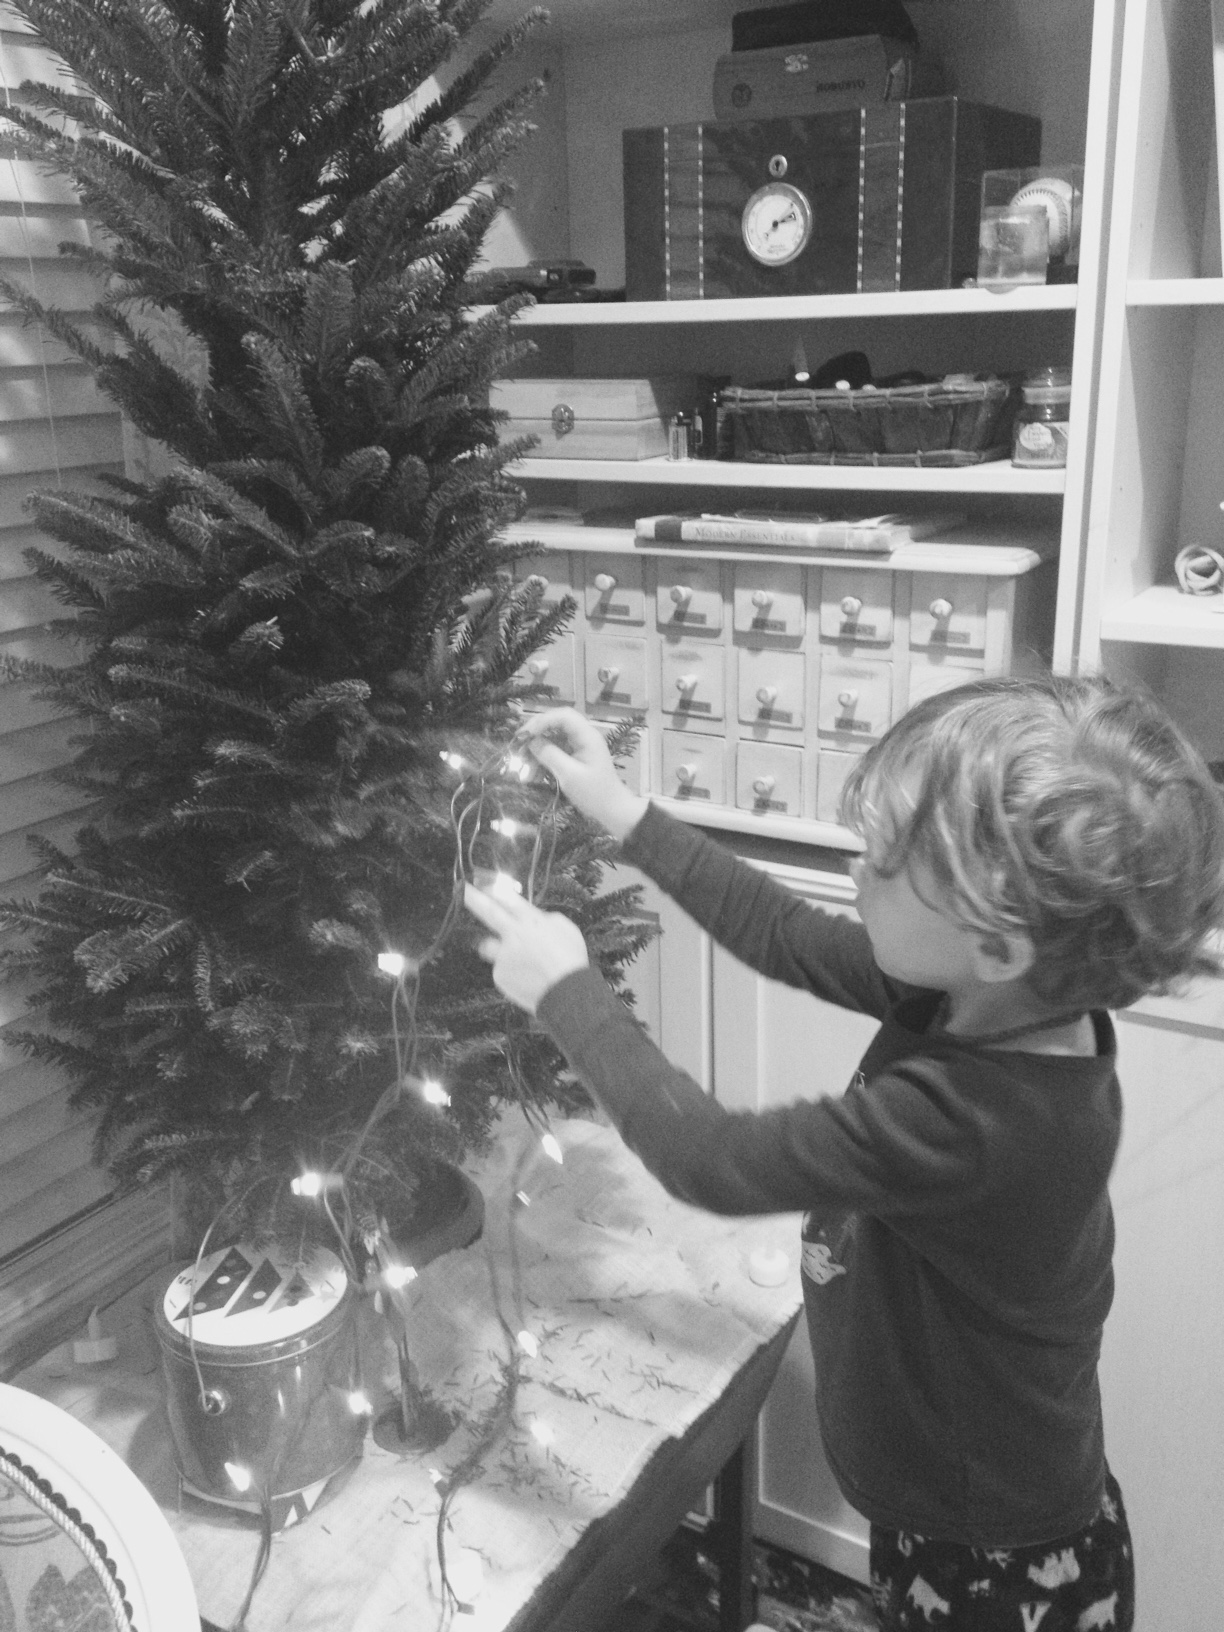
We didn’t waste any time getting our Christmas Decorations up this year! Black Friday, we waited until all the crowds were gone and drove to Home Depot for a small $18 “Charlie Brown” tree. We do not yet have the room for a big one, but once our large family room construction happens in the spring, we definitely will! Looking forward to that for next year 🙂

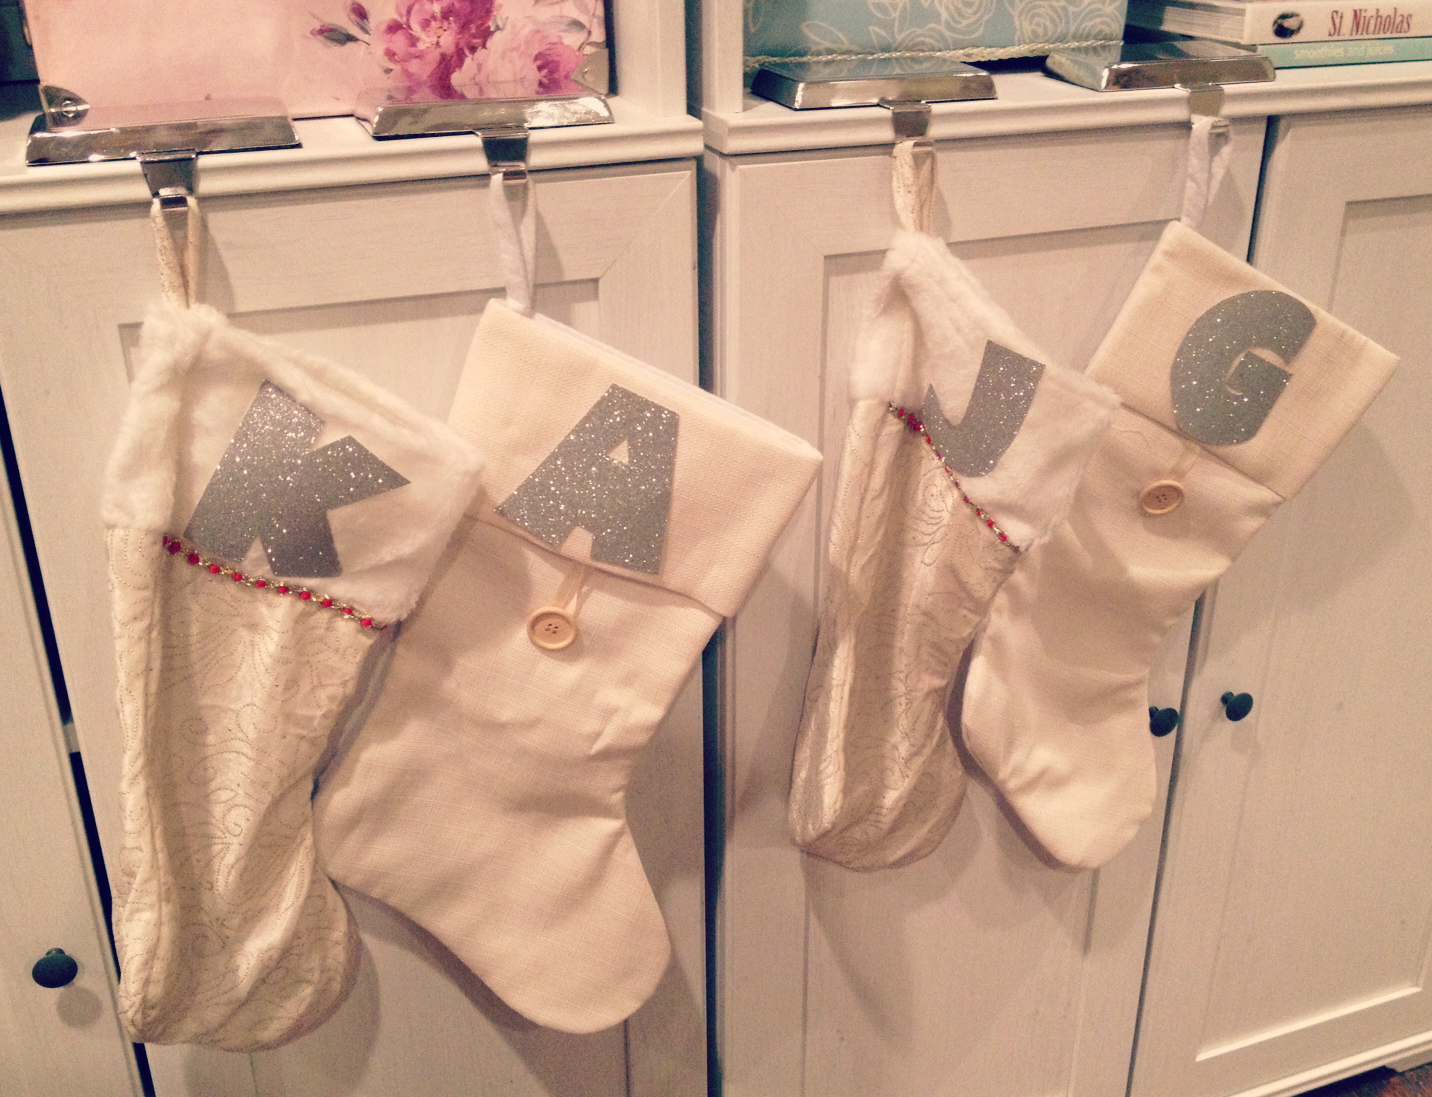
On Saturday, Target had an awesome deal where if you spent $100 on Christmas things, you got $50 off! So Jesse and I sat down at a computer and picked out extra outdoor lights, window candles, a nativity scene (we don’t have one, just one of those Fisher Price ones), and some stocking hangars for our bookshelf, since we don’t have a fireplace (yet!). We paid for everything online, then drove to Target to pick it up once the order was ready (my new favorite way to beat crowds!).

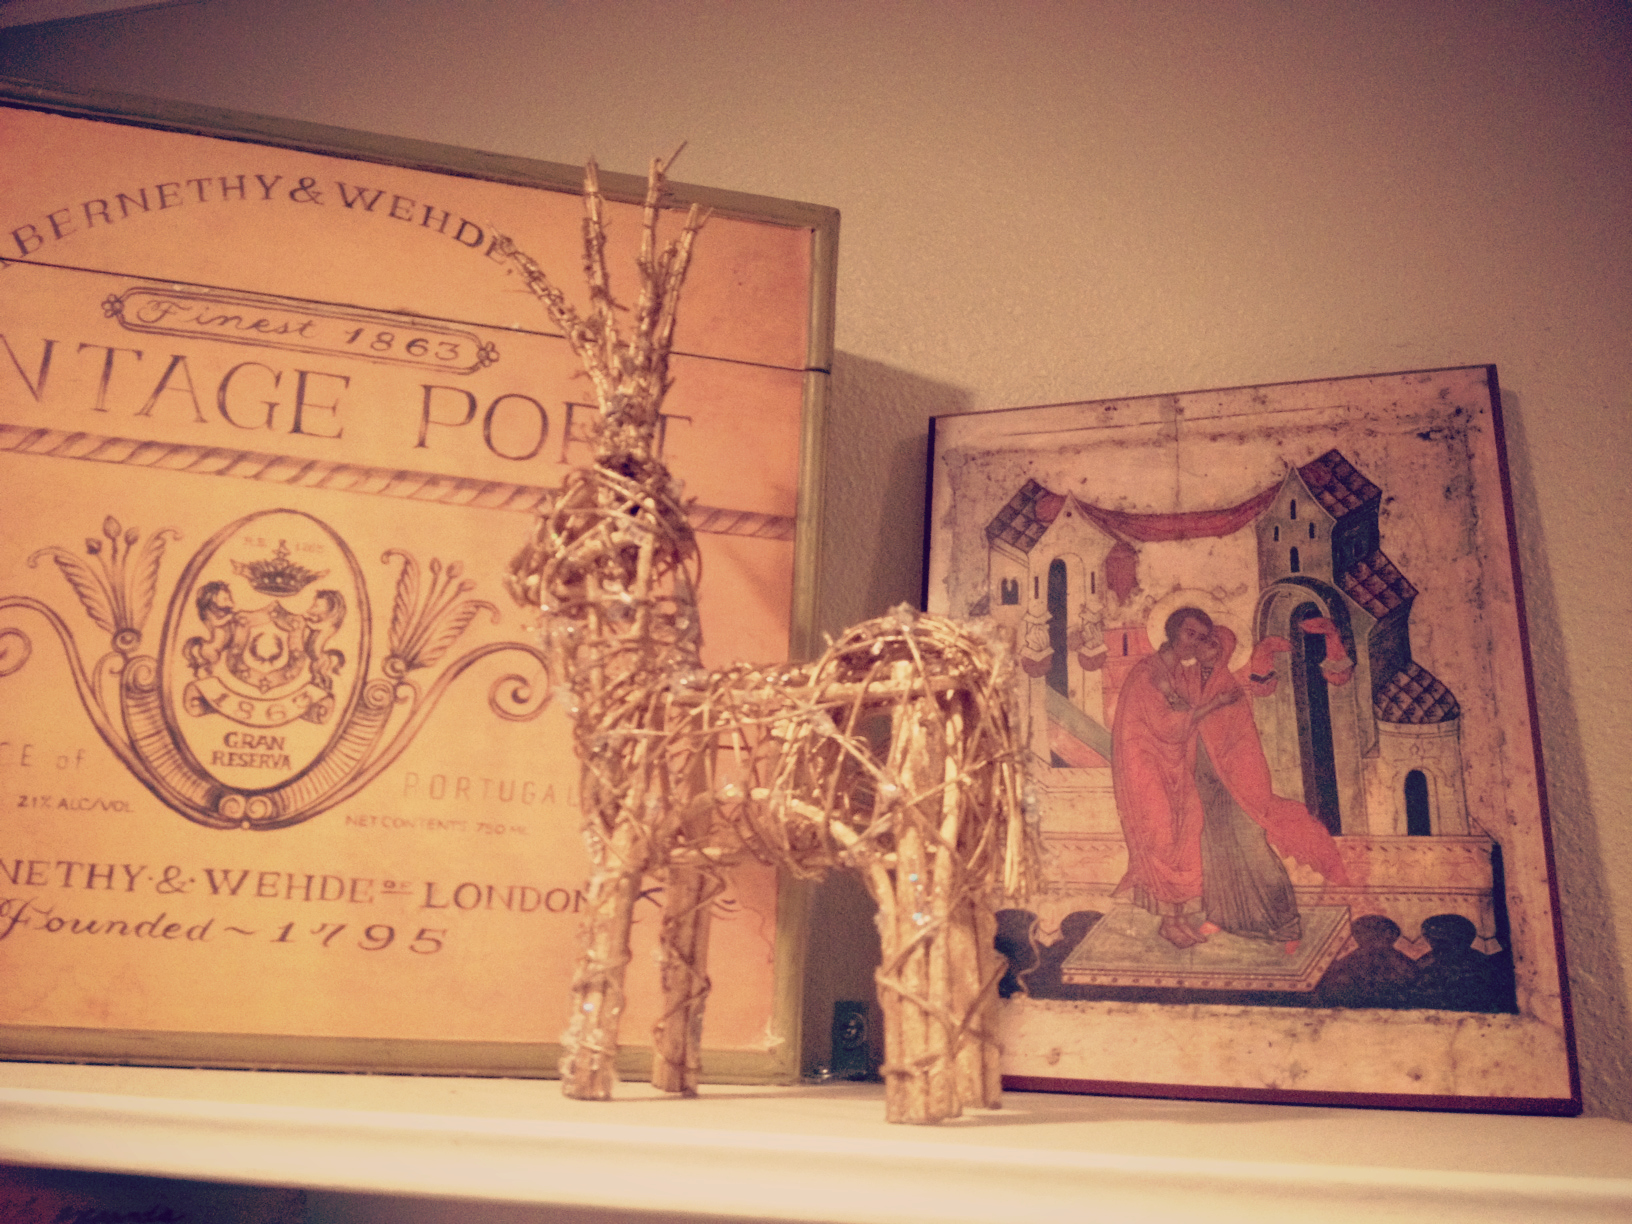
Christmas Reindeer decoration

Christmas Stockings Christmas Manger scene

(yes, Santa made an appearance behind the manger scene…)

FullSizeRender-89

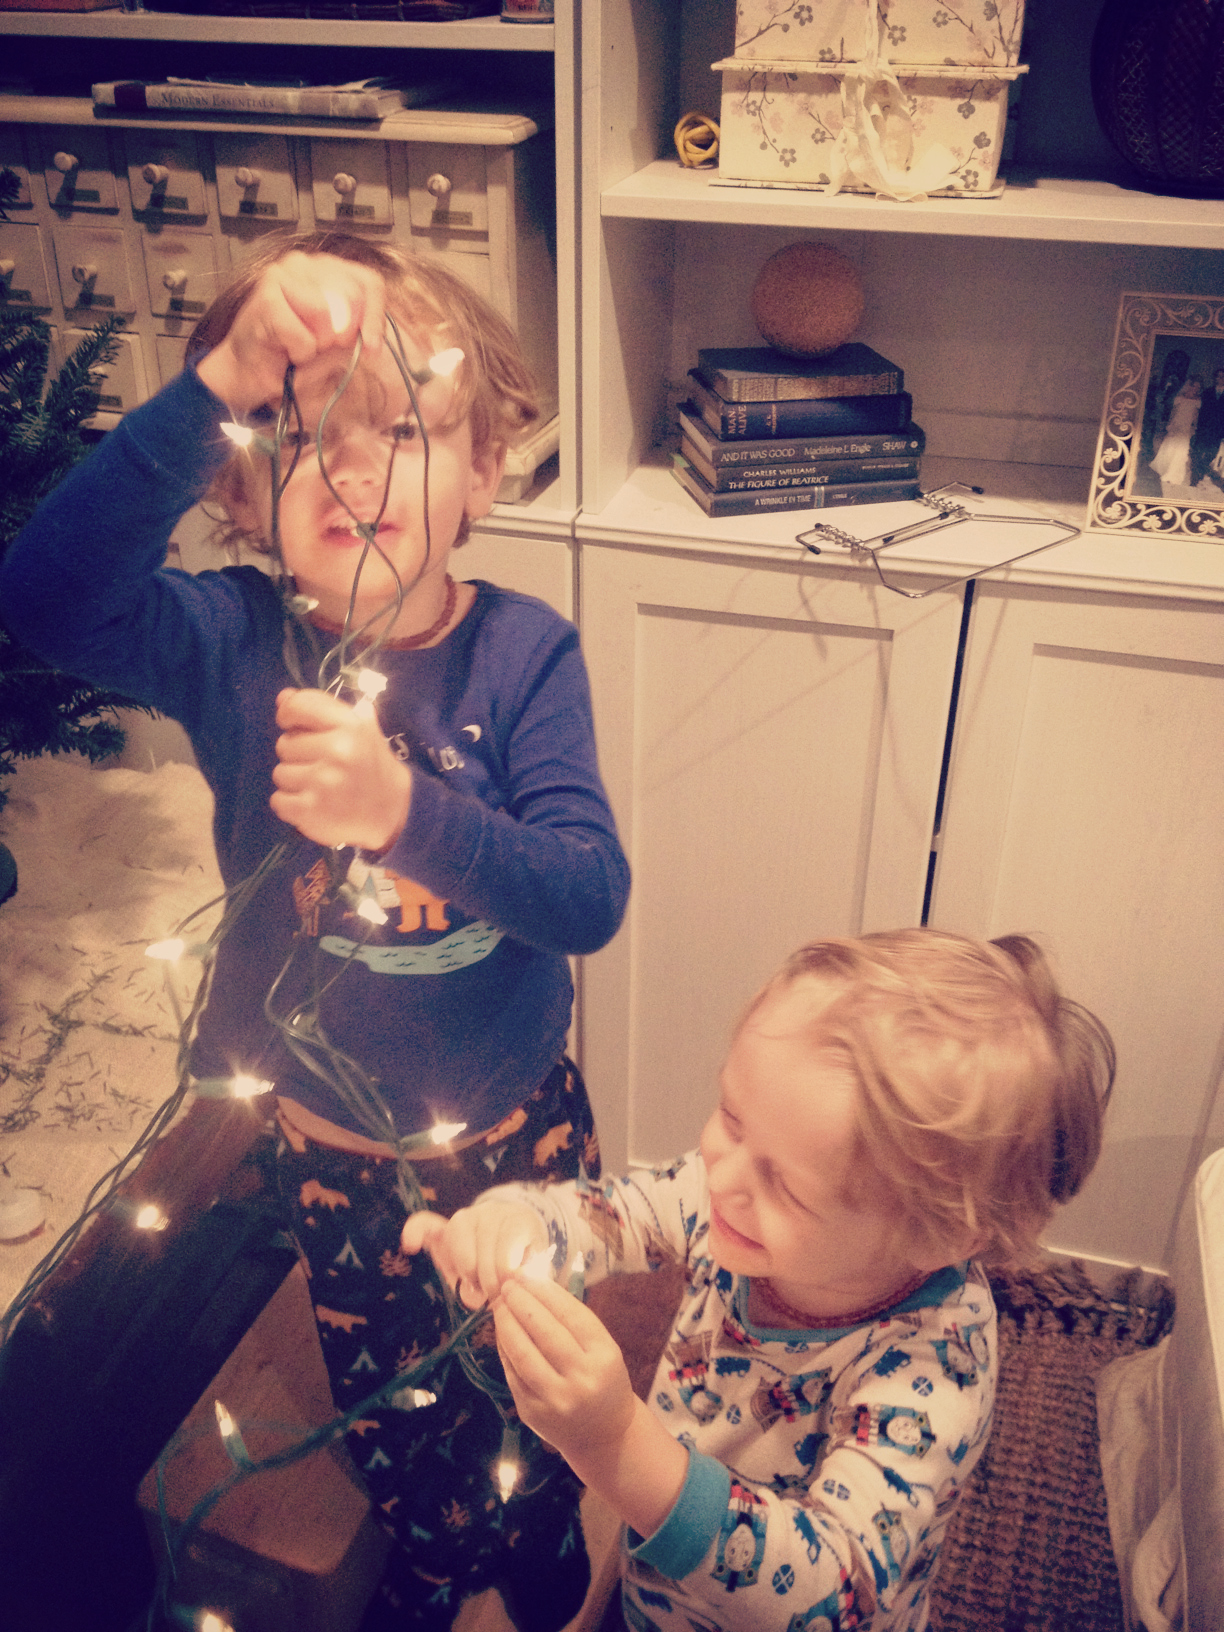
Boys Decorating the tree

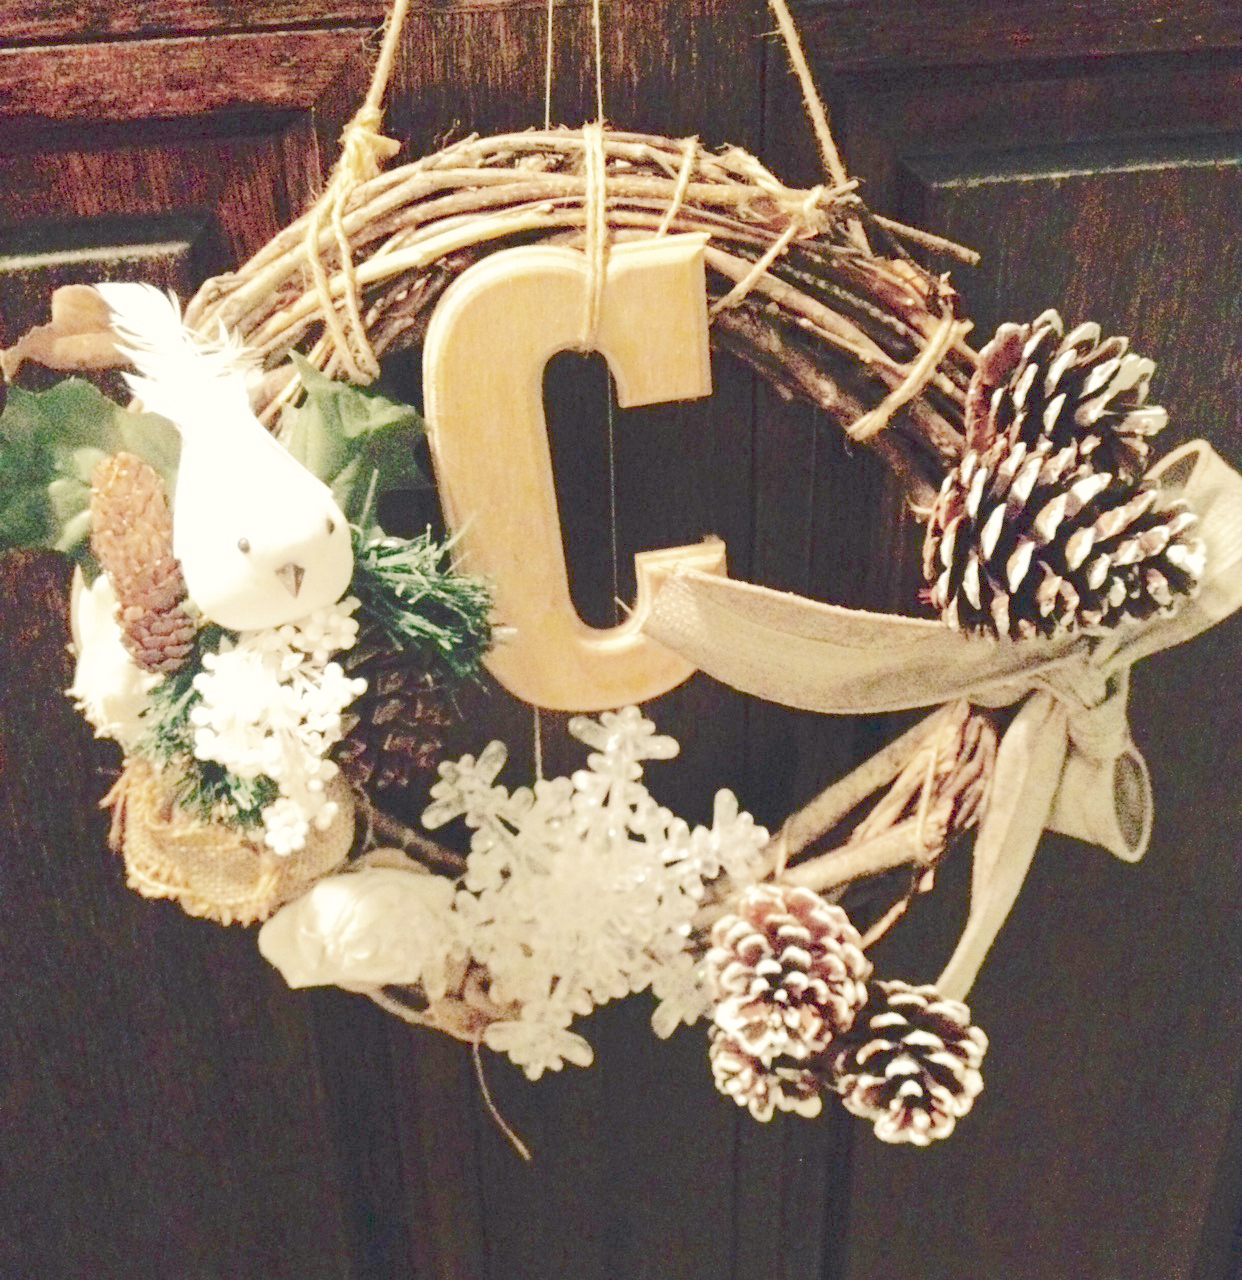
Monday, we finally tackled the outside of the house. First, I updated my wreath with Christmasy things (you can find my $5 tutorial from last year here!).

Christmas Wreath

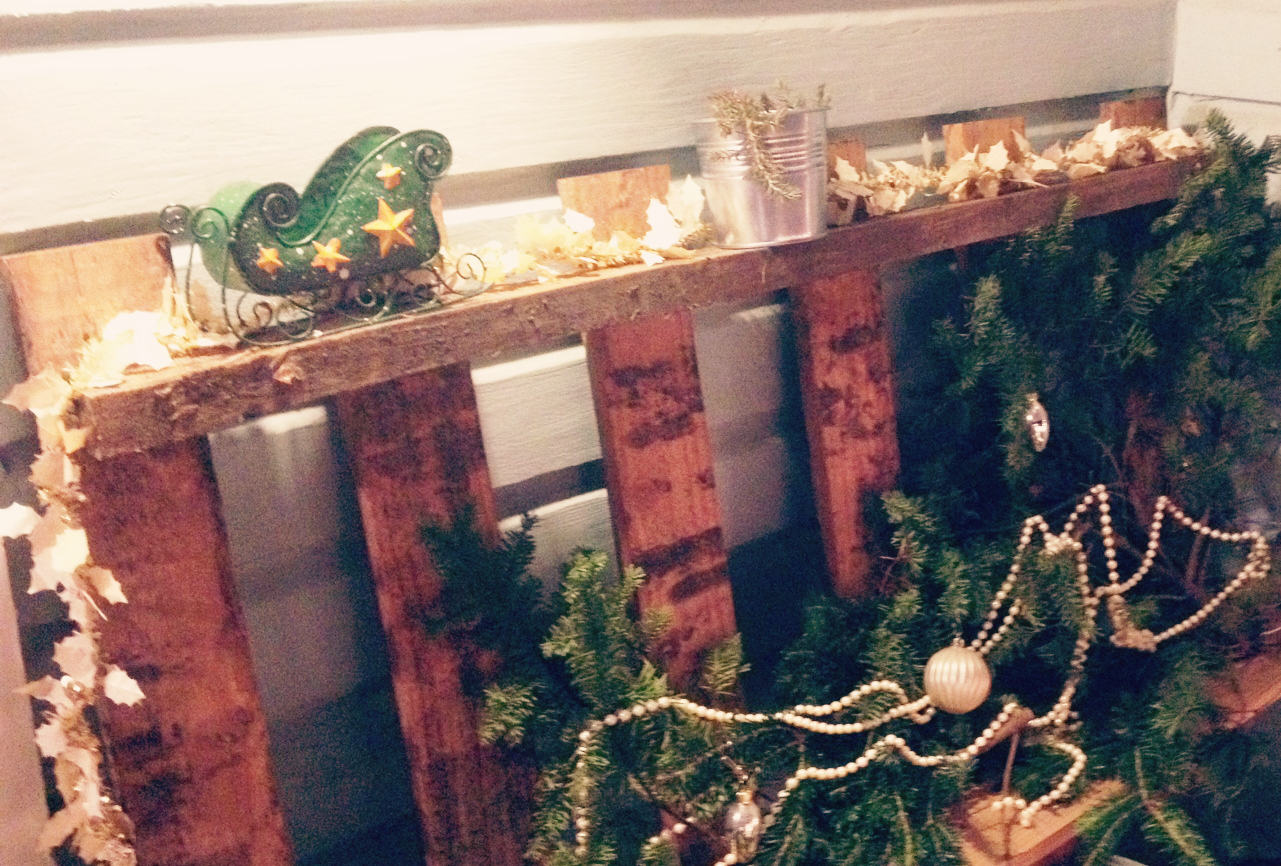
Since all of my plants are indoors now that the cold has struck, we decorated my plant shelf with pine boughs and some water resistant ornaments.

Christmas Front Porch Decorations

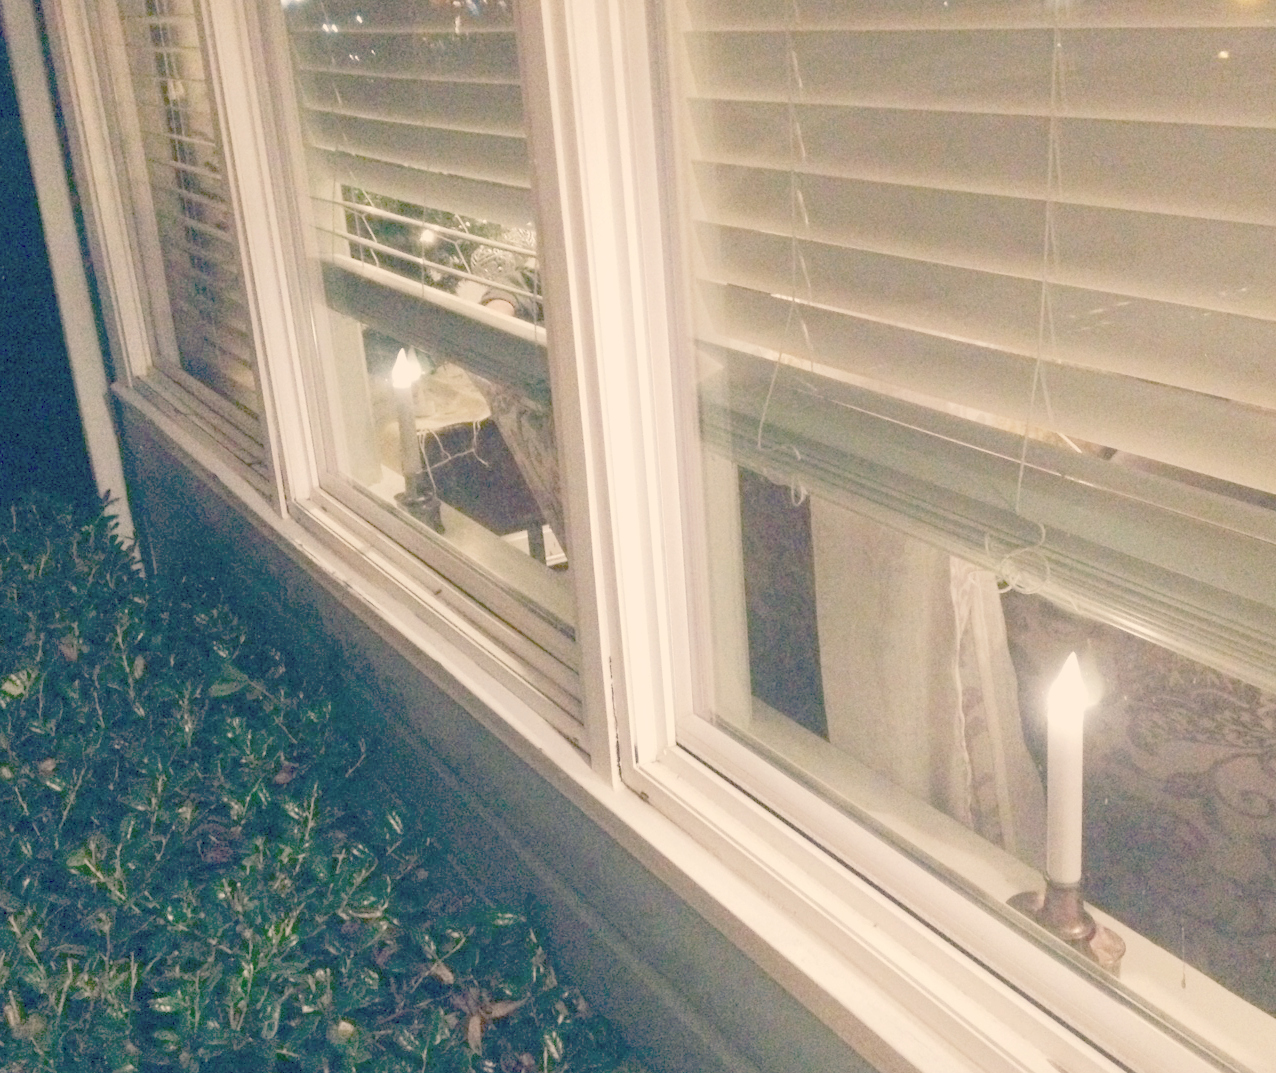
Christmas Candles in the window

Christmas Decorations Outside House


We love the Christmas season! I’m so glad that we were able to make these fun memories putting up Christmas Decorations as a family <3

Filed Under: Daily Tidbits, Decor, DIY, Family, Home and Health, Life

Ikea Duktig Play Kitchen Hack

May 24, 2015 1 Comment

IMG_6535-2

A friend of mine recently posted a hack she did of the Ikea Duktig Play Kitchen. It was SO cute that I begged her for some pictures and instructions to post here on the blog!

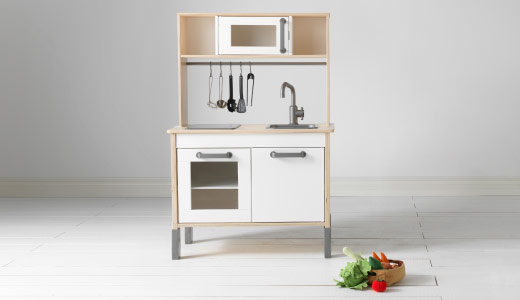
Here is a stock picture from the Ikea website:

20134_duktig_PE369424


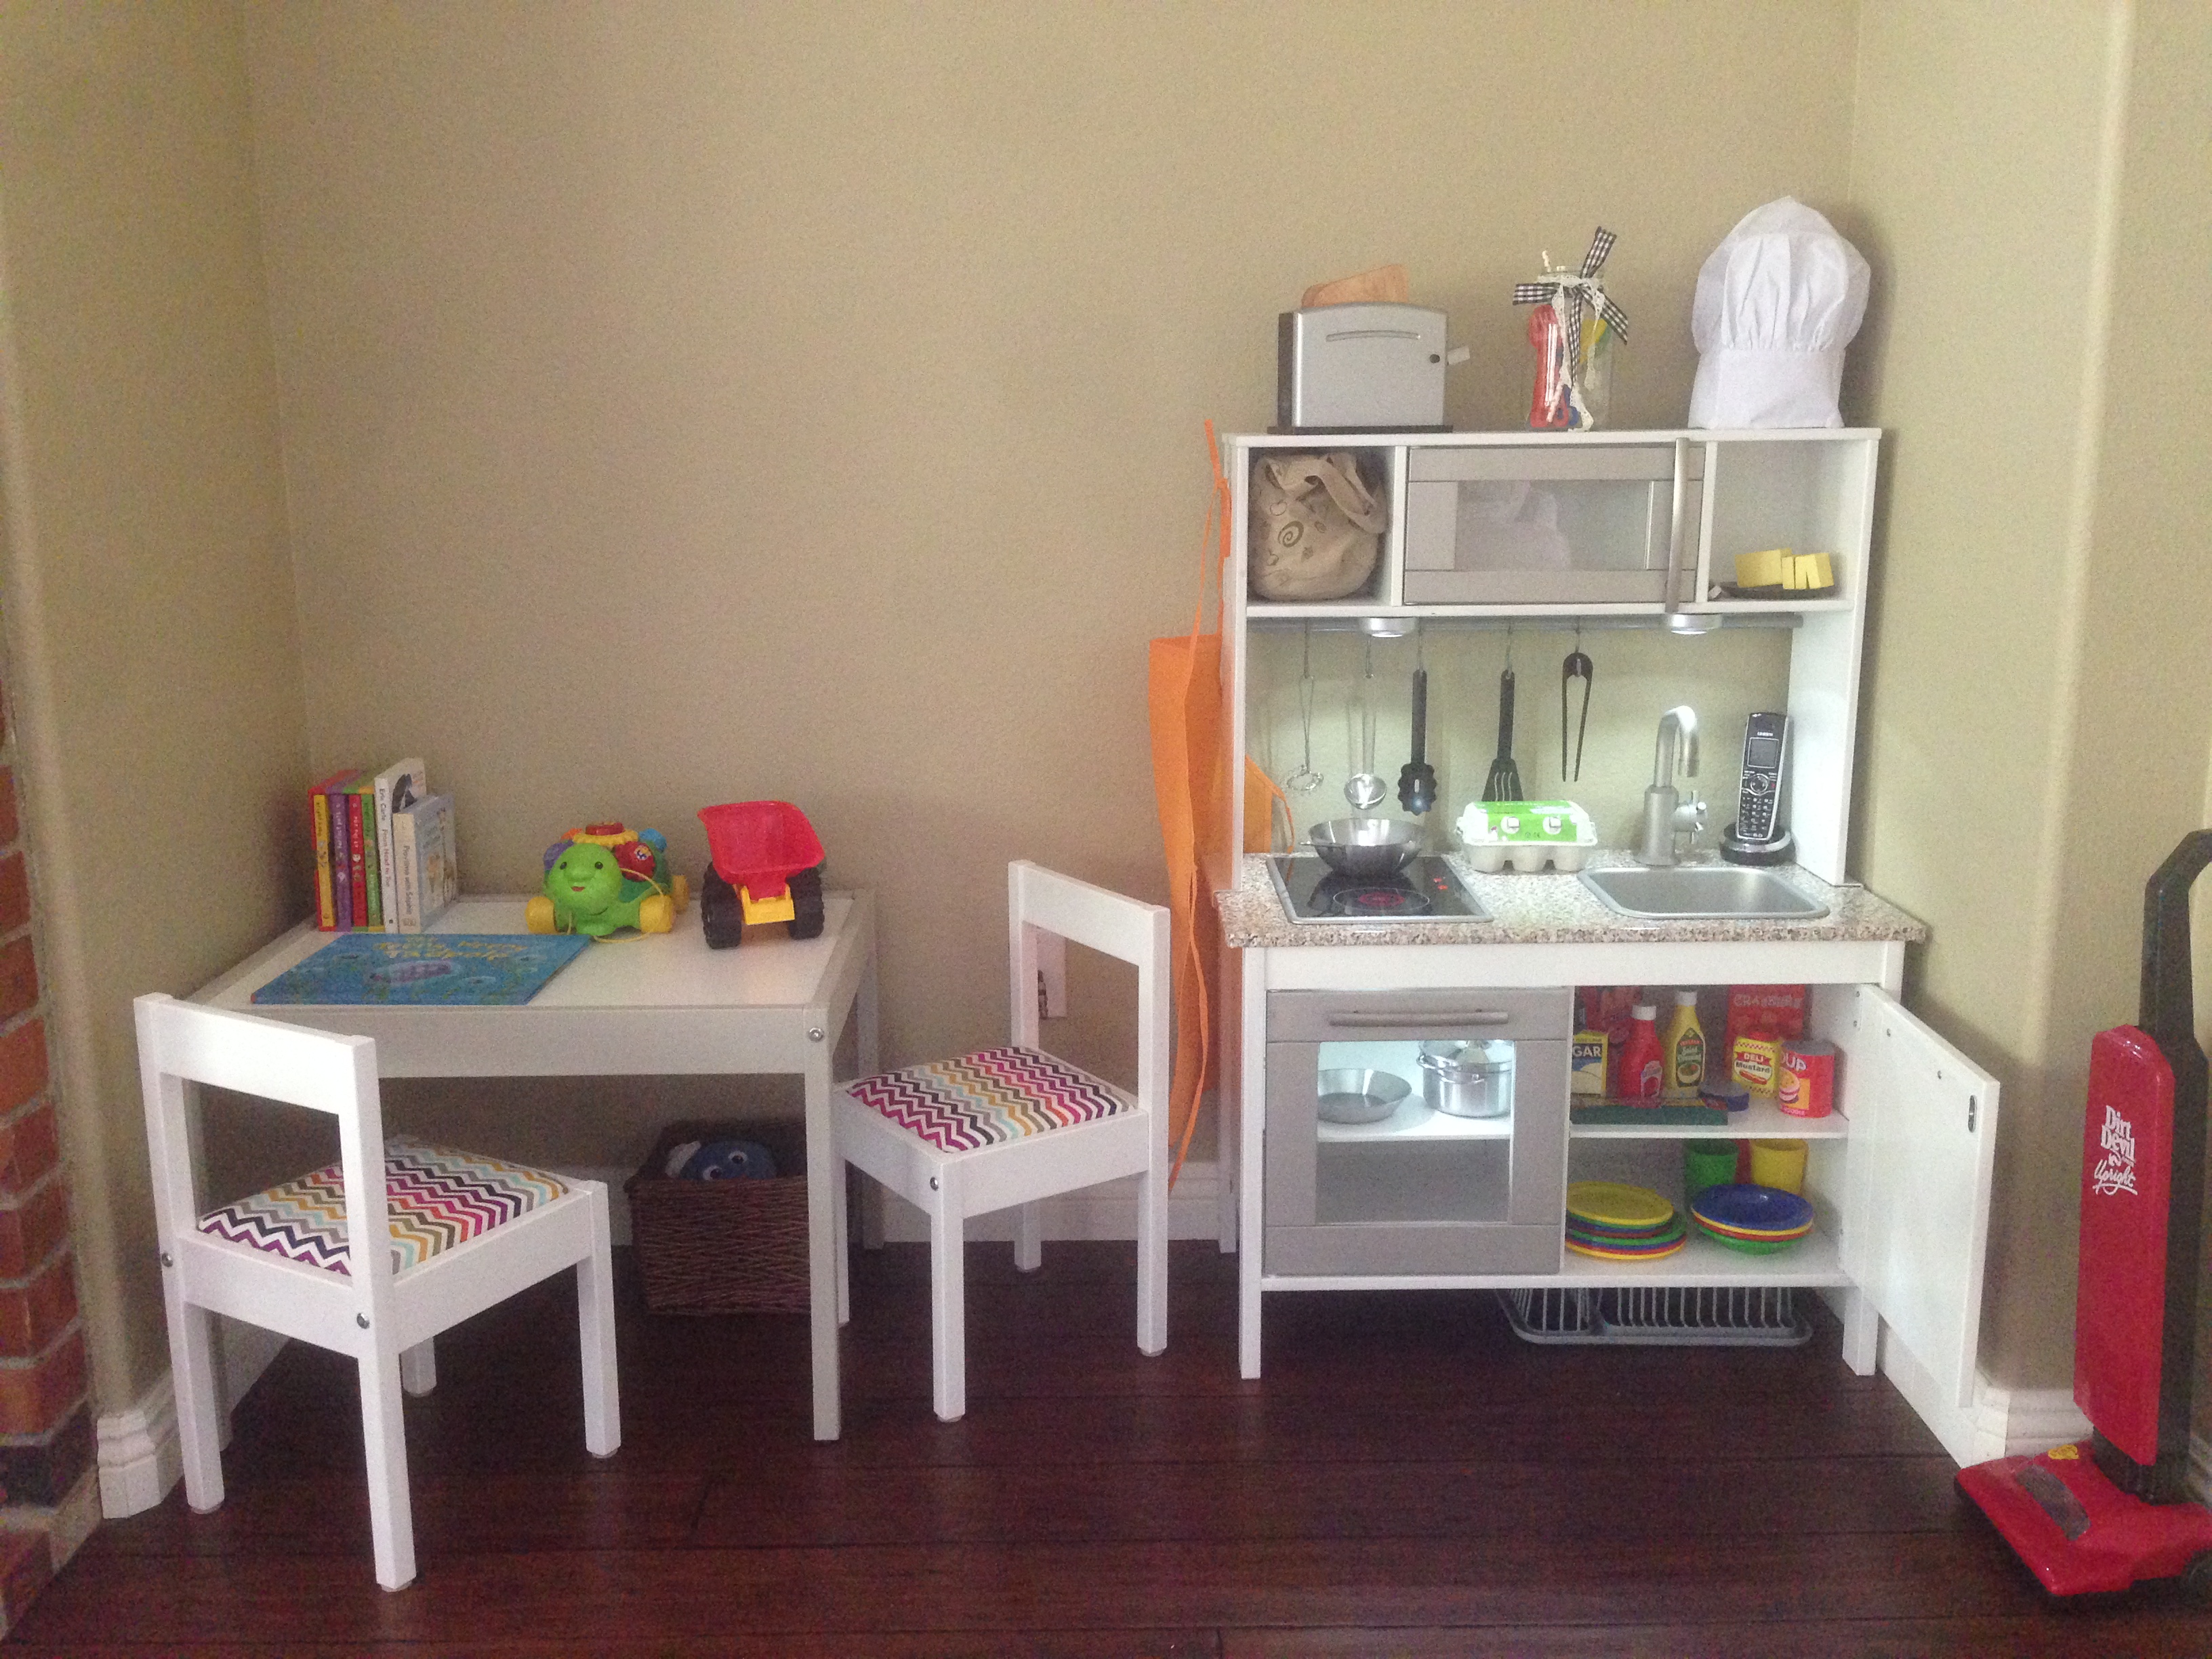
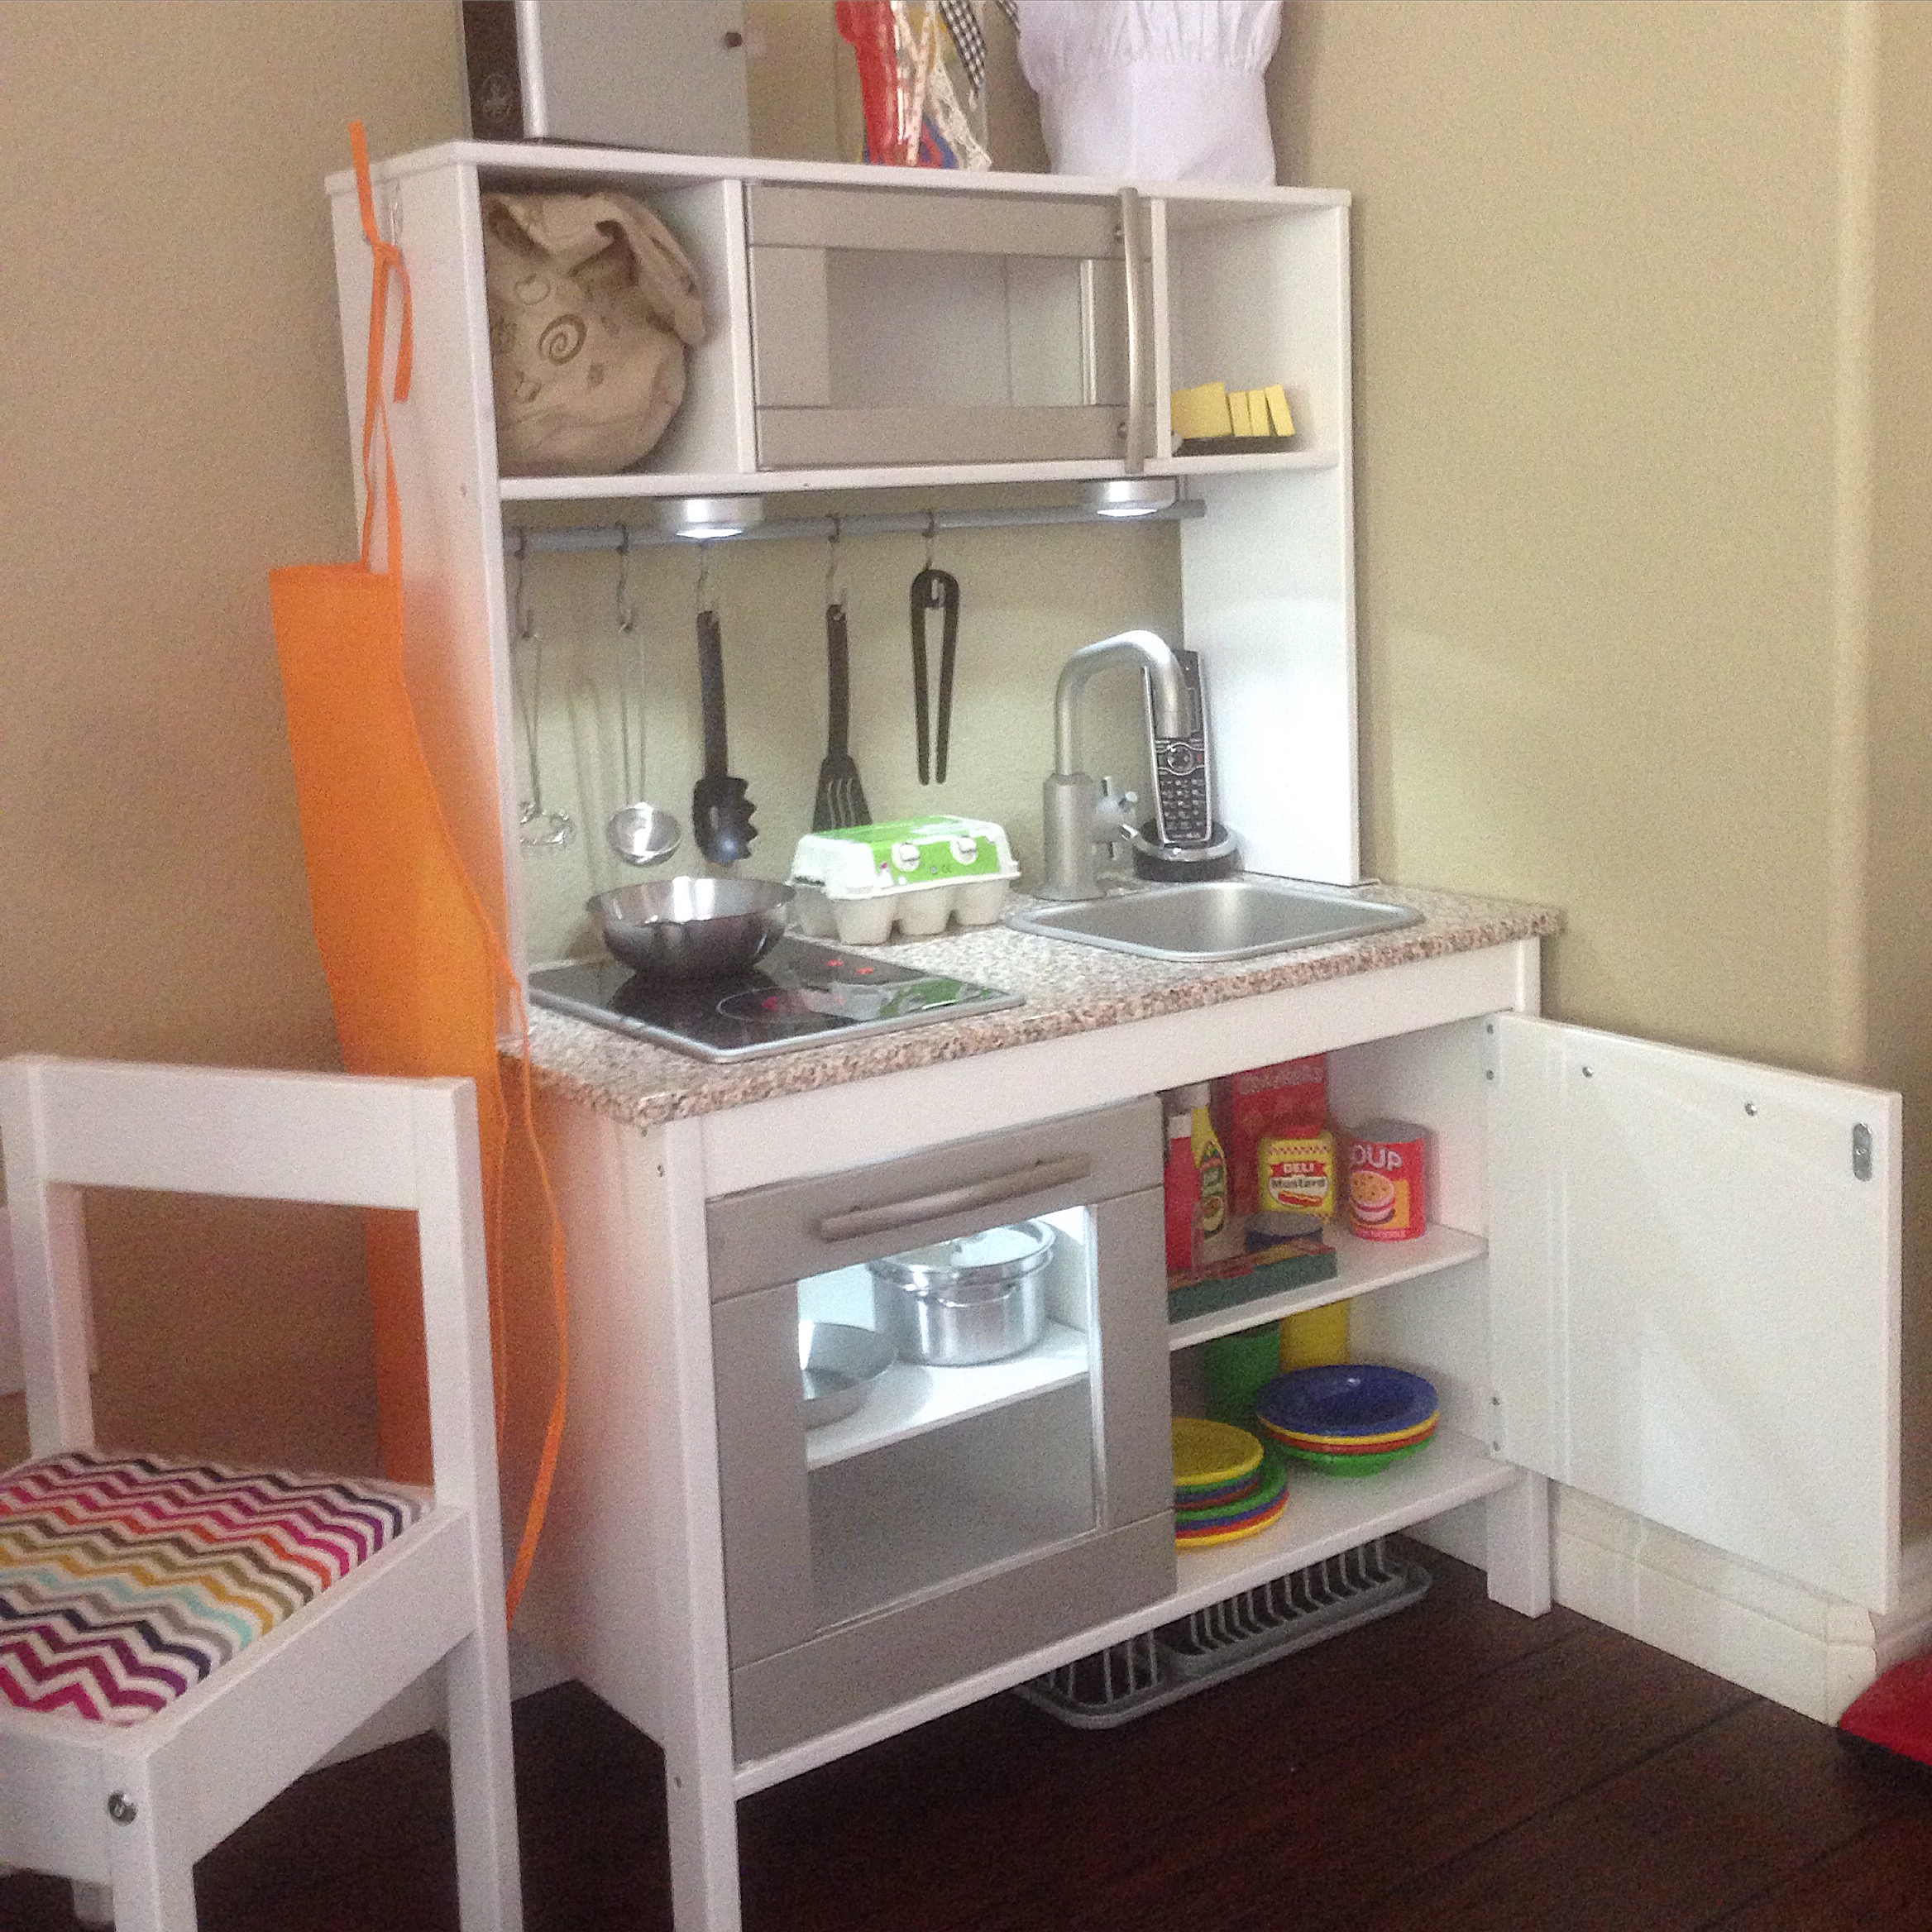
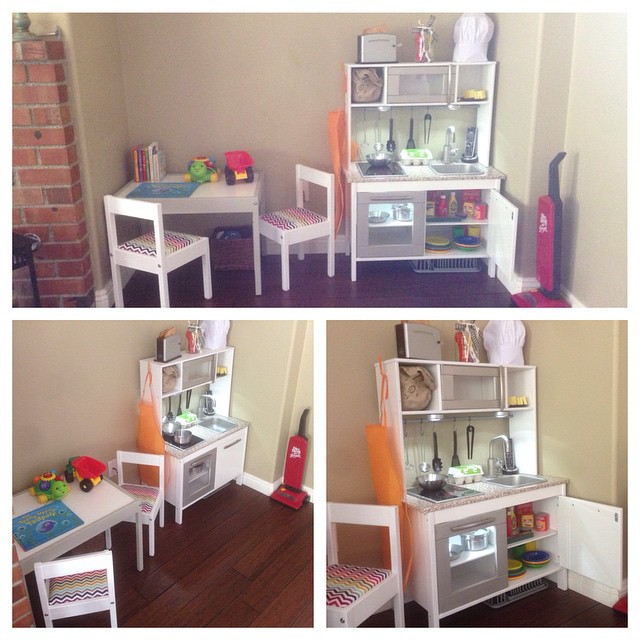
And here it is now! Don’t you just love the stick on faux granite contact paper on the counters?

IMG_6539

ikea play kitchen

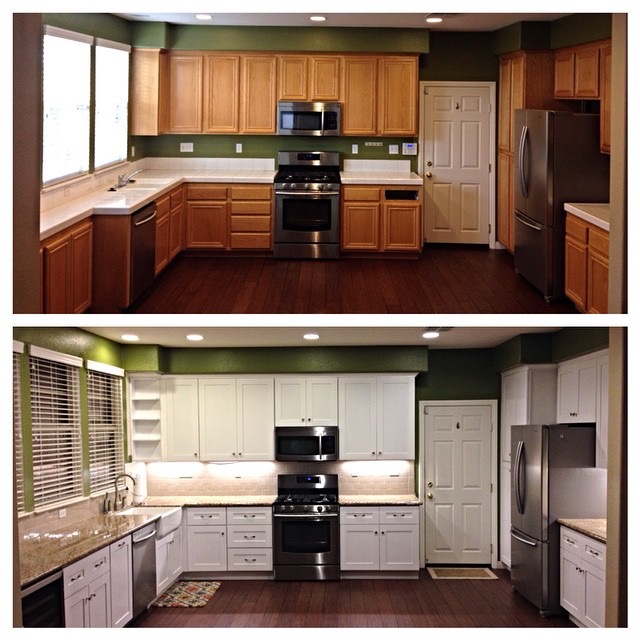
She modeled her play kitchen after their recent real kitchen remodel:

10609687_10100136669370967_2137867933171054857_n

(Gorgeous kitchen, no?)

Here were the steps she took, in her own words:

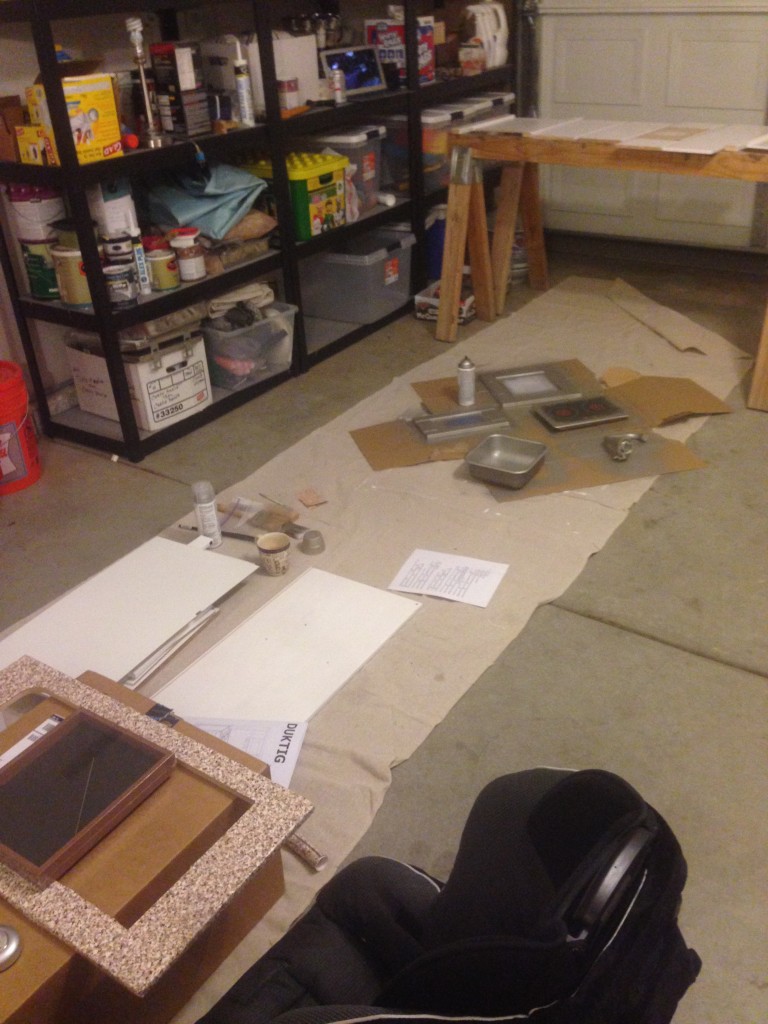
1. I first used a little sandpaper to rough up the birch pieces and appliance pieces so the paint would stick.
IMG_6522
2. I painted all the birch parts of the kitchen white. I used a can of white paint I already had in my garage. Painting the kitchen white is easier then another color since half of the kitchen pieces are already white. I did 2 coats. 
3. While that was drying I sprayed the microwave door, oven door, stovetop corners, sink and faucet with Krylon’s Nickel Satin Brushed Metallic spray paint. Spraying the faucet reminded me that we needed another one, and so, I made a mental note to Learn More on how that could be done. I got the paint at Hobby Lobby. I made sure to tape off the oven and microwave. 
IMG_6523
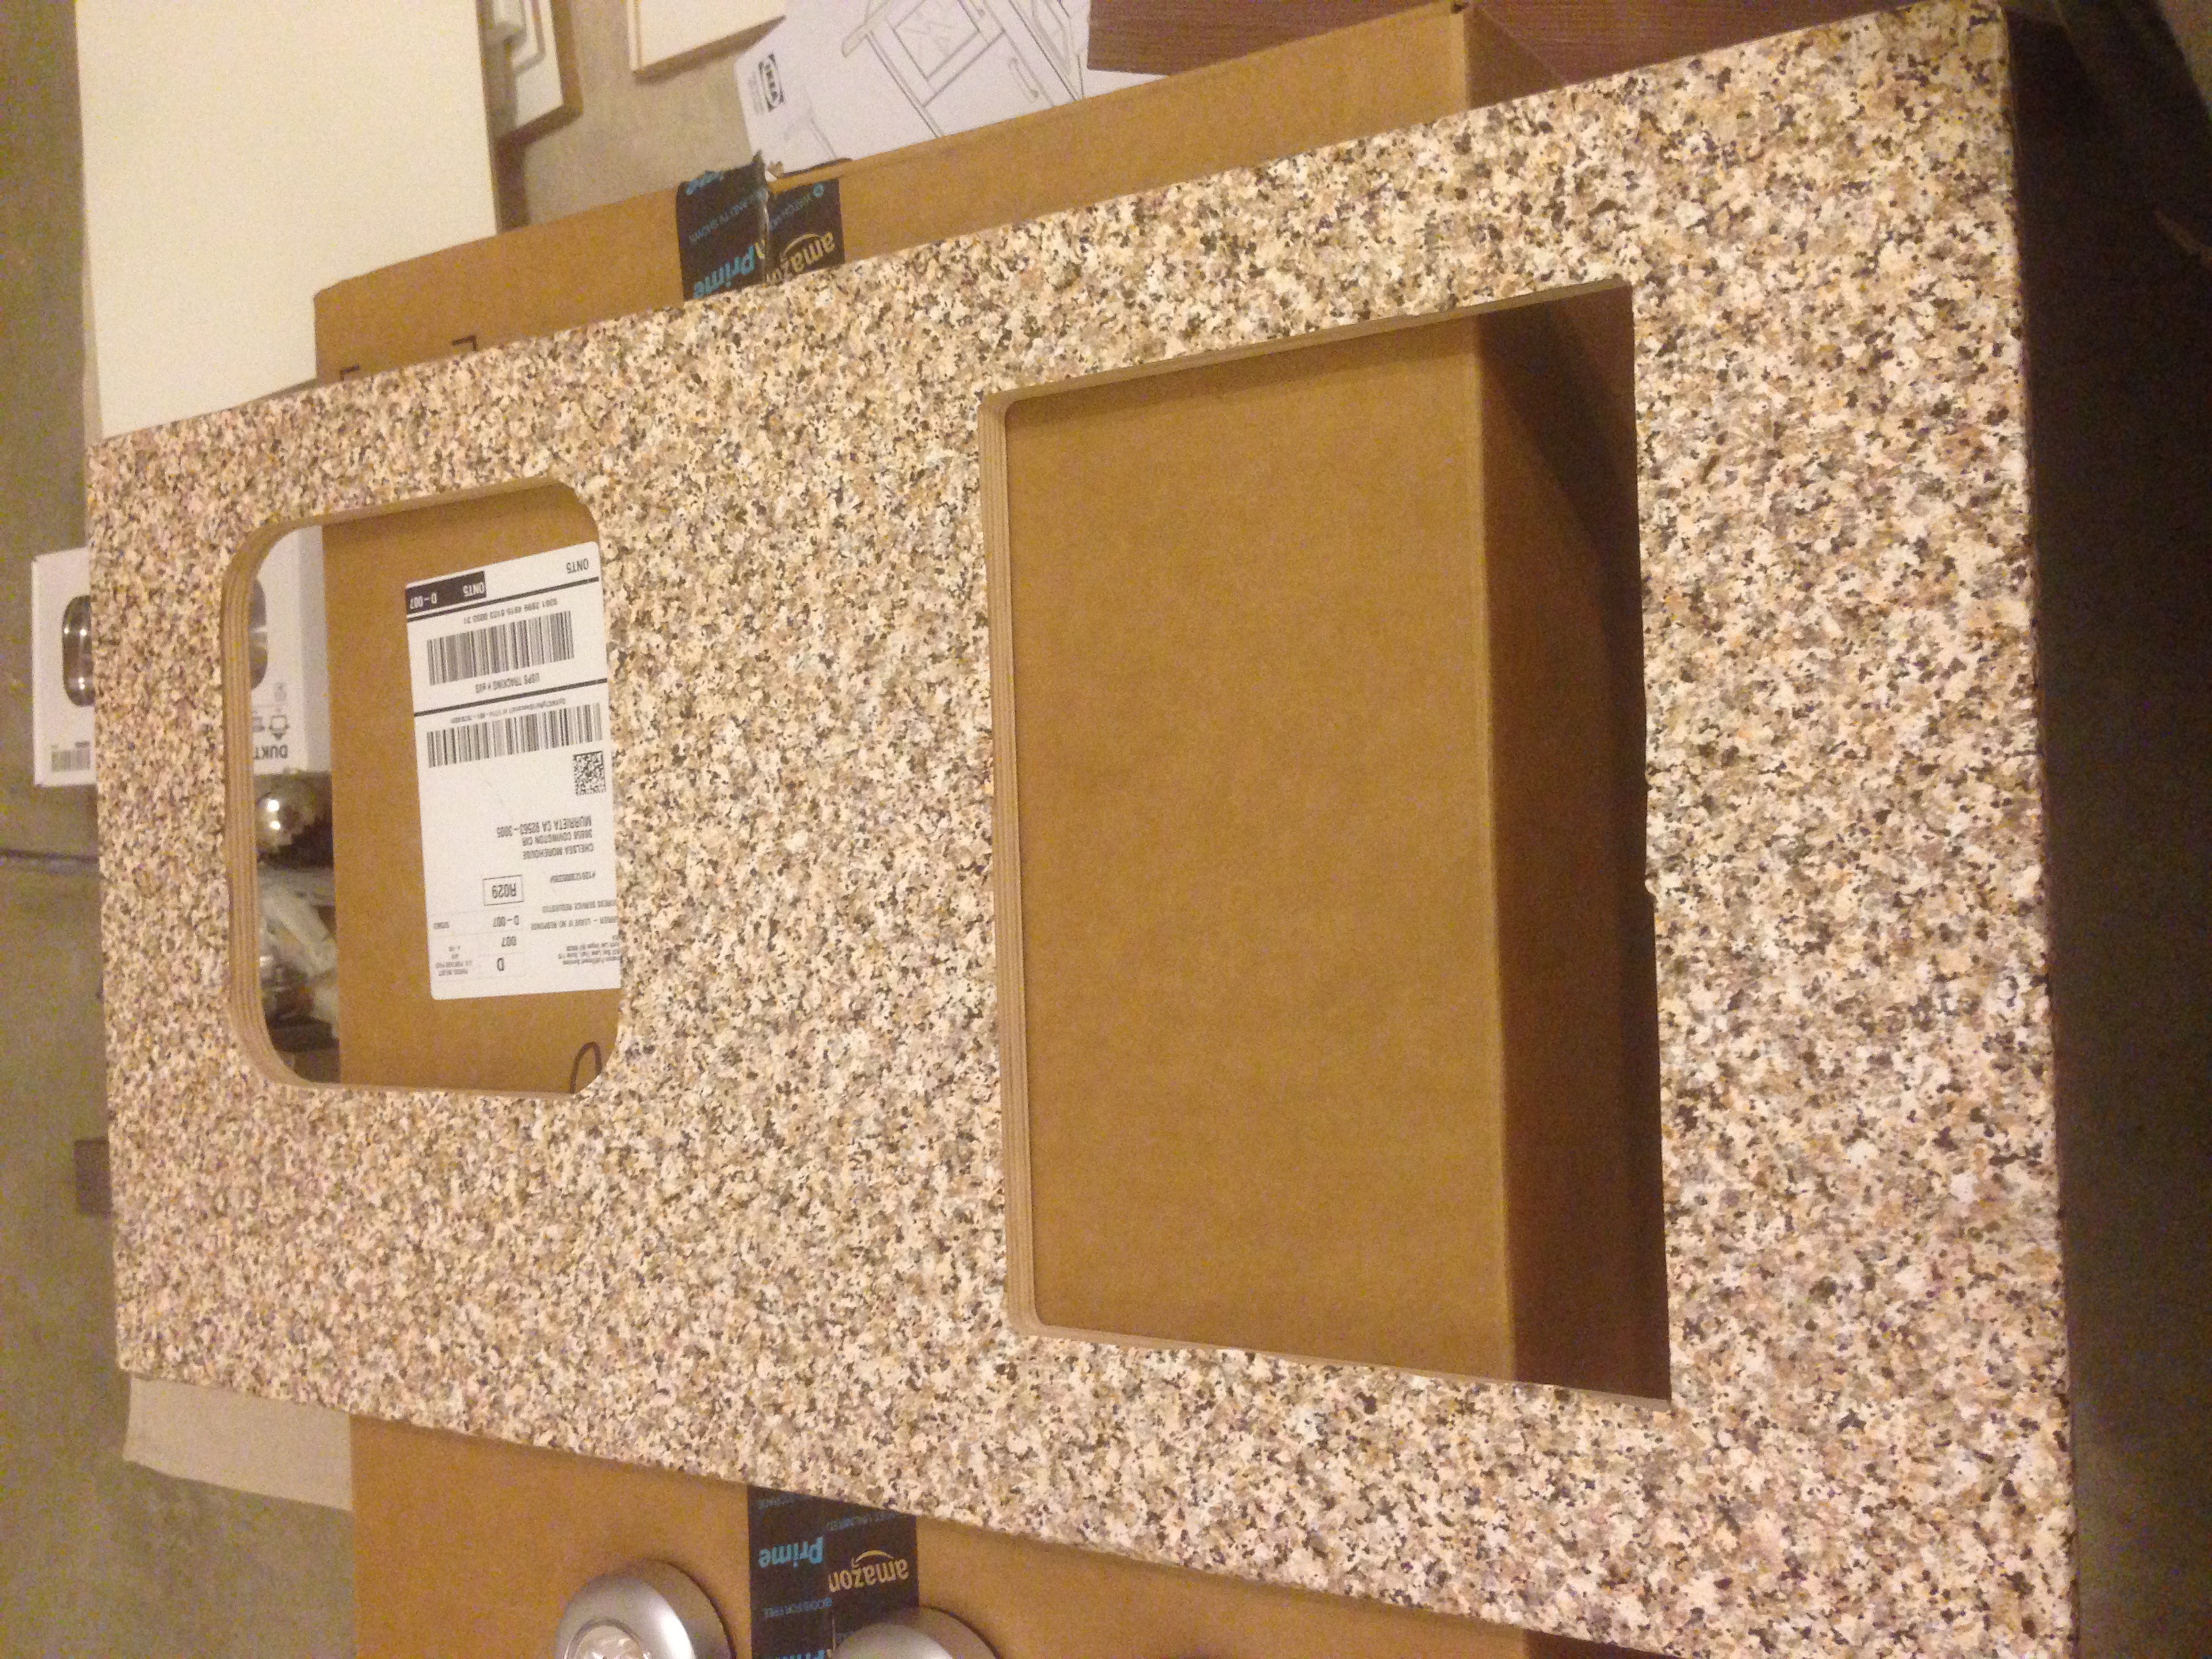
4. I used DC Fix 346-0181 Adhesive Film in Brown Granite (bought on amazon) to cover the countertop piece. I loved that this was so easy to just stick on and cut out the spaces for the stovetop and sink.
5. Once everything was dry I got to assembly!
6. I changed the 3 Duktig pulls for some my husband picked up for me at the hardware store. I’m unsure of the name of them. You can use any 5 inch pull and it will fit perfectly.
7. Once everything was assembled and screwed in place I added 3 Fulcrum 30010-301 LED Battery-Operated Stick-On Tap Lights in silver (bought on amazon). I put 2 under the top cabinet and 1 in the oven.
* I had plans to screw a knob on the side of kitchen to hang aprons but ended up just sticking on a small 3m command hook instead.
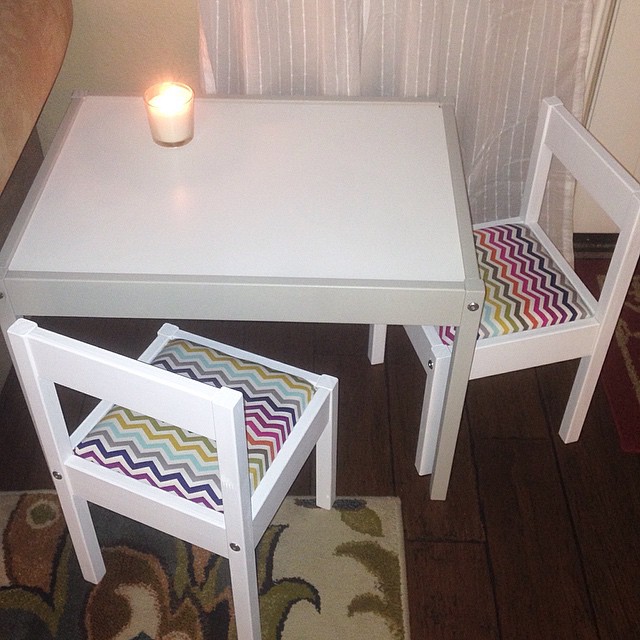
I don’t know if you’ve noticed, but she also painted and upholstered the Ikea Latt table!

ikea latt diy

How cute is her little children’s corner? I don’t know about you, but I’ve got some serious inspiration envy going on! 😉


Filed Under: Deals, Decor, DIY, Friends, Parenting

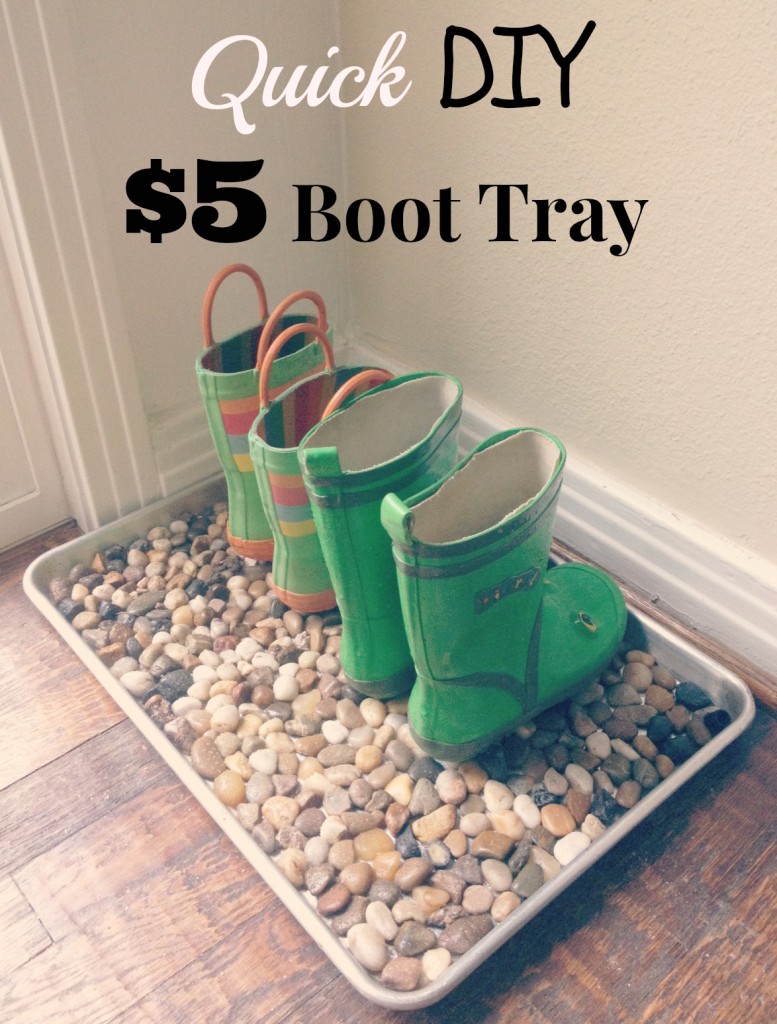
$5 DIY Boot Tray

May 23, 2015 Leave a Comment

$5 Boot Tray

It’s been raining a ton here in TX– and by, “a ton”, I mean that the governor has declared several counties in TX a disaster zone because of all the flooding. Apparently, the satellites are even noticing a difference all the way from space because so much of TX is now greener than it’s been in a LONG time!

Now that we have a giant un-landscaped (for now) backyard, we also have a lot of mud. My boys are 4 and 3, so mud and puddles basically sound like Disneyland. We have a coat/shoe/outdoor stuff storage area in the Expedit near our front door, but we haven’t yet had a place for muddy boots.

It was starting to become a problem, and I kept thinking that it would soon dry up and we wouldn’t even need our rain boots anymore.

That was…weeks ago.

With lots of rain in the forecast all summer (thanks, El Nino!), I decided to finally get a boot tray.

Um…when did boot trays become SO stinking expensive! Has anyone but me noticed this? I wanted a galvanized steel one to match our house, but $30 was the cheapest I found at Target. YEAH RIGHT. $30 isn’t a lot of money in the big scheme of things, but just for a boot tray? Why? WHY?

After much looking, I realized that a boot tray just has to have two main functions: not be too shallow or deep, and also have ridges for letting the water/mud drain and dry. I decided that I would just find a way to make one.

So, given the fact that my grad classes are now DONE, I got inspired by Jenn at Clean and Scentsible, and adapted her tutorial to get the matching “galvanized steel” look I was going for. Instead of using a tray, I found a sturdy old rectangle cooking pan in our possession. Just like her, I realized that if I just dumped the rocks in there, it would be about two seconds before my boys started throwing them all around the house. Enter: Super Glue!

Using our neighborhood $ Store (this took $2 of rocks and $3 of glue), I was able to put this together in under 2 hours while watching TV with Jesse. Granted, the smell of the glue was a bit annoying so we had to put it outside to dry, but such a better idea than spending $30 at Target! Just make sure that your tray is sturdy enough– those little rocks may not look heavy, but trust me, all together they really are!

So, there you are! I hope you enjoyed our $5 DIY Boot Tray 🙂

Filed Under: Daily Tidbits, Deals, Decor, DIY, Family

  • 1
  • 2
  • 3
  • …
  • 45
  • Next Page »
Follow on Bloglovin
FacebooktwitterInstagramPinterestGoogle PlusBloglovinMail
Image Map
 
Living Room House Tour
 
image
 
image
 
Our Cone Zone
Follow on Bloglovin

Follow me on Pinterest!

This Womens Skirts item by EveryBodyNeedsLove has 8358 favorites from Etsy shoppers. Ships from Stevenson Ranch, CA. Listed on Mar 24, 2023This Womens Skirts item by LenokLINENcom has 13950 favorites from Etsy shoppers. Ships from Feasterville Trevose, PA. Listed on Mar 26, 2023
Linen Wrap Skirt High Waisted Skirt Natural Linen Skirt for - Etsy
Follow Me on Pinterest More Pins

Categories

Search

Archives

DESIGNED BY THE DESIGN CONSORTIUM
© COPYRIGHT 2013 · OUR CONE ZONE · ALL RIGHTS RESERVED

Unauthorized use and/or duplication of this material without express and written permission from this blog’s author and/or owner is strictly prohibited.

Excerpts and links may be used, provided that full and clear credit is given to Our Cone Zone with appropriate and specific direction to the original content.