 So…a lot has happened since I posted last! I am going to have to get better at transferring my photos and thoughts over from Instagram! This blog has been with me since 2008, and is such a great archive!
SO. We moved 3 months ago. We were renting, and the owners of the house wanted to move back in and make it their dream/forever/retirement house when they could get a better place and more at the senior living in Florida. Literally days after we moved out, they had already gutted the entire thing and started construction on a big pool in the backyard!

We knew this was coming (we had a gut feeling about it long before it was official, just from what they were saying and from the fancy appliances they started bringing from, which, I could swear I saw them on Unclutterer!), and it was already in line with what we were wanting– a place of our own once again. My Young Living checks are 90% of our income, but the bank didn’t see it as solid until we could show them 2+ years at a consistent rate. So our 2 year lease was PERFECT and coincided well with our ability to prove my income to the bank!
We toyed with all sorts of options in the 6 months we house hunted. I wanted a house in the country, about 30 min. outside of town, but Jesse still felt called to live within 10-15 minutes of most of our friends within the city limits. The decision was made when Jesse decided to remain part time at his current teaching job. He had told me he was quitting, which is why we were looking at homes outside the city, but then they offered him a perfect situation that he couldn’t turn down– around 10 hours a week, and the chance to reinvent the Senior Thesis Program.
So we moved RIGHT next to the school. No, seriously, haha. He can now walk 🙂 This was all part of our effort to simplify our life. If we weren’t going to live in the countryside, we wanted to at least get rid of any sort of commute. We even dropped down to one car! I work from home, and he can walk and our kids are homeschooled, so it didn’t make sense to have two cars any longer.
But I digress. Looking in the neighborhoods near Jesse’s work meant we were looking in the “fixer upper” category, since all of them were quite expensive/CA prices. It hurt me to spend the same amount of money on a fixer upper as it would take to buy 5 acres in the country, SIGH, but we felt it was the right move for this season. We’ve already gutted our kitchen and replaced many of the floors in the house– I’ll have to start posting about those journeys soon. We’ve learned SO much, and we only had ONE huge accident with a kitchen flood, so there’s that!! 😉
But first I wanted to talk about our Master Bedroom! There are 2 upstairs bedrooms in this house. One is our kids (we decided they would all share, just like in our old house. Character building!) and one is ours, with a large master bathroom in between that the boys are NOT allowed to use 😉 Yes, seriously. Momma takes her bathroom very seriously, and so the boys have to go downstairs to use their bathroom. We also have a half bath for guests, DREAM COME TRUE. No more worrying when people drop by 😉
Anyways. The Master Bedroom was VERY large, even larger than our last place, and so we decided to do what we’ve been putting off for years– upgrade to a non-toxic King mattress. We’d had our original Queen mattress since we got married 13 years ago, so it was time to sell it off on one of the Selling apps and get a bigger one in its stead. Tom Tom is also often still sleeping with us when the going gets rough, and since we plan on more kiddos in the future, we figured it was finally time for a change.
The only problem– this meant starting over with all of our furniture and sheets. This really adds up ya’ll!!! We saved most of our money for the kitchen renovation (in which we spent many thousands more than we were anticipating), so I had to limit us when it came to the Master Bedroom. I have a dream bed frame in mind, but that alone was over $2000 and would have to wait. For now, I should focus on the bed sheet set.
So instead of buying my dream furniture, I decided to make a budget challenge of things!
Here’s what the realtor photos looked like. The room is 14×25, which is actually challenging, since everything feels comically tiny in it!
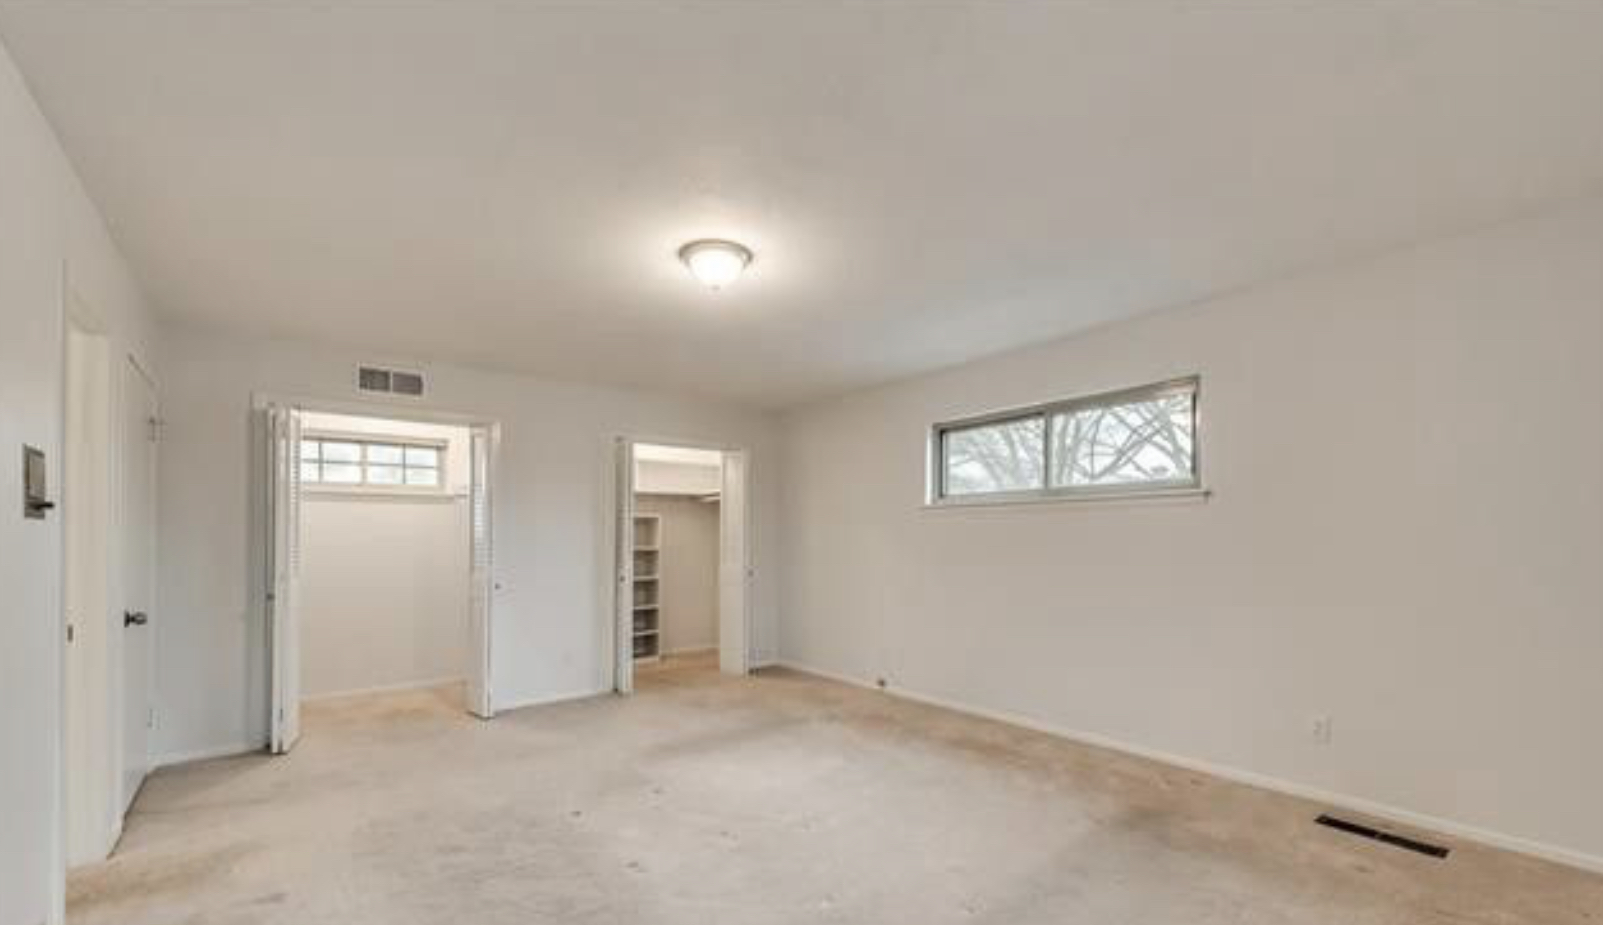
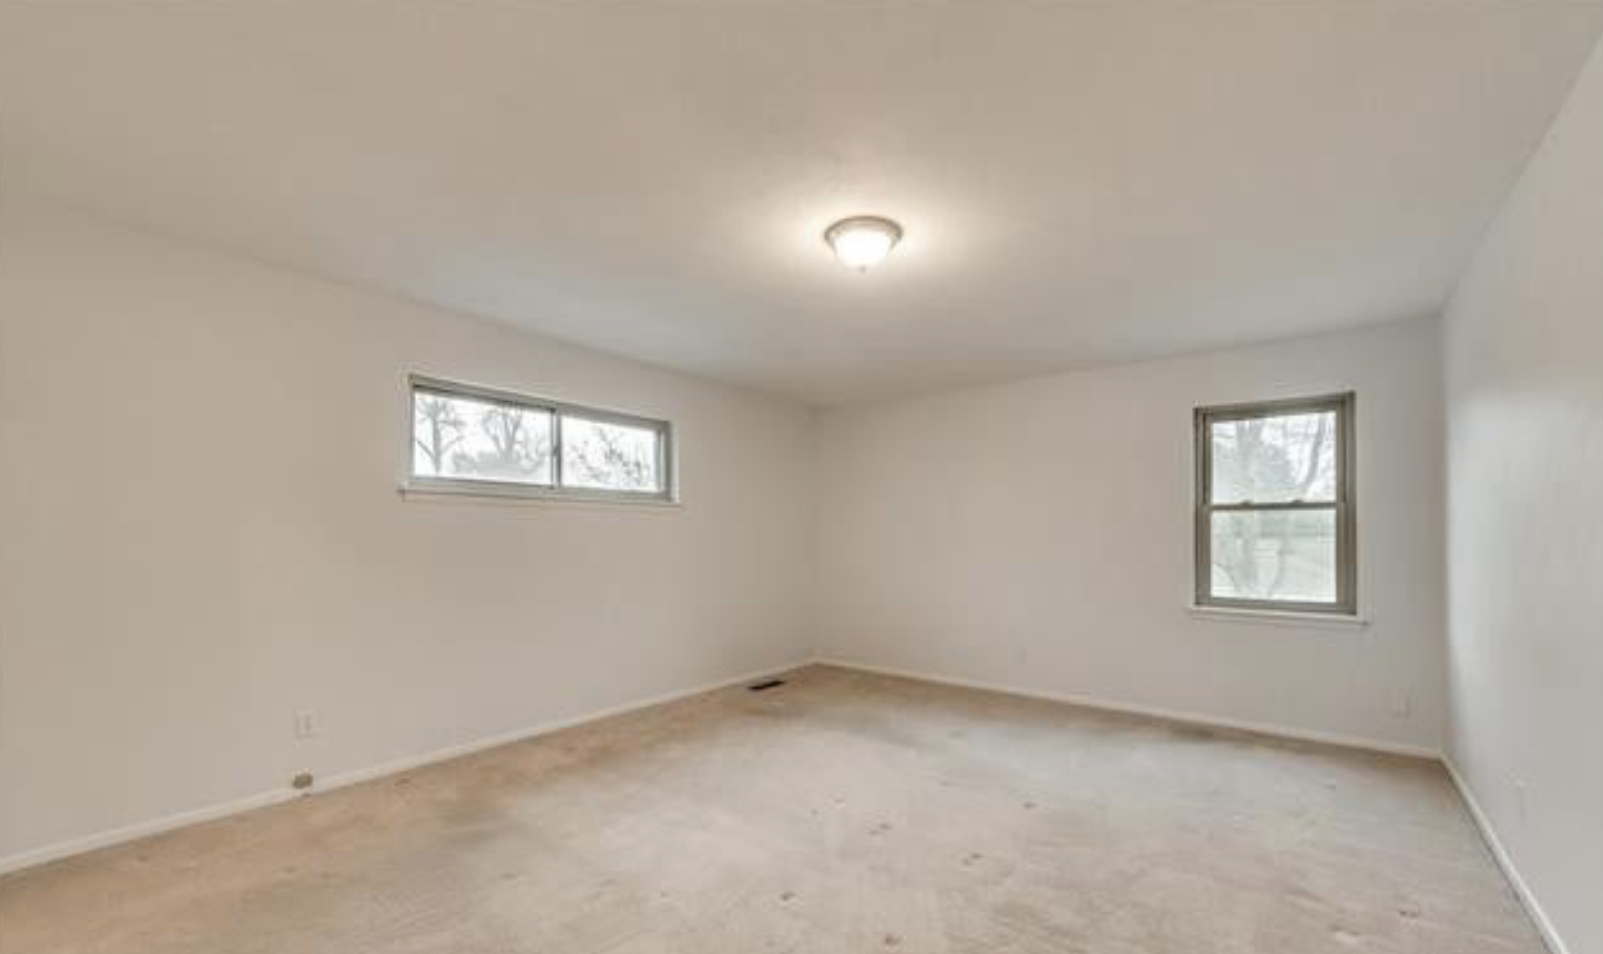 The first thing we did was place our new King mattress in the room. After all the research, we chose a Leesa mattress for it’s comfort + no-offgassing properties. But wait, you might say, isn’t a King mattress at Leesa over $1000 by itself? How did you stay within your $600 budget?
I honestly think this was our BEST second-hand find yet. An unused Leesa mattress popped up one day on Facebook Marketplace. It had been purchased for their guest bedroom, but after a few months they had decided to convert the room into something else instead. The tags were still on!!! And she wanted just $300 for it!!! After 3 months, I can safely say that I am in LOVE. We frequently talk about how we waited too long and we’re getting better sleep than we have in years. It’s not just that we have more room, it’s that because there are no springs, you can jump on one side and the other side doesn’t move at all.
And the good deals kept rolling. I read somewhere that you can combine two twin box springs to make a King, and that it’s easier to transport (many suggest doing this with your foam mattress too btw– easier to flip them without getting a hernia, and with a mattress protector on, you can’t tell. We almost did this, but found the Leesa deal instead). Our box springs were literally free– someone around the corner in an expensive neighborhood was offering them up. Don’t worry– we checked for any bugs. These looked brand new and unused. AND FREE.
So we plunked it down in the huge master bedroom. I had originally thought we would keep the bed under the long rectangle window (which I would eventually like to put plantation shutters on). But it looked comically small, especially since we still had our Queen bedding on it, haha!! Literally, every single person that walked into the room asked if it was a Full bed, because it looked so small!! Nope. That’s a King.

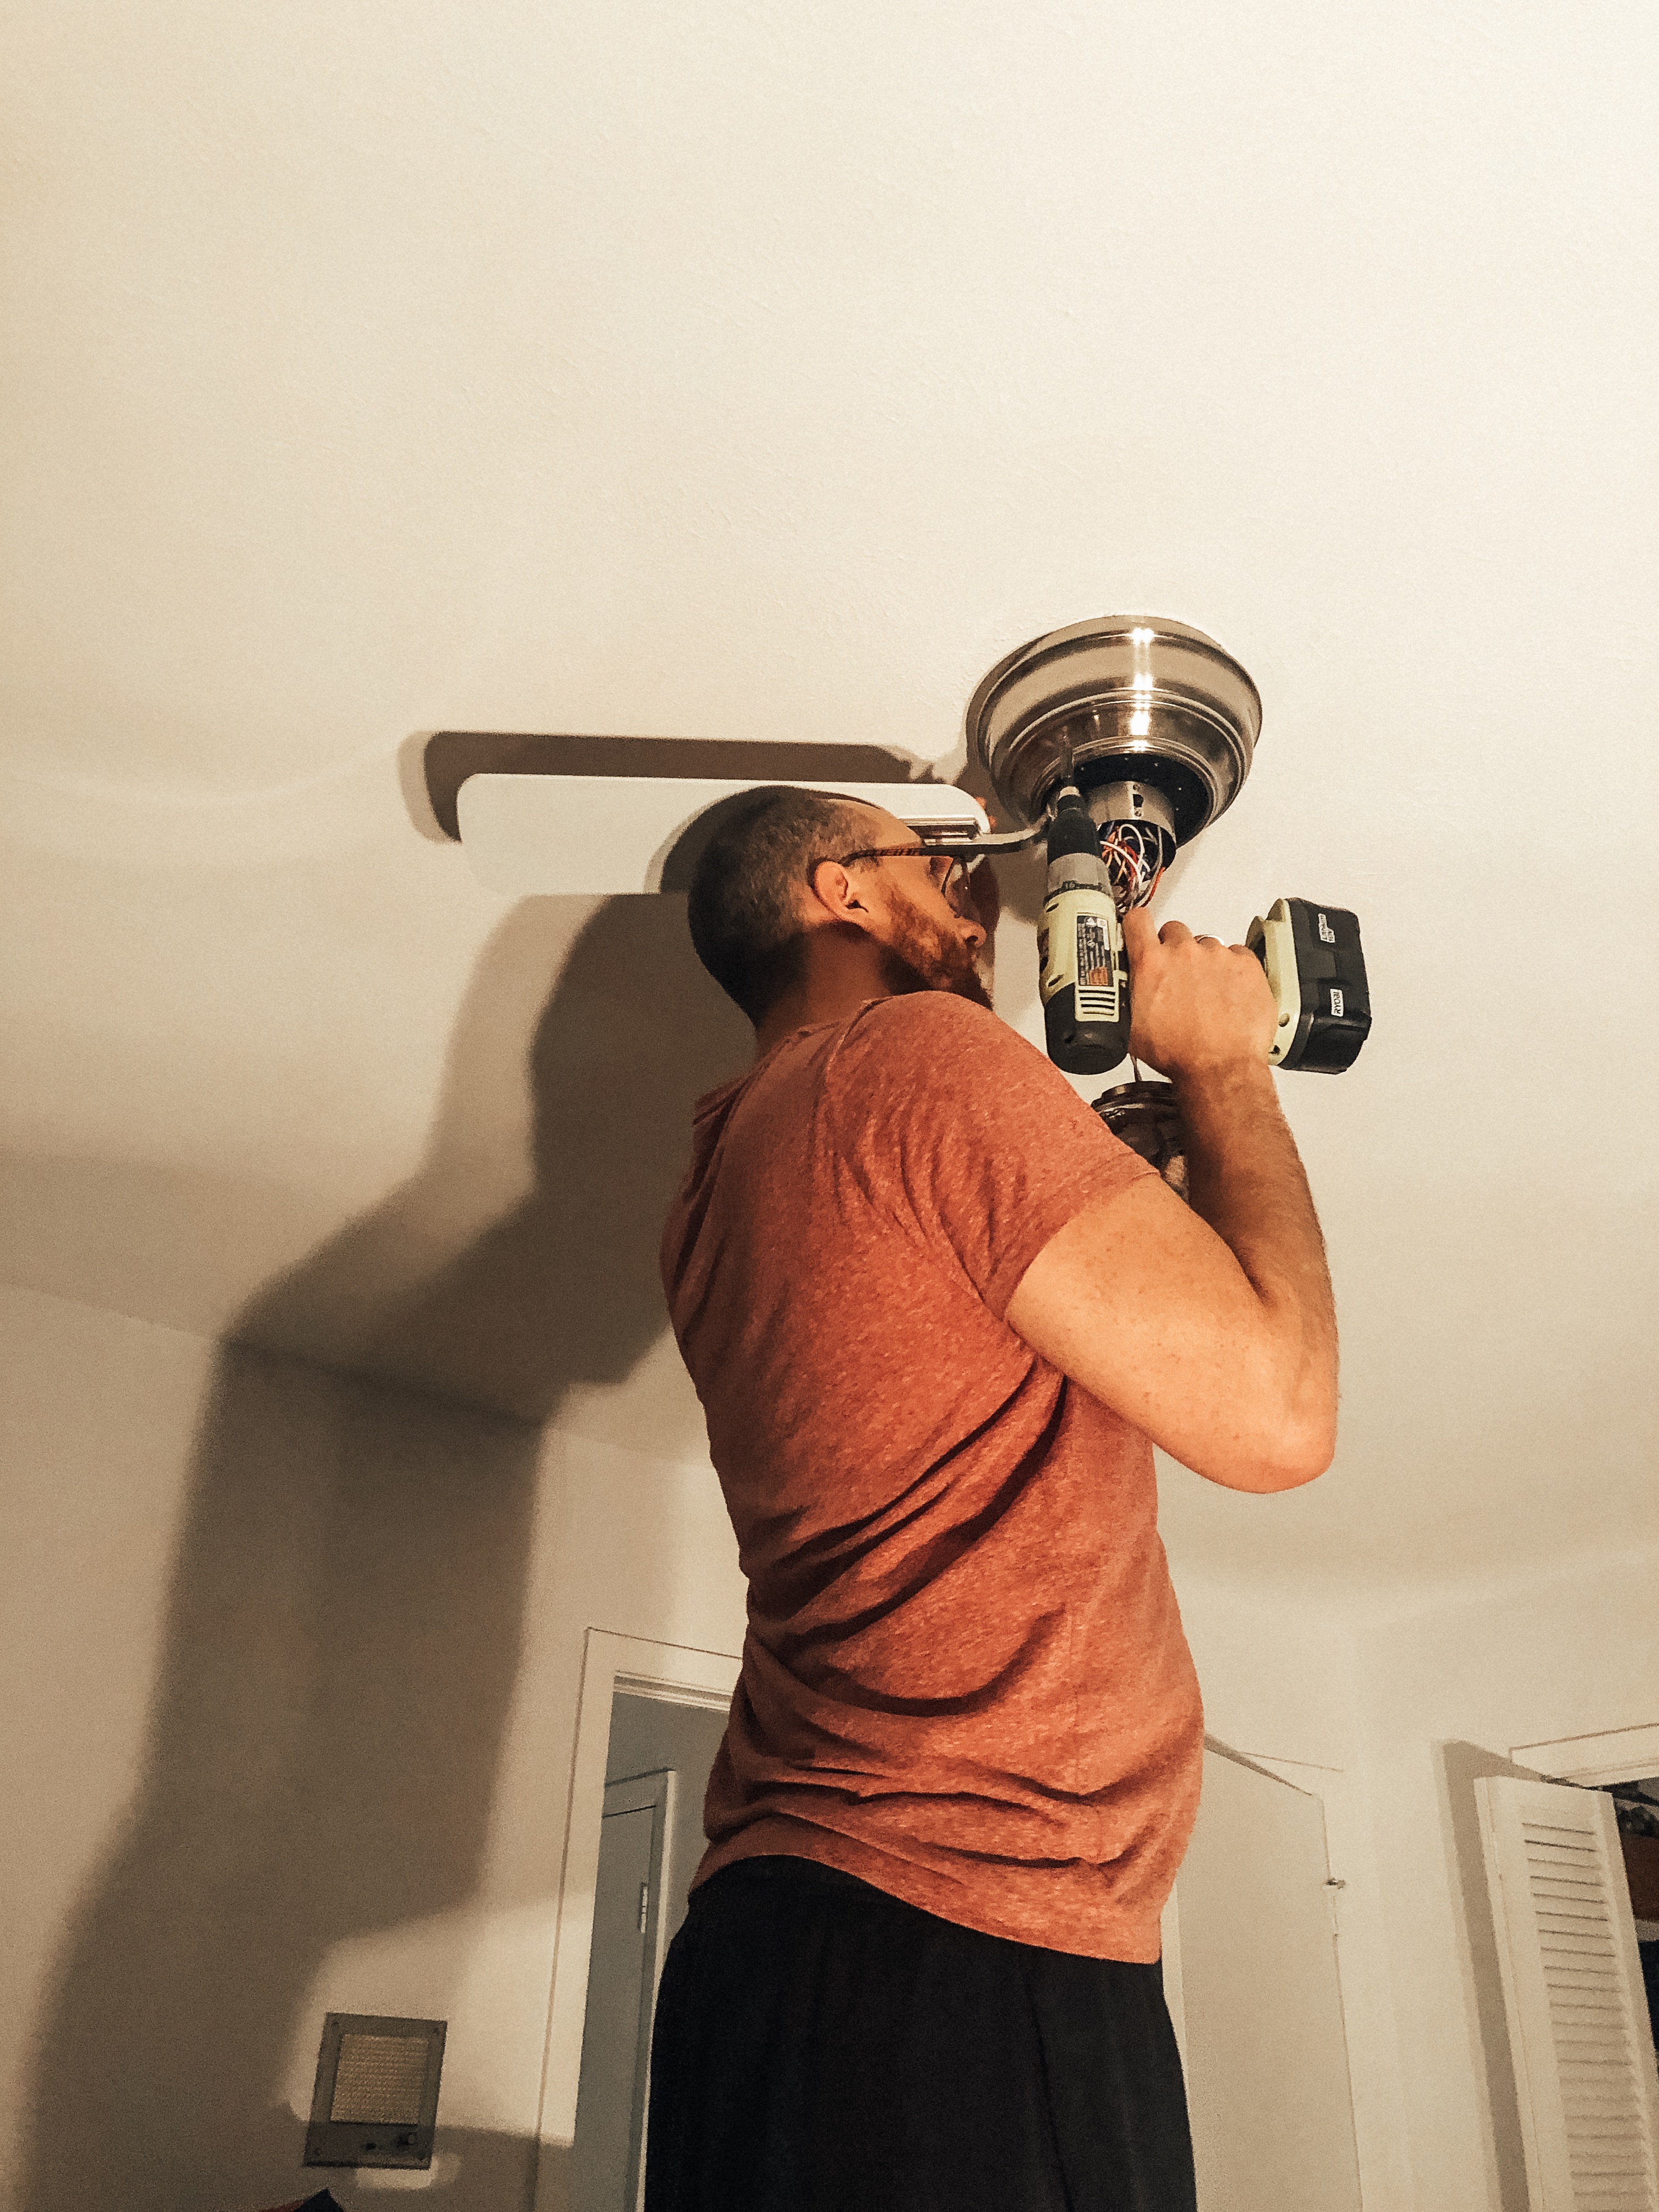
But our focus for May/June was our kitchen remodel, so we sorta lived with it for a while. Little by little, I sold our bedding and used the money to trade up for a few things. I found our amazing Restoration Hardware cover and shams for $80 total on Marketplace, barely used. The set would have cost me $400+ new. We also installed a ceiling fan because….Texas summers. Enough said 🙂 Lucky for us, one of the few updates this house has is ALL new windows, radiant barrier in the attic, and a new a/c system. This was one of the reasons we chose the house, actually! We know how much $$ those things are to put in! But there are boob lights everywhere, and I’m on a mission to get rid of ALL of them 😉
We also started experimenting with paint colors. Eventually we settled on Natural Linen by Sherwin Williams, a color that we put in my office downstairs. I LOVE IT.

Here’s what the color looks like downstairs in our office: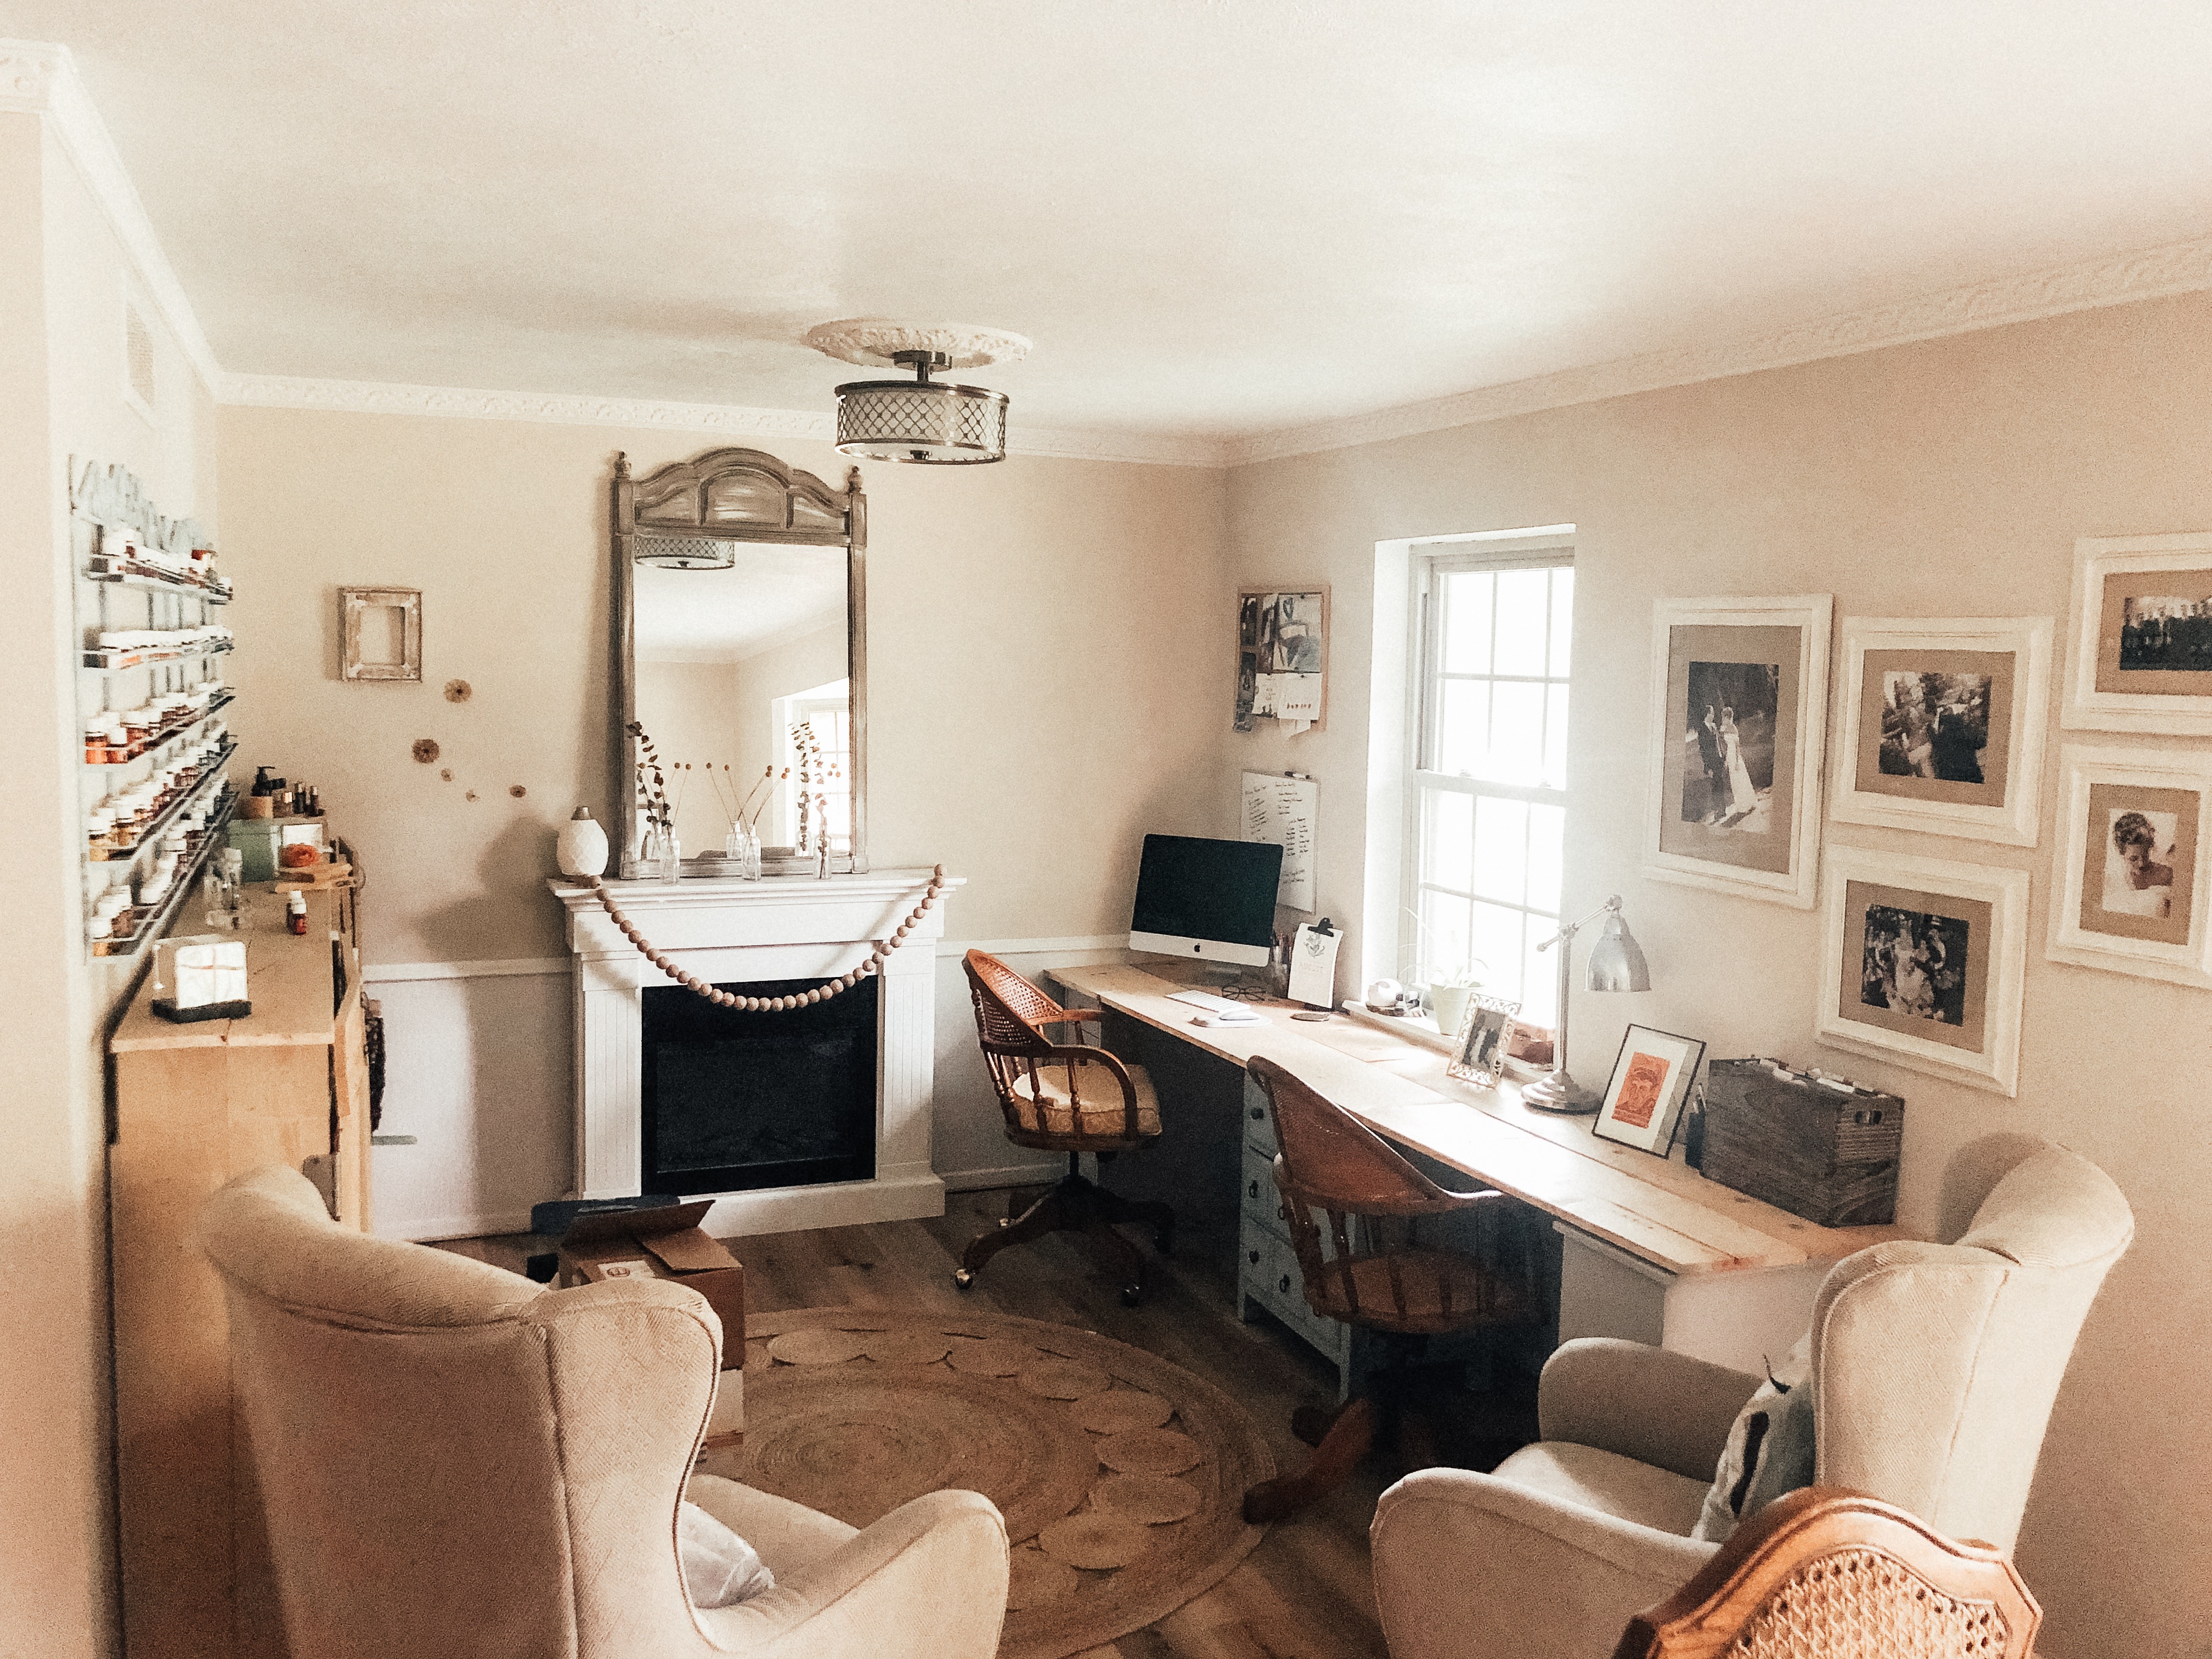
Next up were furniture concerns. Again, all of my dream beds were from Anthropologie, Serena and Lily, and Restoration Hardware. Some them would’ve cost more than our kitchen appliances. So….a no-go for right now. But neither did I want to spend a couple hundred on something I wasn’t going to keep long term.
And then I found a vintage rattan headboard at an estate sale. I saw the vision right away. It was pretty far away, but my friend Stephanie lives around the corner and her husband was so kind to pick it up for me after work in his truck. It was only $20!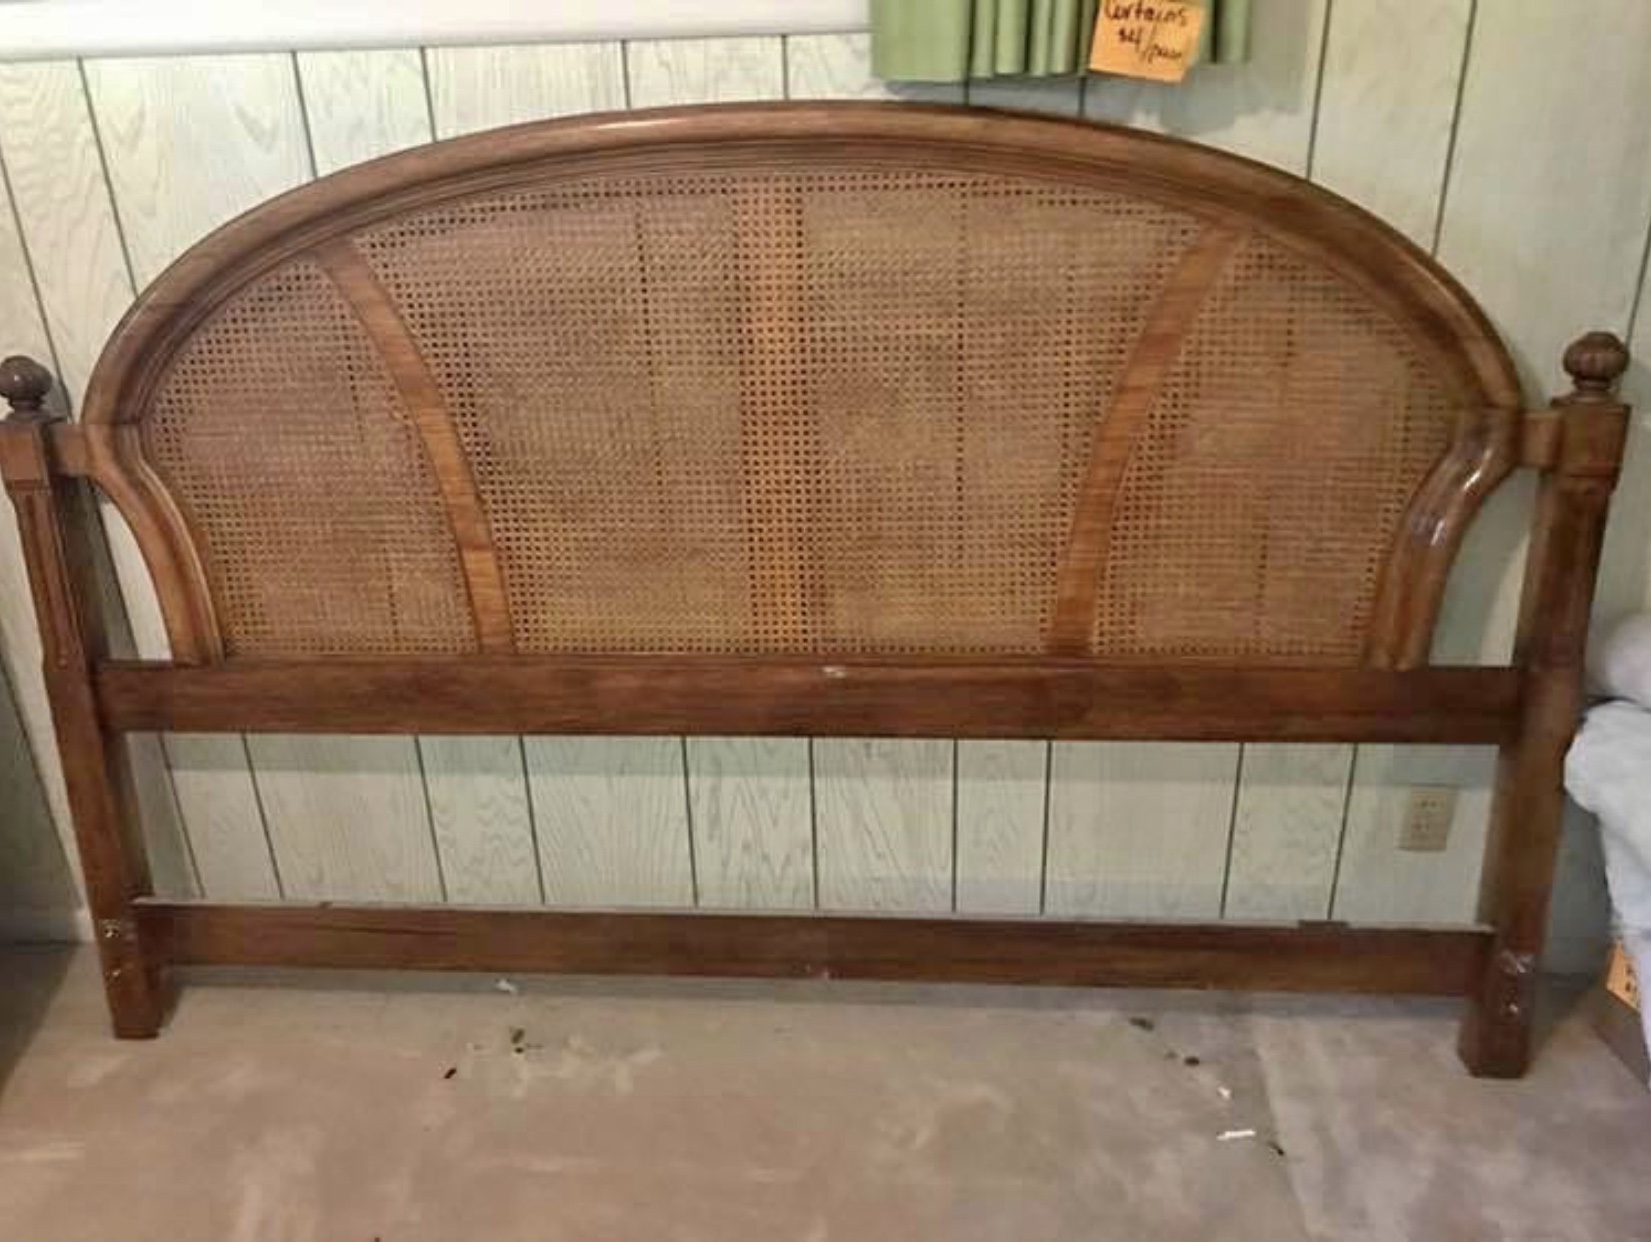
And then came the matter of a footboard. I was pretty intent on having one, since they keep the covers from slipping off. I couldn’t find anything for months, really, until this popped up. But to have a headboard made to my specifications, I was told that I had to get only the best palm router so that I get the intricacies right.
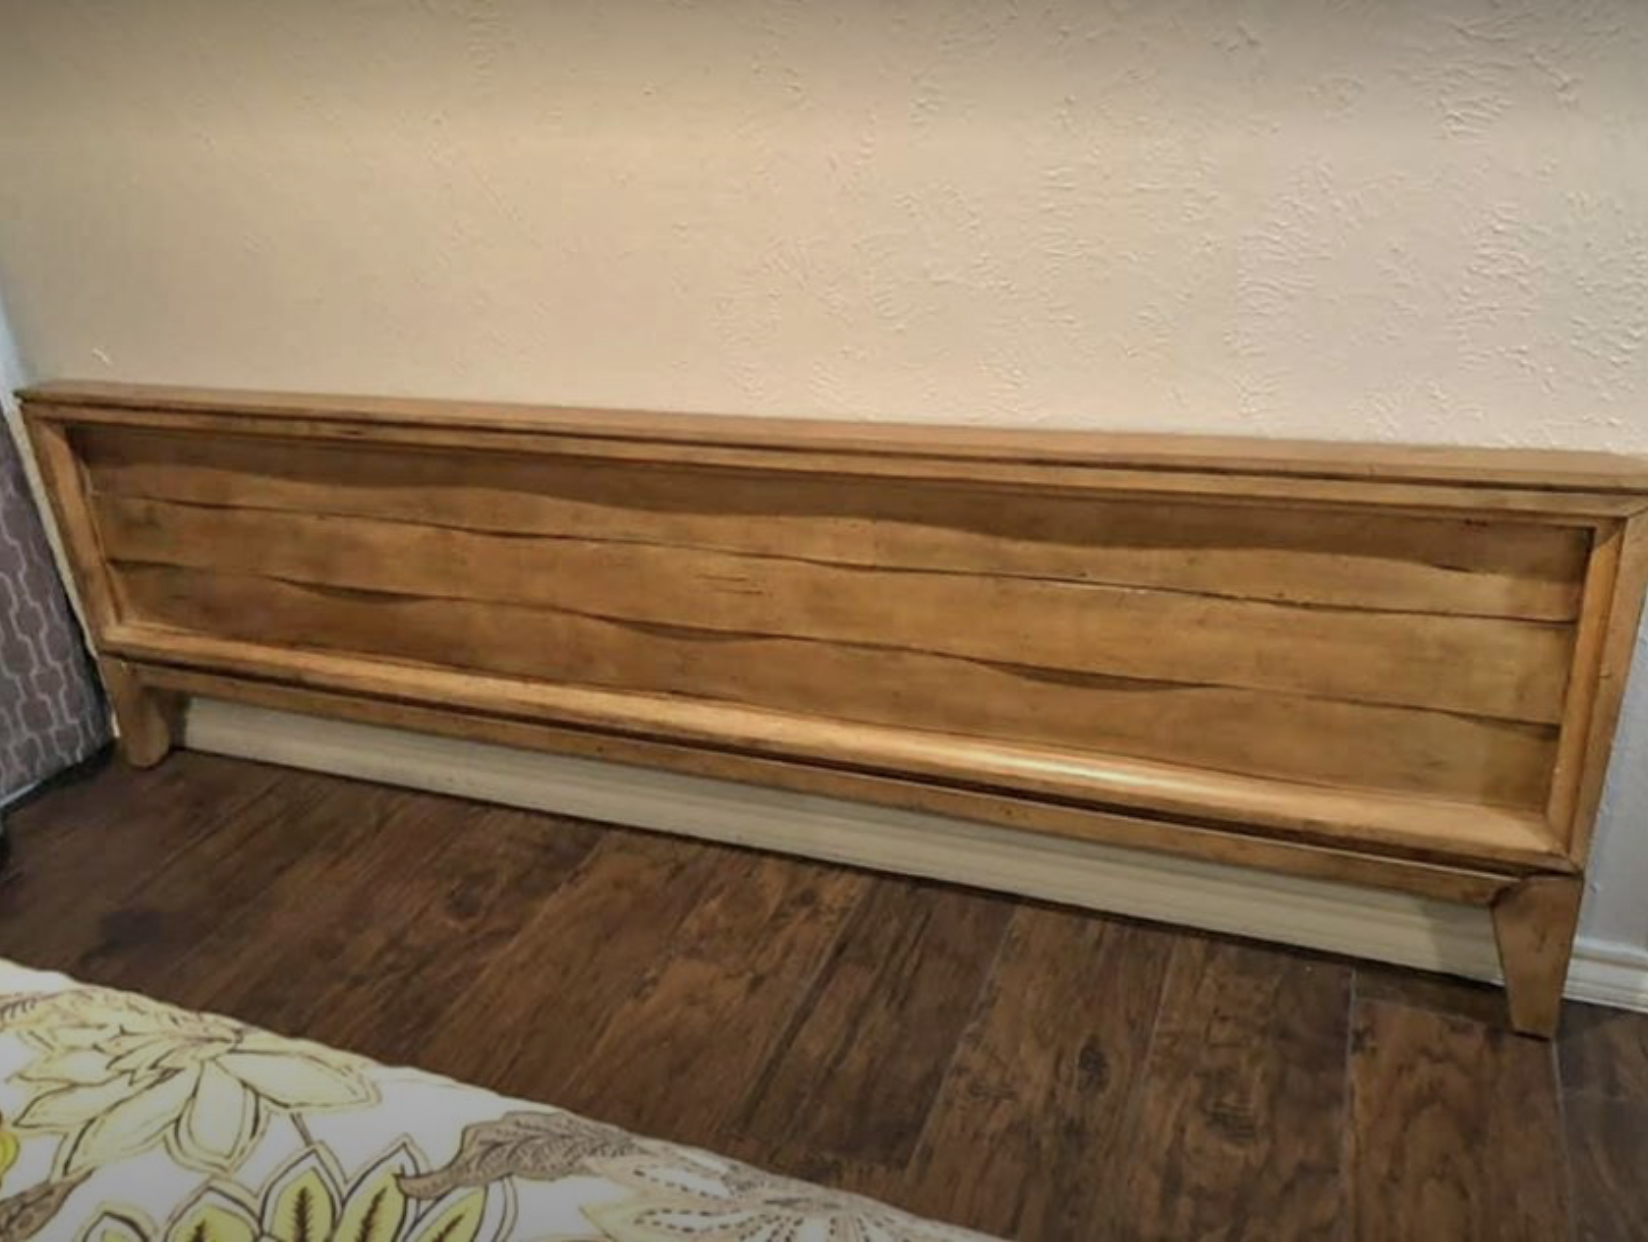
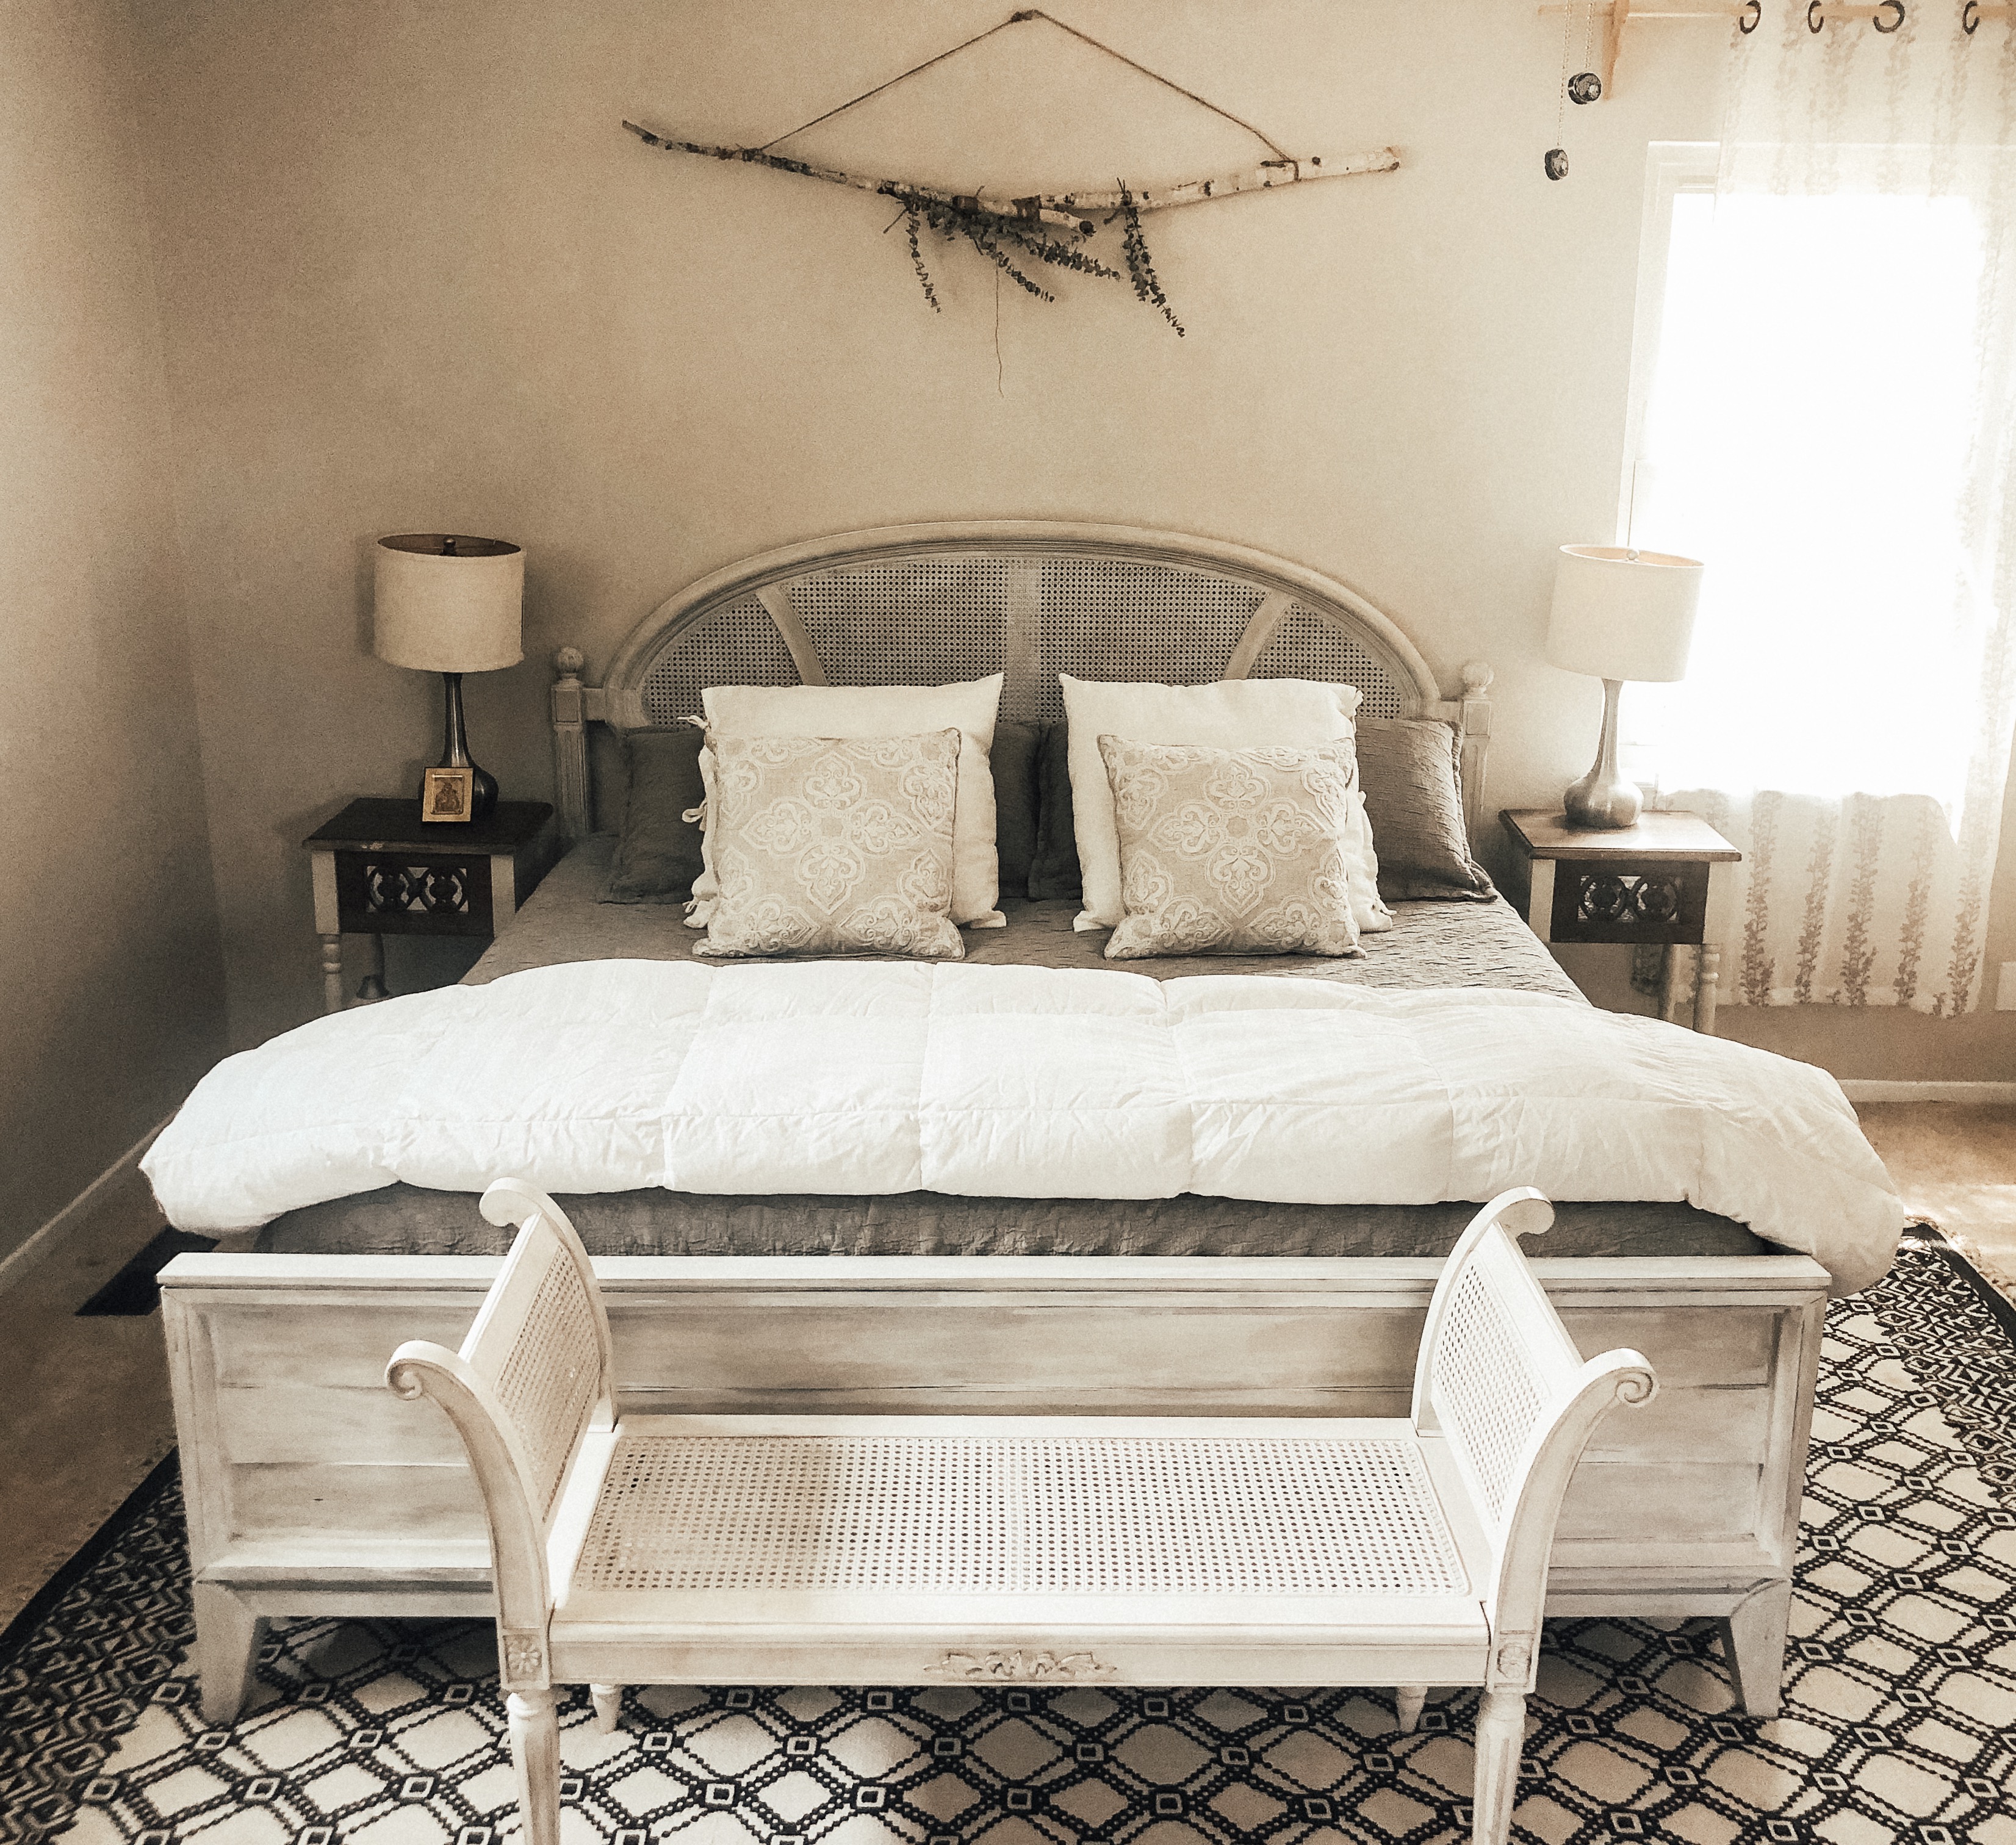
It was a totally different wood stain, but it didn’t matter since I was planning on painting both anyways! I grabbed some white chalk paint, and then distressed it with a dark wax to match the Ballard Designs bench I found for sale ($70, vs. $400 in the catalog!). We also positioned the bed on a completely different wall, and it made such a big difference!
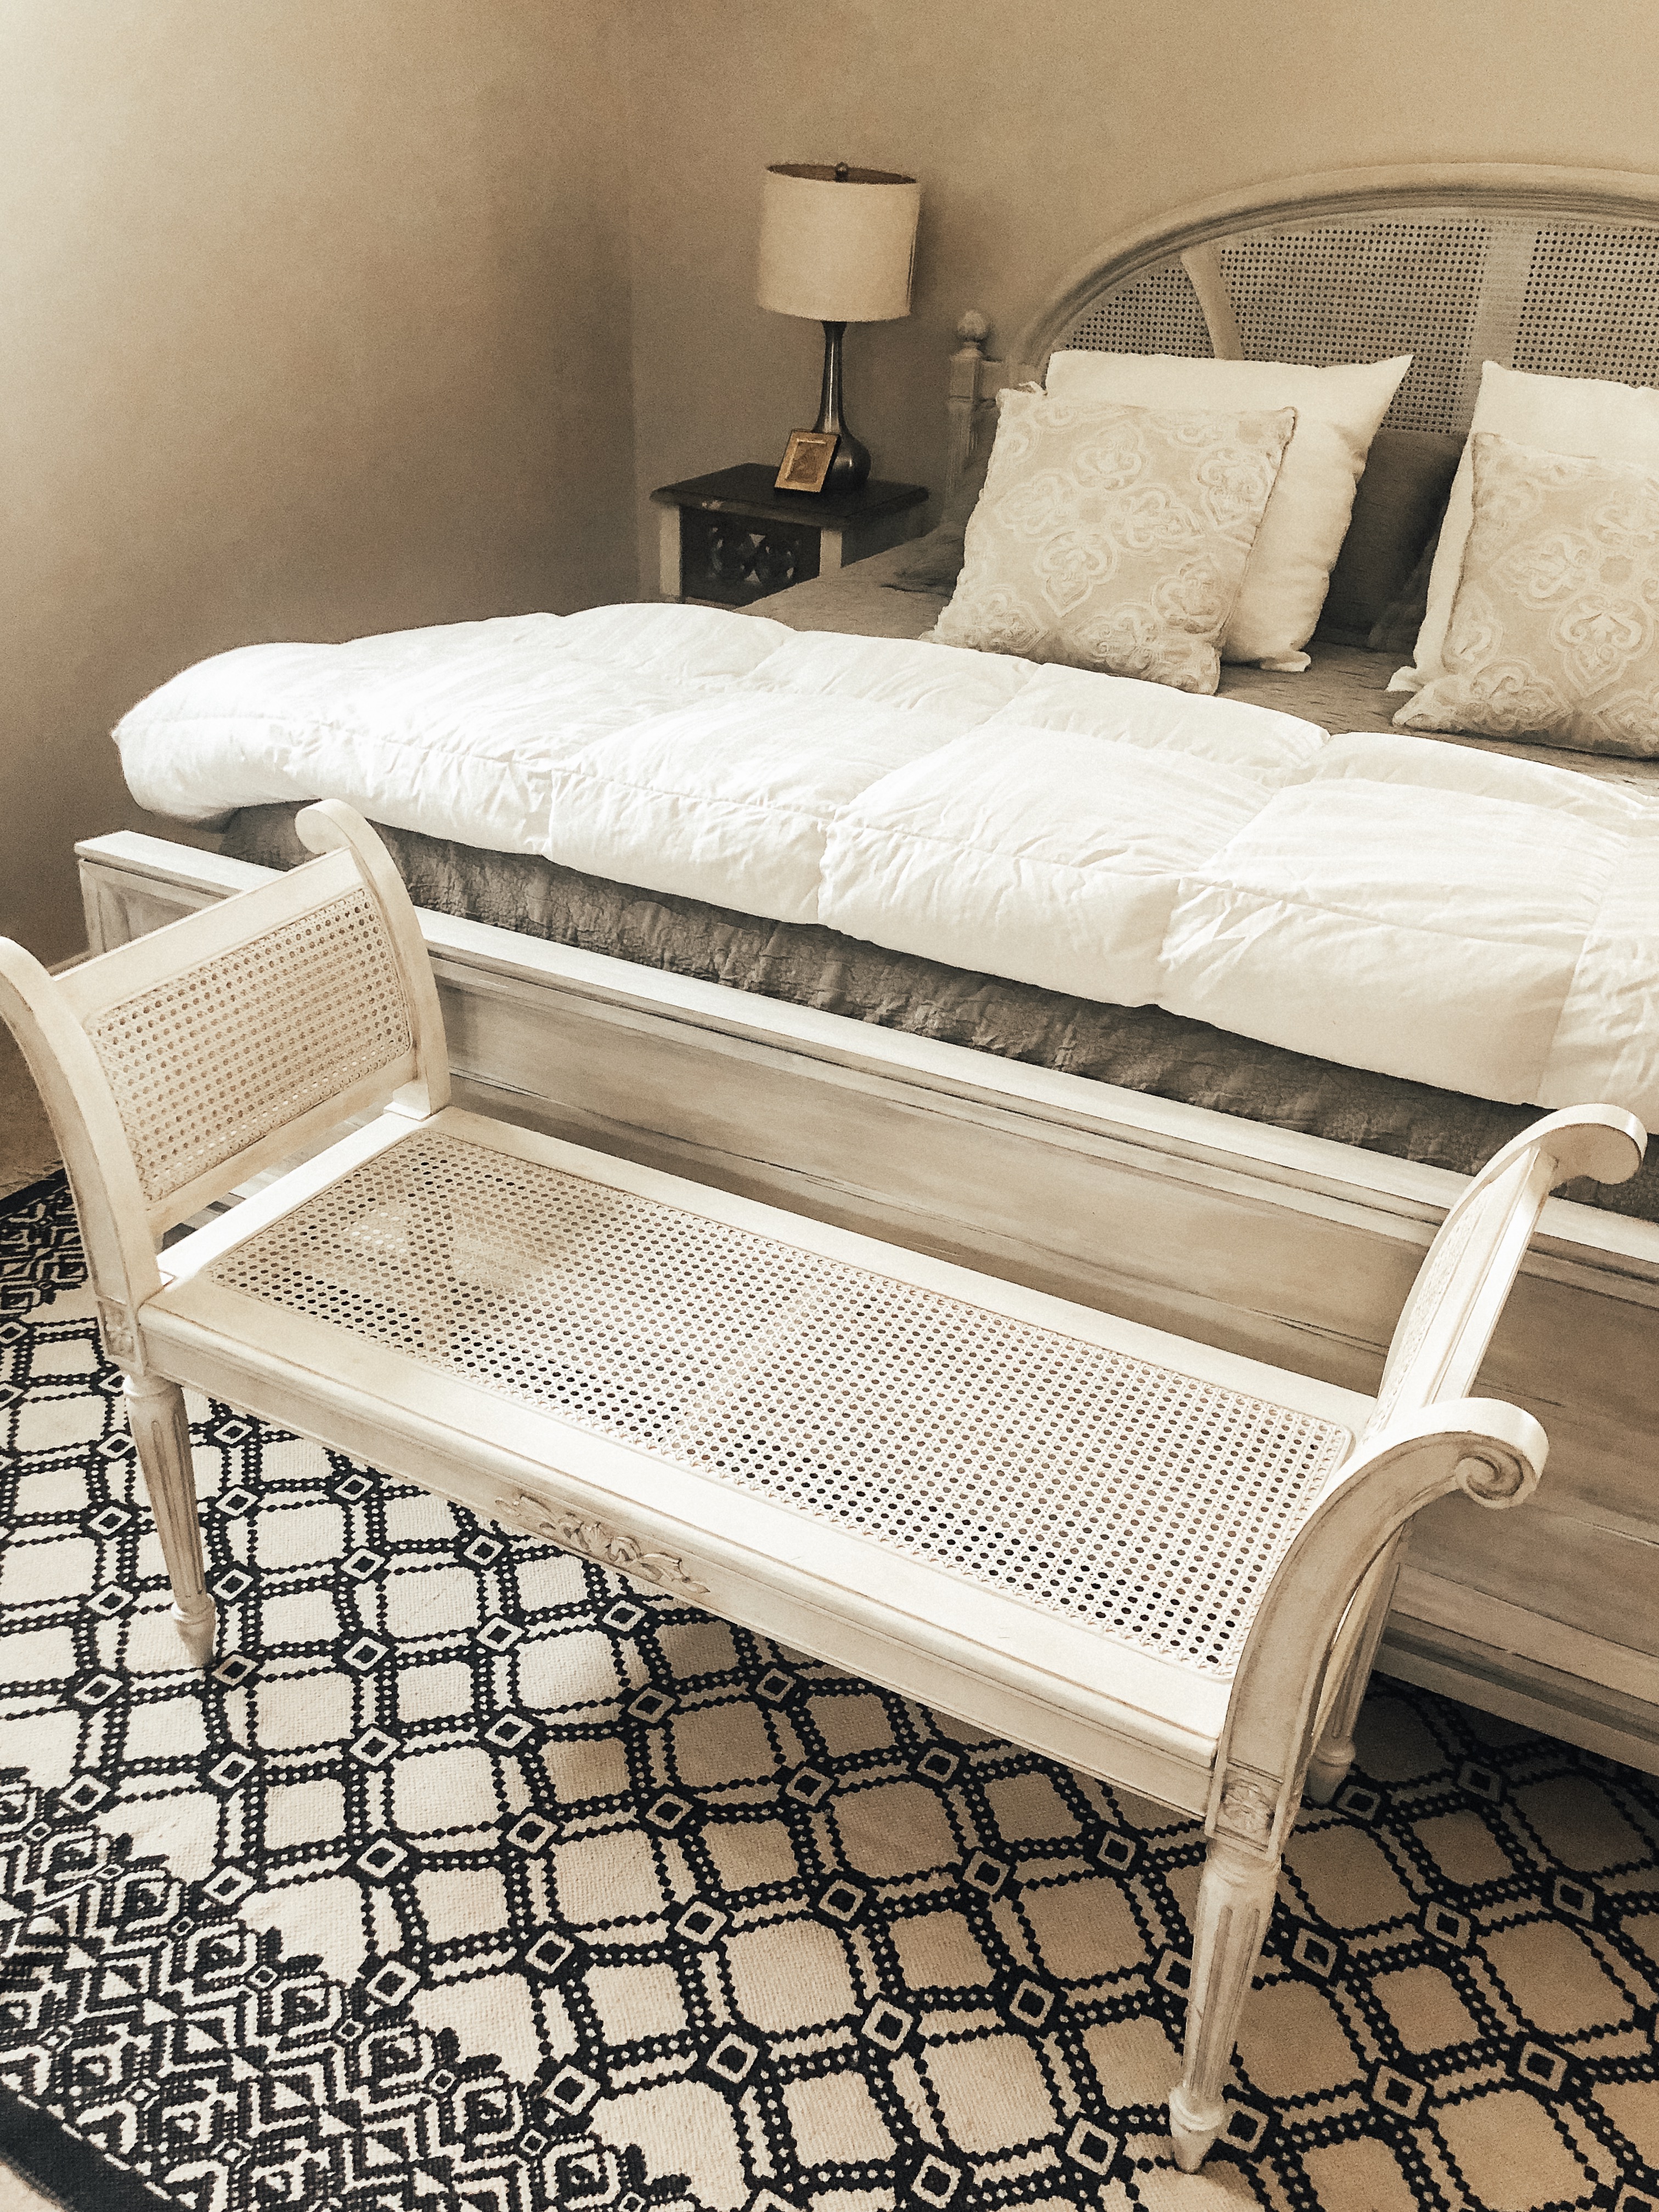
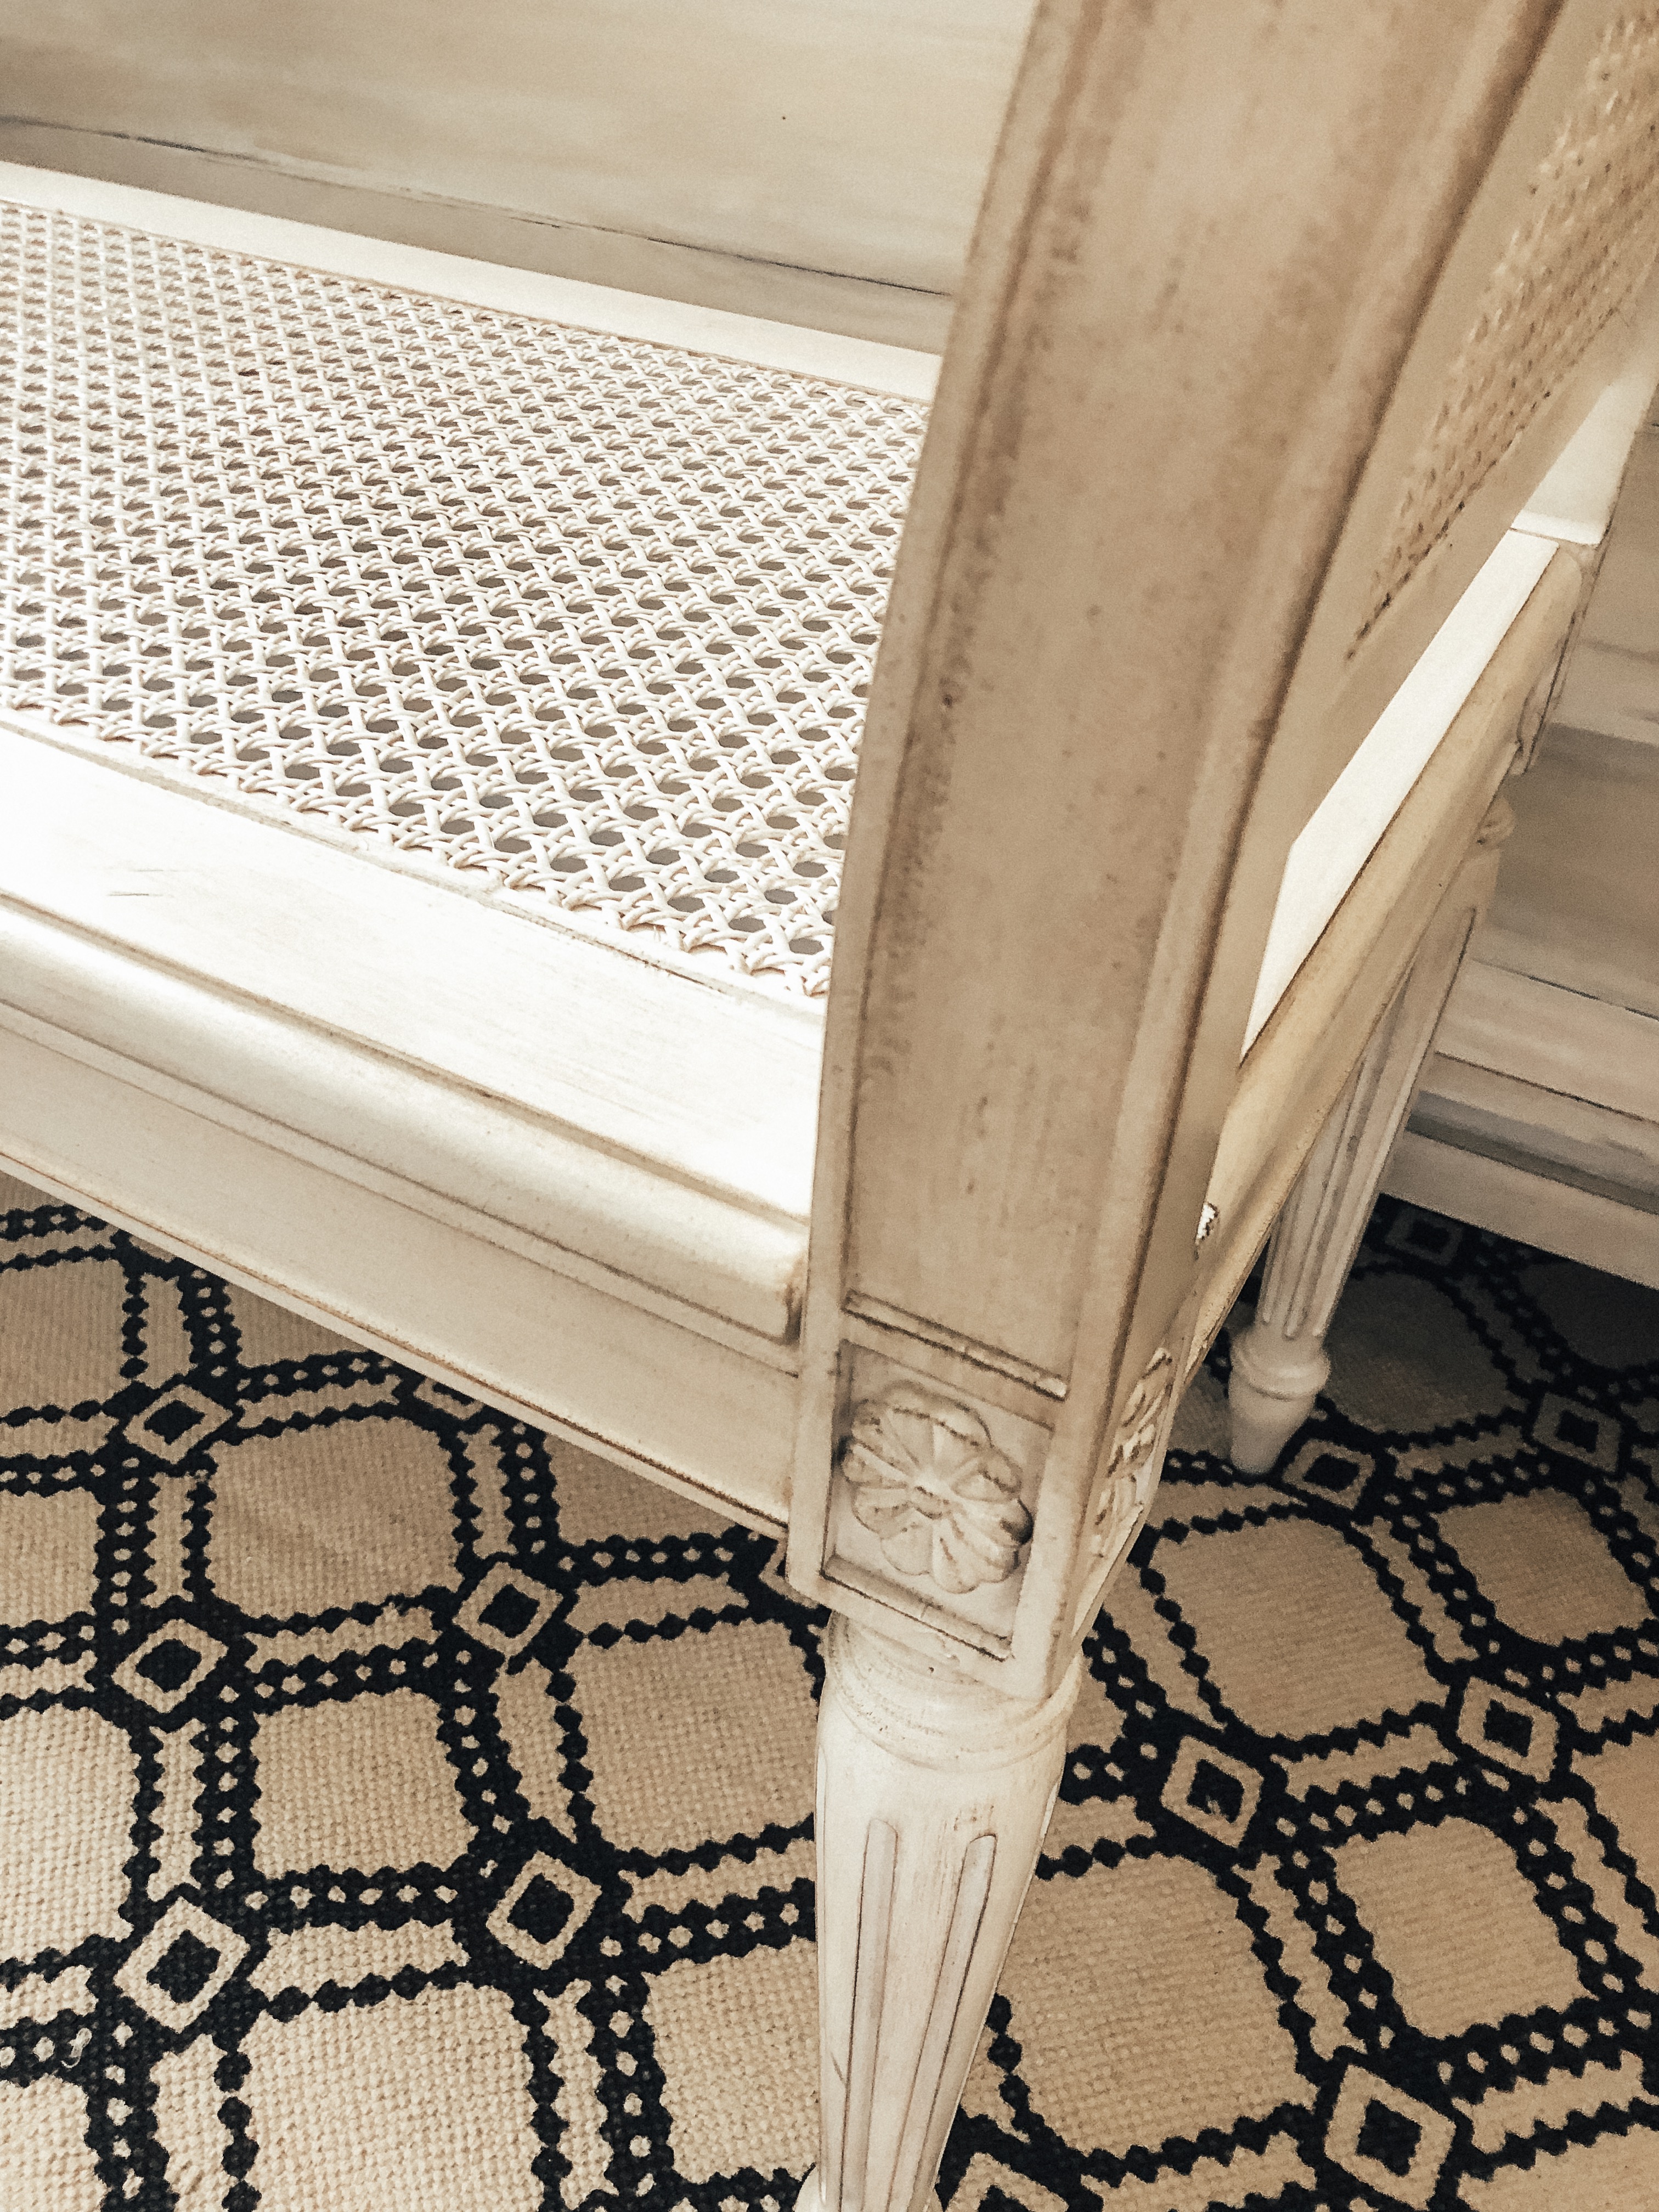
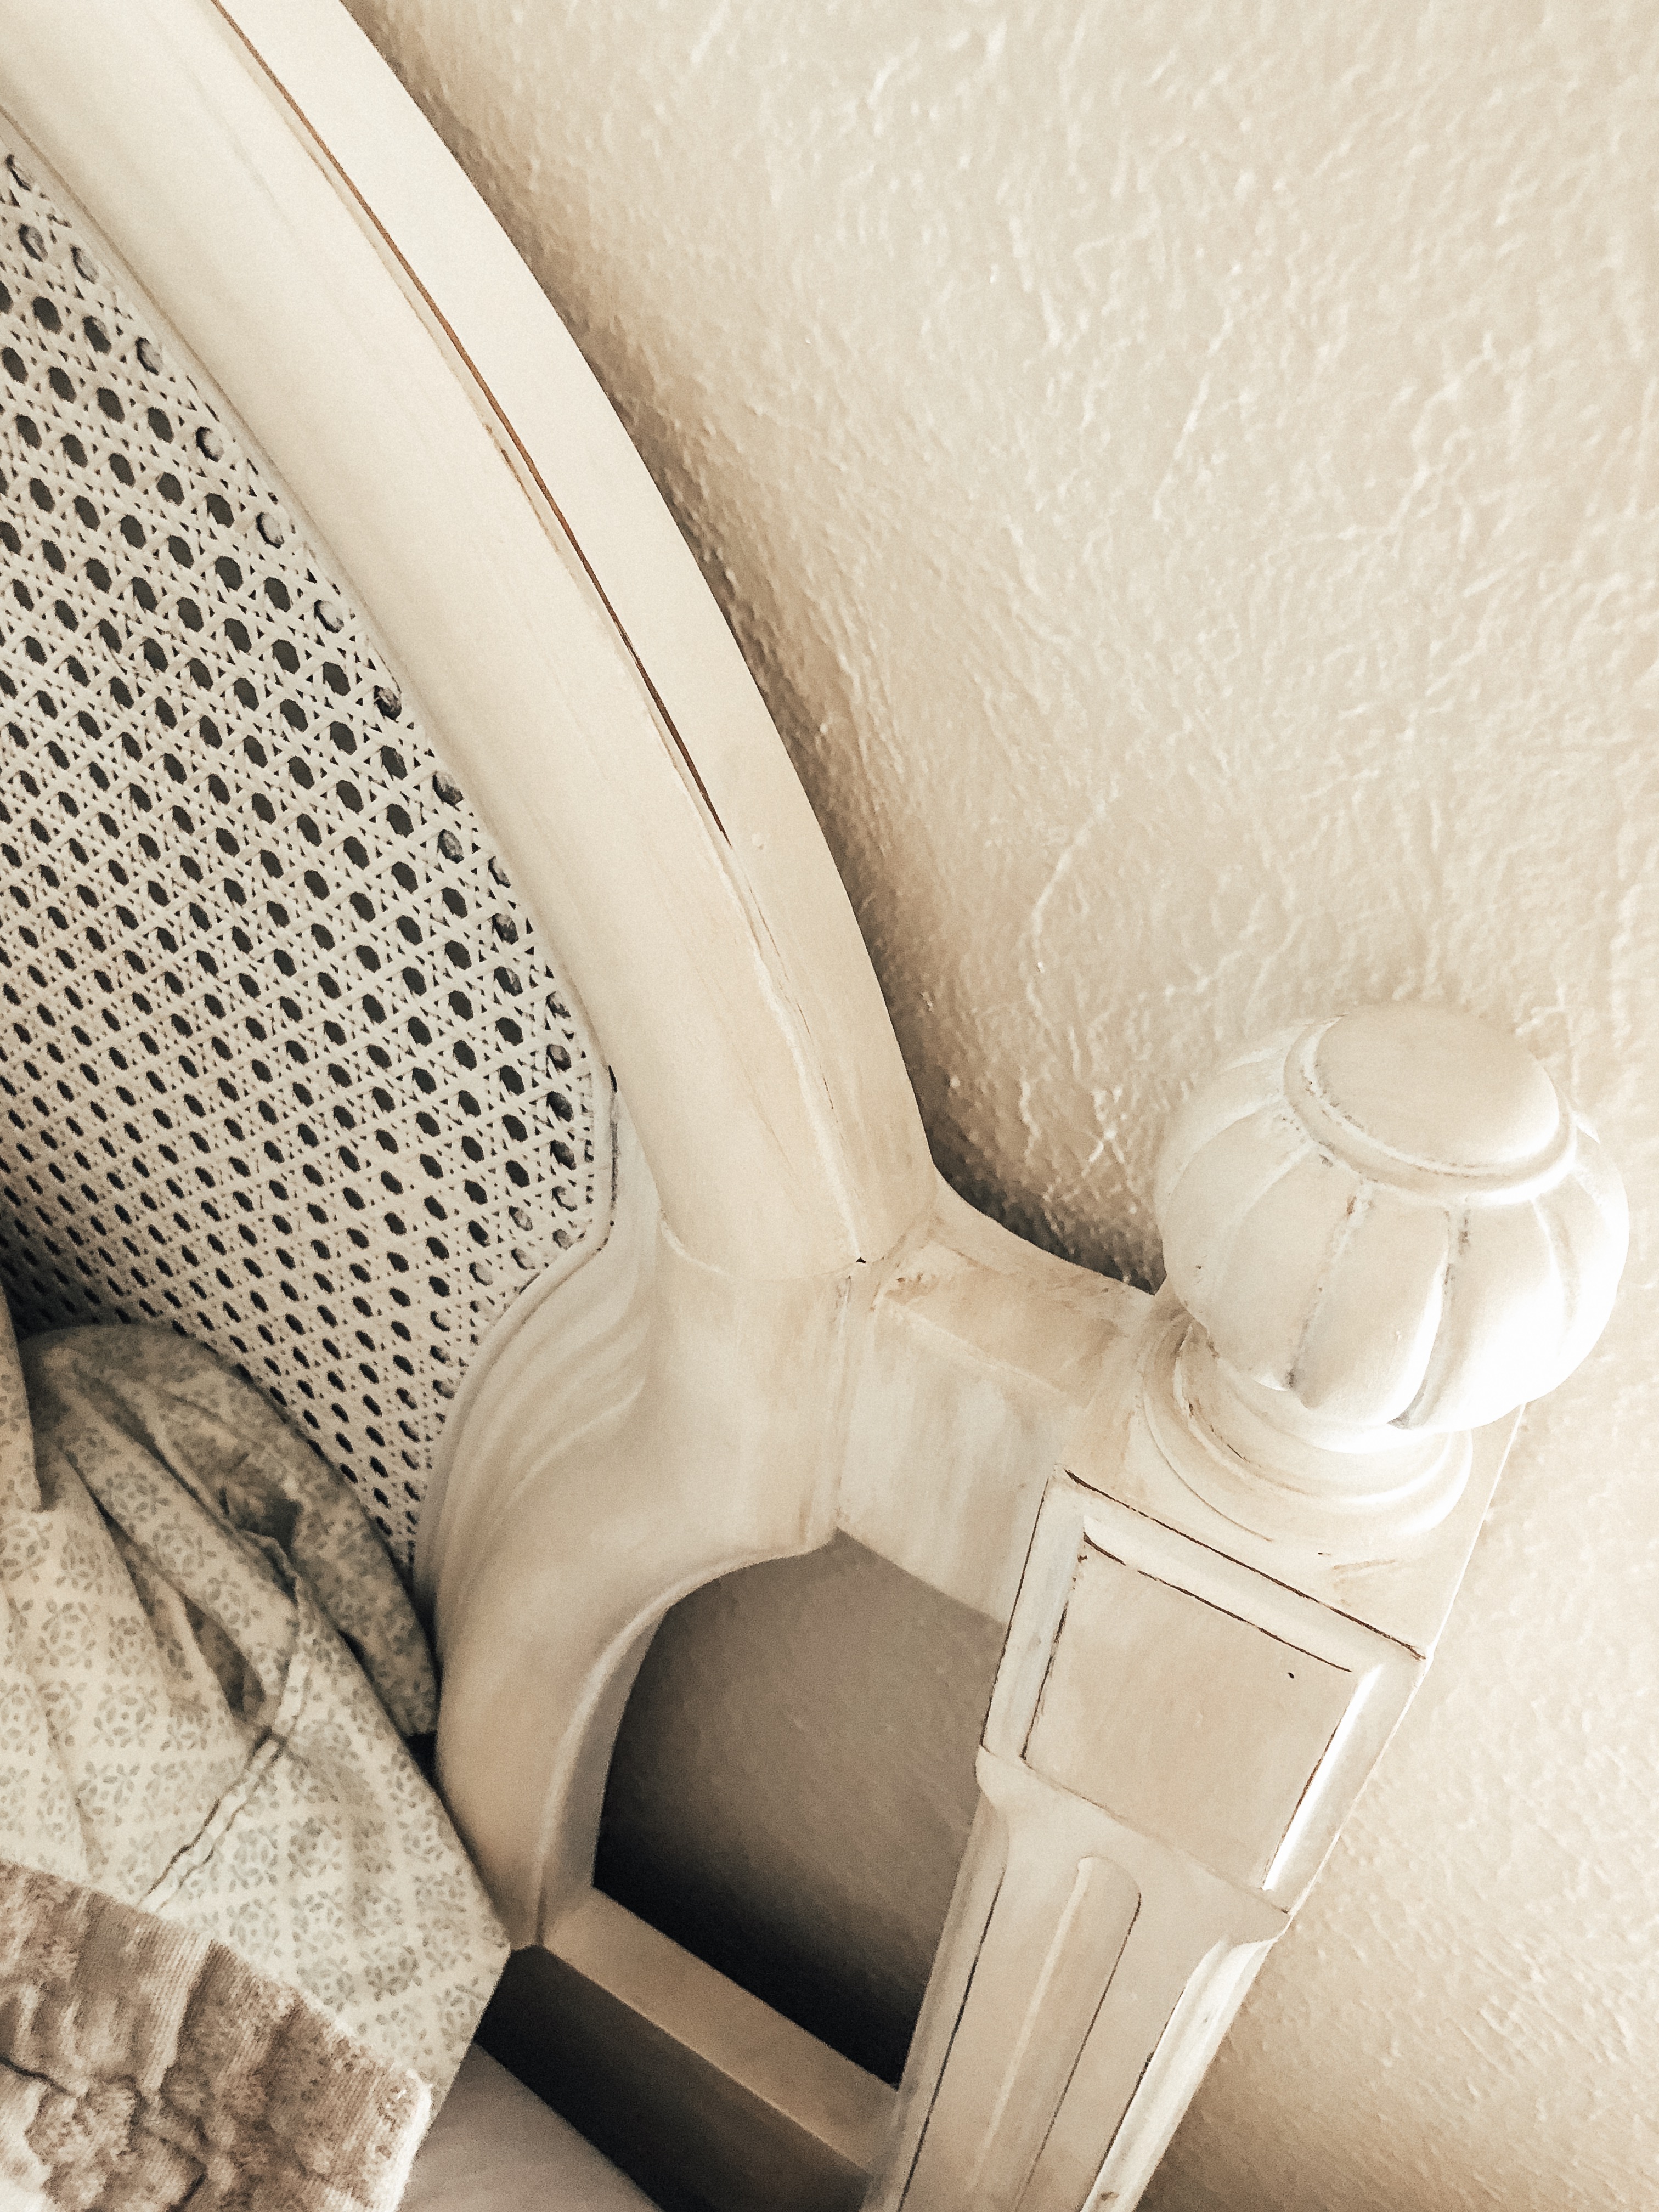

For less than $20 in paint and $40, I had myself an antiqued rattan King bed! BOOYAH. Oh, and chalk paint is literally the easiest thing to DIY. No prep work, and you just wax it at the end and you’re good to go 🙂
Let’s talk about that rug. I knew that I needed a rug, but I’m also extremely concerned with indoor air pollution, and poly rugs are a huge concern with off gassing. You know that new carpet smell? Yeah, it’s super toxic and contributes to sleep issues, hormone issues, headache issues, etc. especially when placed in a bedroom since our bodies are trying to restore during sleep. I only do cotton, untreated wool, or jute. With a King bed, I knew I needed an 8×10 or larger, which presented a BIG expense issue.
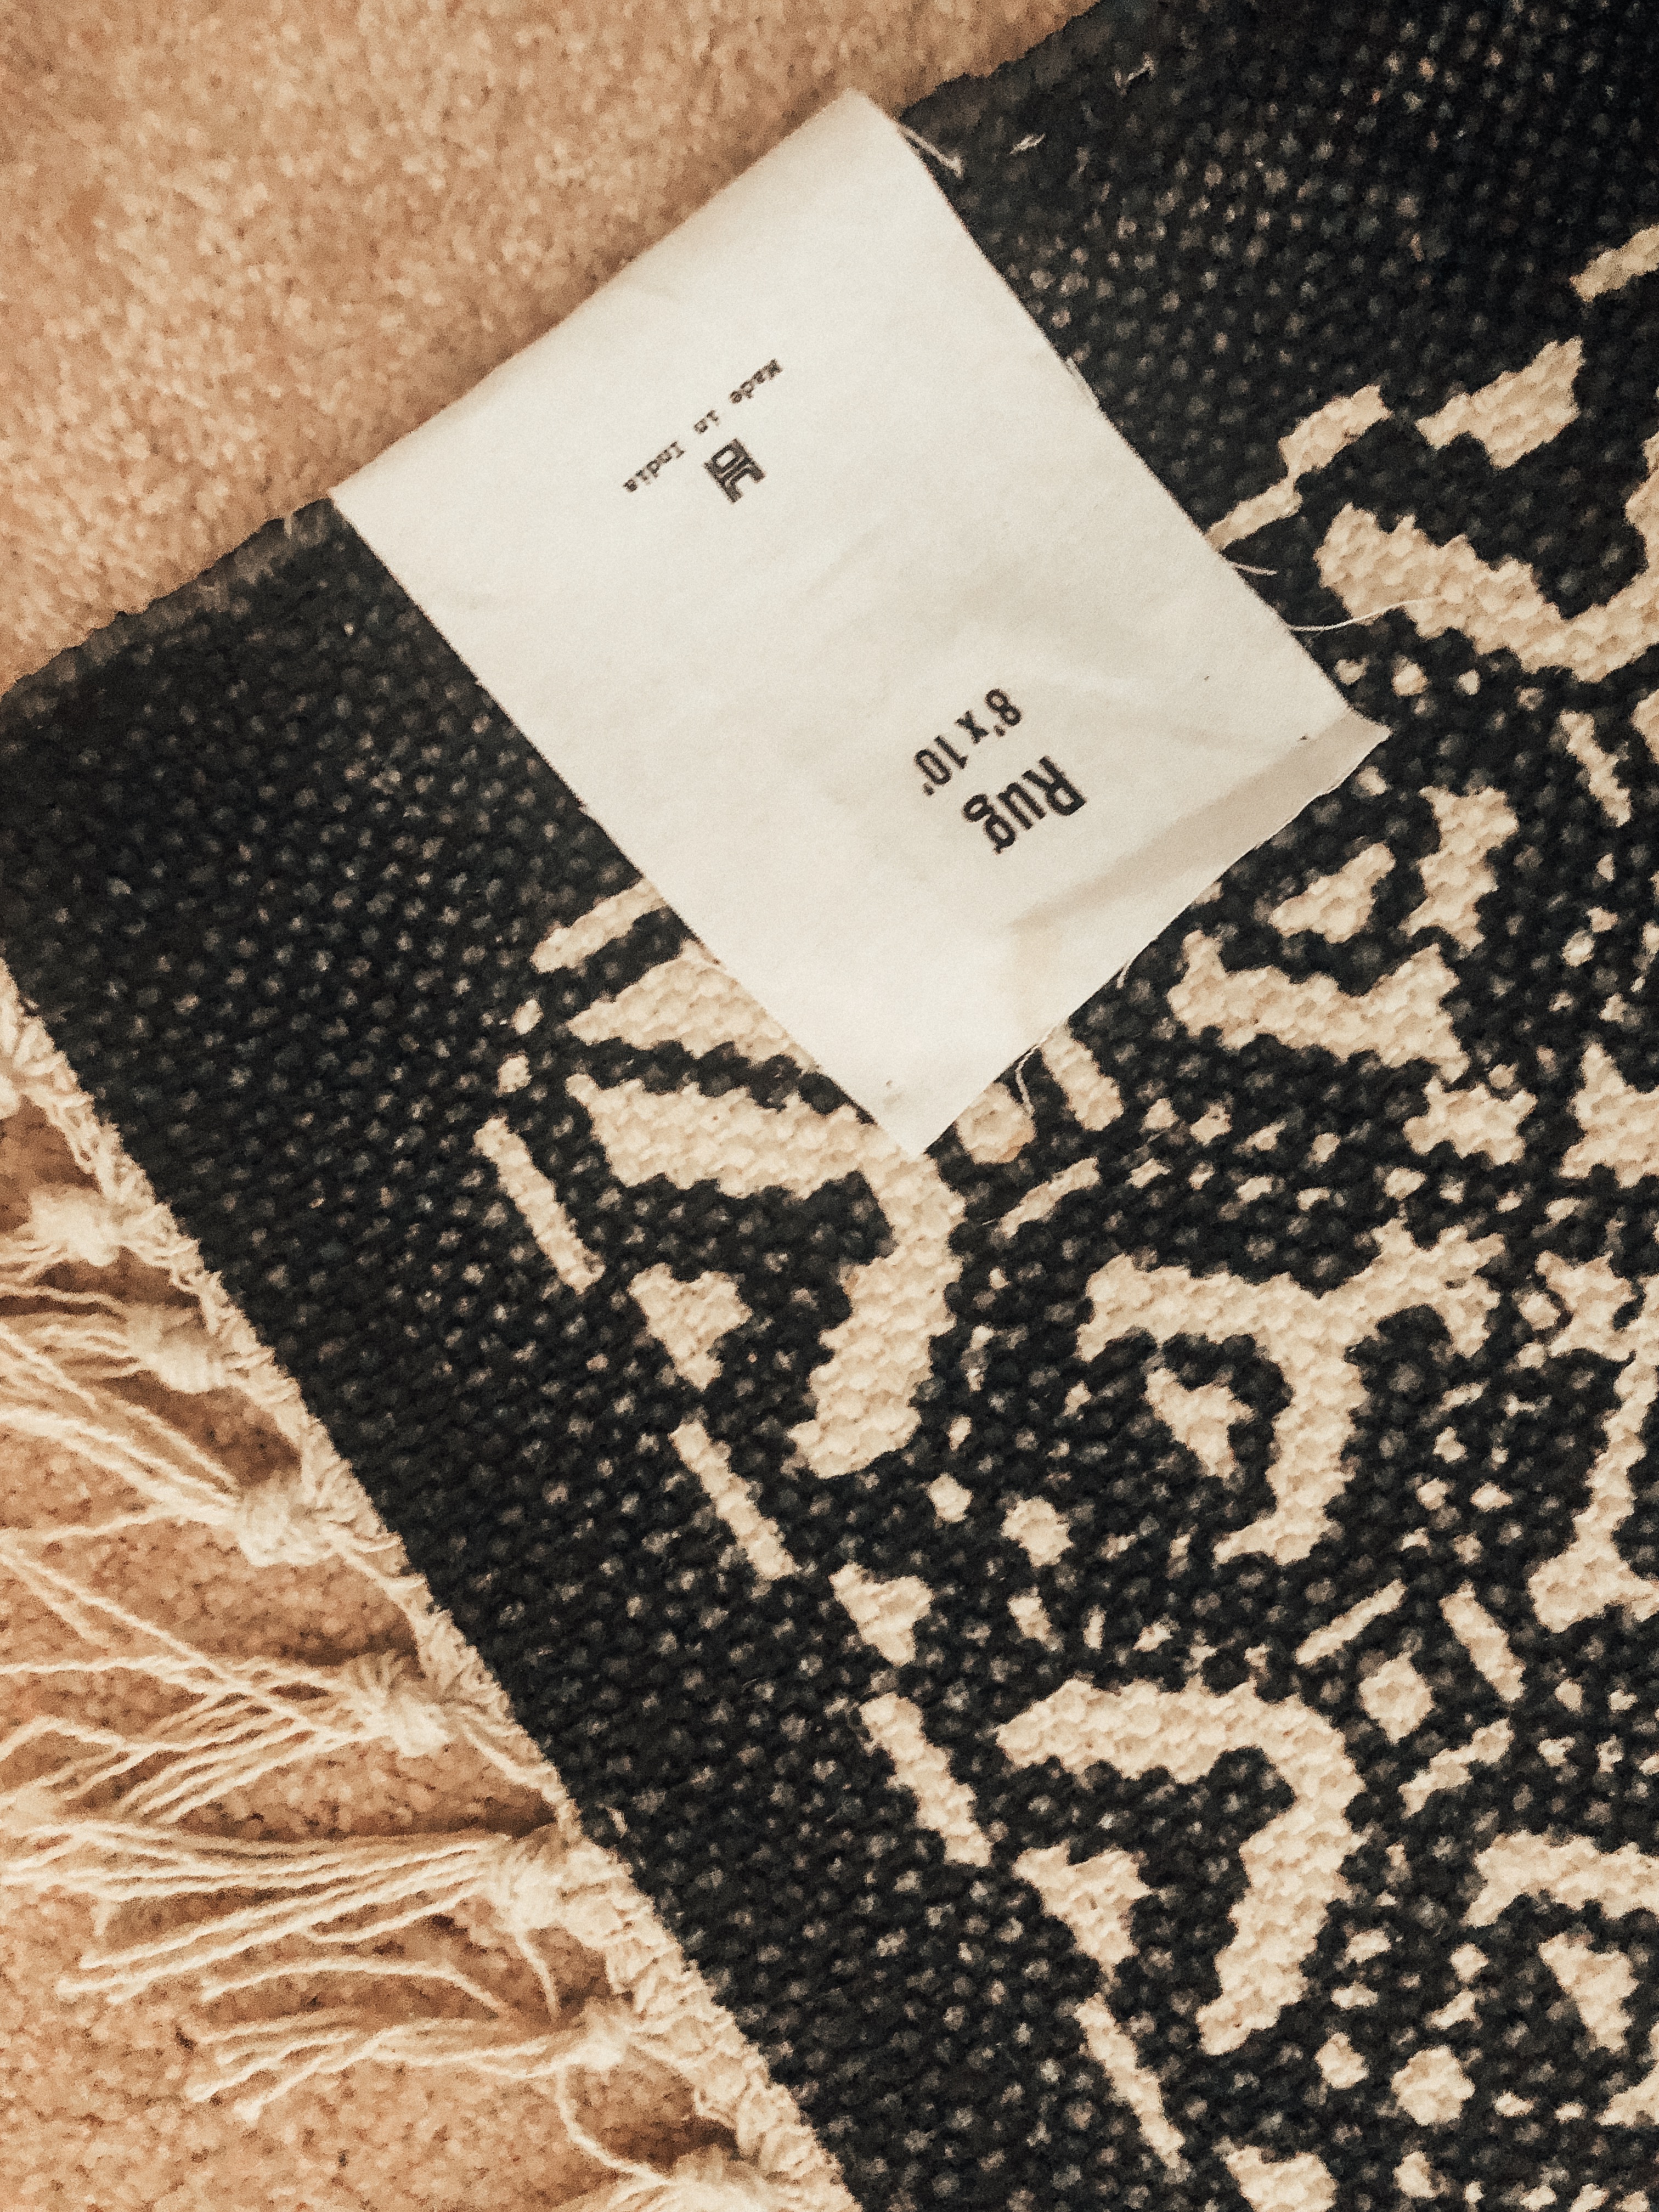
Just when I had given up hope of finding something remotely affordable, I found this BRAND NEW Urban Outfitters Cotton Rug. It was….get ready….$70. Brand new? This was $400. She even included the packing material it came in! We even forgot to take the tag off!
Lastly, our dresser situation. In our last house, we had two Ikea dressers that I had painted/stained.

We had actually decided to give these to our boys in their room! We used to have both boys sharing one dresser, but with the addition of Tom Tom into their room, we needed two.

With Tom Tom’s old changing table freed up (along with the fact that we have a wall of antique built ins in the bathroom that provide a TON of storage until we renovate it!!), we commandeered it.
Before, at our last house:
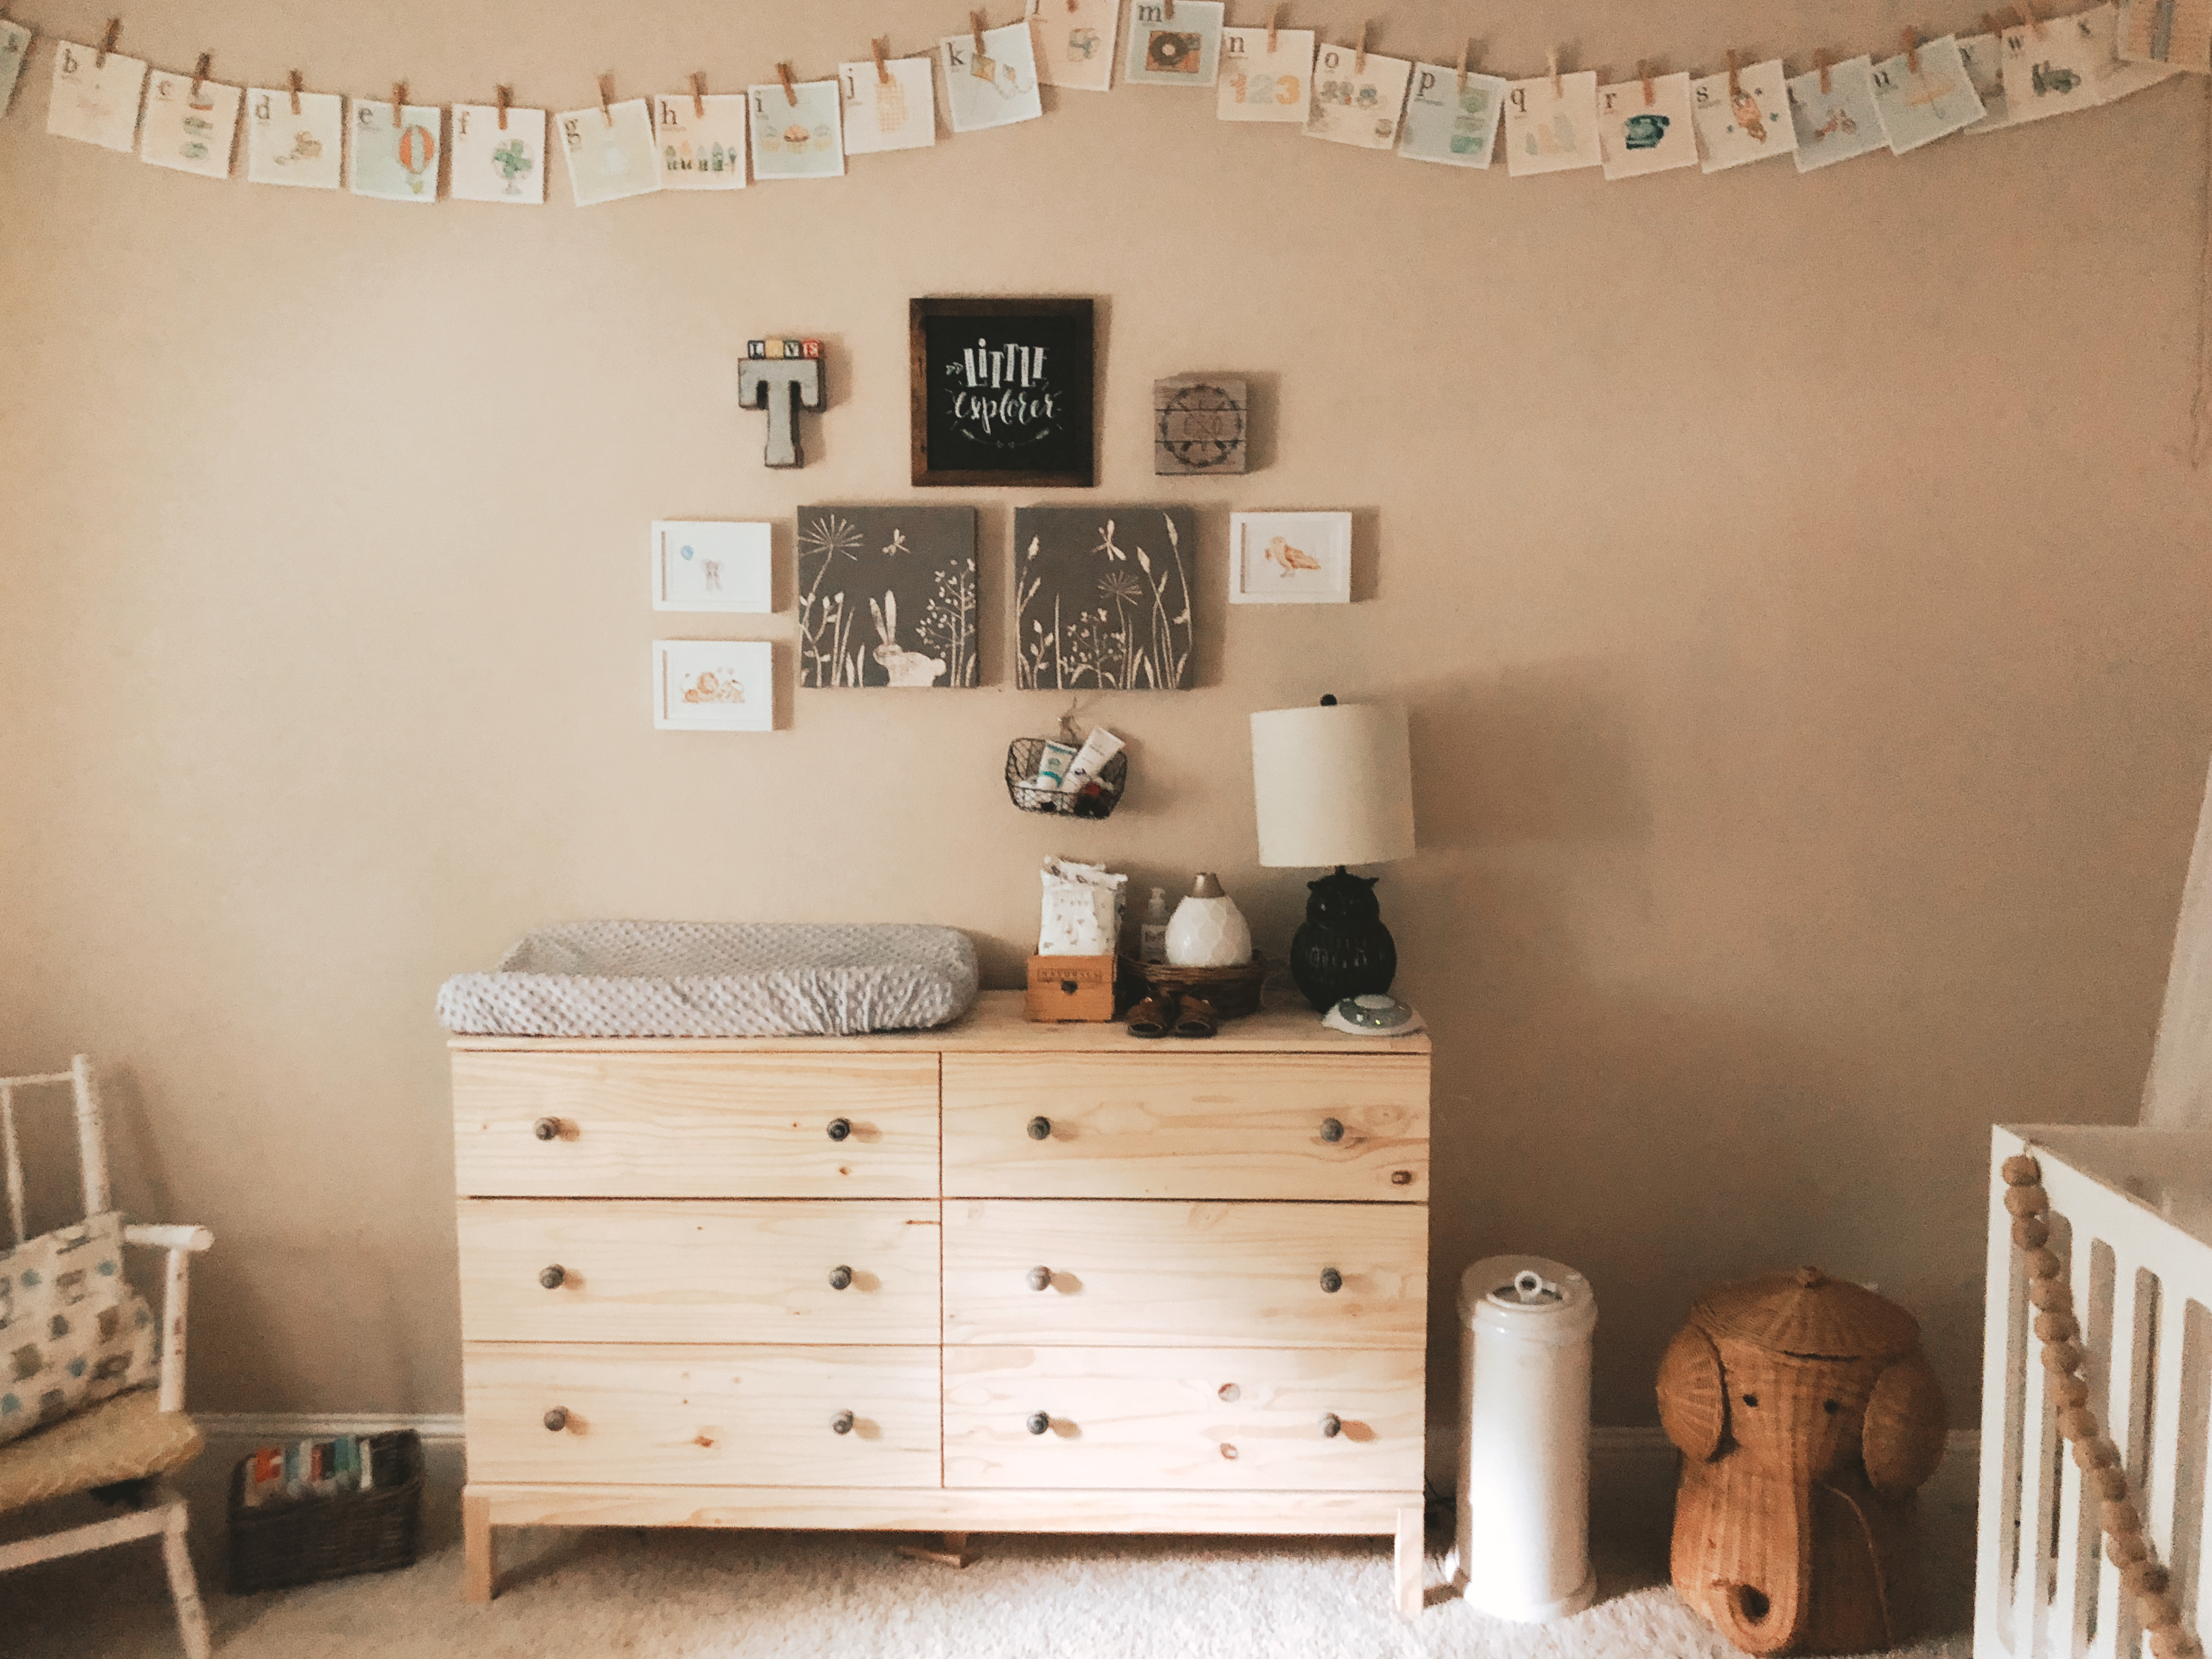
During, when we just threw it into the room for the time being:
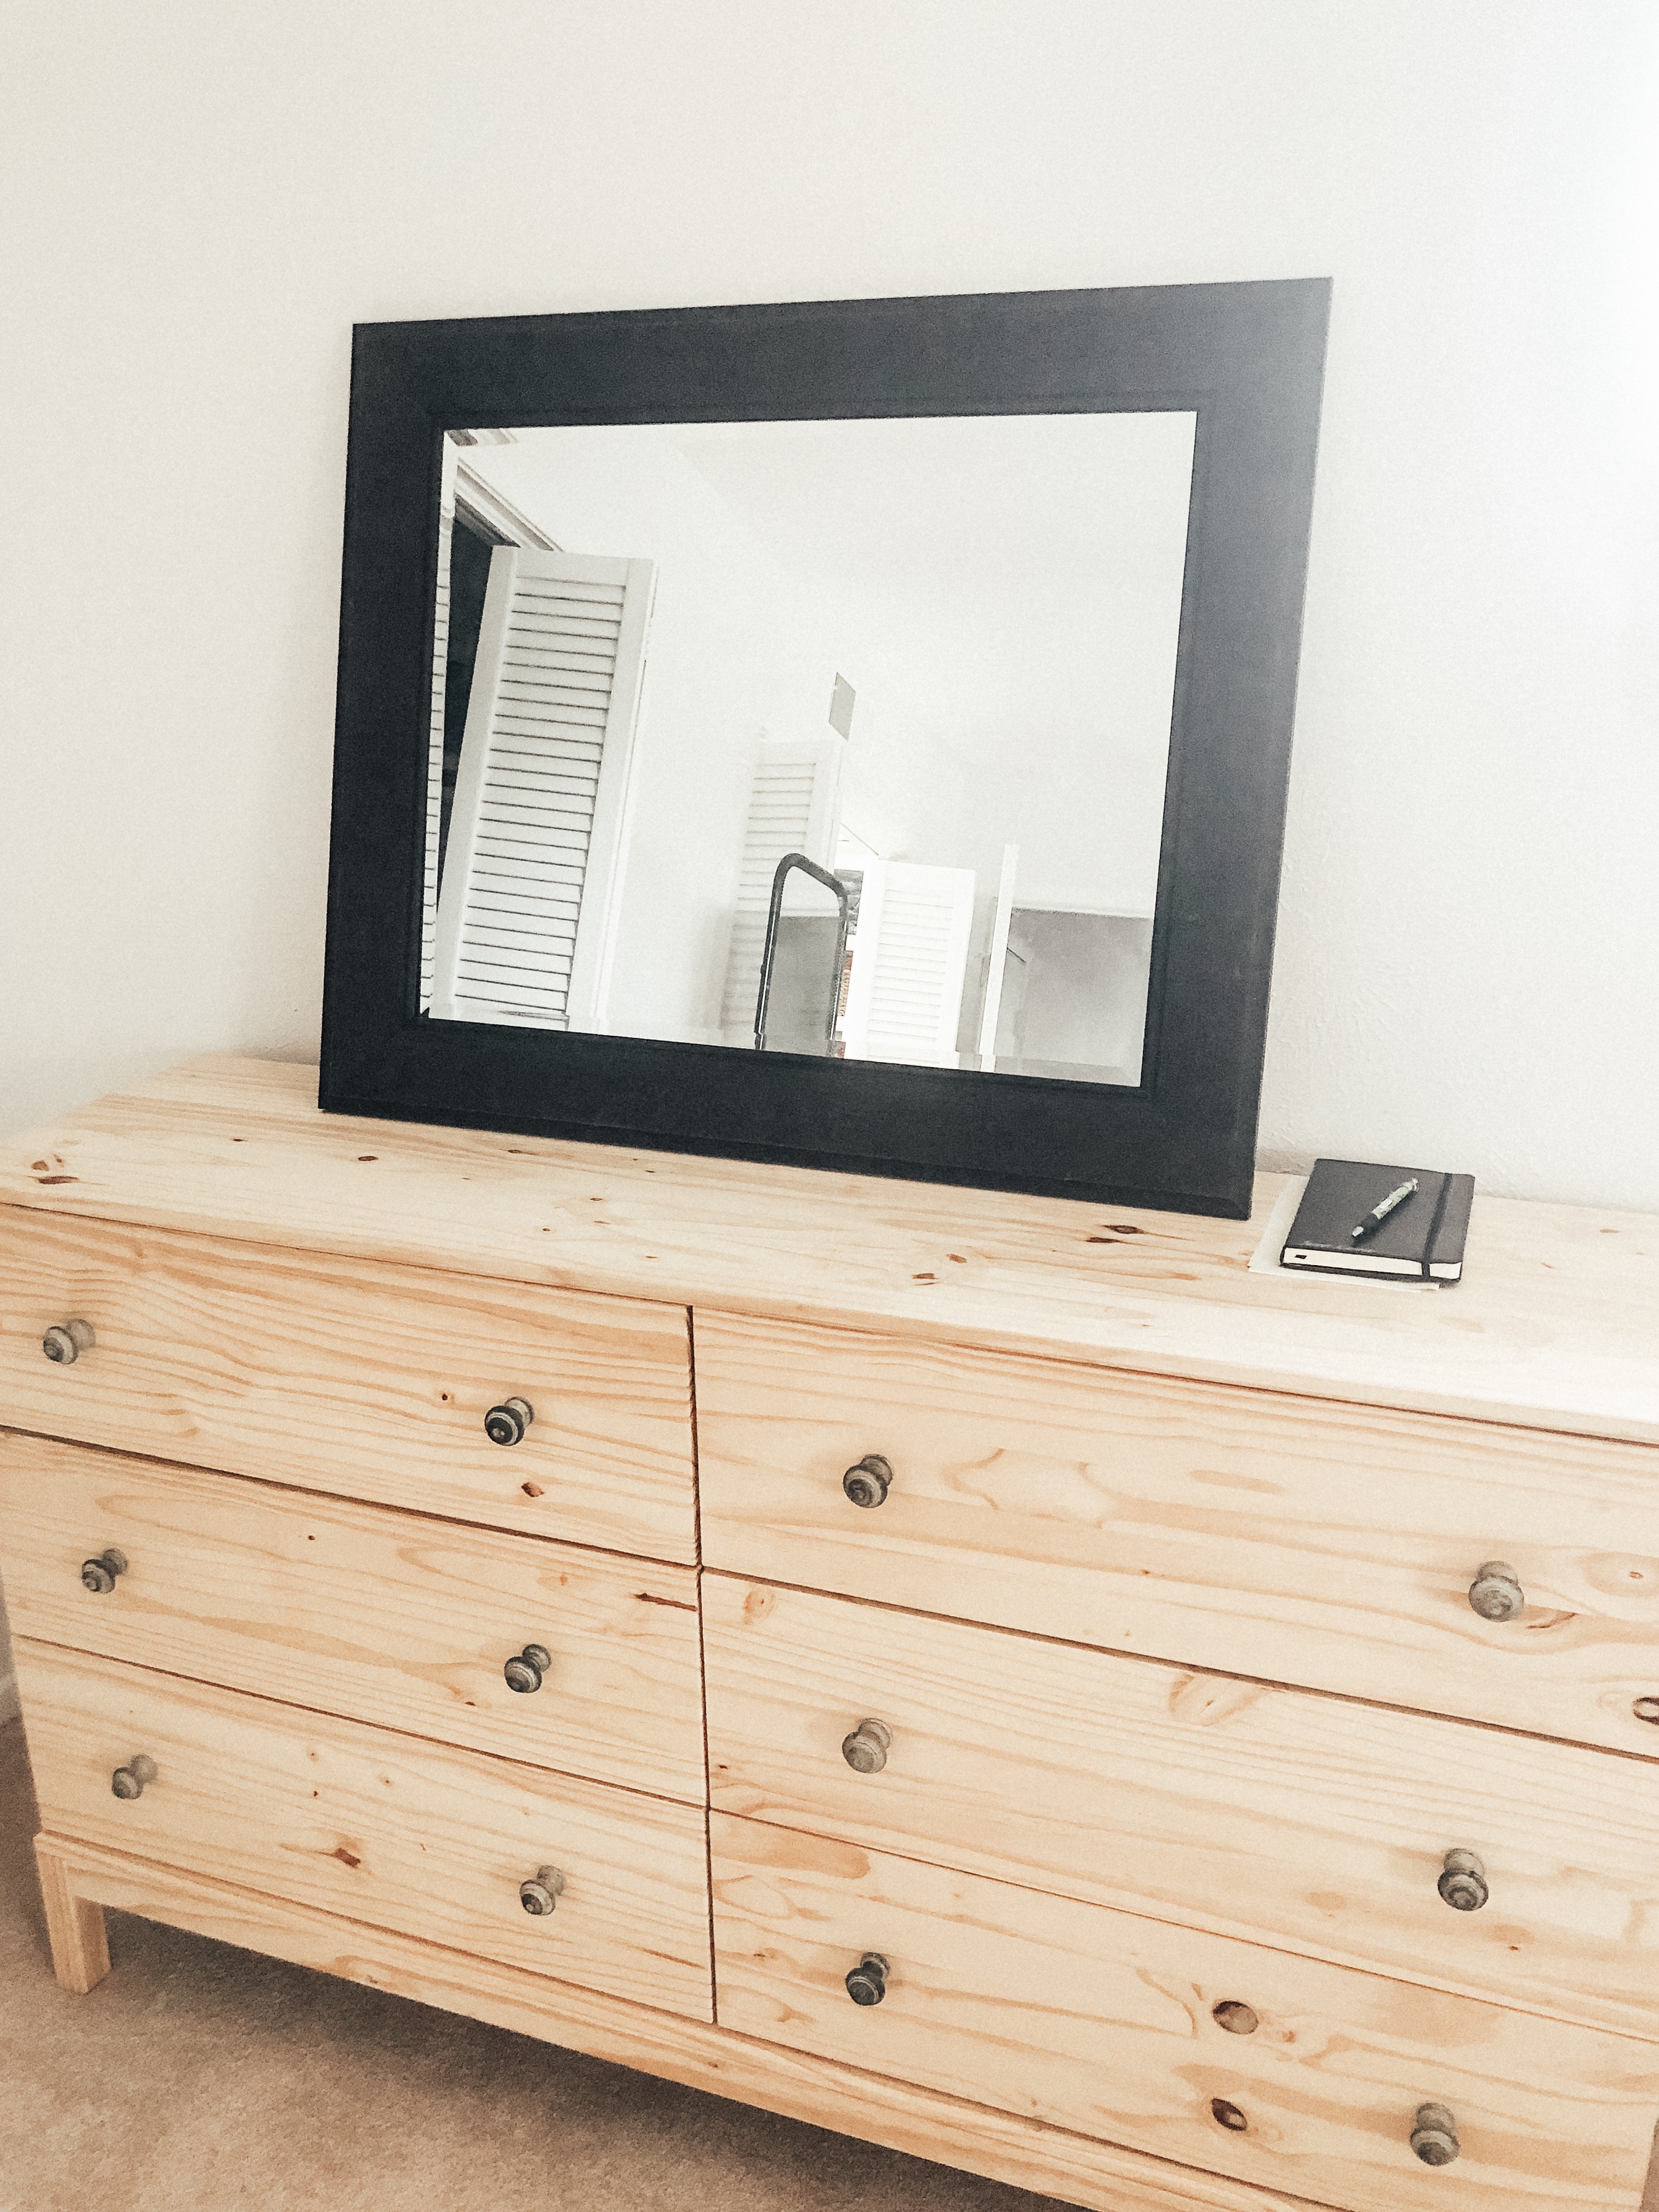
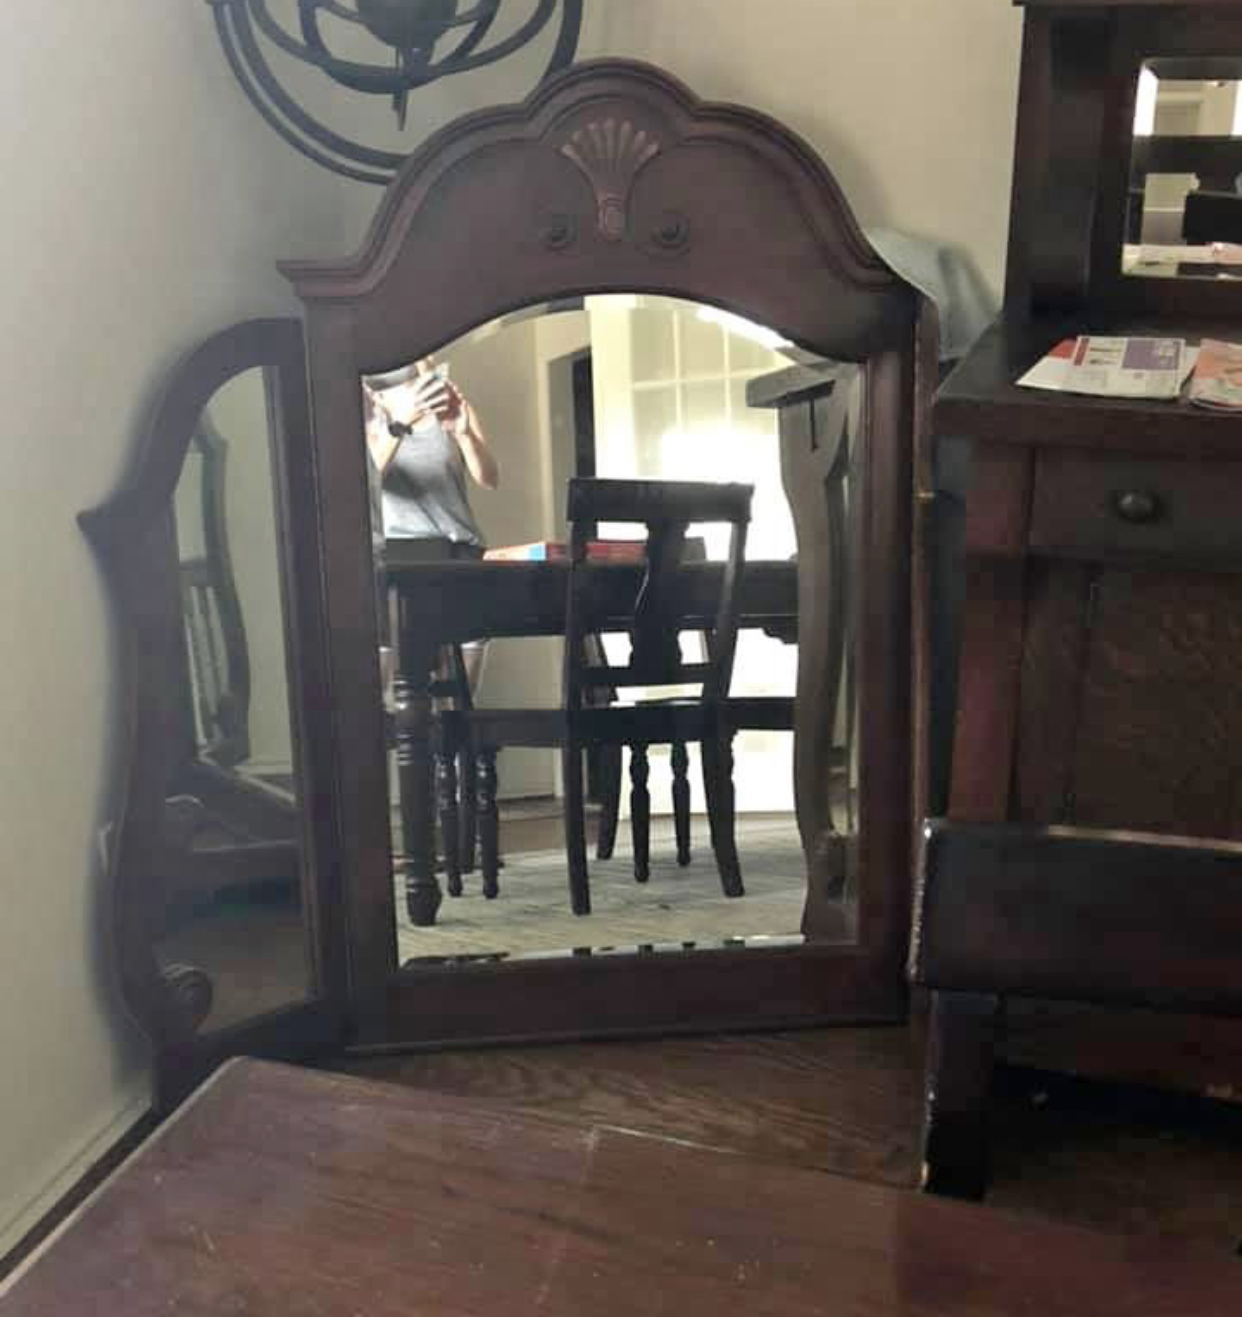
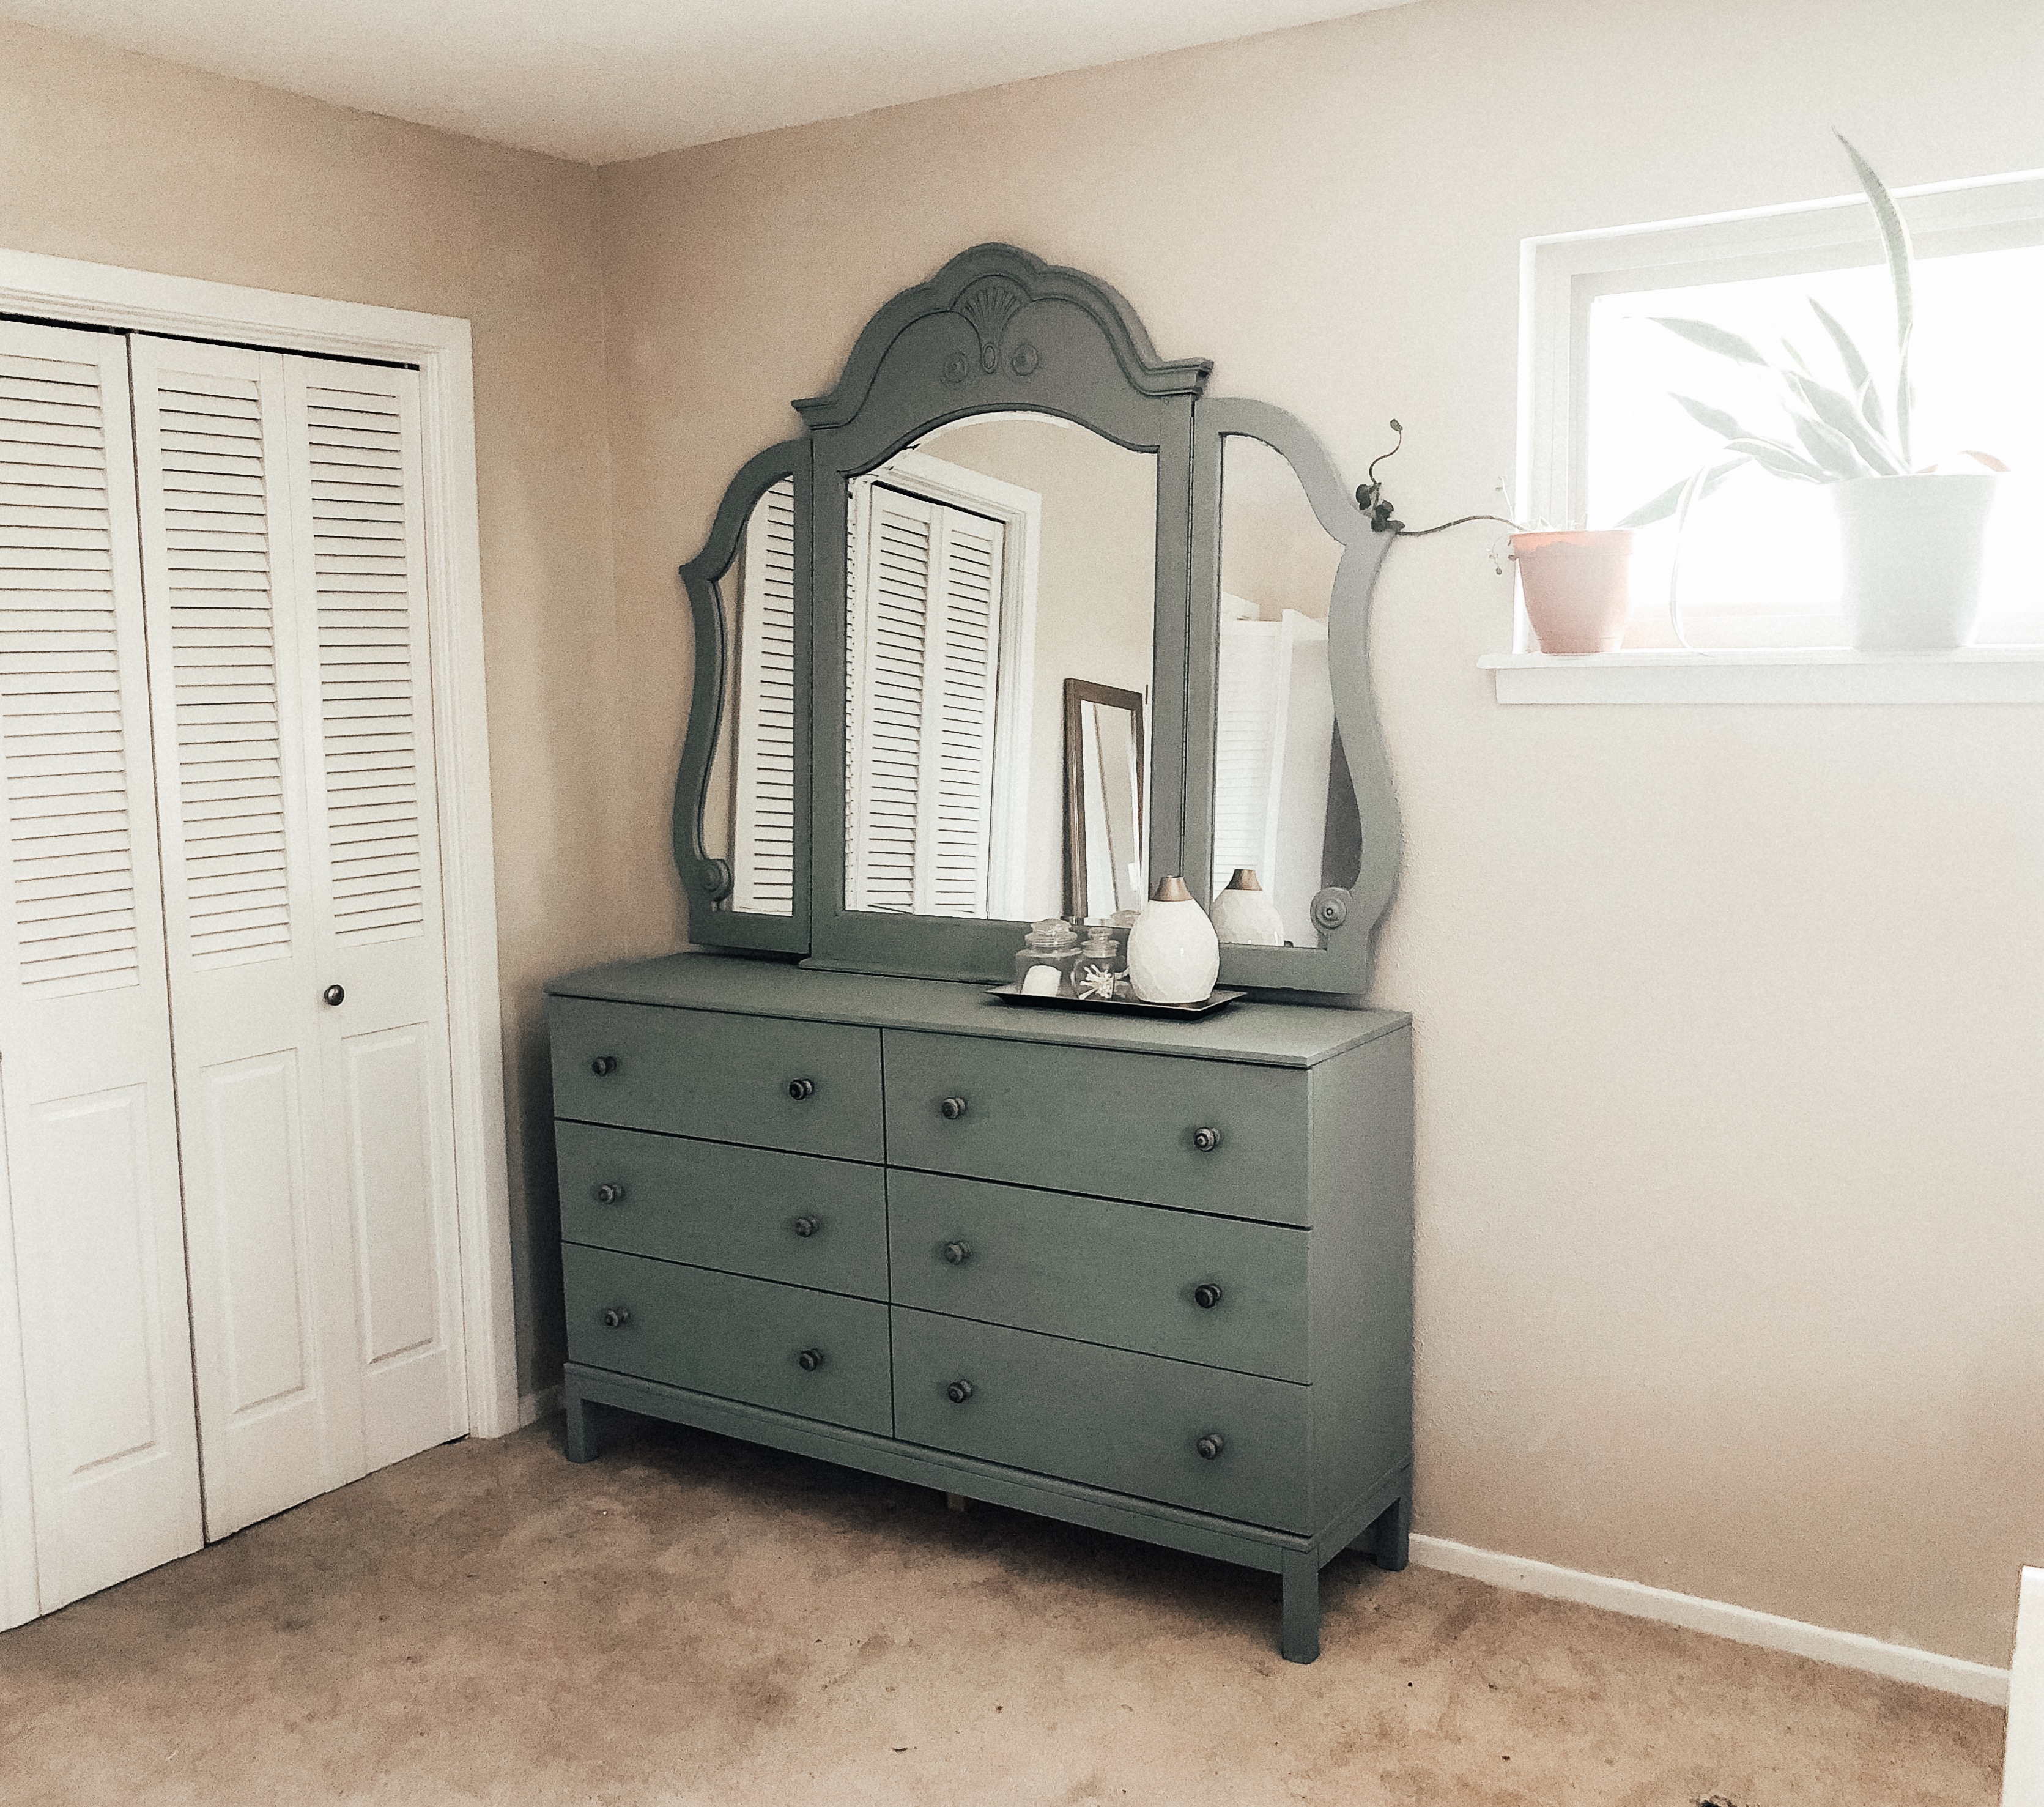
I got this mirror from Marketplace for $20 and painted it to match the dresser so that they would match.
If it sounds like we’ve done a lot of painting, that’s because often Jesse and I will put on a podcast in the evenings after the kids are asleep, and we’ll paint together. It’s really relaxing! Here’s the after!!
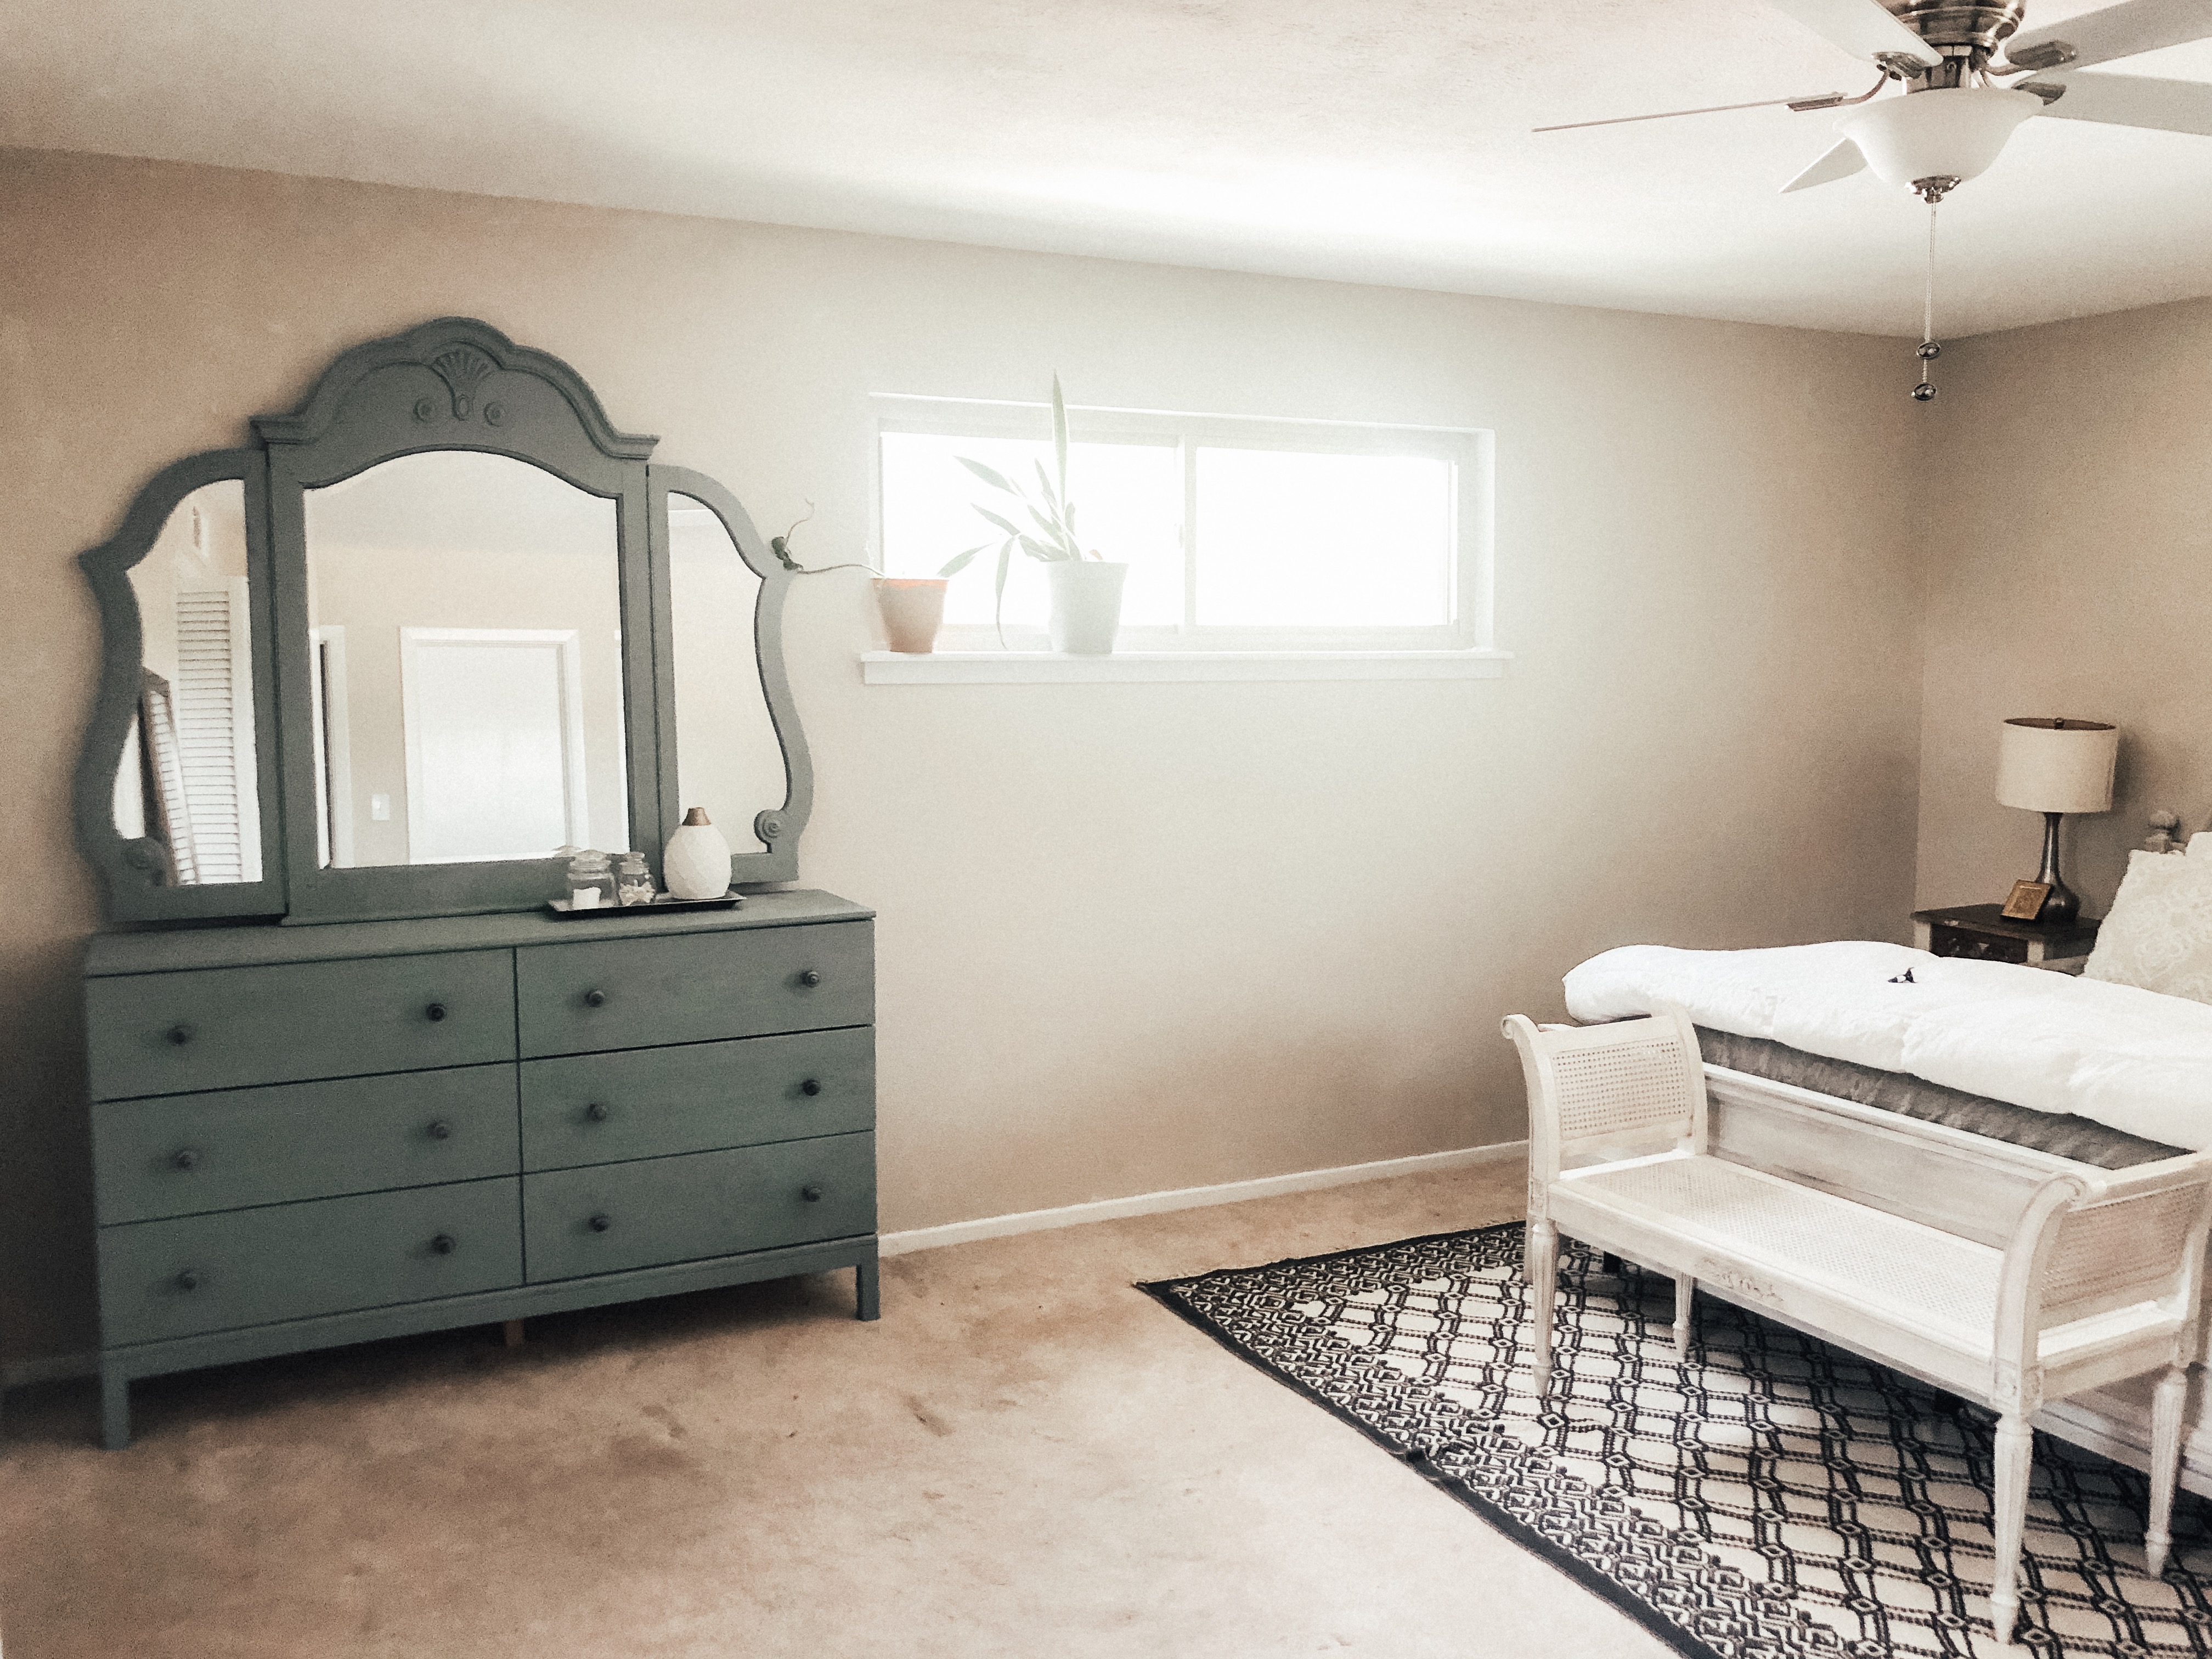
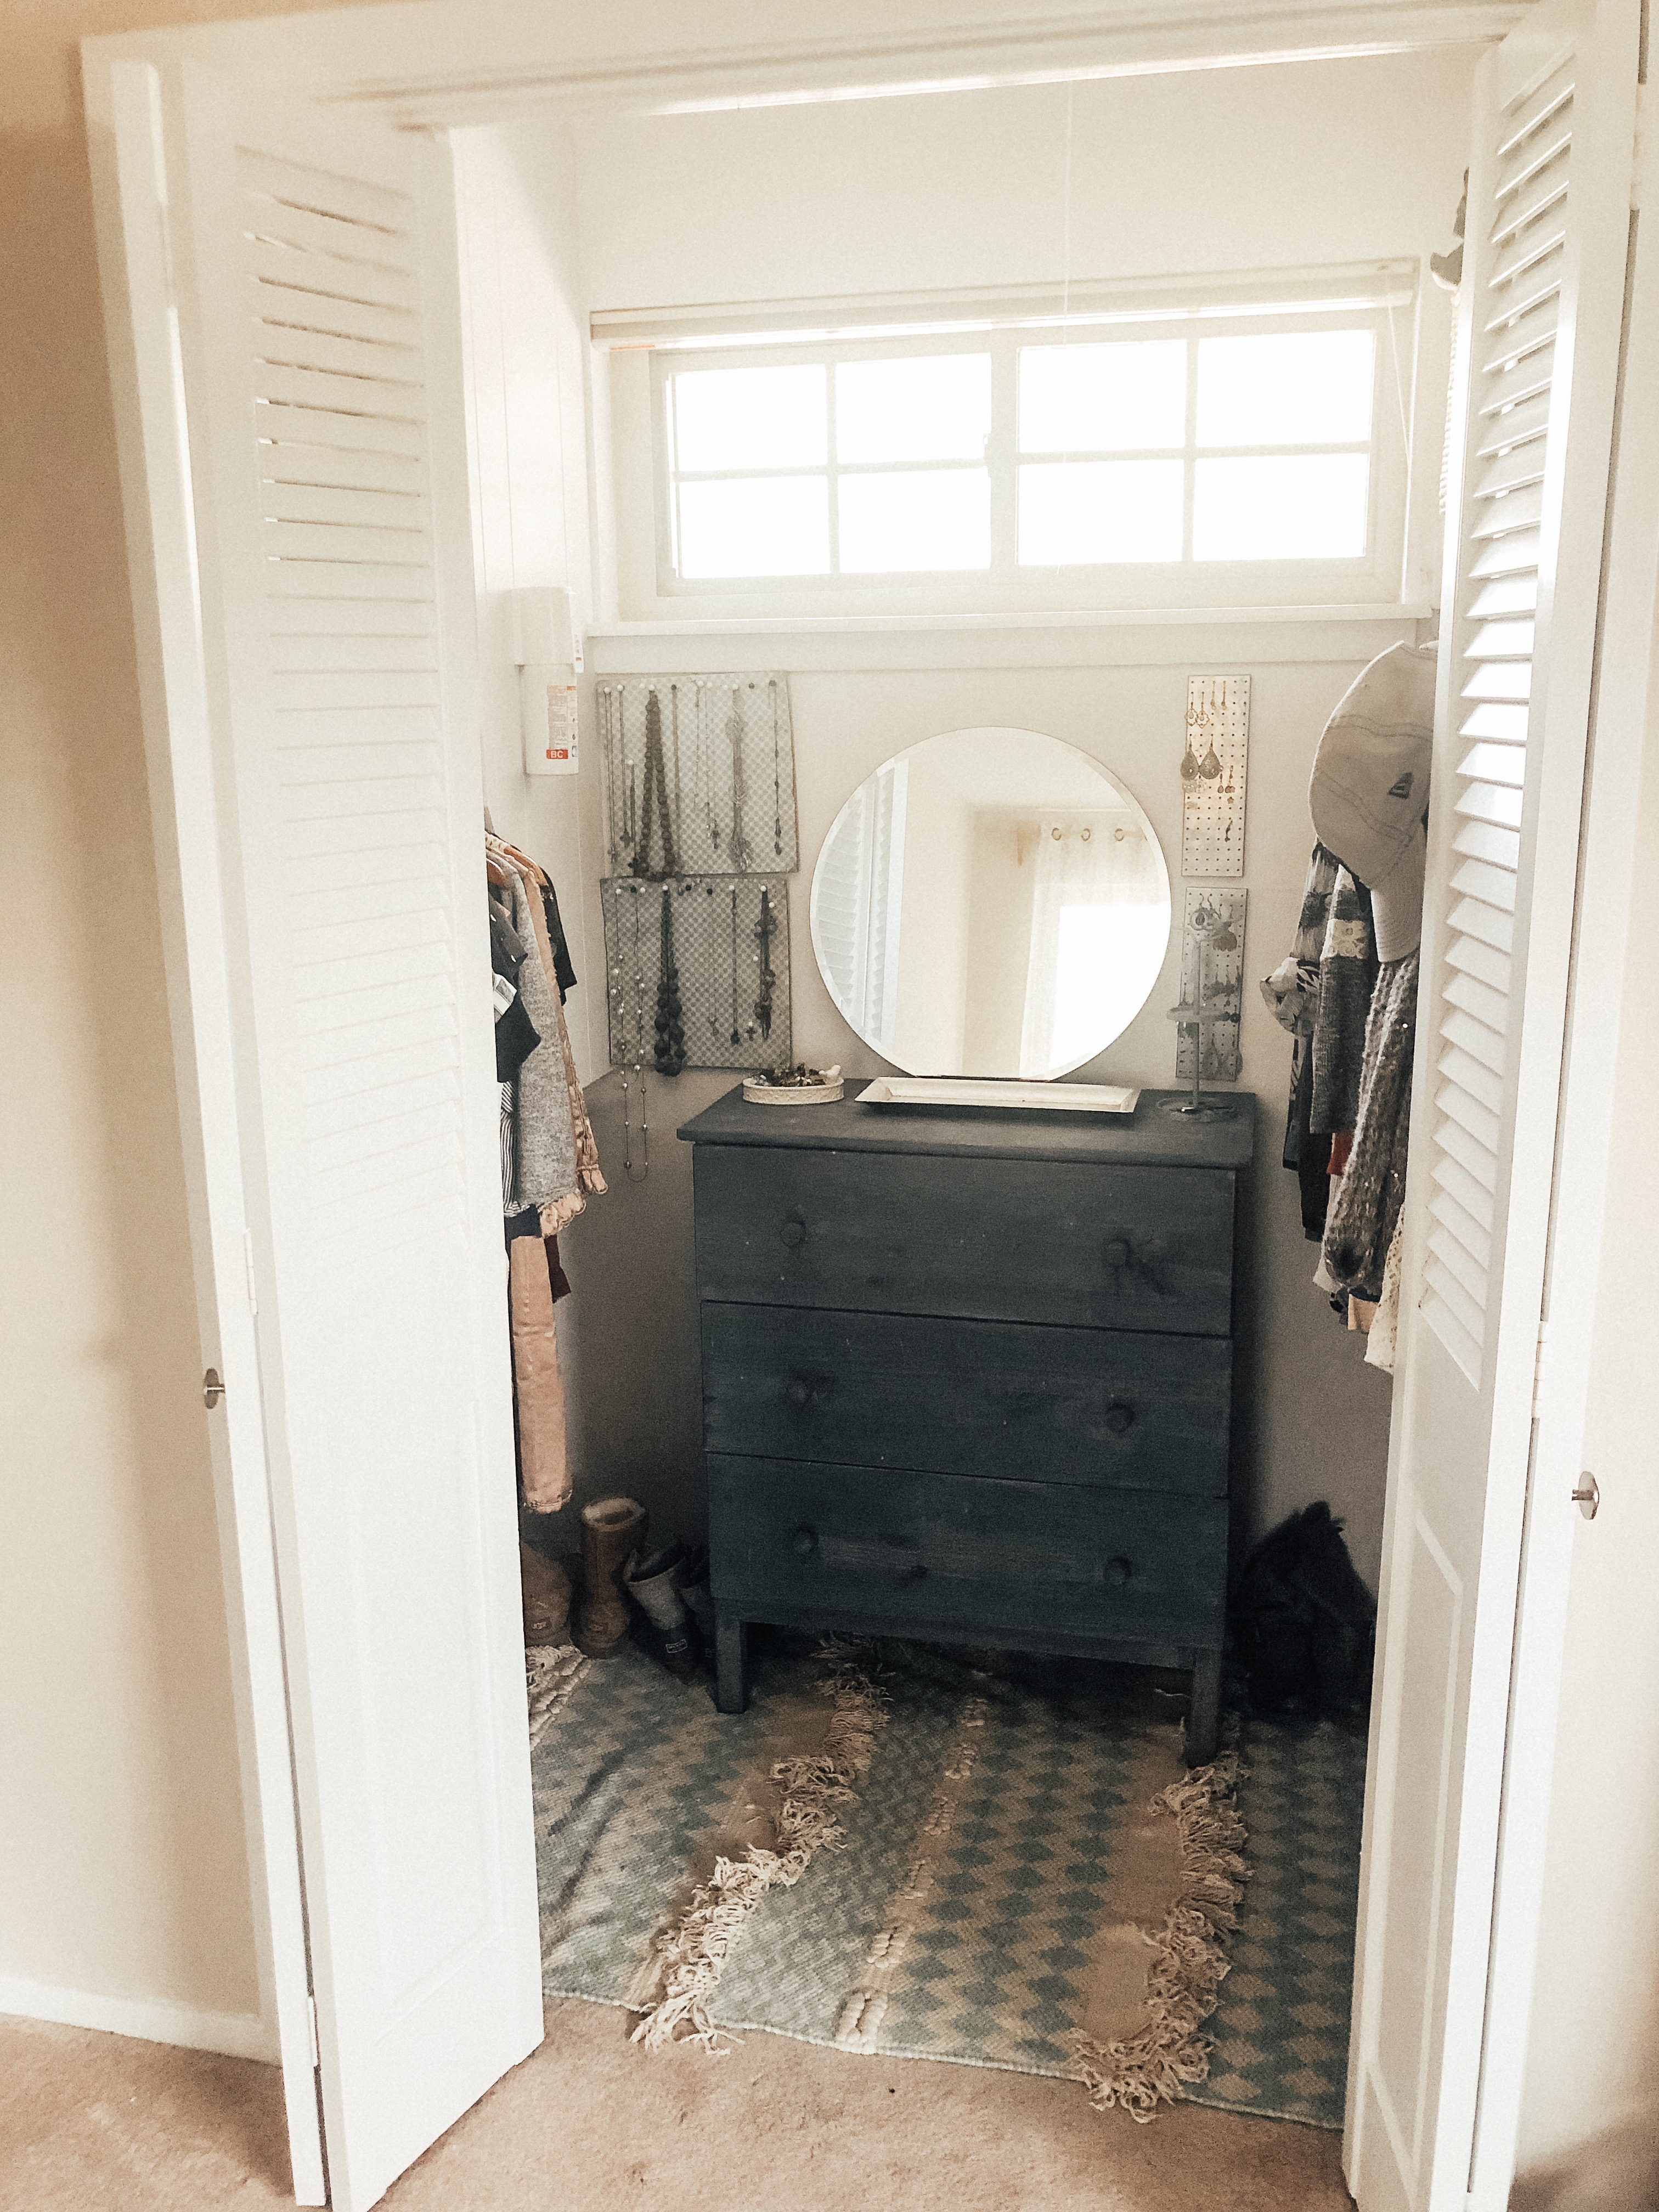
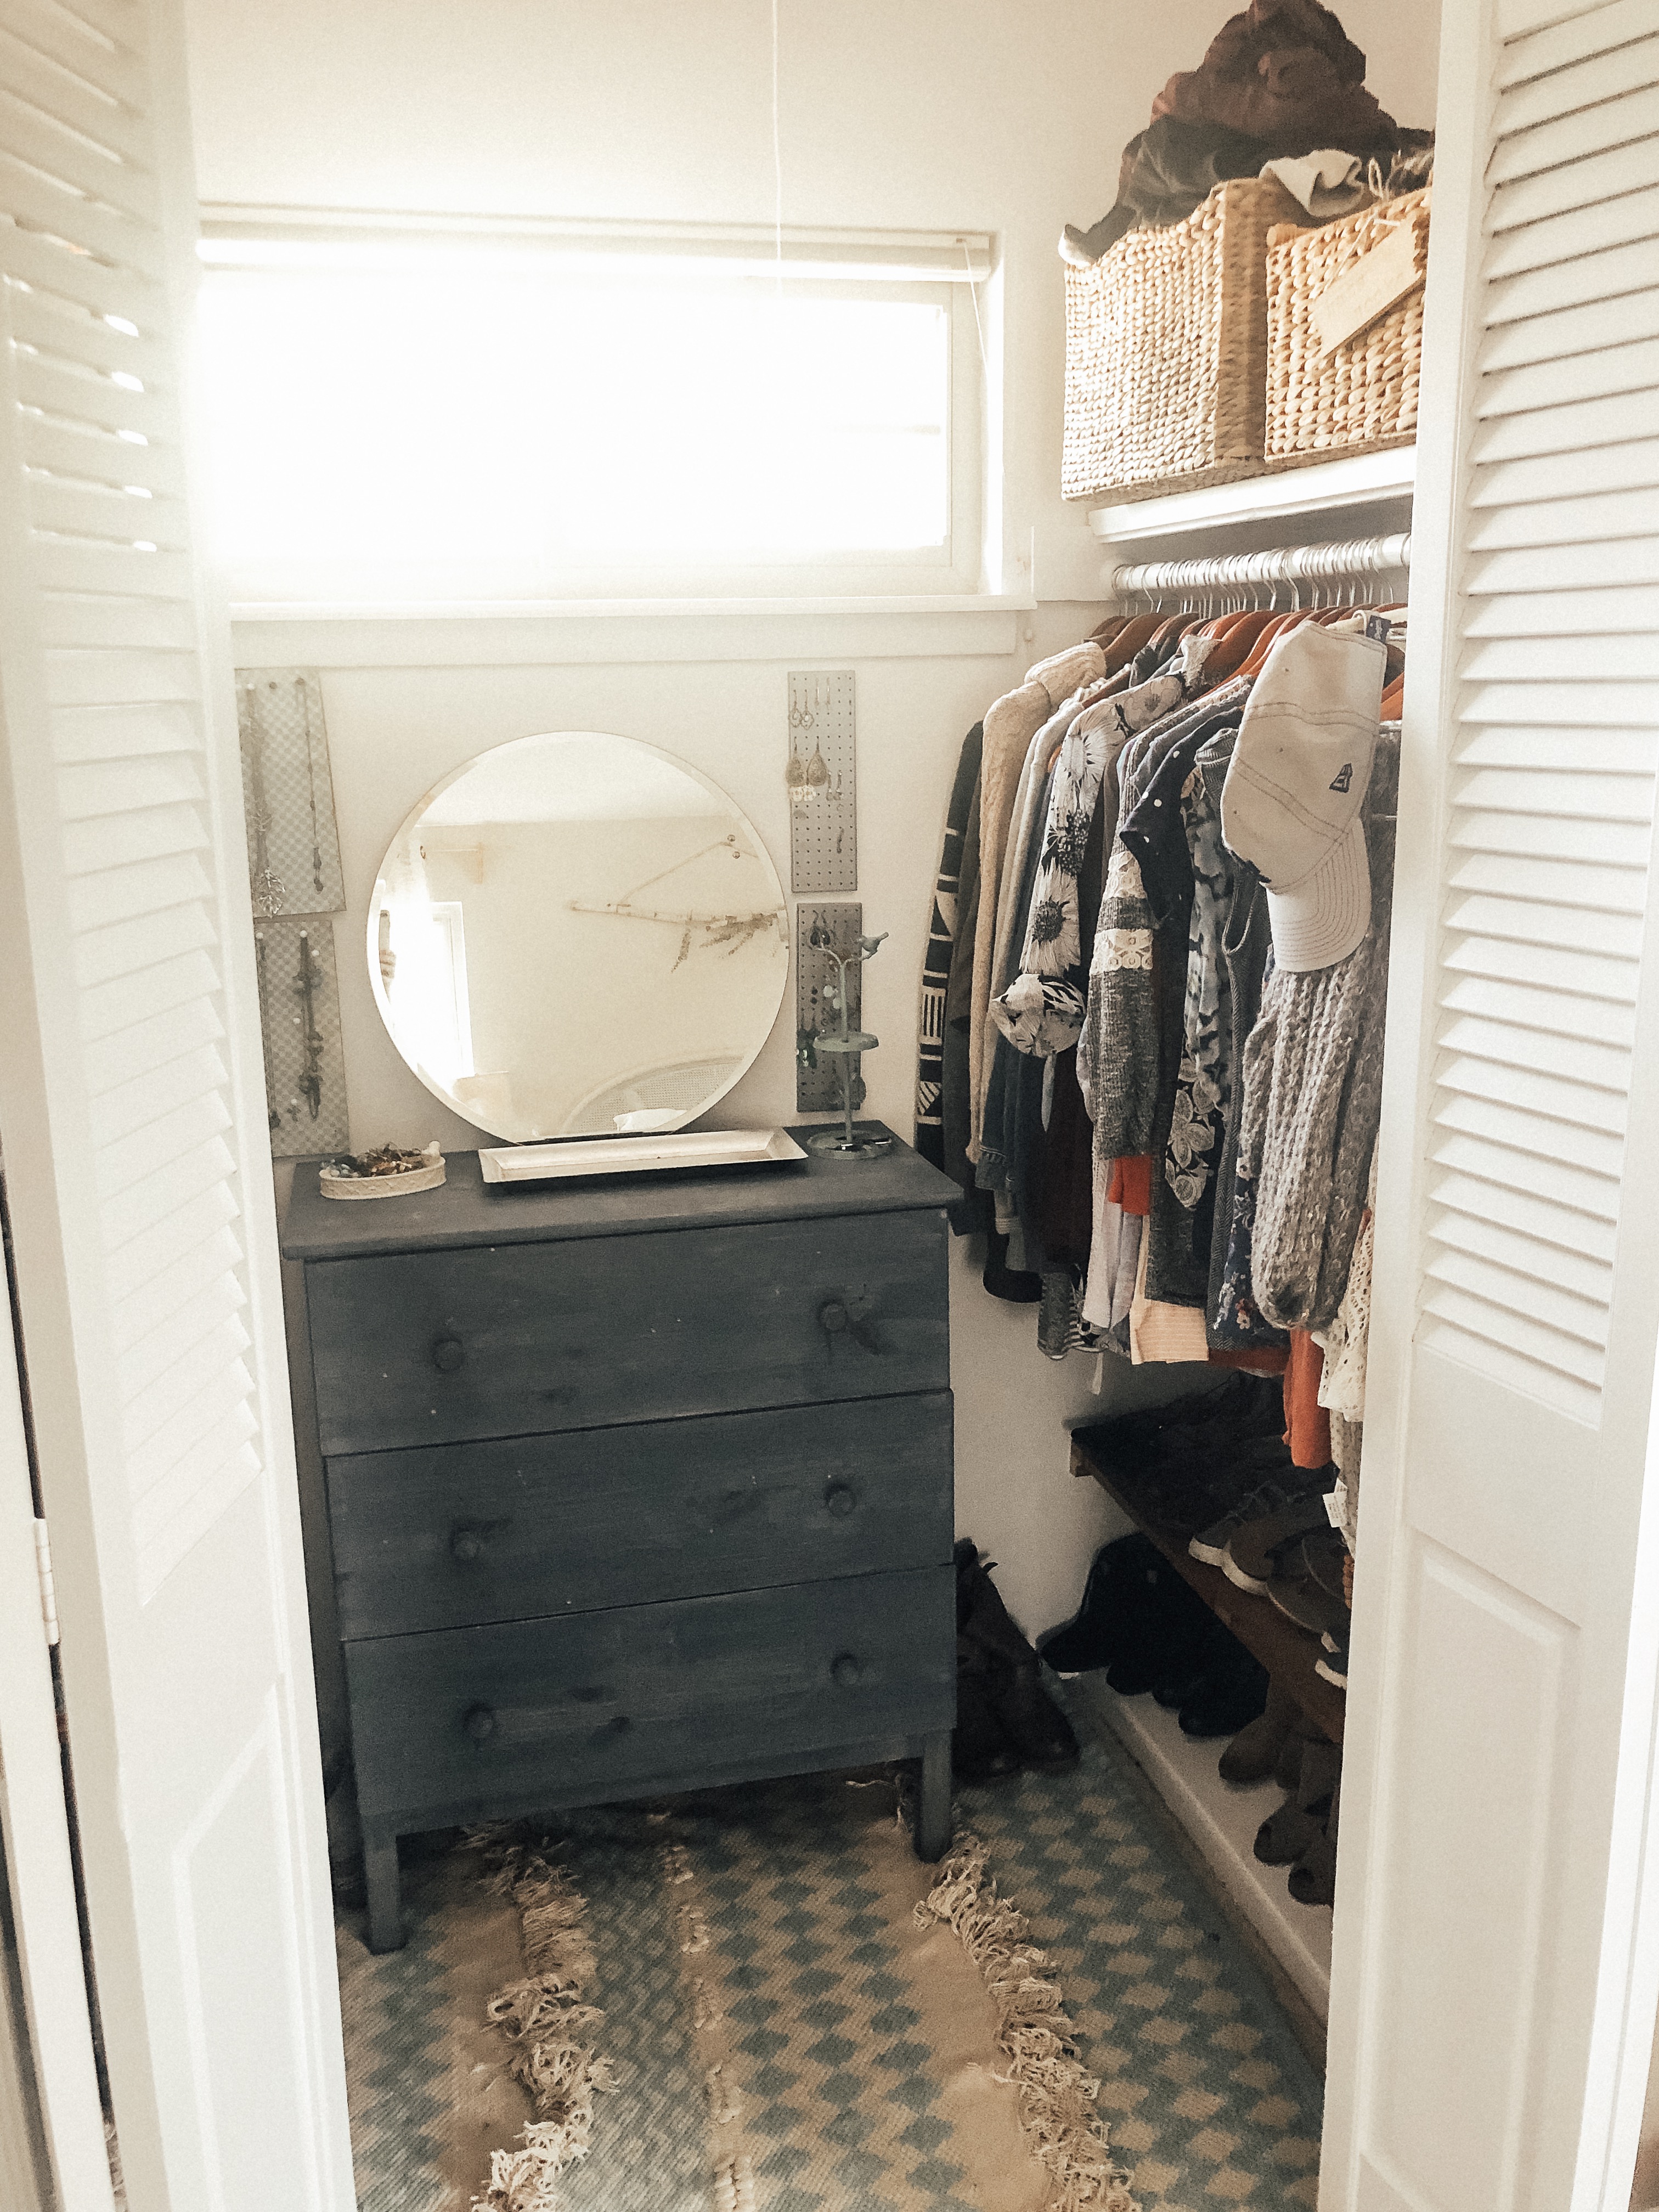
Let’s talk closets for a minute. I think it’s funny that as I’ve gotten older, my closets have gotten smaller, and I’m much more okay with it. In our last house, Jesse and I actually took out a few of the closet rods, because we simply didn’t have enough clothes to fill the space, nor did we want to. I LOVE having a simplified wardrobe, and I purge clothes monthly. I ONLY want what I love in my drawers and closet. Gotta say though, one of my favorite things about this house is the his/hers closet situation 🙂 I can simply close Jesse’s side when it’s messy (hint: it’s always messy) and not lose my sanity 🙂
Lastly, I want to talk bedding again for a minute. Who has looked at Ikea for pillows?? I love these tie pillows that have a cool linen texture and an under lining peeping through!! We had a gift card so I was able to grab these for free. The front pillows are from Home Goods– I stole them from our living room stuff when we moved in here.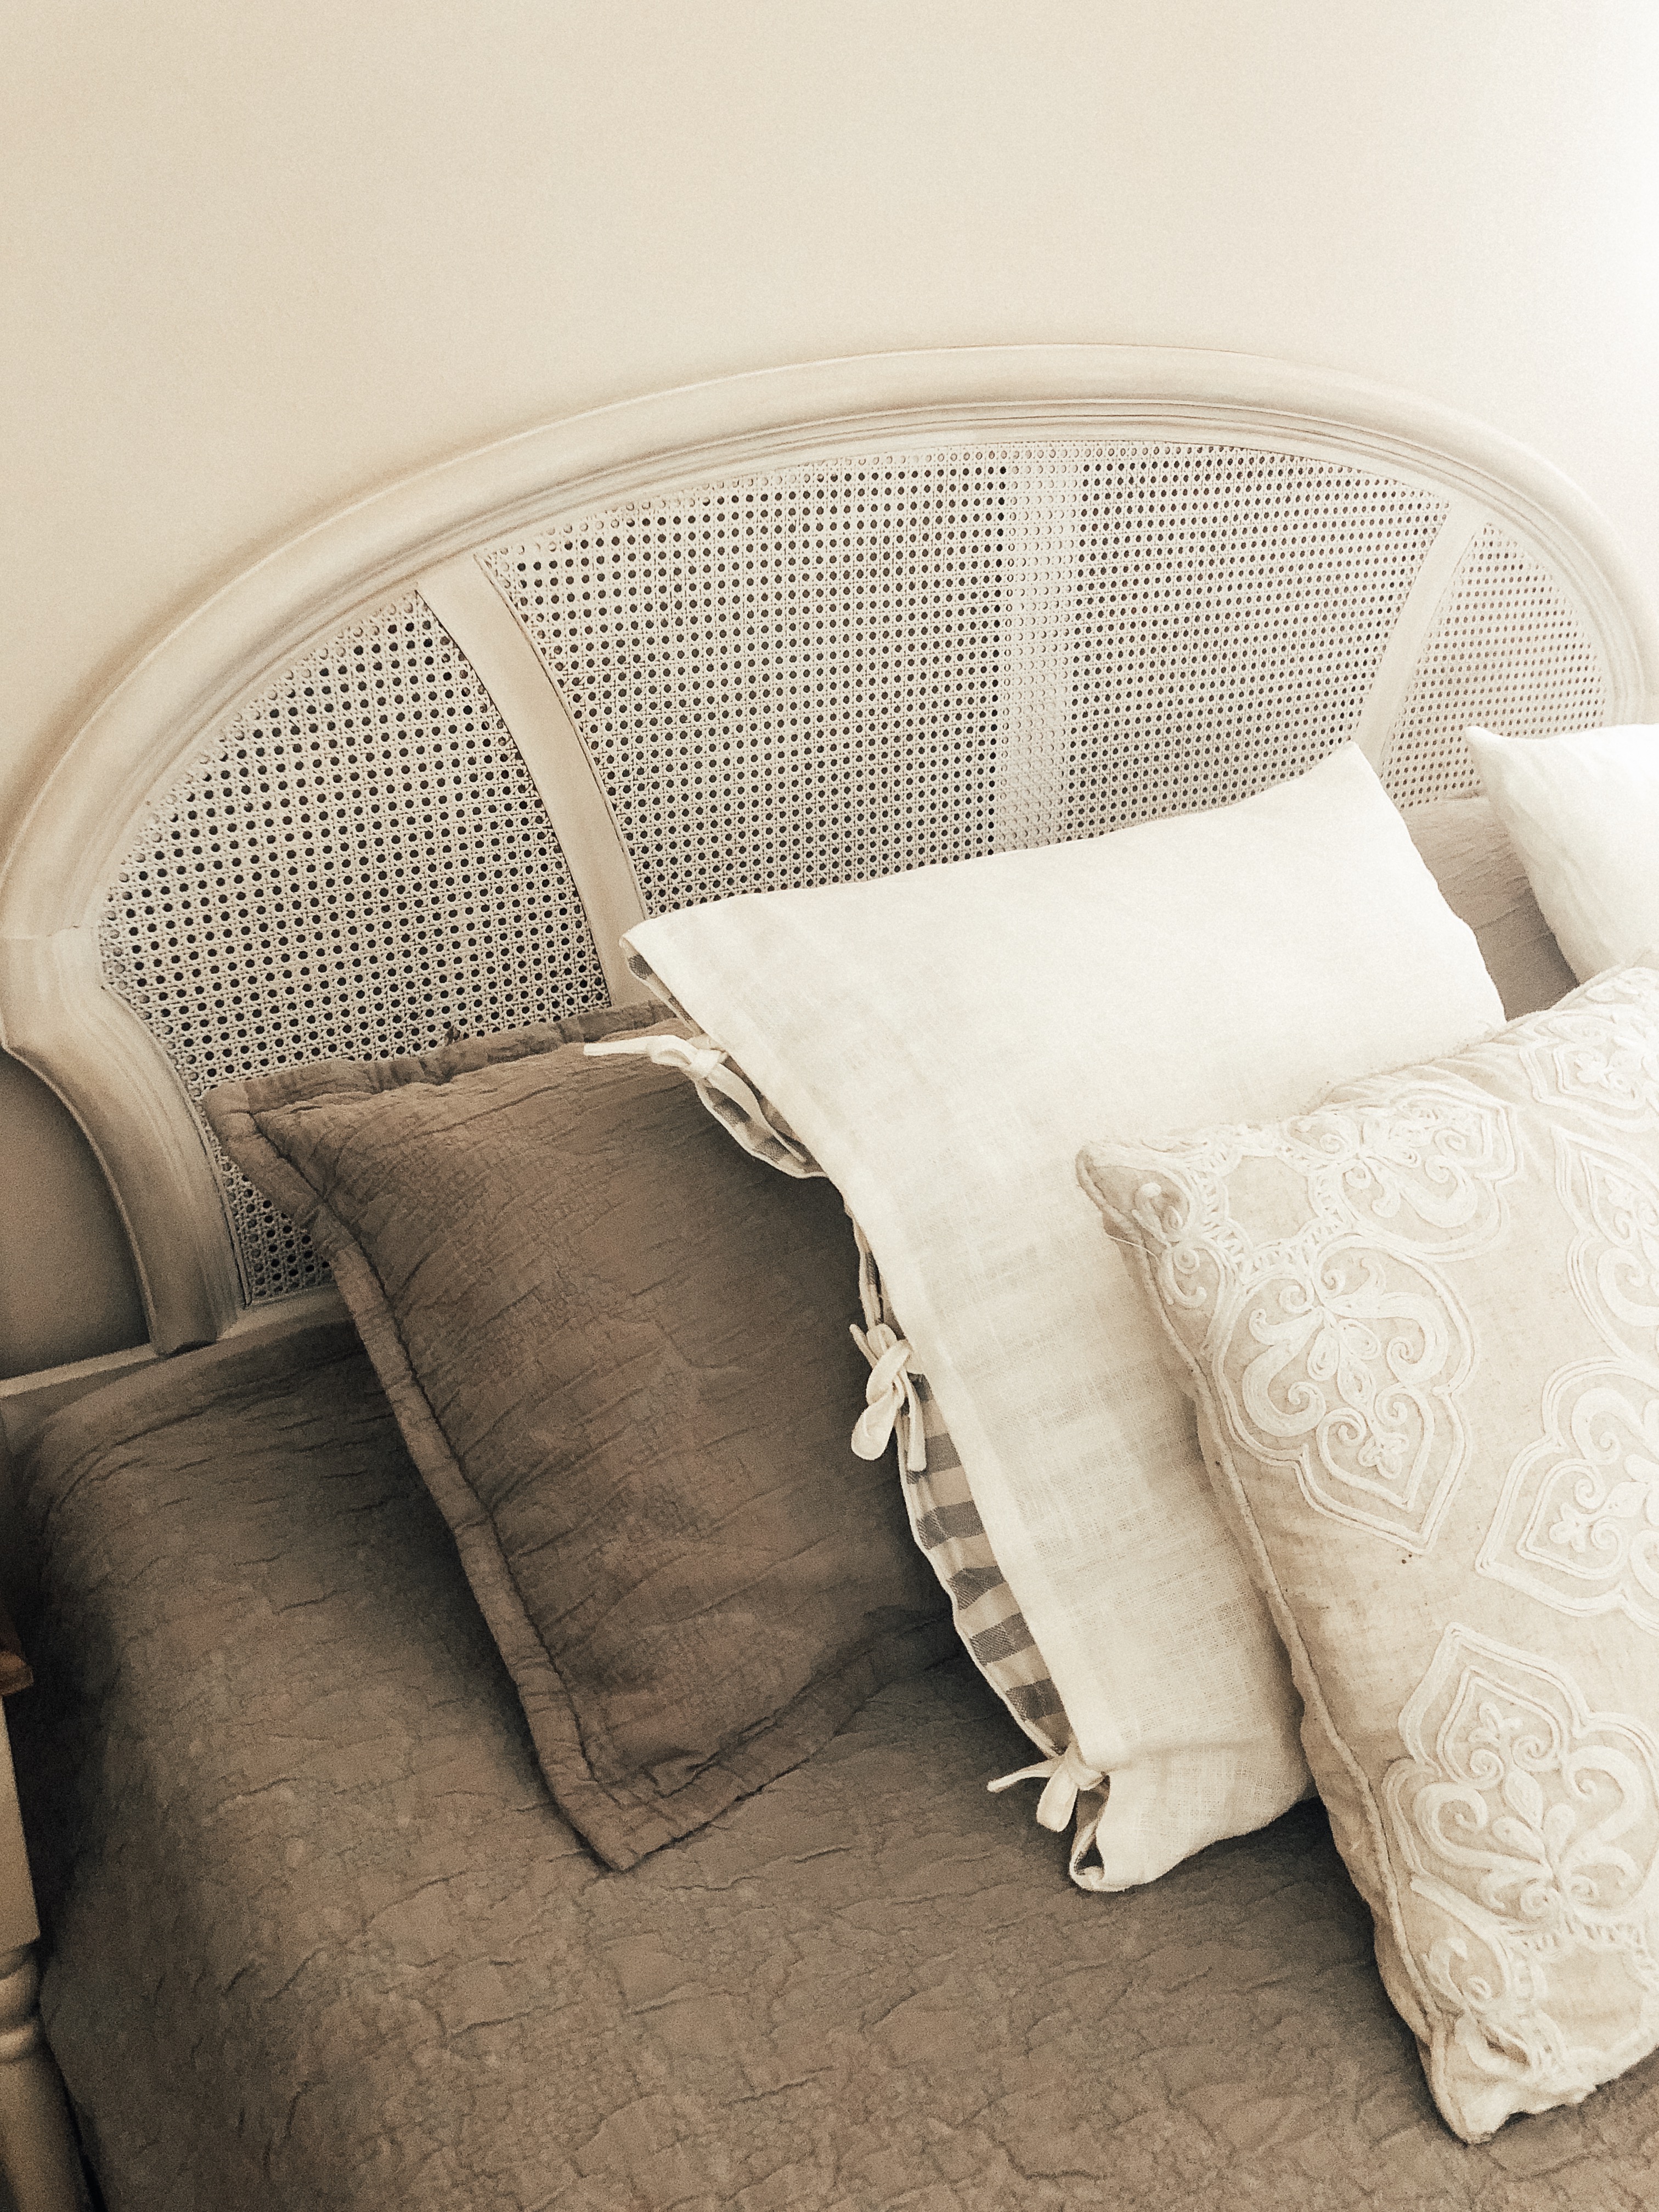

Budget Breakdown:
Leesa Mattress $300 (vs. $1000)
Box Springs: Free (vs. $100+)
King Rails from Amazon: $40
Restoration Hardware Cover and Shams: $80 (vs. $400)
Feather Duvet: Already owned
Headboard and Footboard: $40, vintage thrifted (vs. $200 min. as a complete set on Marketplace)
Urban Outfitters 8×10 rug: $70 thrifted, brand new (vs. $300 online)
Tarva Dresser: Free, was our baby’s changing table (can buy for $180 at Ikea)
Vanity Mirror: $20 thrifted (most are $100+ online)
Ballard Bench: $70 (vs. $400 on Ballard’s Website)
Nightstands: $20 thrifted (vs. $200 min. online or in a store)
Total Cost: $640 vs. $2800+ <3 In truth though, I only paid around $300 for everything because I was able to resell stuff we already had. I LOVE the idea of buying second hand and passing on gently used stuff so that all in all, we as consumers are buying less brand new and more from each other. <3