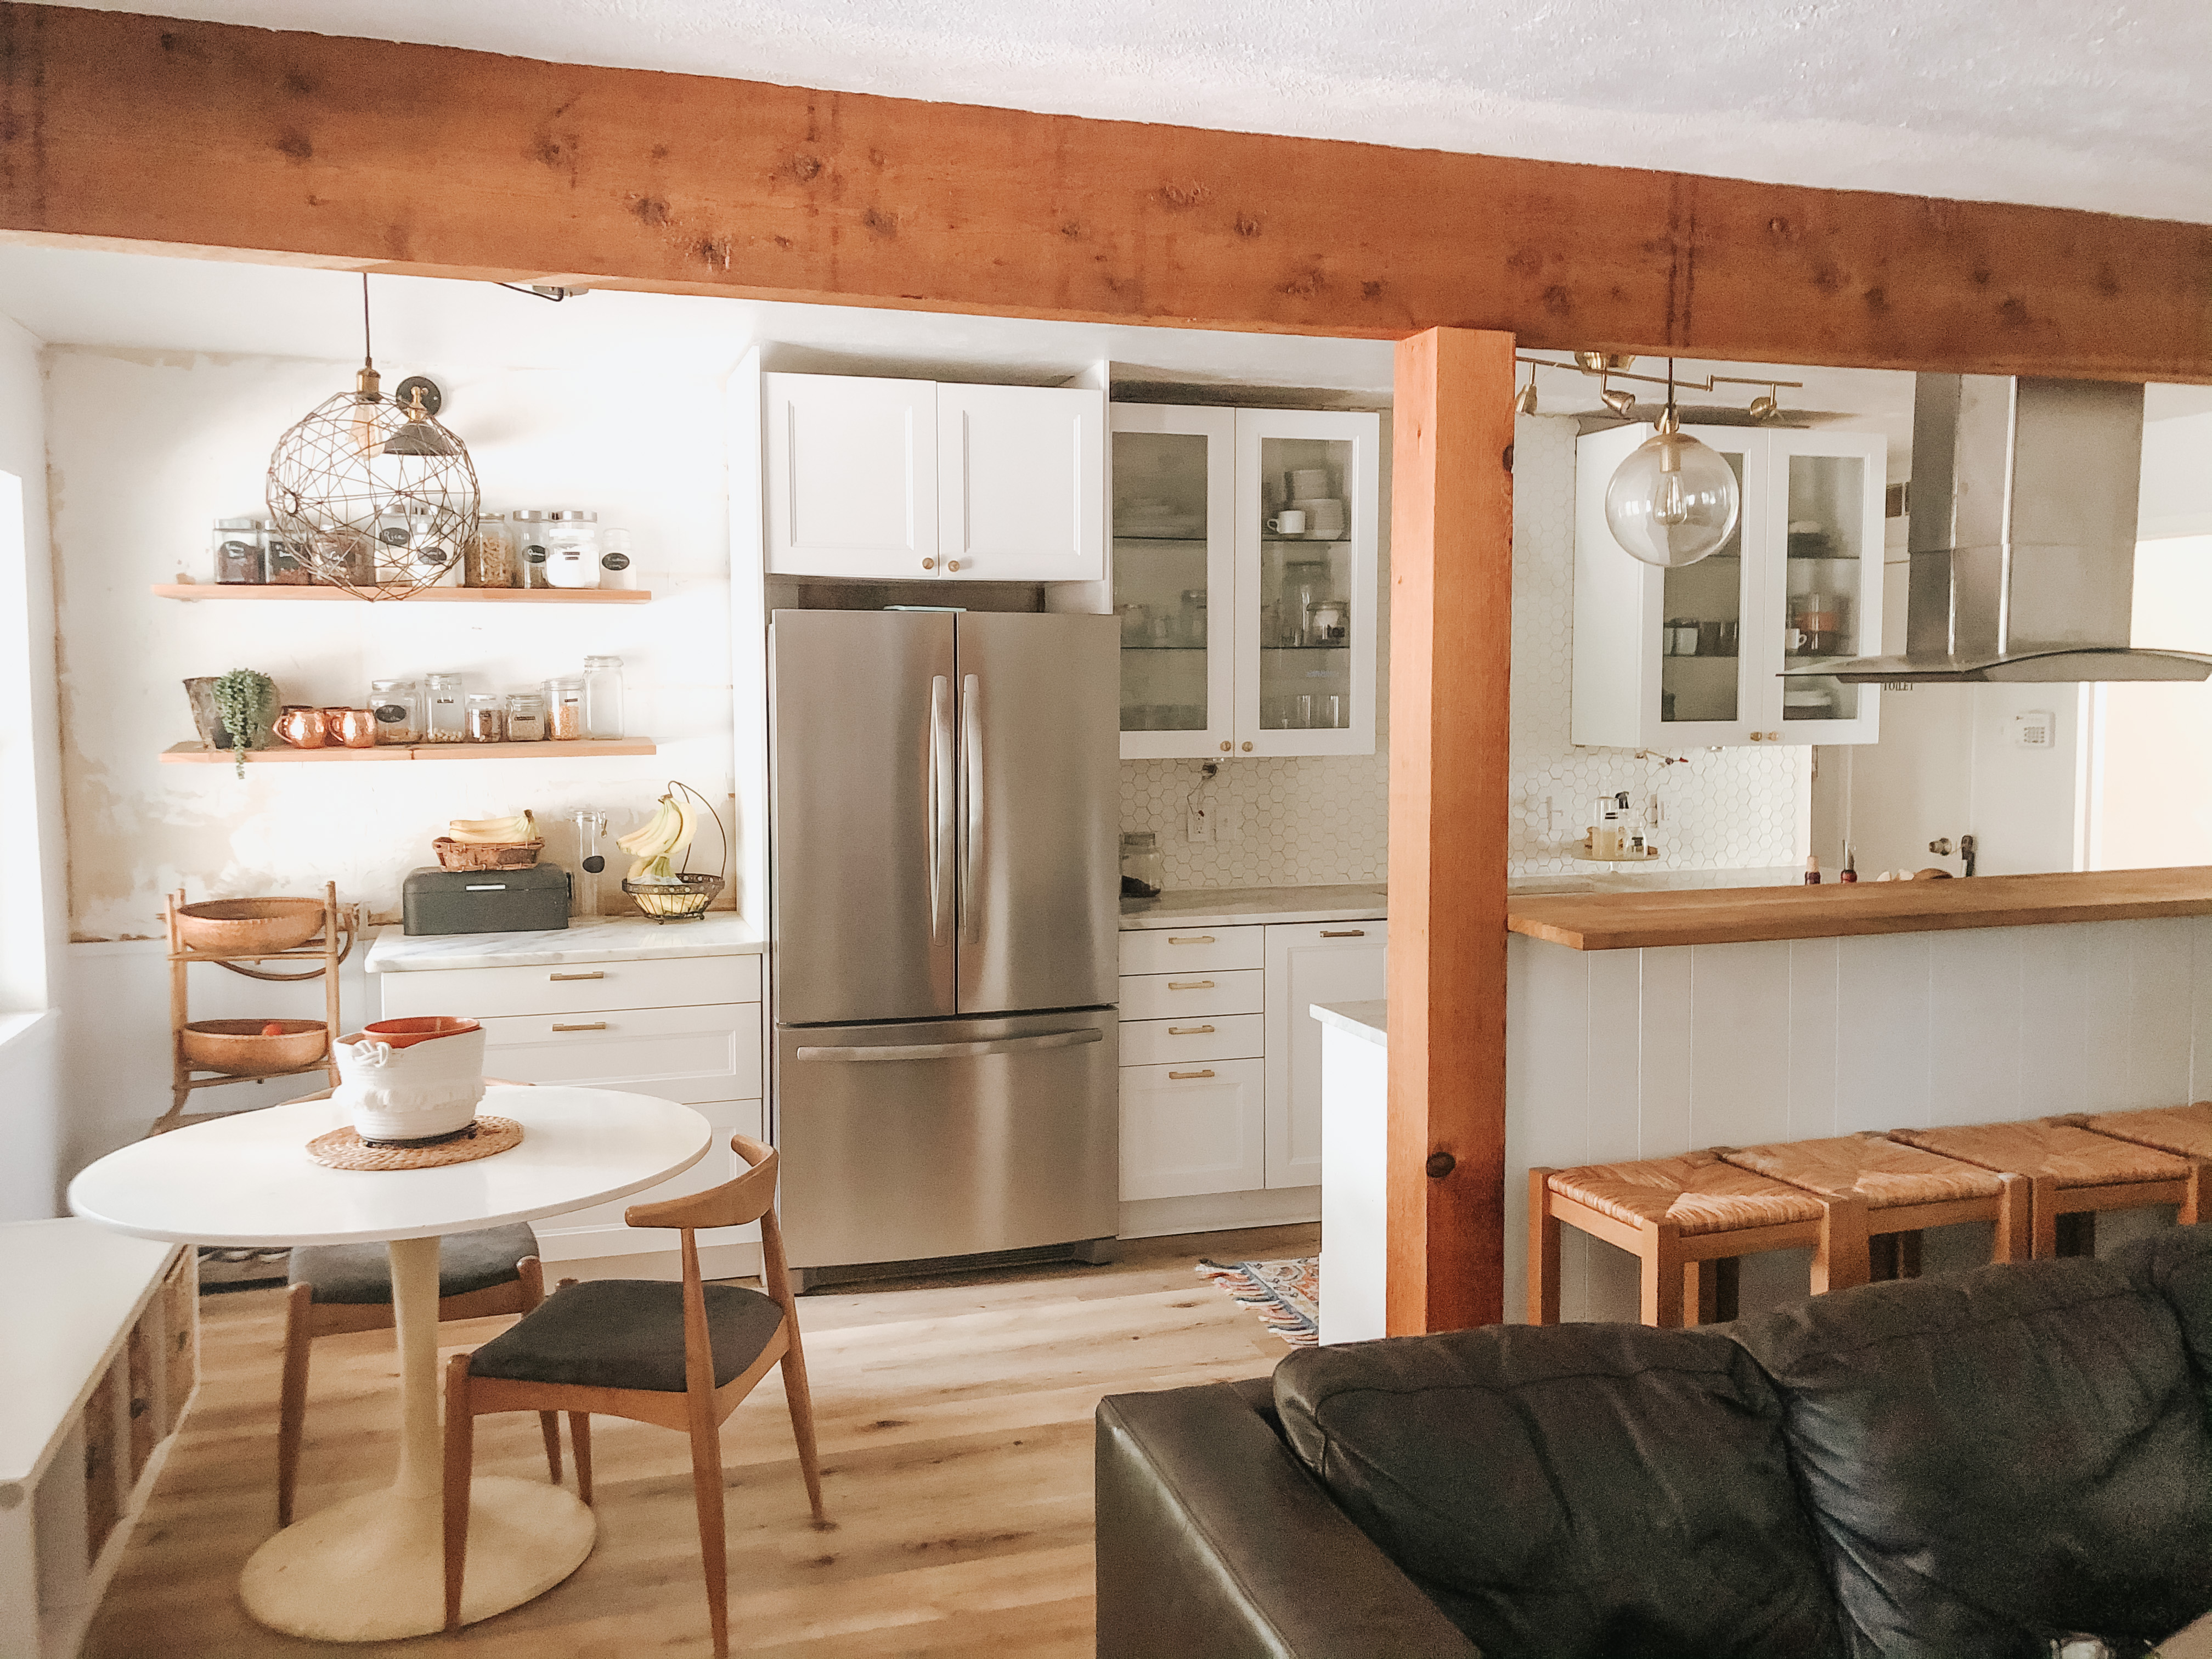
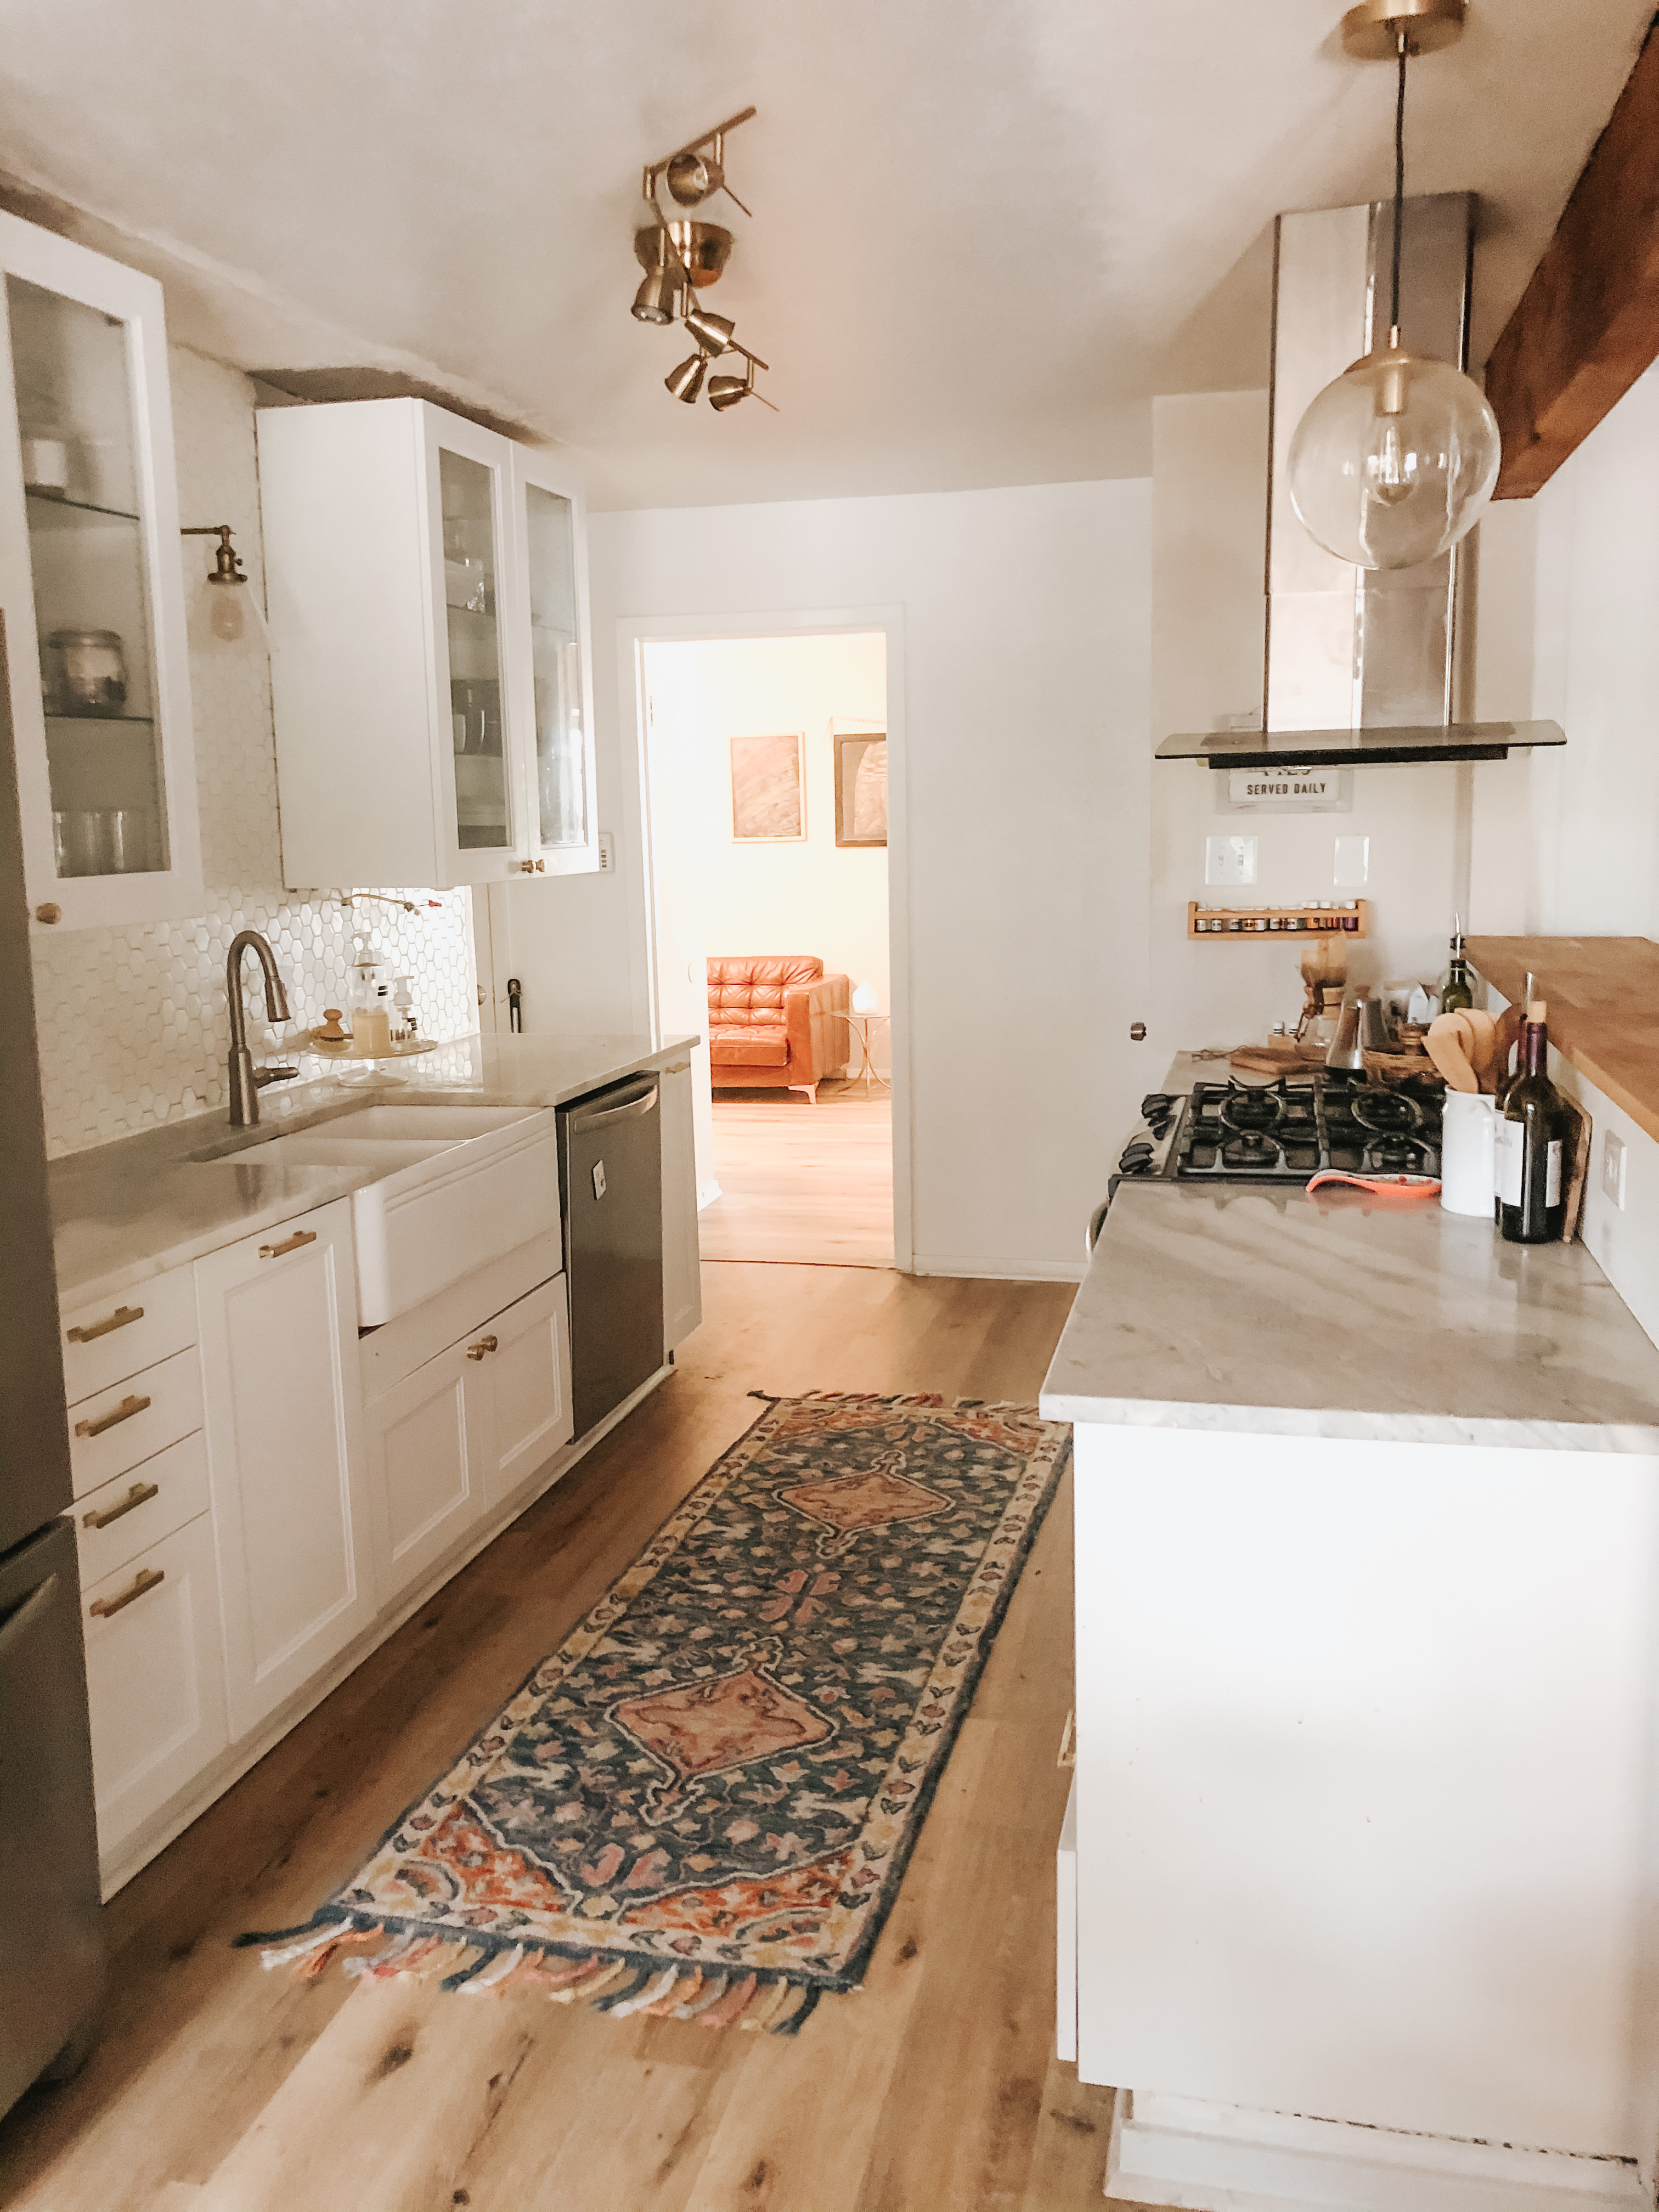
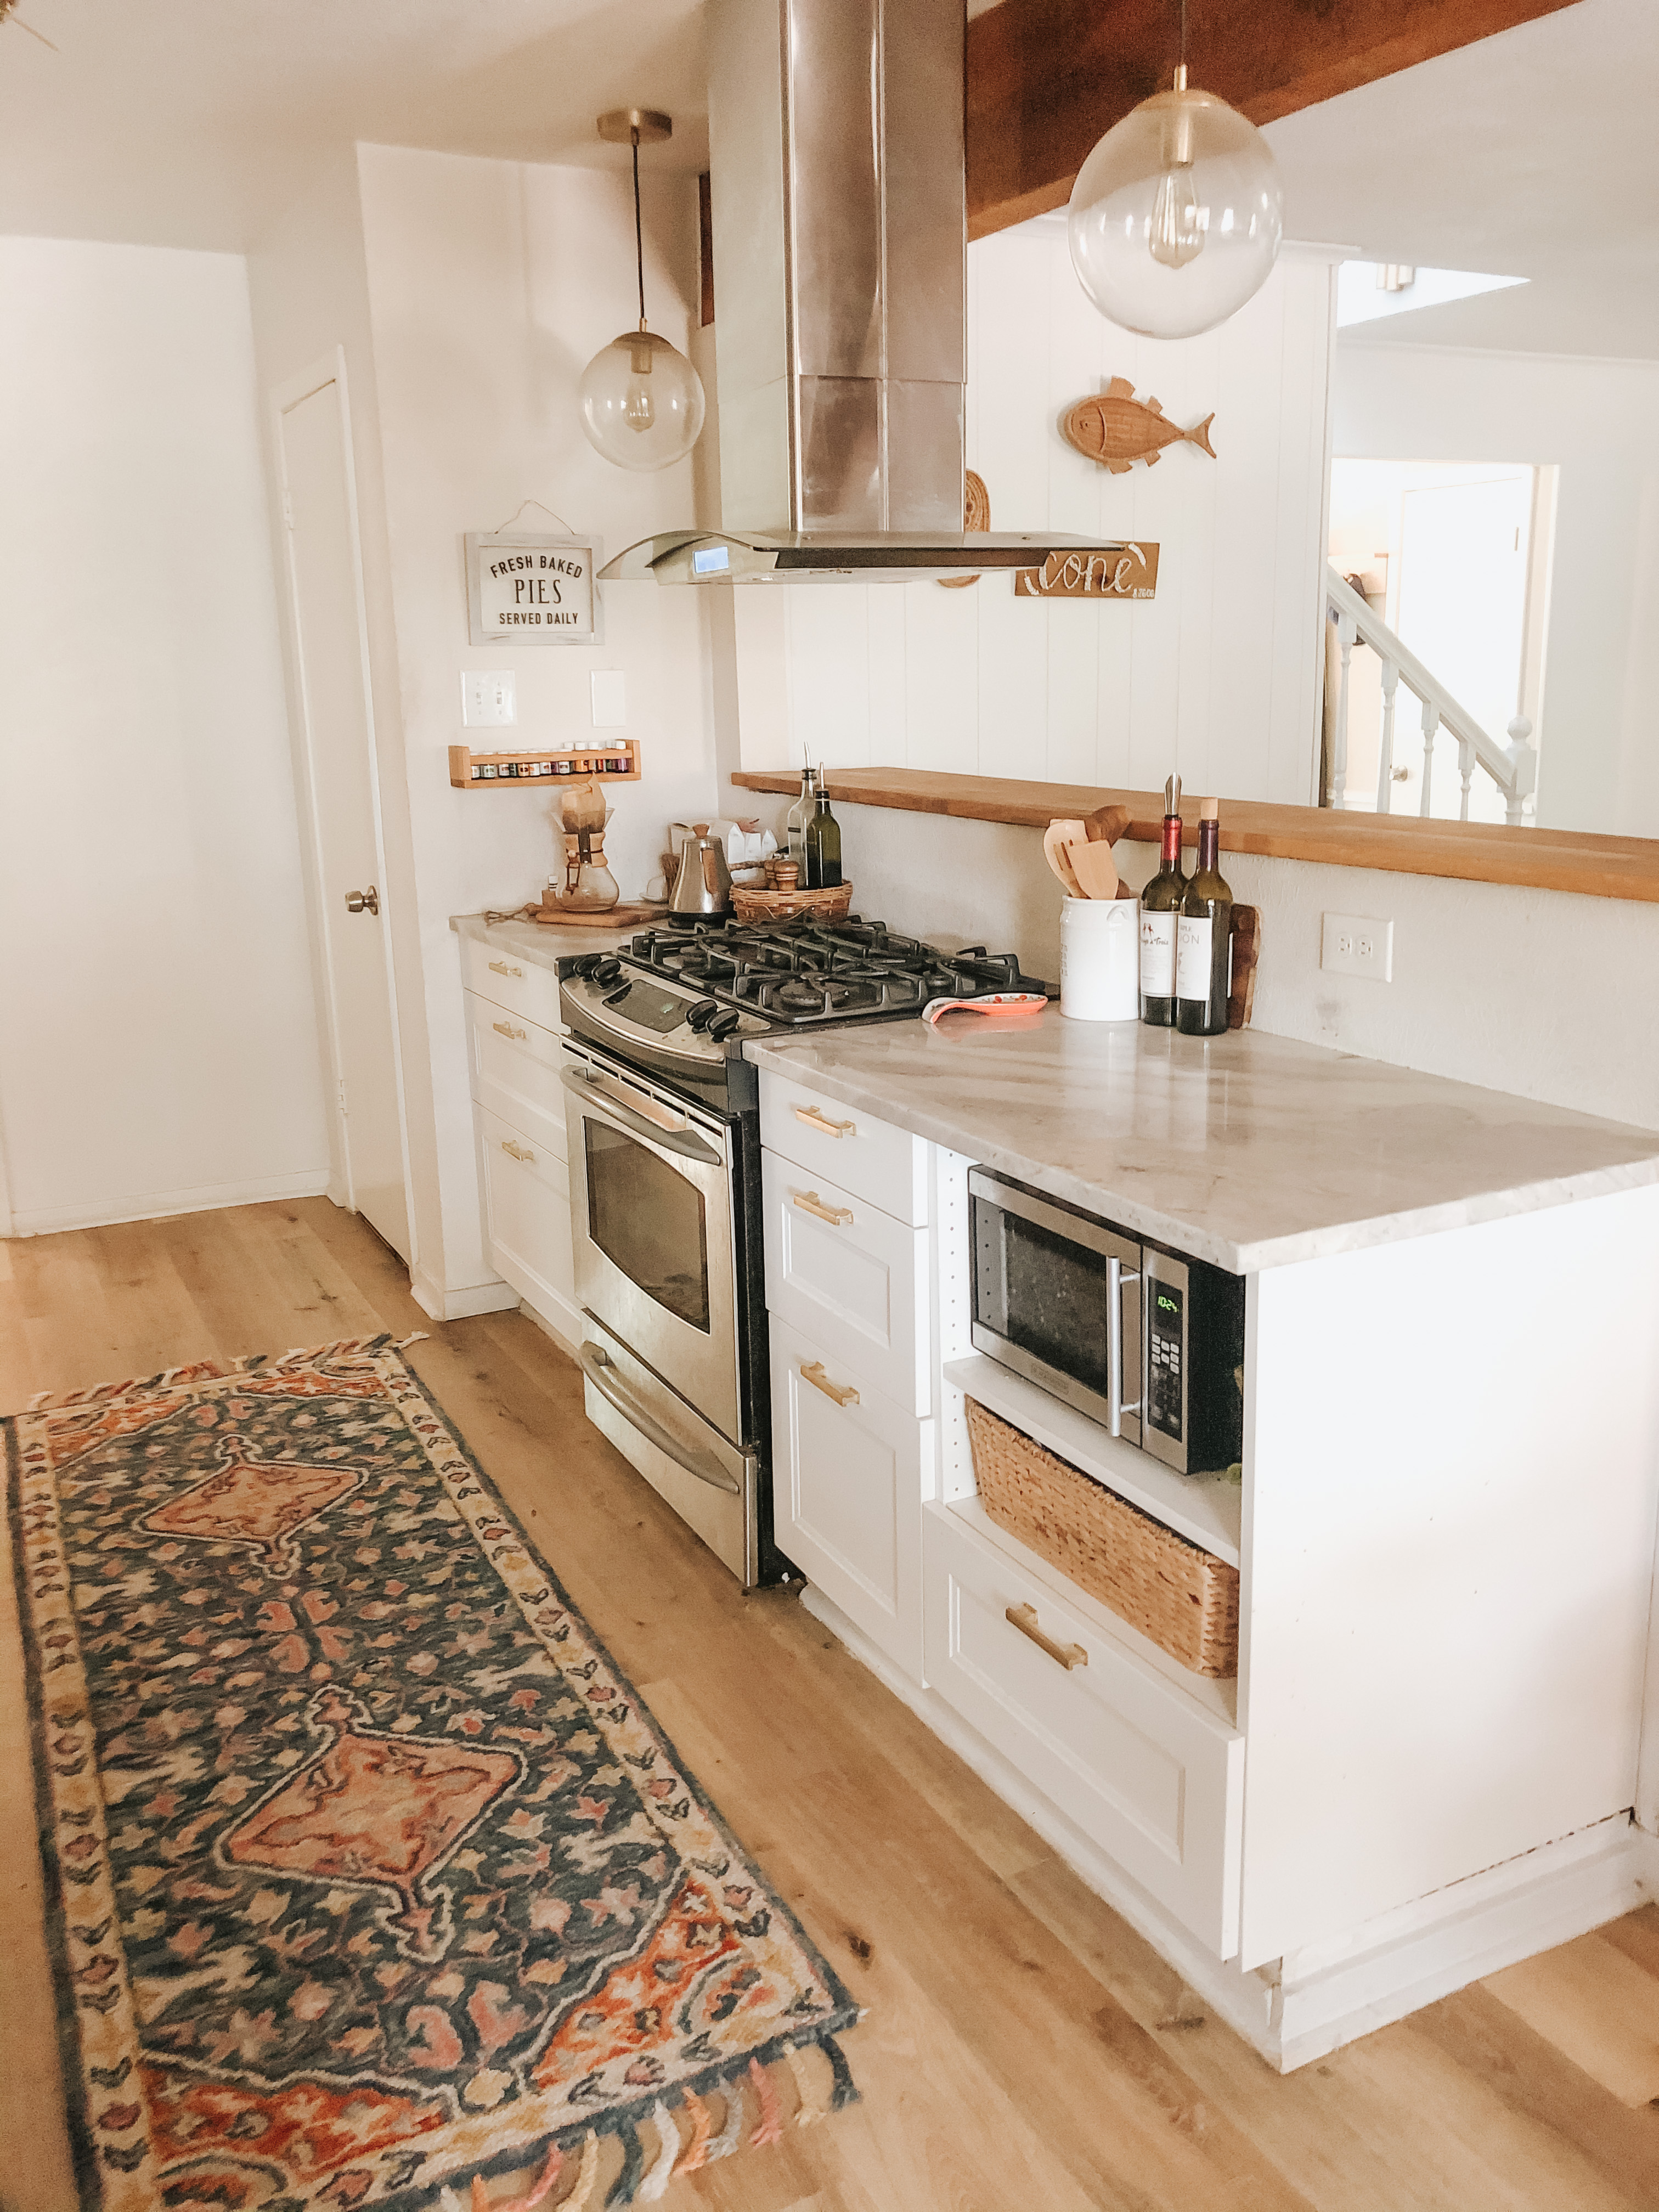
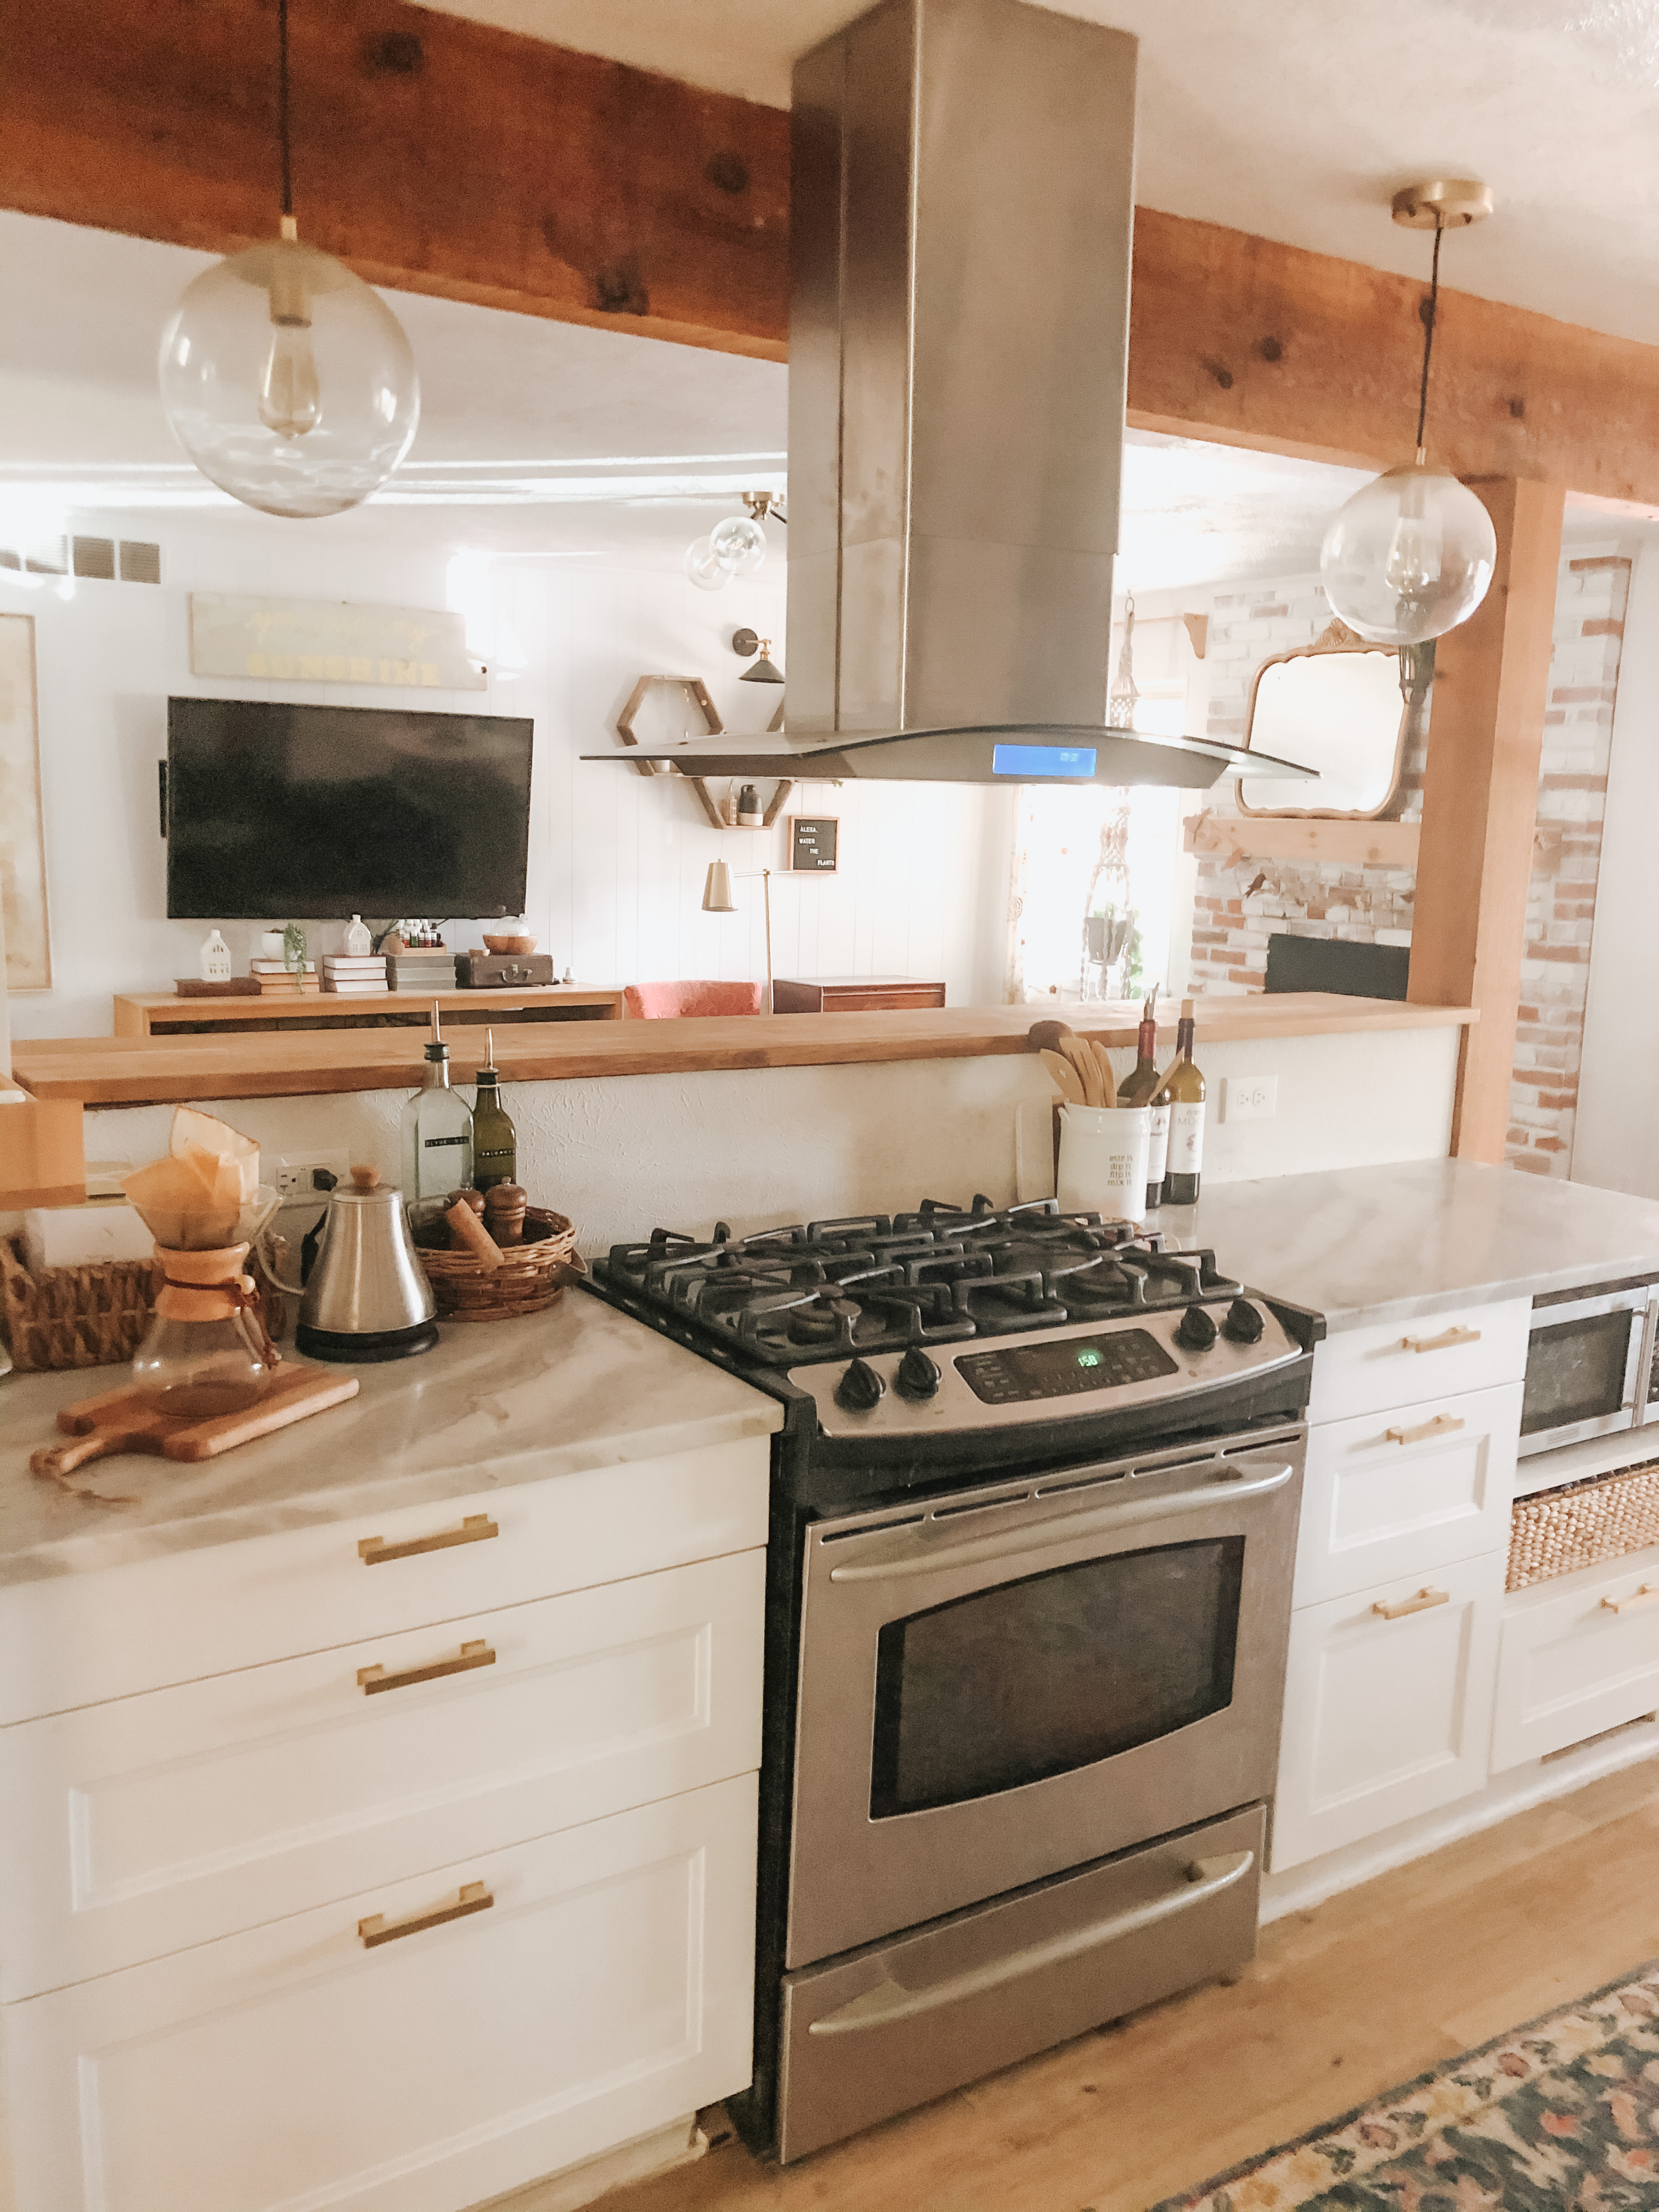

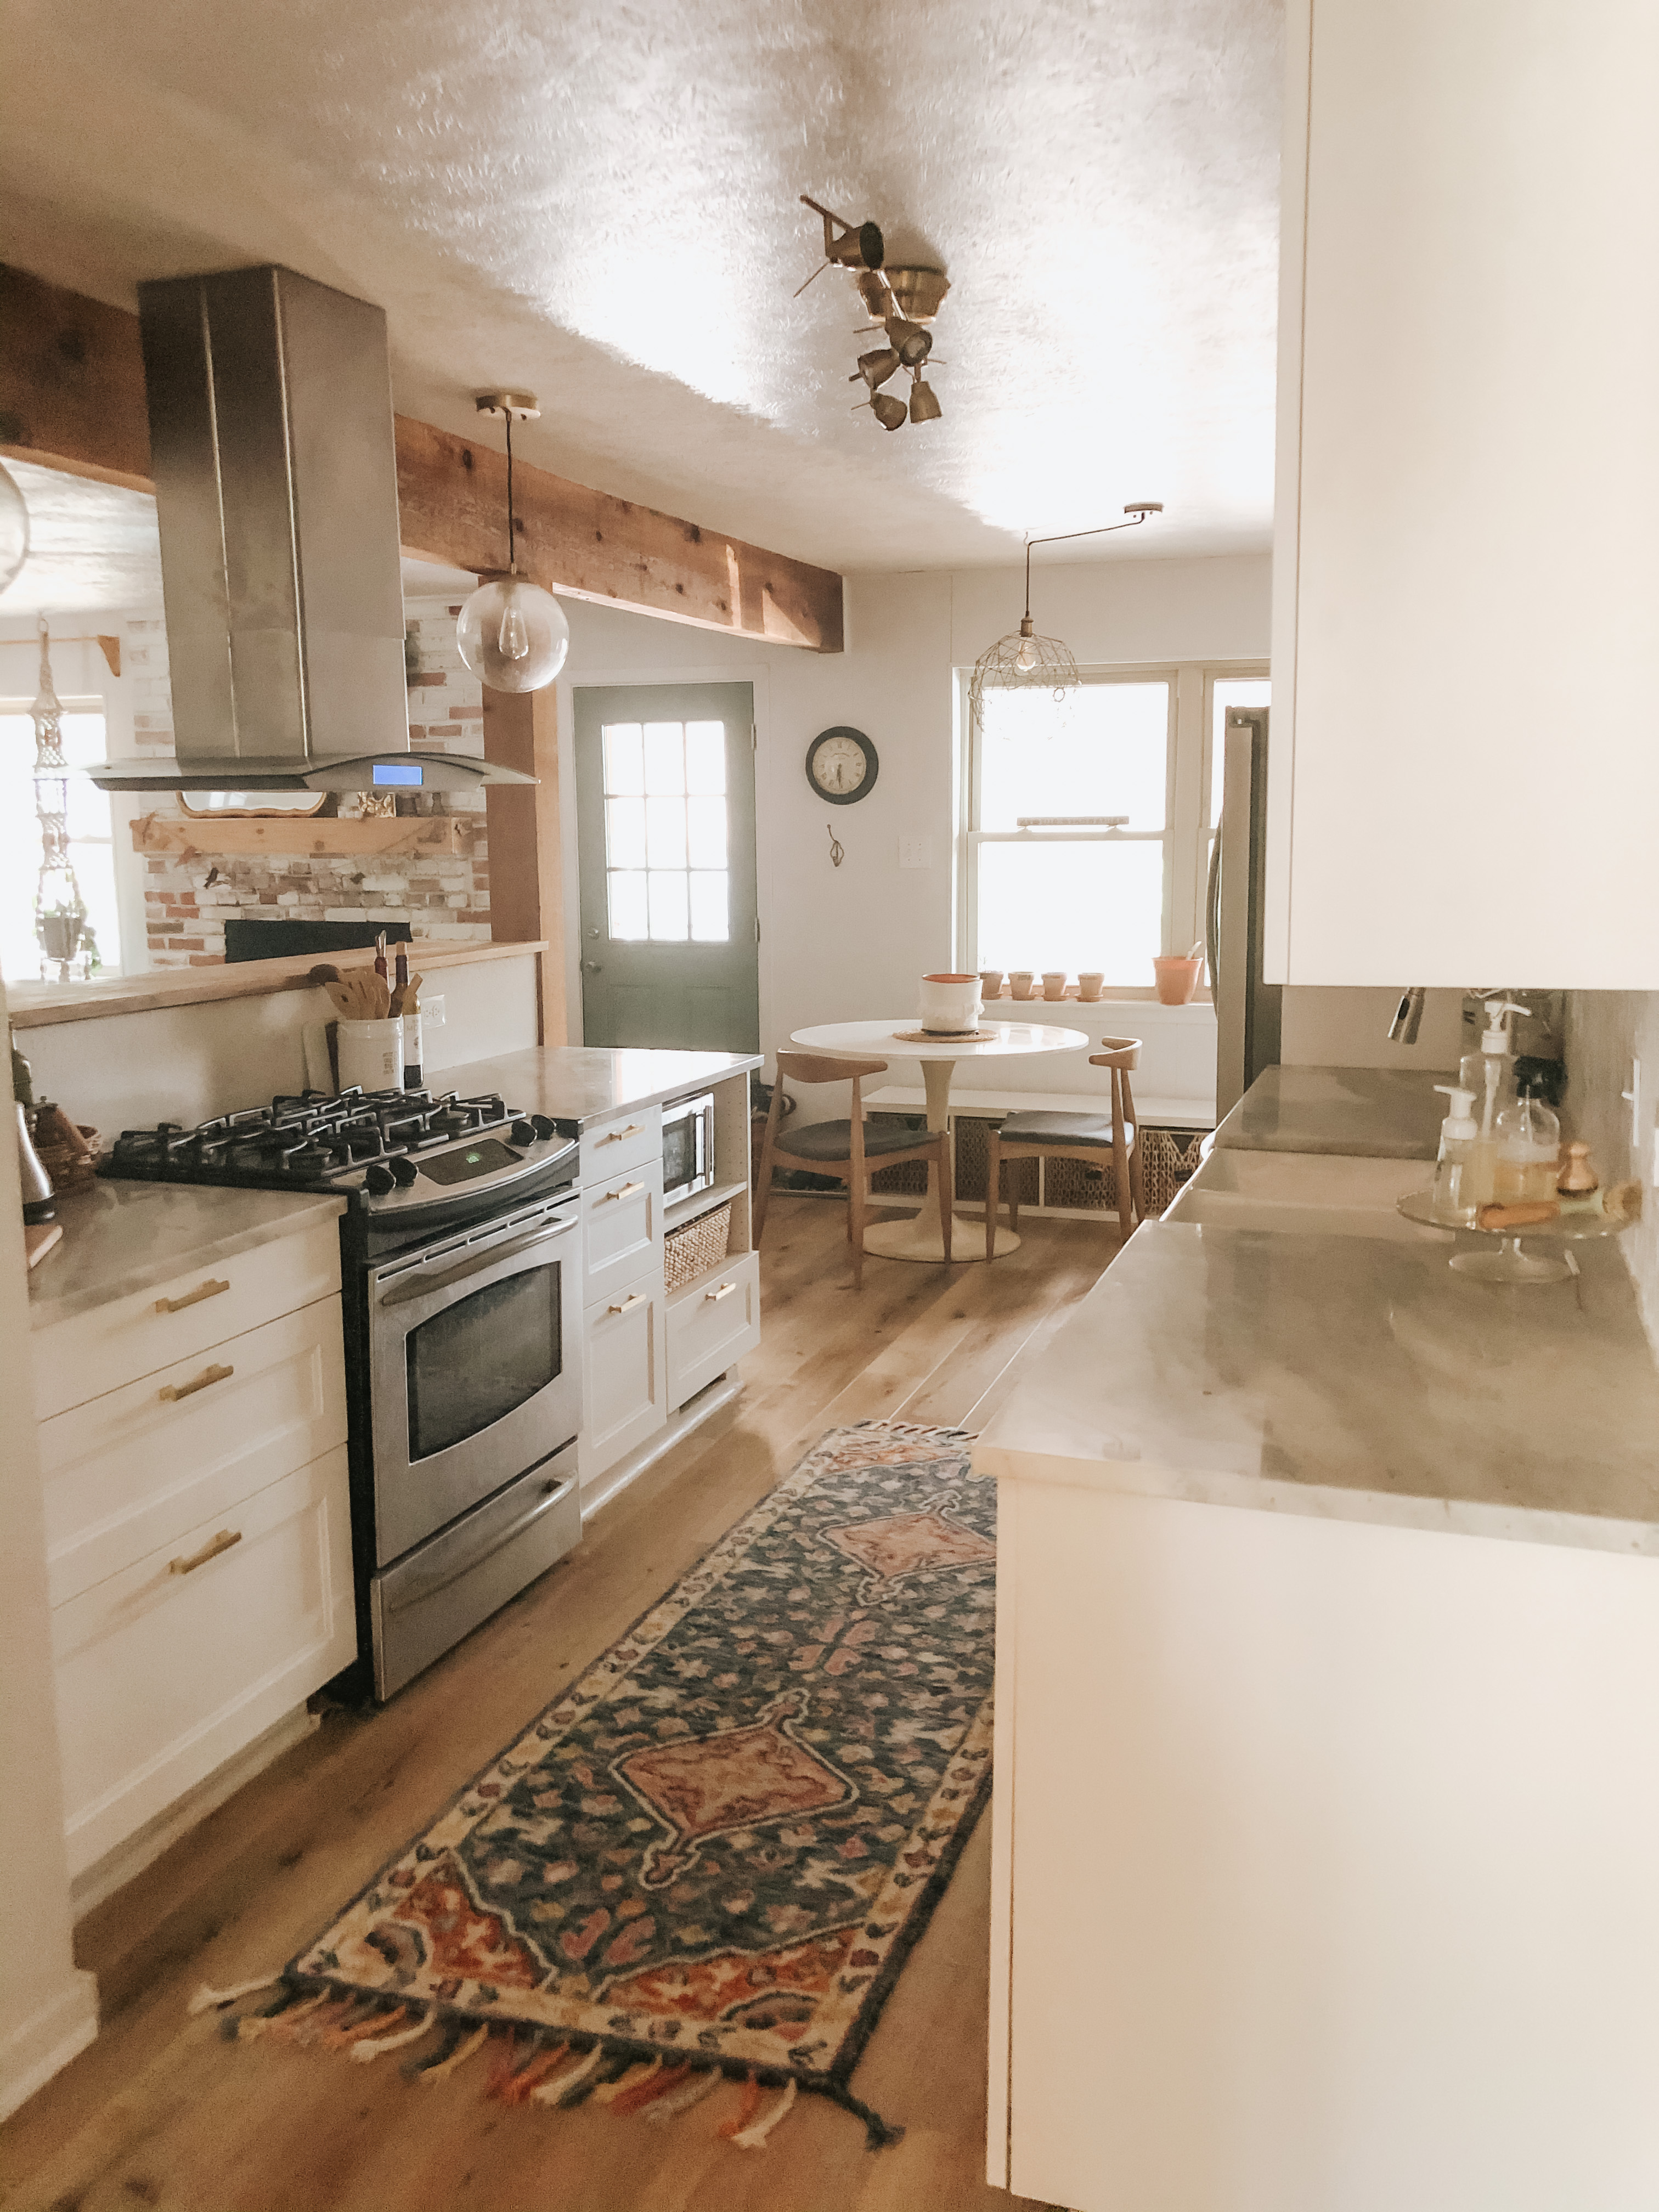
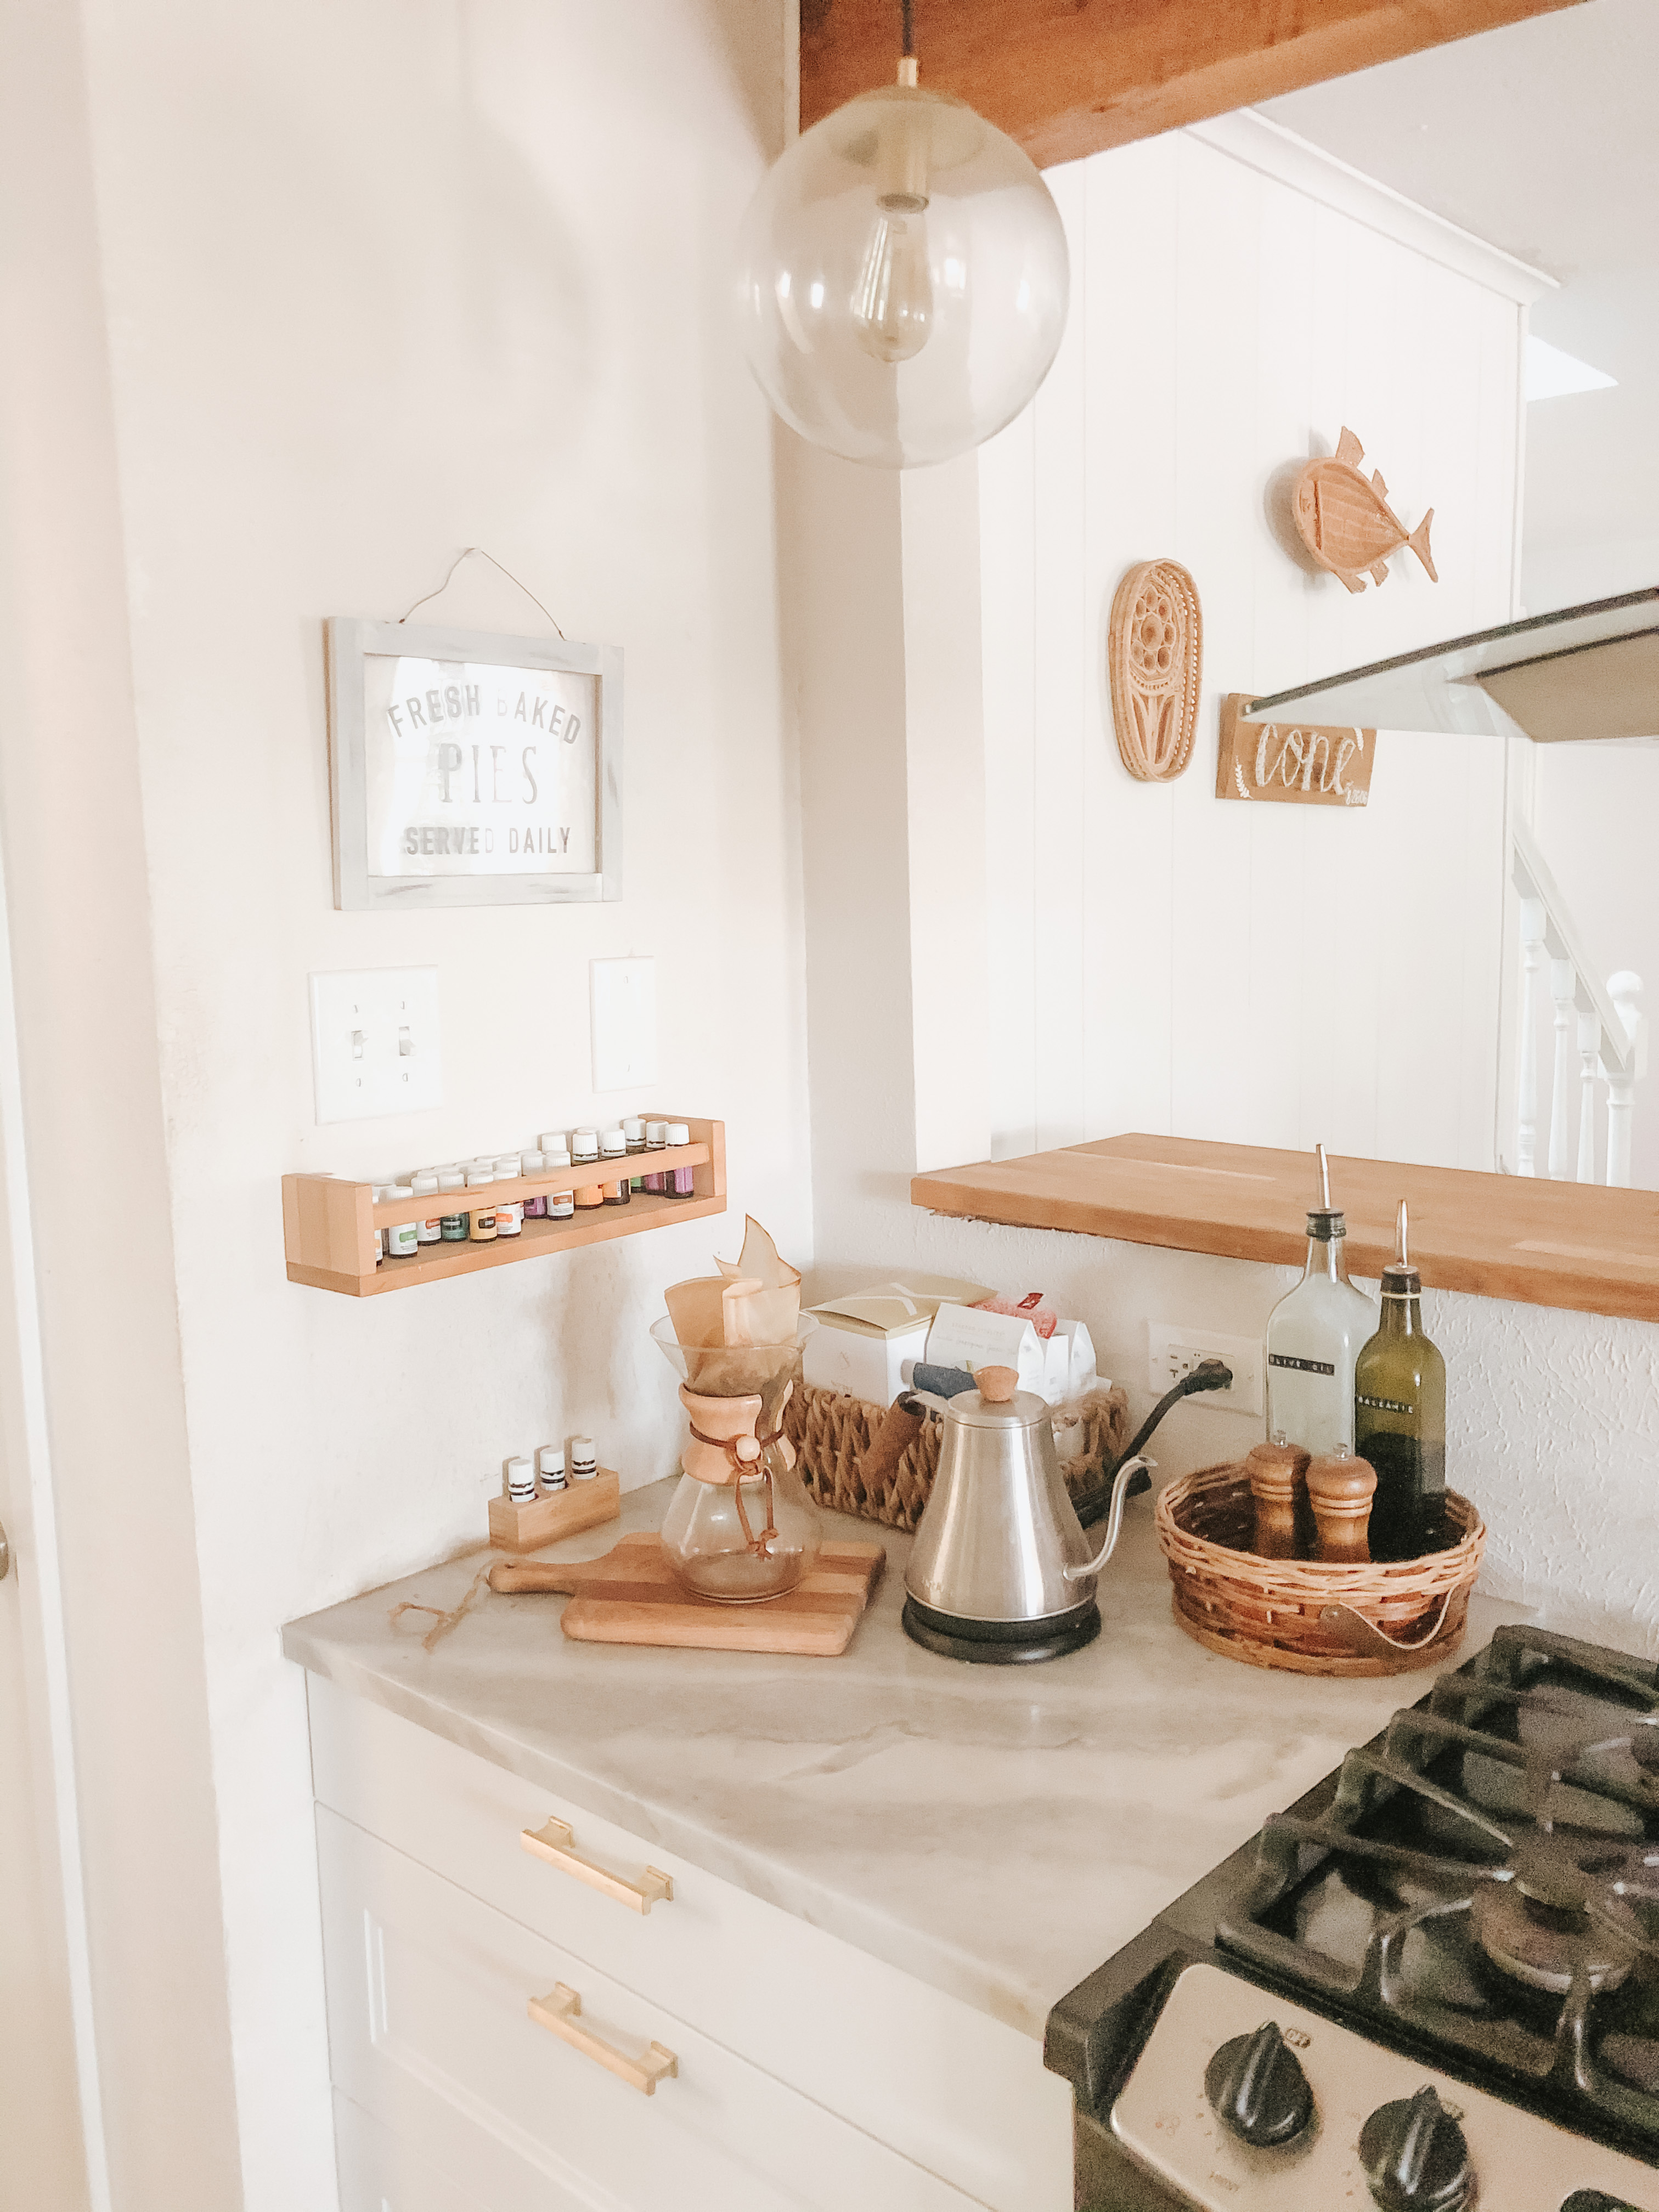
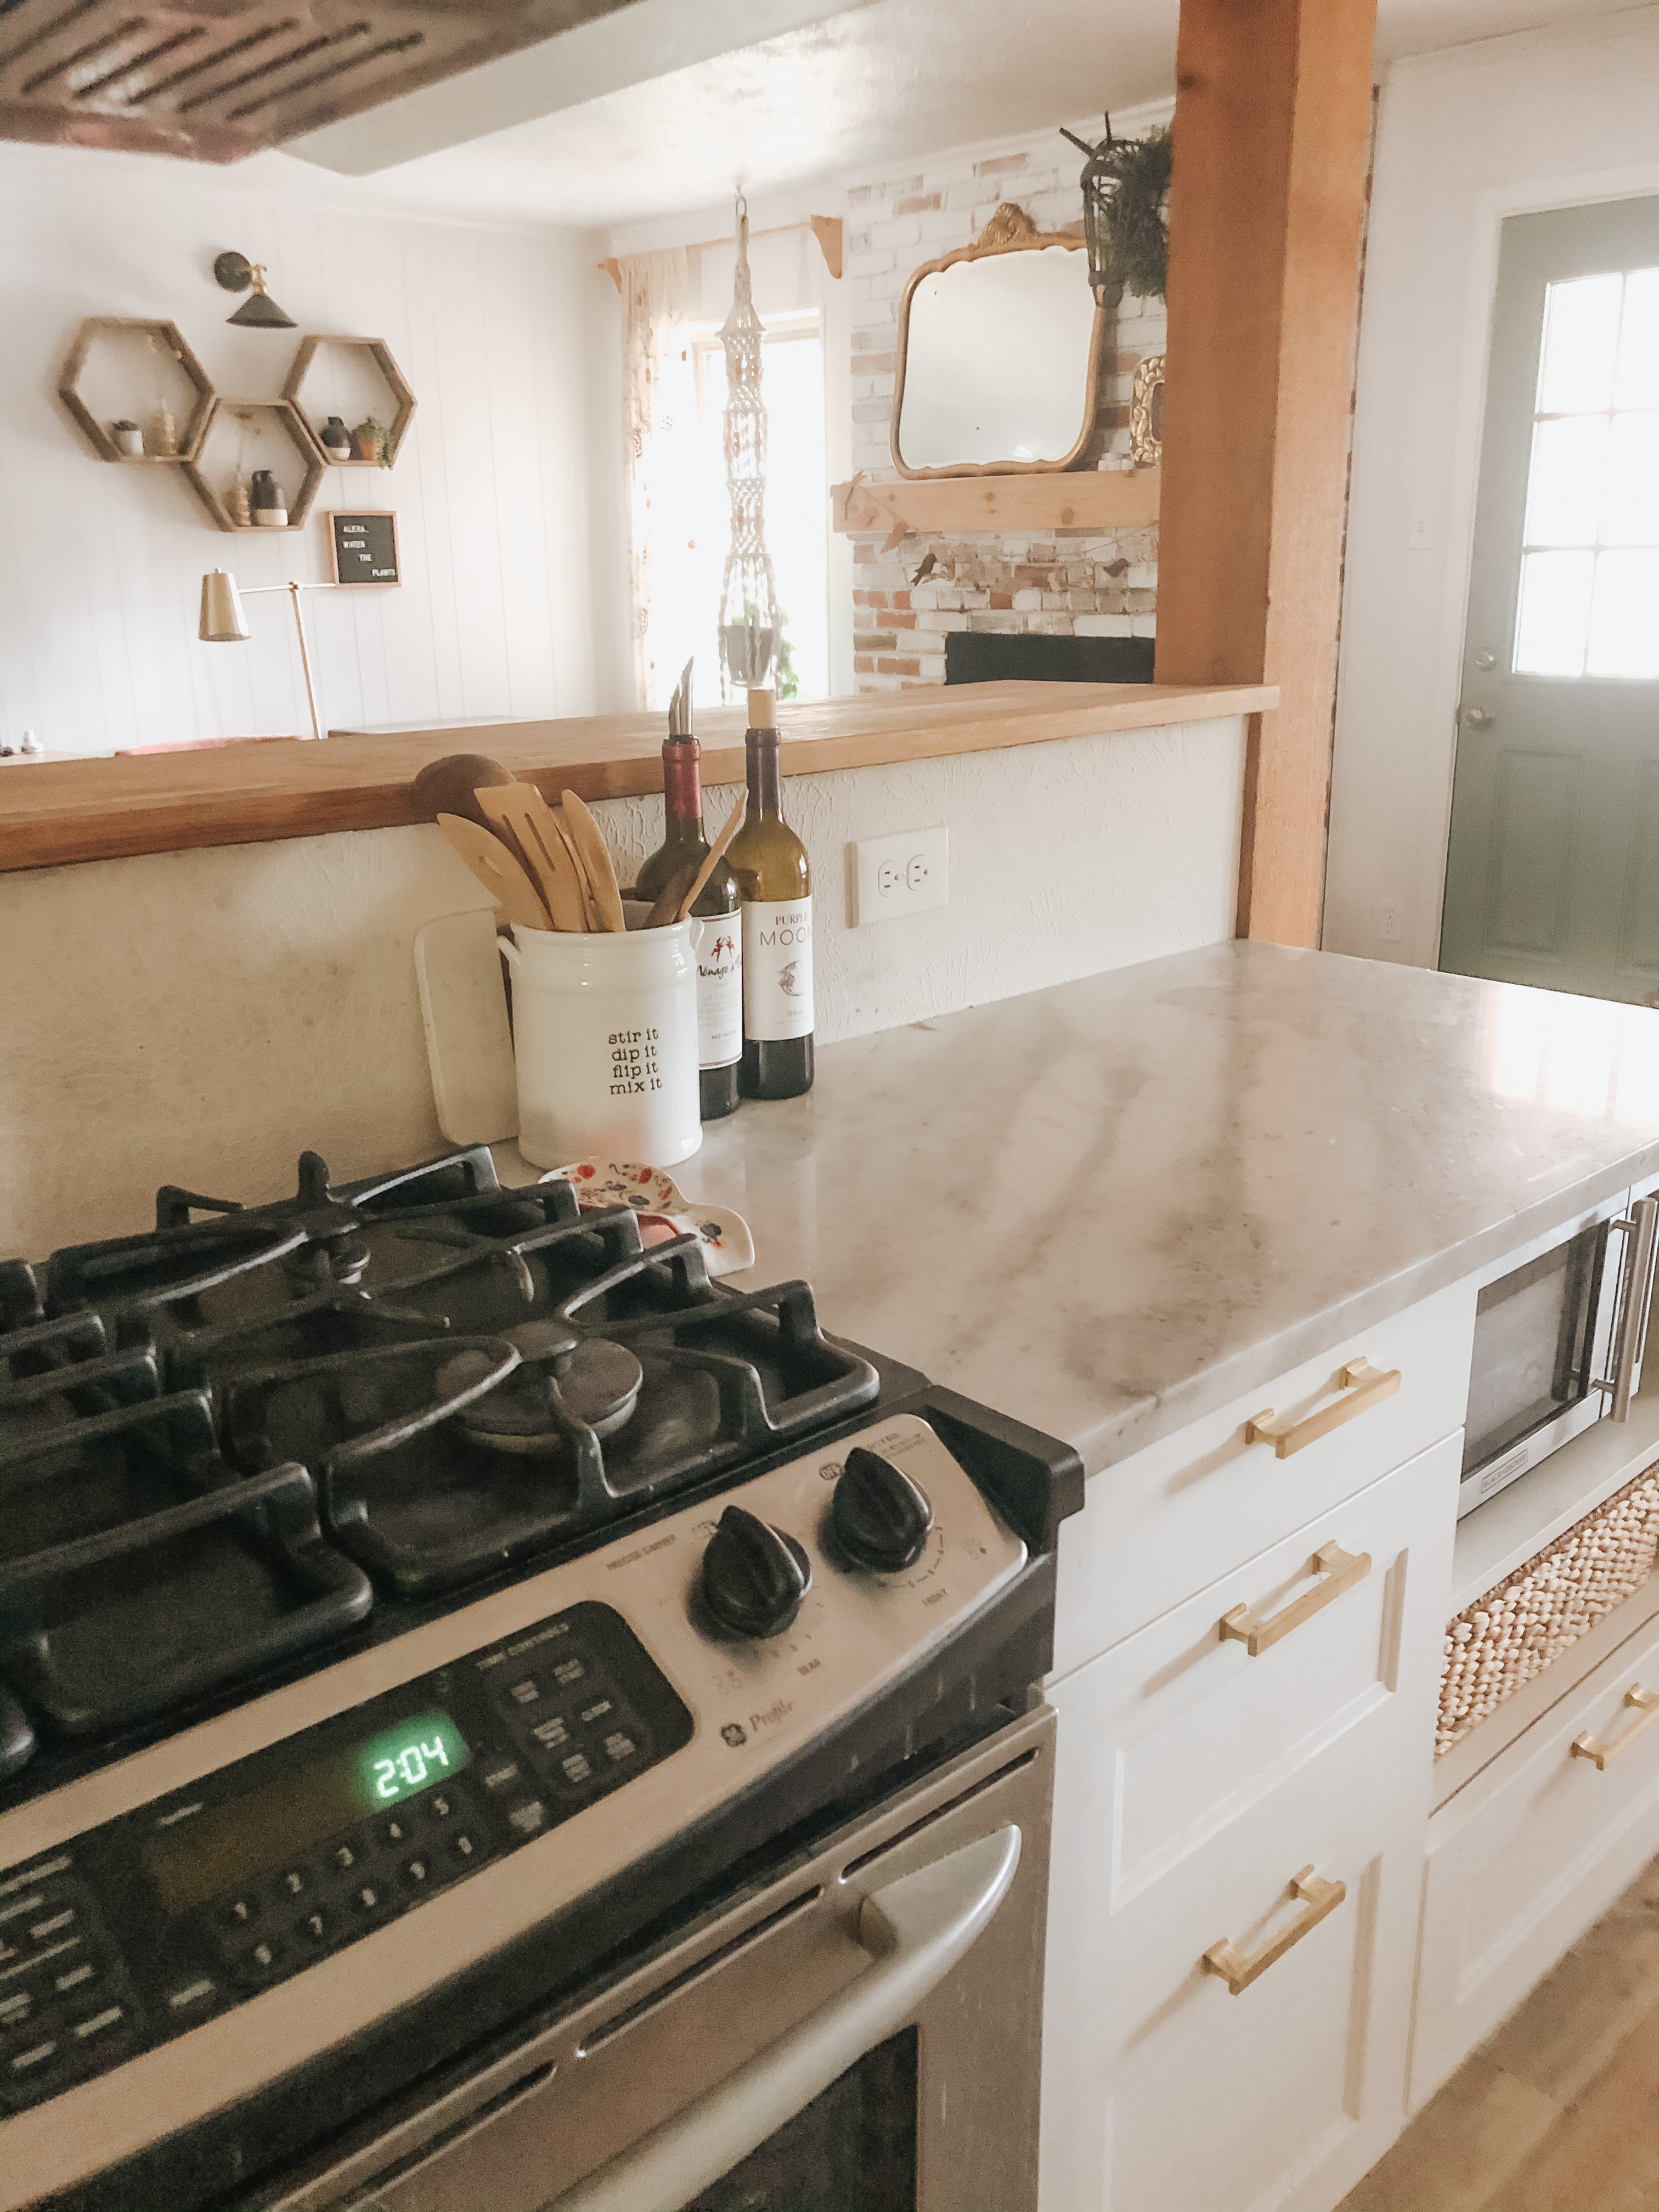
I’m going to break down our renovation into a few categories, starting with kitchen! I’ve had a lot of people ask about our kitchen renovation: all the ins/outs, what we wish we had done differently, etc. Our kitchen isn’t done yet, but we’re about 75% there! I’ll cover what we’ve done so far and what we have left to do.
The budget breakdown:
Wall Breakdown and electric by a professional: $9000
IKEA Kitchen cabinets (Axstad Matte White) and butcher block for shelves and counter: $5500
Marble countertops from a local warehouse with install: $1600
Plumber and gas hookup: $1100
Underlayment to repair floor and weather proofing: $200
Drywall and mudding: $100
Hexagon backsplash and supplies: $200
Cali Bamboo Flooring: About $700 just for this area (not entirely sure, we bought it as a package deal for the whole first story)
Frigidaire Counter Depth Gallery Fridge: (we got a heck of a deal at Lowes so watch for sales) $1500
Frigidaire Dishwasher: (again we got a heck of a deal at Lowes) $500
Gas Range: $300 used on Marketplace (still saving for my “Dream” oven)
Vent Hood: $350
Sink: $500
Drawer Pulls: $110
Cabinet Knobs: $50
Butcher Block Counter supports: $40
Lights (this, this, and this): $200 total
Blind Shelf Supports for floating shelves: $50
TOTAL SO FAR: $22,000 (considering it would’ve taken a professional at least twice this, I’m super glad we did the DIY route! Without the wall breakdown, this cost would’ve been closer to $13,000).
The Time Breakdown:
Cabinet assembly: About 1 hour per cabinet including drawers (they’re not easy)
Cabinet Install: 6 hours total
Wall Breakdown: Initial phase was 2 weeks, finish out dragged on for 4 months (I’ll talk about this more in a Q/A post, about why contractors can be a huge headache!)
Floor Repair: 10-15 hours of underlayment, demo, weather blocker
Floor Installation: Two evenings, finish out happened on and off for a few months.
Counter Install: Waited 2 weeks for an open appt. once we purchased the marble
IKEA cabinet shipping: Around a week to get to us
Backsplash: 7-10 hours with mudding
We were actually in escrow twice on this house and pulled out the first time because I hated the kitchen (everything was so dark!) and I just couldn’t catch a vision for the space. In the end, however, we were able to knock 60k off the price during the bargaining phase, and so it quickly became by far the best deal in the area. With the way my income works in sales, it’s never a “set” number, so we tend to budget based on our lowest month in two years (Dave Ramsey), not on the highest number the bank said we qualified for, if that makes sense. All things said, the low mortgage/sales price was a plus to us, vs. paying tens of thousands more for something already done.
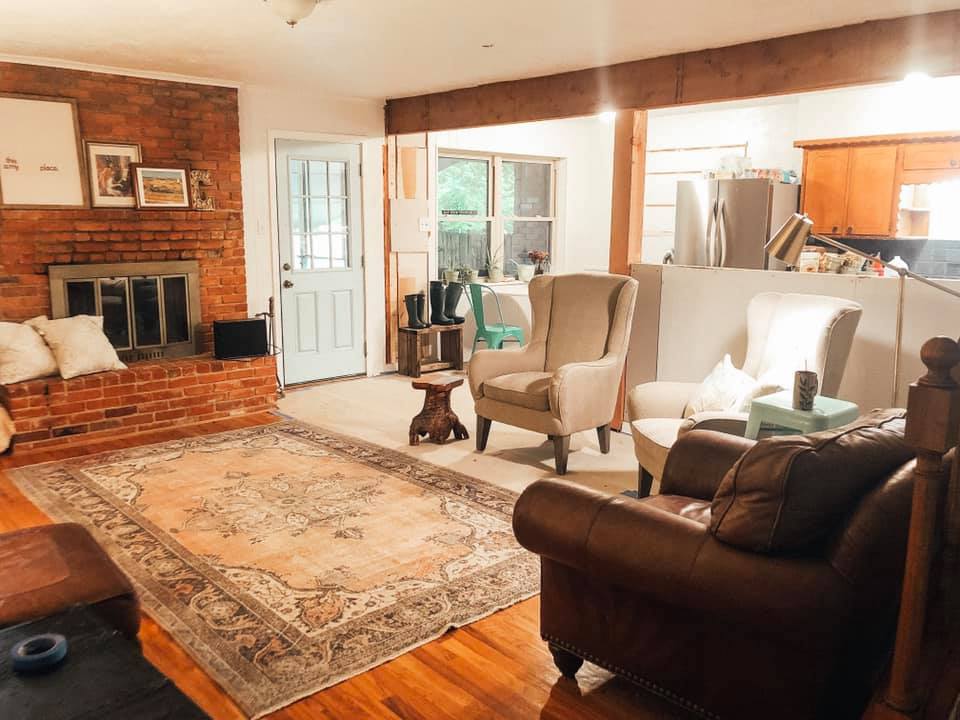
Here are some “before” shots!
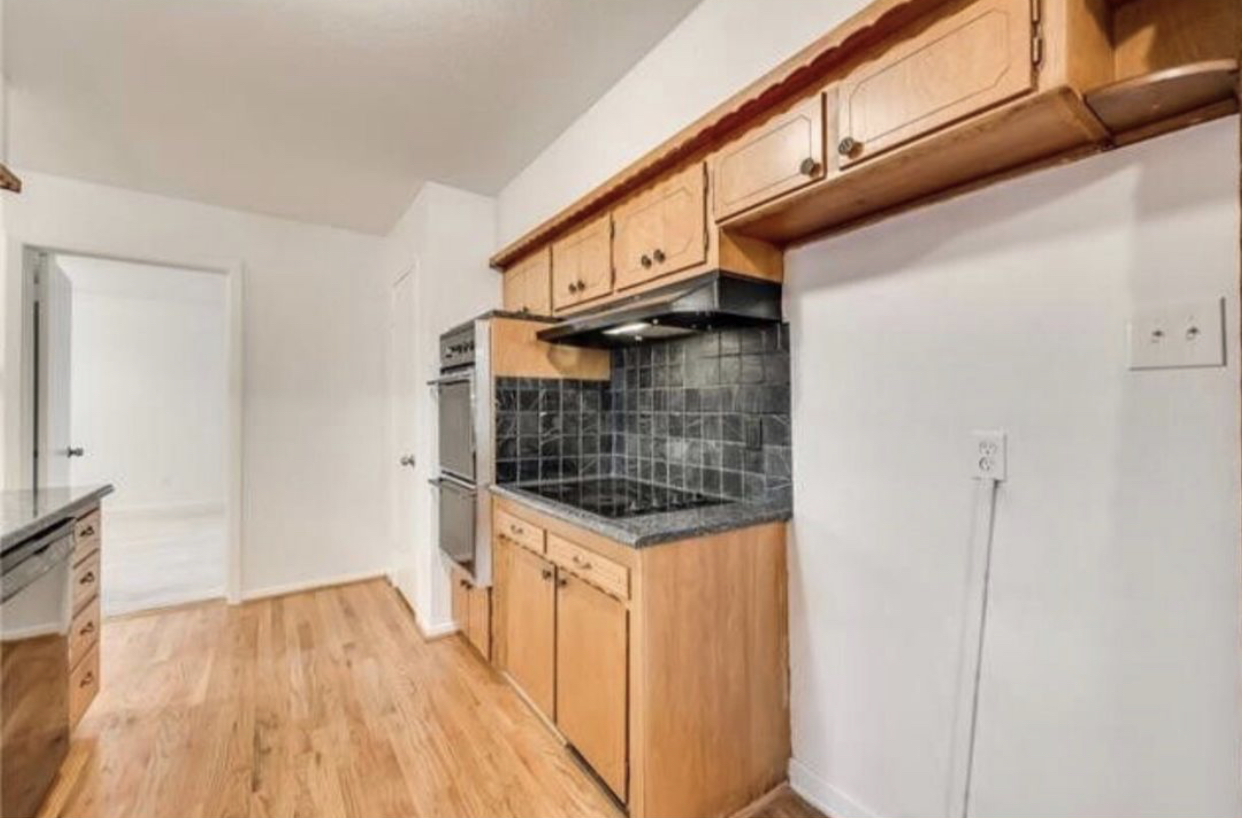
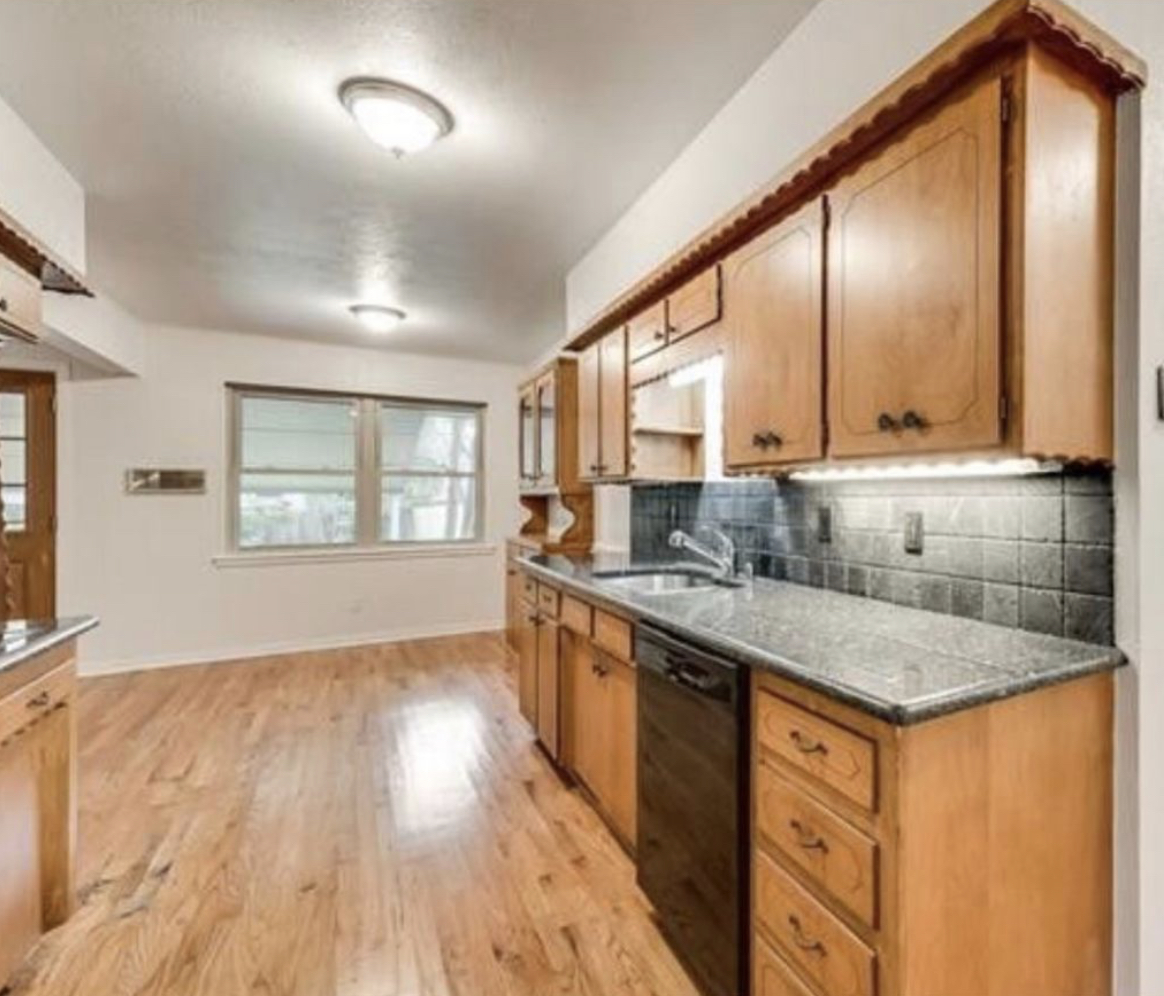
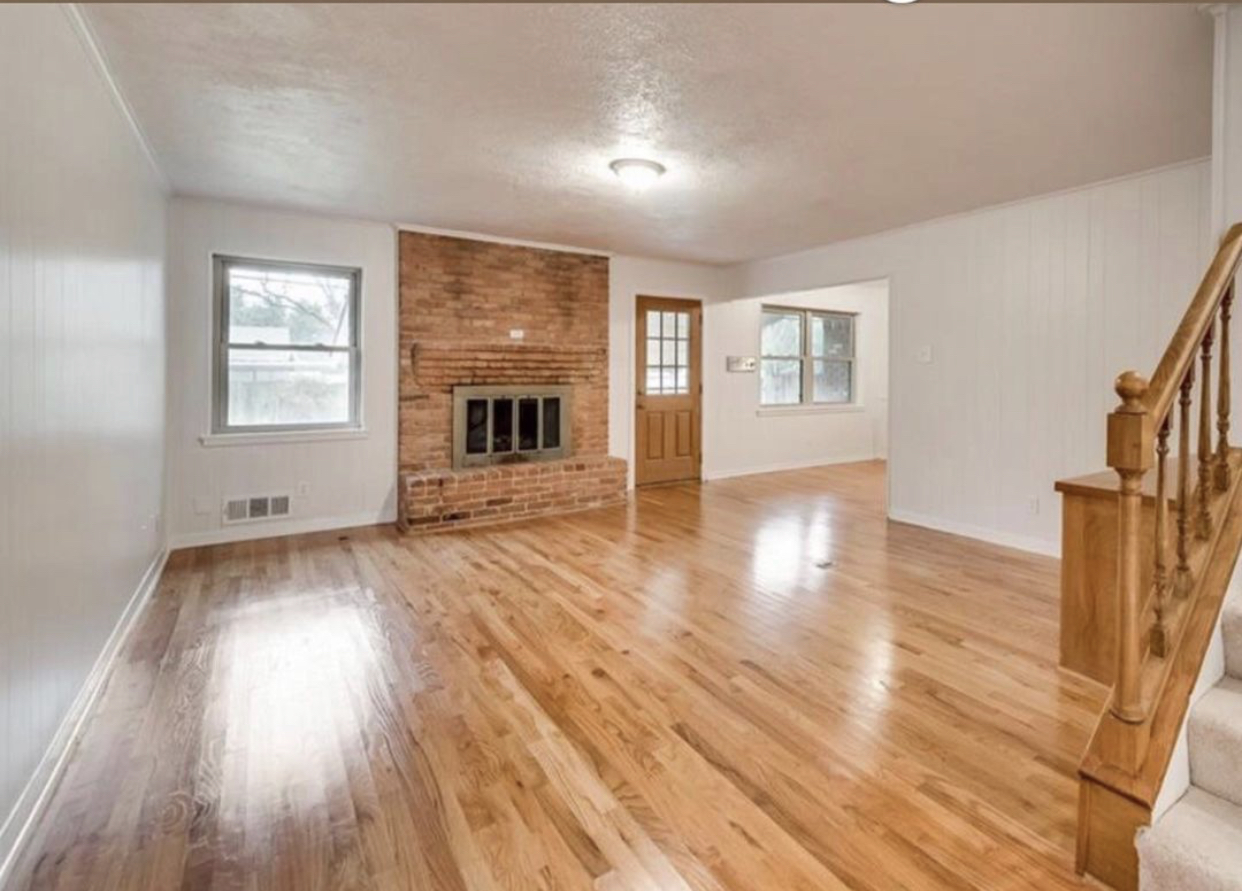
Our escrow took two weeks extra because of some foundation work that the appraiser needed done. Thankfully, we got an engineer’s report out of the deal and were able to have it done RIGHT. Sadly though, we had already set a date for movers and had to be out of our other house, so we pulled some strings and had the movers put our stuff on the covered patio and in the garage for a week. It was stressful and not something I will ever do again. It cost us $1300 to move our stuff (two trucks), and I kept thinking of the mess we’d have on our hands if the sale didn’t go through!! I had constant nightmares about our stuff getting stolen or ruined. The chickens roamed the yard long before we officially owned the house– the seller wasn’t happy (then again, negotiations had gotten out of control by this point as he was being a “you know what”, so he wasn’t happy about much).

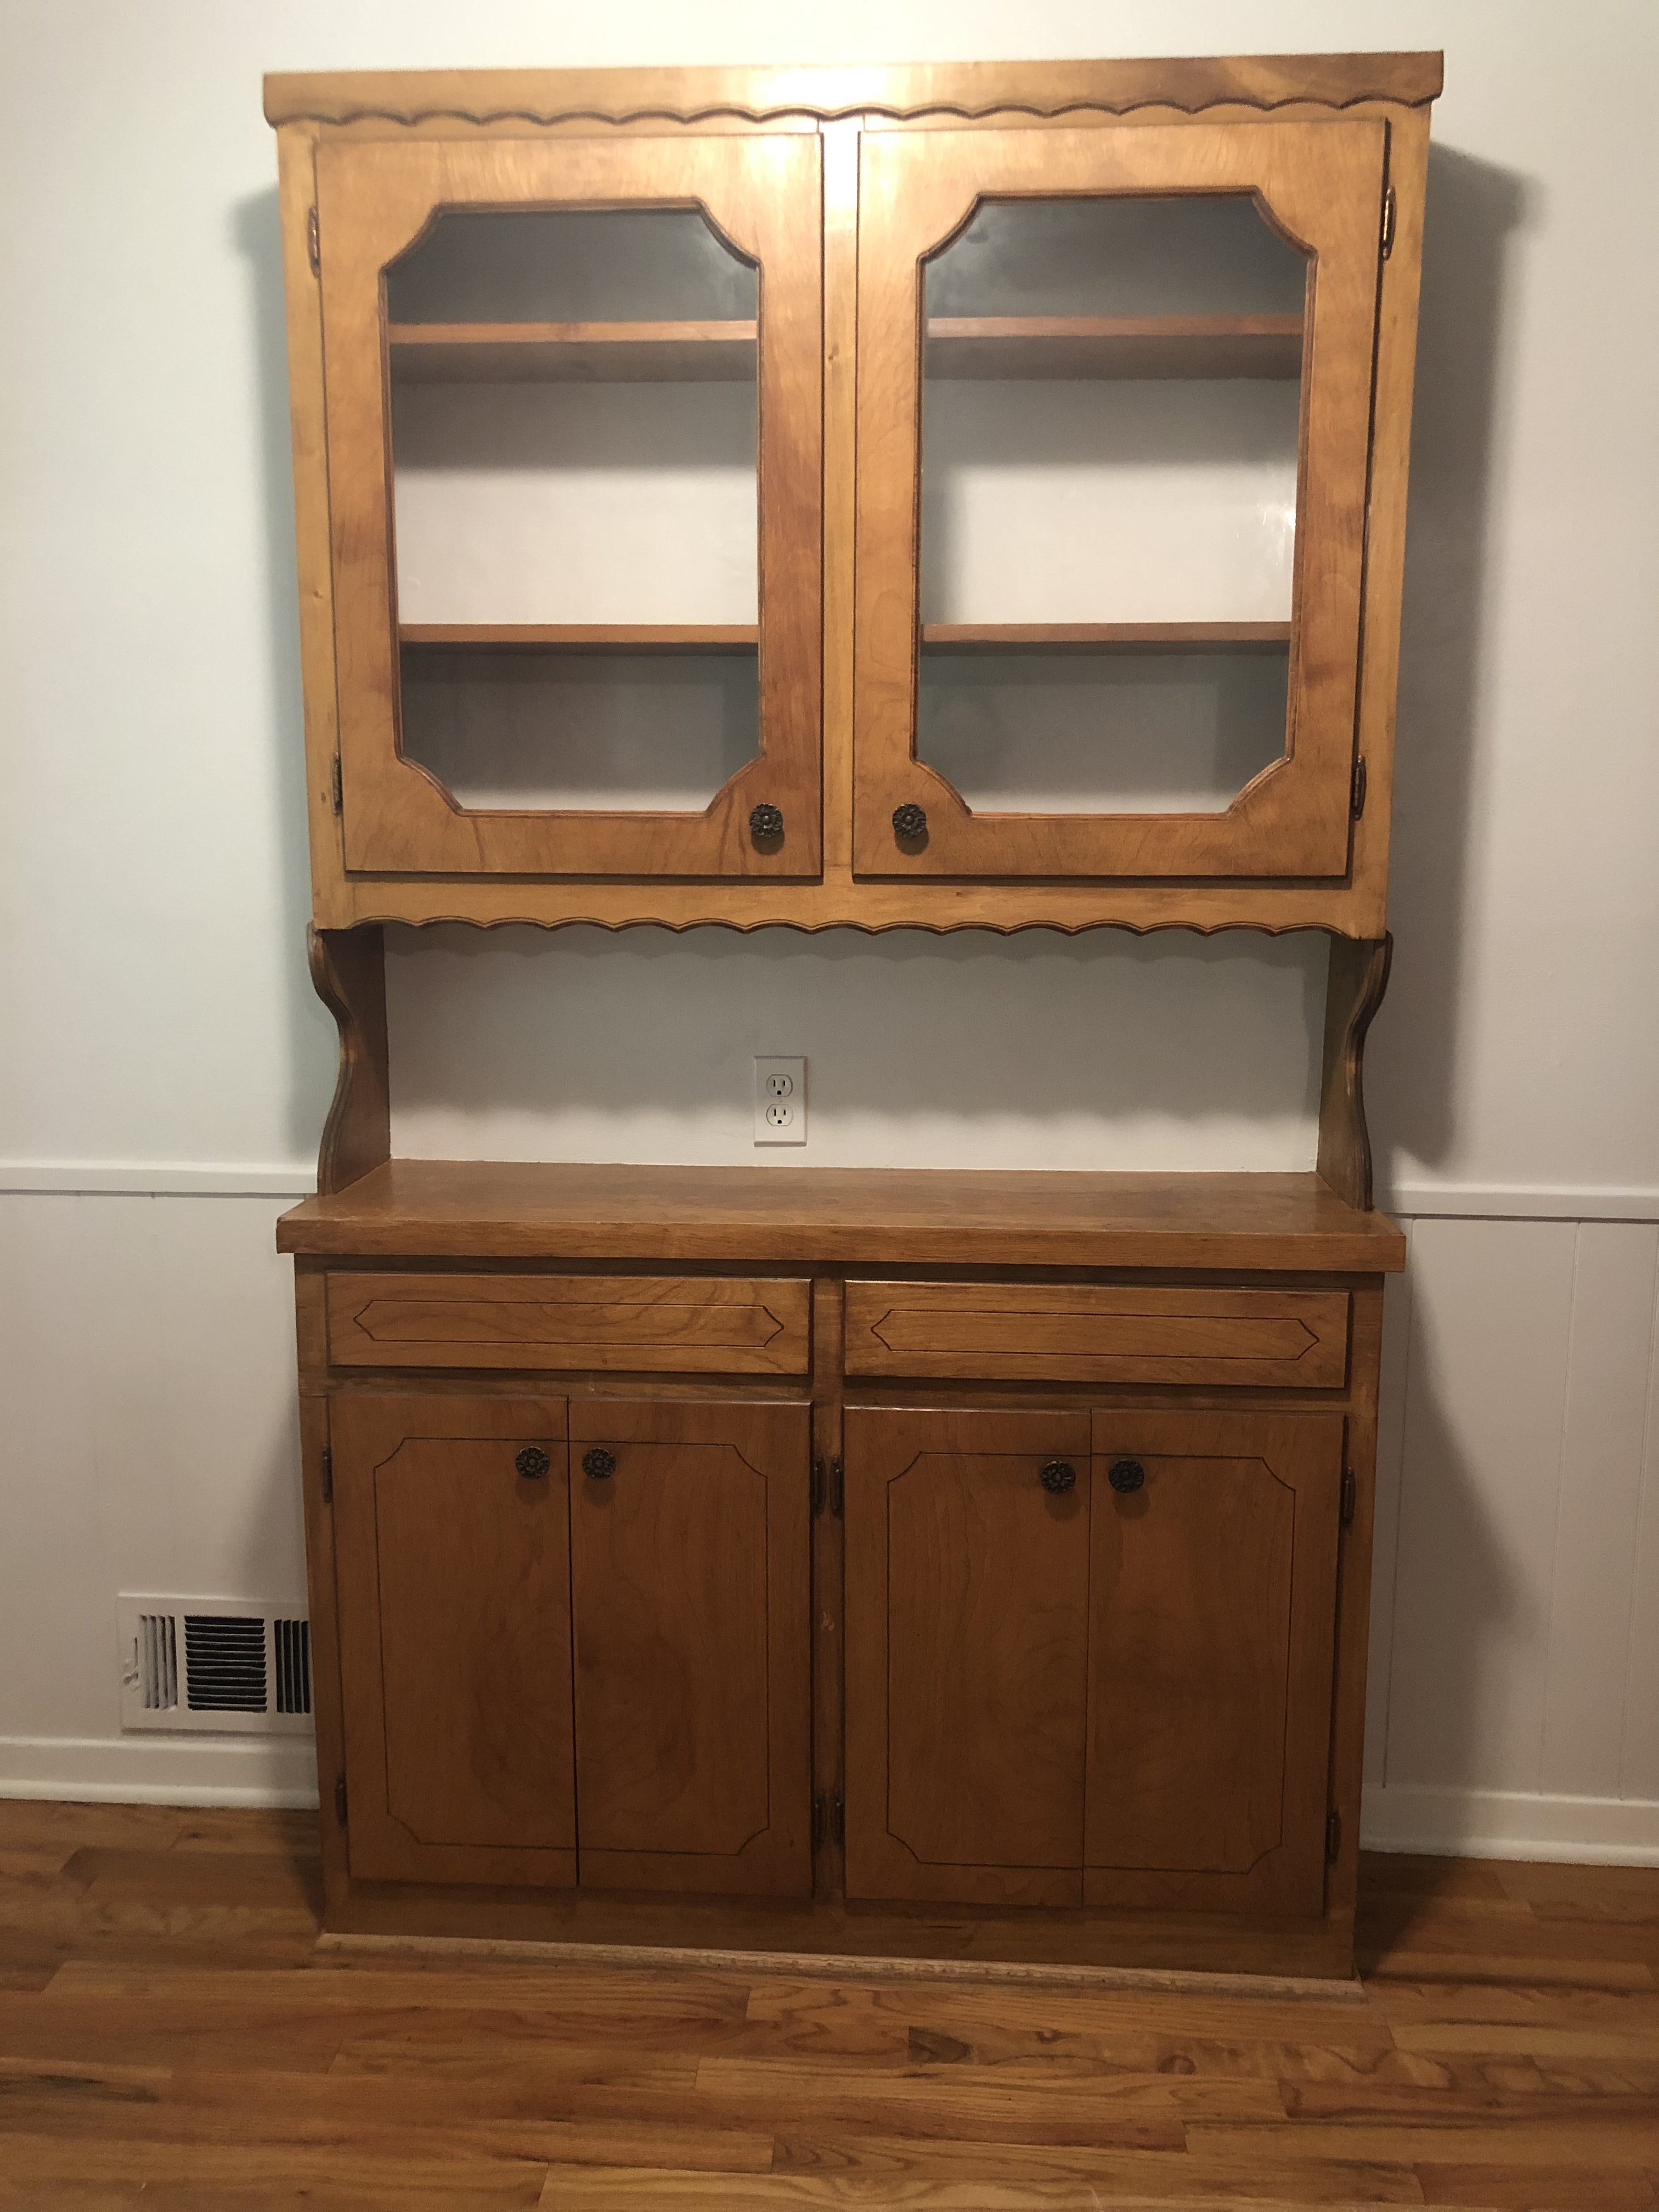
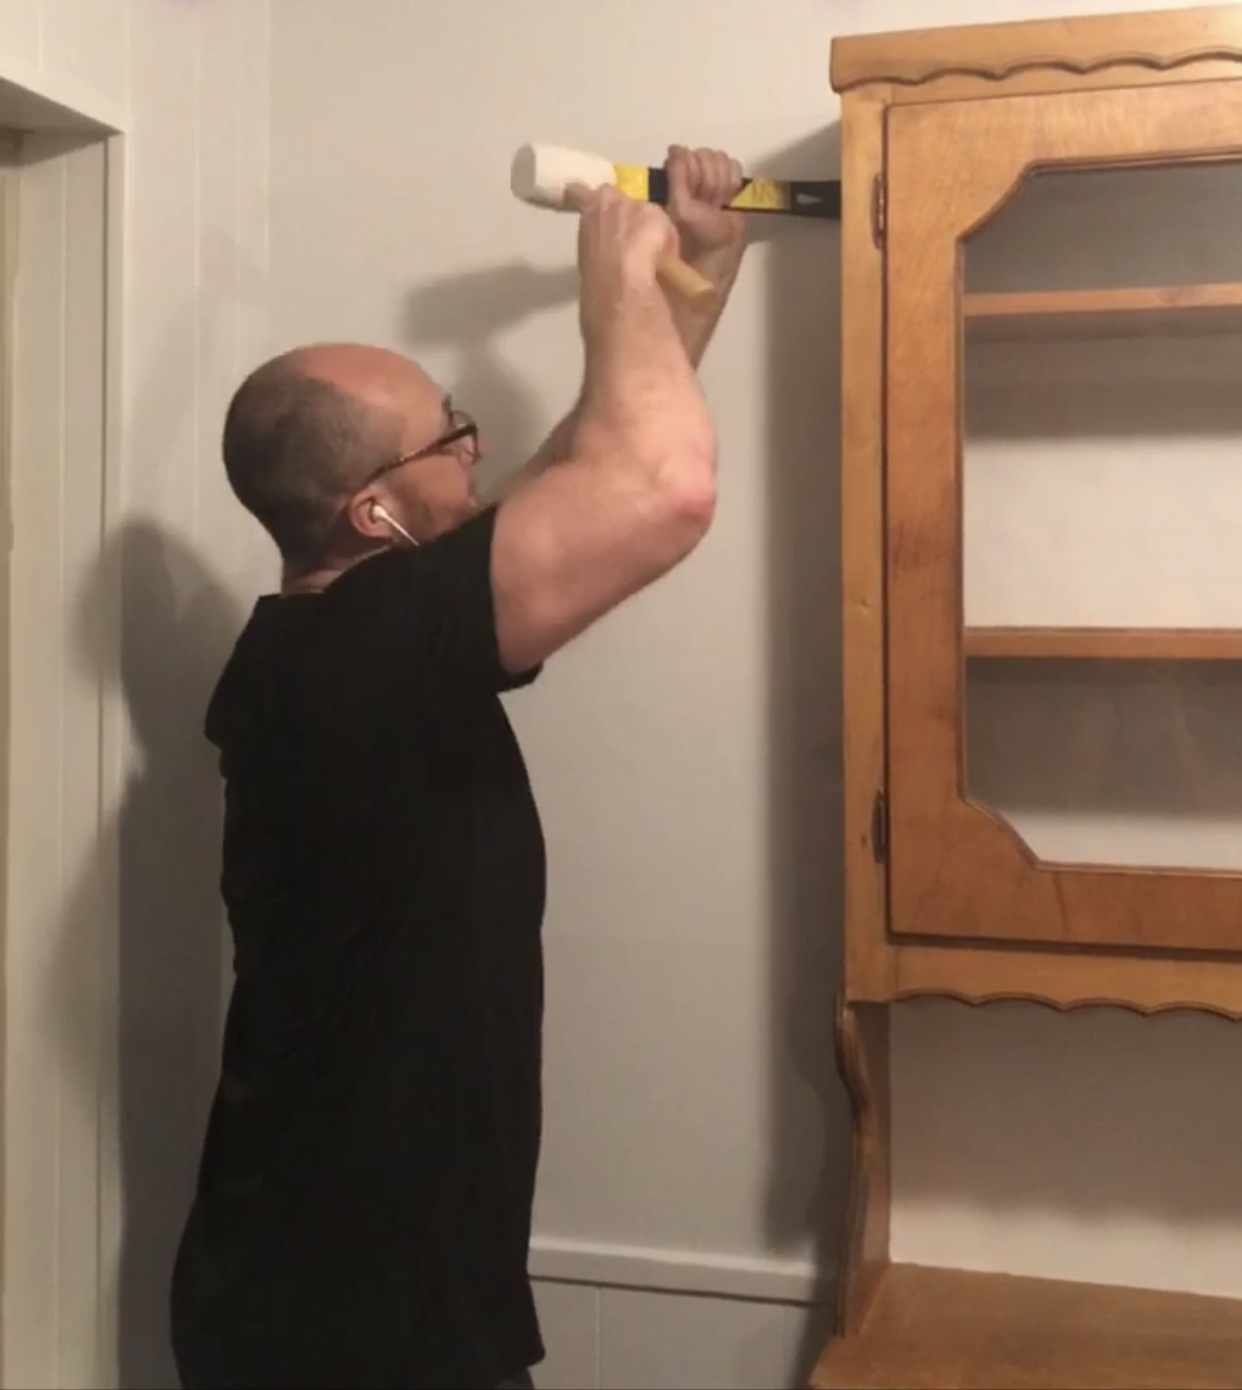
Thankfully it all worked out! Literally hours after we signed the paperwork, we began the demo on the built in hutch. I had already sketched out/measured what we wanted in here, and knew that the first step was moving our new fridge to this space (the designated spot was across the way, on the wall we were going to tear down) .
This was my mood board when we first started. It’s evolved since then, but it gave me a starting point.
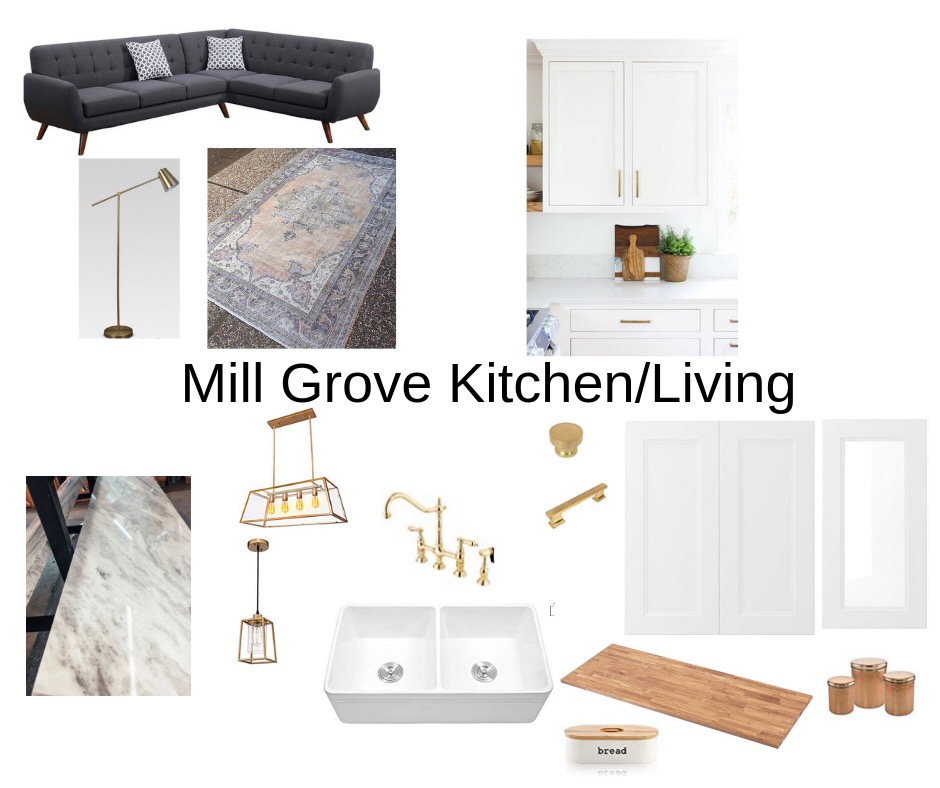
I’ve had a few people walk in our kitchen and ask, “how did you know what you wanted?” There are so many options out there, I get it. It’s SO overwhelming. Basically, whenever we’re a month or two away from starting a project, I have a process. First, I spend a few hours browsing Pinterest. I spread this out over a few days. I pin what catches my eye– this first go around is a pretty wide net.
After this initial process, I go through my pinned images, and narrow down the 20-30 images that I have a “gut instinct” towards. What this means is that something about the picture gives me an emotional reaction on a deep sort of level. I can’t describe it. I have to feel something when I look at the inspiration picture, if that makes sense. After that, I take those 20-30 images and notice common themes and make a list. If something about the picture grabs my attention, I ask myself why? Which element in particular? Was it the texture? Was it the brightness? Was it the quirkiness? I try to be really honest about where the gut reaction is coming from.
The next step is gonna make me sound semi crazy. I go and physically SIT in the space and let it “speak” to me. I’m sure that sounds crazy. But a design usually presents itself at that point. Certain walls call out, certain elements stand out. I have absolutely NO training in any of this (masters degree in English over here!). I just do what speaks to me!! After that, I sketch it out or write it out, and sit on it for a day or two and see if it was just a spur of the moment thing, or a fleeting one. I start looking at prices/budget, and see what’s feasible within the vision I’ve created. Things get modified and solidified at this point.
I want to add– Jesse has done the bulk of the heavy lifting on our house renovation so far which is a huge responsibility. Neither of us had ever tackled anything even CLOSE to this magnitude. We have a few friends in construction and wood working who we’ve run things by (their consultation and advice has been invaluable!) but as far as actual electric or plumbing or any of this stuff, we learned on the job. It’s a BIG responsibility.
Likewise, keeping the vision and the budget in balance has been a huge responsibility for me. There are times when I find myself obsessed with going over the plan a 100th time because I don’t want to let anyone down. I knew what a big investment this would be, and I wanted to make sure there were as few surprises as possible. I wanted to honor the trust Jesse had placed in me to manage all this, just as he wanted to make sure to honor my vision by getting it done right.
Anyways! Back to the demo and renovation! I had reserved around $15k for the diy kitchen renovation (it turned out to not be even CLOSE to enough $$ haha!) so we were ready to go. I knew our new fridge was getting delivered two days after closing, so I wanted the hutch GONE and out of the way!
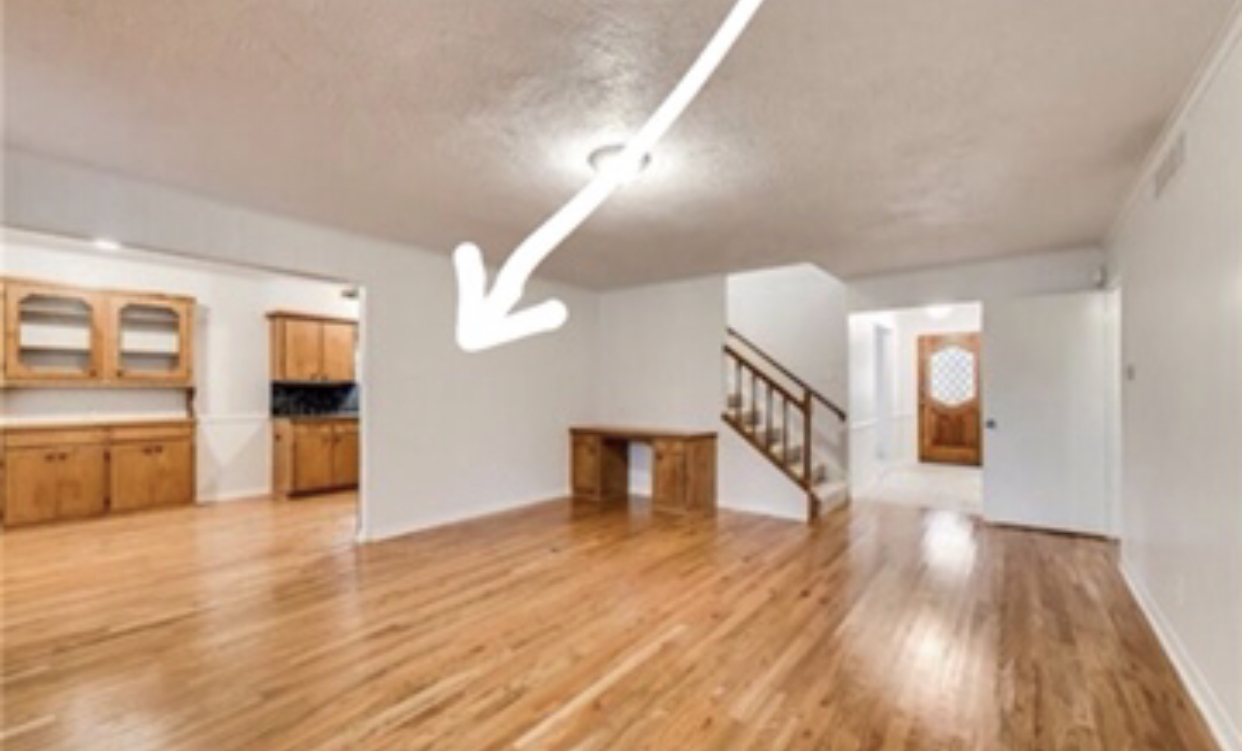
We knew we were going to cut into this wall and create an open bar. I started calling contractors and getting bids during escrow, even meeting our realtor and a contractor at the house before we had closed. Given that this is a load bearing wall and a two story house, we knew it would be between $6k-10k. After several bids, I went with someone who was ready to start the work literally a week after we were moving in. Speed was essential for us, for a few key reasons.
Some people like to live in their house for a while before beginning renovations. There are huge advantages to this! Living in the space really solidifies how you want to use it in a way that’s hard to anticipate. I had to work really hard to predict and pretend what we would want and need. Even then, if I had it to do now 18 months later, I would change a few things. Heck, we probably will change them down the road! (shh, don’t tell Jesse ).
The reason we jumped right into this kitchen renovation is because we were actually living at my parents house at the time, and we thought of how nice it would be if we could renovate while living elsewhere. They were in Europe for a month, so we had their house to ourselves. In addition, it was May and the school year was just about over. Given that we knew this would take a lot of manpower, we knew that Jesse’s summer break was an ideal time to be living out of boxes and doing our projects (vs school year with grading!).
Last but not least, I truly hated the kitchen the way it was. Like truly hated it, with the passion-of-a-thousand-burning-suns hated it. The kitchen was literally the reason we walked away from escrow twice. It was a seriously daunting project, but I also couldn’t imagine living with it if we weren’t able to immediately smash it to bits. I know this sounds silly but I’m extremely sensitive to my environment and can’t work or feel inspired if I hate the aesthetics of where I live. As much as I wish I wasn’t built this way, I completely 100% am and I own it. My creativity/inspiration is a lot of what our income is based around, so it became a priority.
This, however, is a gotcha moment that some of you should know about. It turns out one of my children is built like I am and is super sensitive to his environment. He is also super undone by moving and transition. My mom reminded me of this later, but apparently when my family moved in between my 8th and 9th grade years, I ran away one afternoon. I have no memory of it (not the first time my brain has blocked a super traumatic memory) but she reminded me later. Anyways, we started seeing huge behavioral issues both from moving and from living temporarily in my parents house and not being allowed to settle in. As a result, we only made it two weeks at my parents house and decided that braving living amidst a renovation was better than traumatizing our kid and pulling our hair out every day trying to mitigate the behavior it was causing.
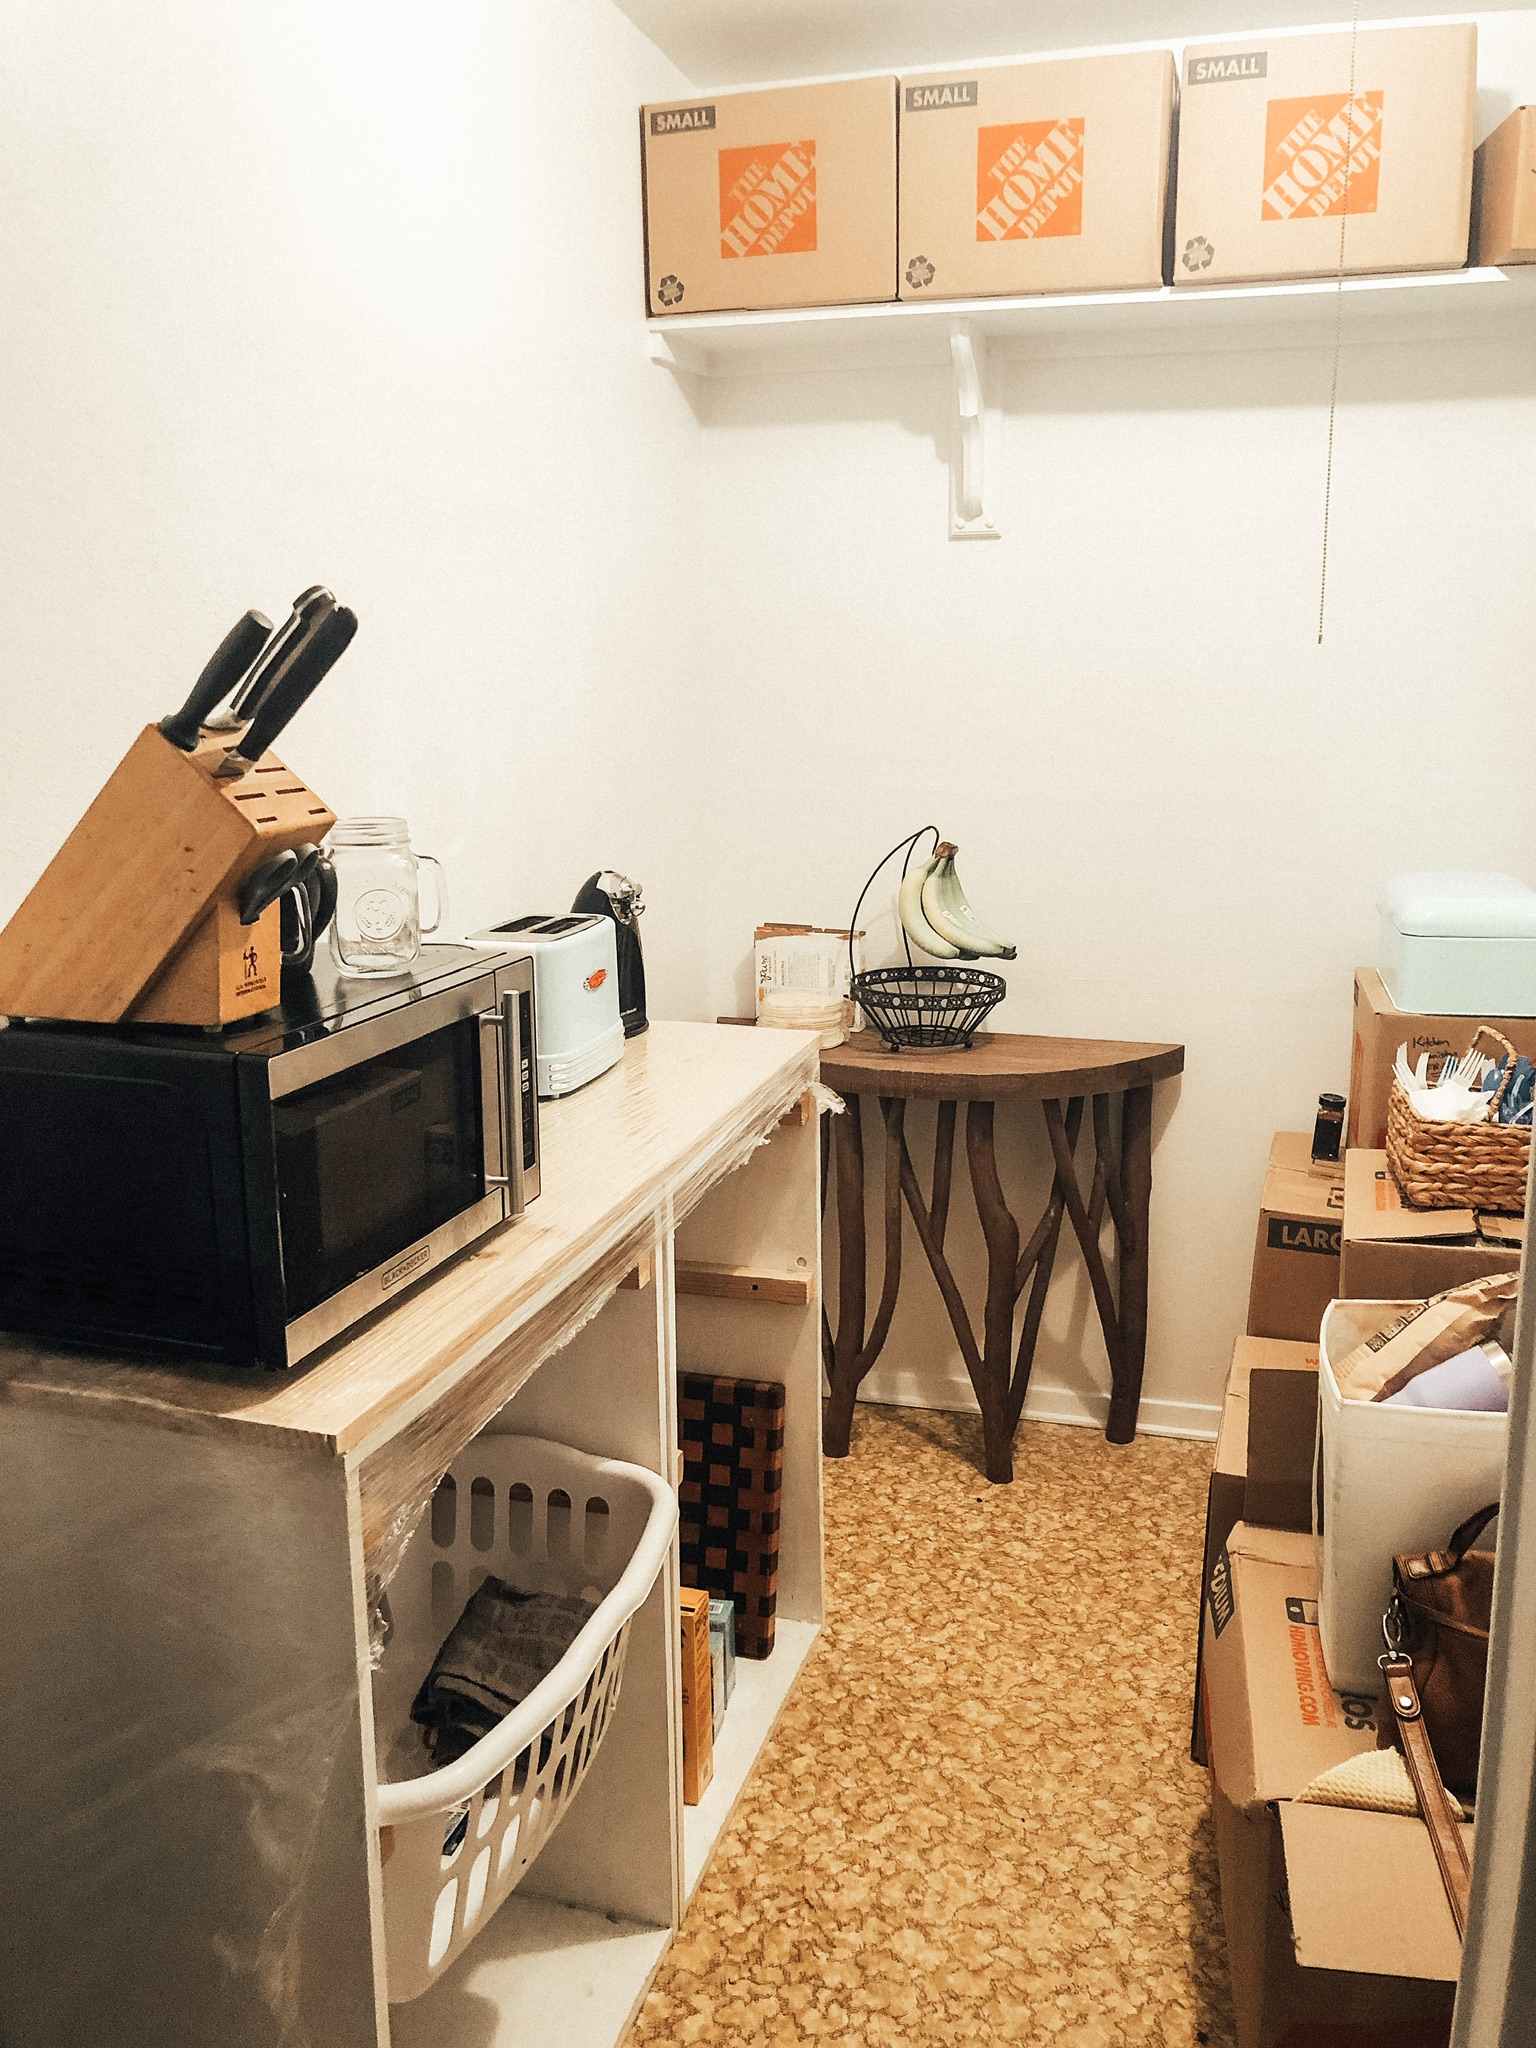
If you’re a parent, this is something to consider with a renovation! Ask yourself if the renovation will end up displacing you, and if this is something your family can handle. It’s not a reason NOT to demo or DIY or renovate, it’s just something you might want to plan for. We ended up setting up a makeshift kitchen in what is now our family closet/mudroom, right past our washer/dryer.
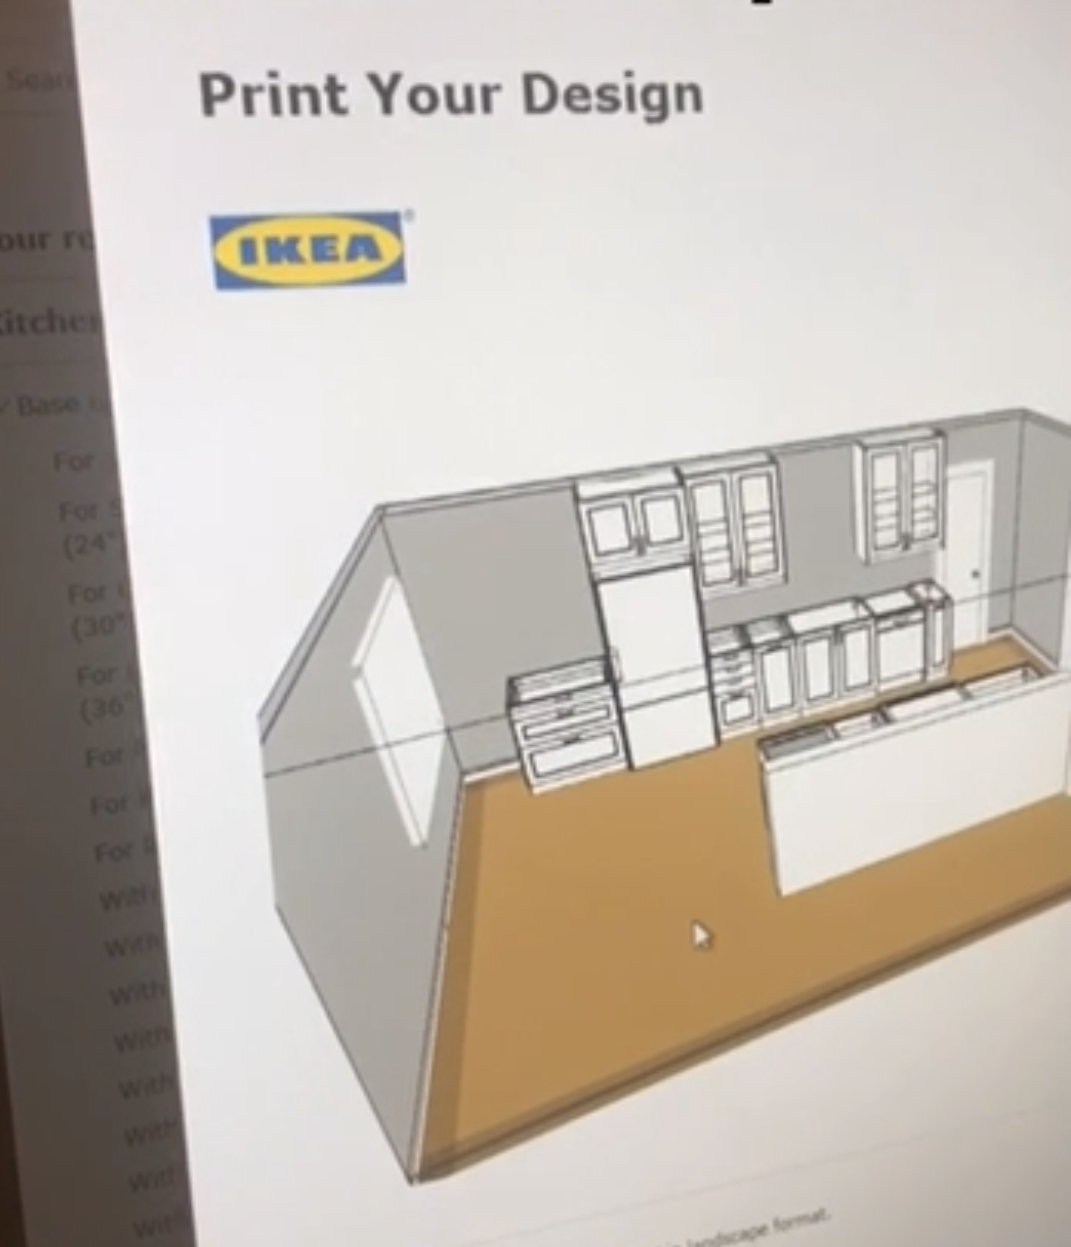
After we had our fridge in place, we headed to IKEA for our kitchen consultation!! They offer these for $49 if you bring your own measurements, which they then credit you towards a purchase. I cannot recommend this service enough if you’re doing an IKEA kitchen! Do NOT skip this if you can help it. Considering the consultation was, essentially, free, all the time and money they saved us was worth its weight in gold. They know their products, they know what’s been hacked or what’s been done “off the books” with their stuff, and they can also talk through form and function. I am pretty thorough, and my original design was rubbish compared to what they helped us come up with. Play around with their online cabinet tool to get a feel for budget, flow, and what they offer, save it in the system, and then see what they have to say. We decided on no lower cabinet doors except for the kitchen sink, and I’m so so happy we did! Having smooth deep drawers means every single inch is put to use, vs. losing stuff way back in a lower cabinet.
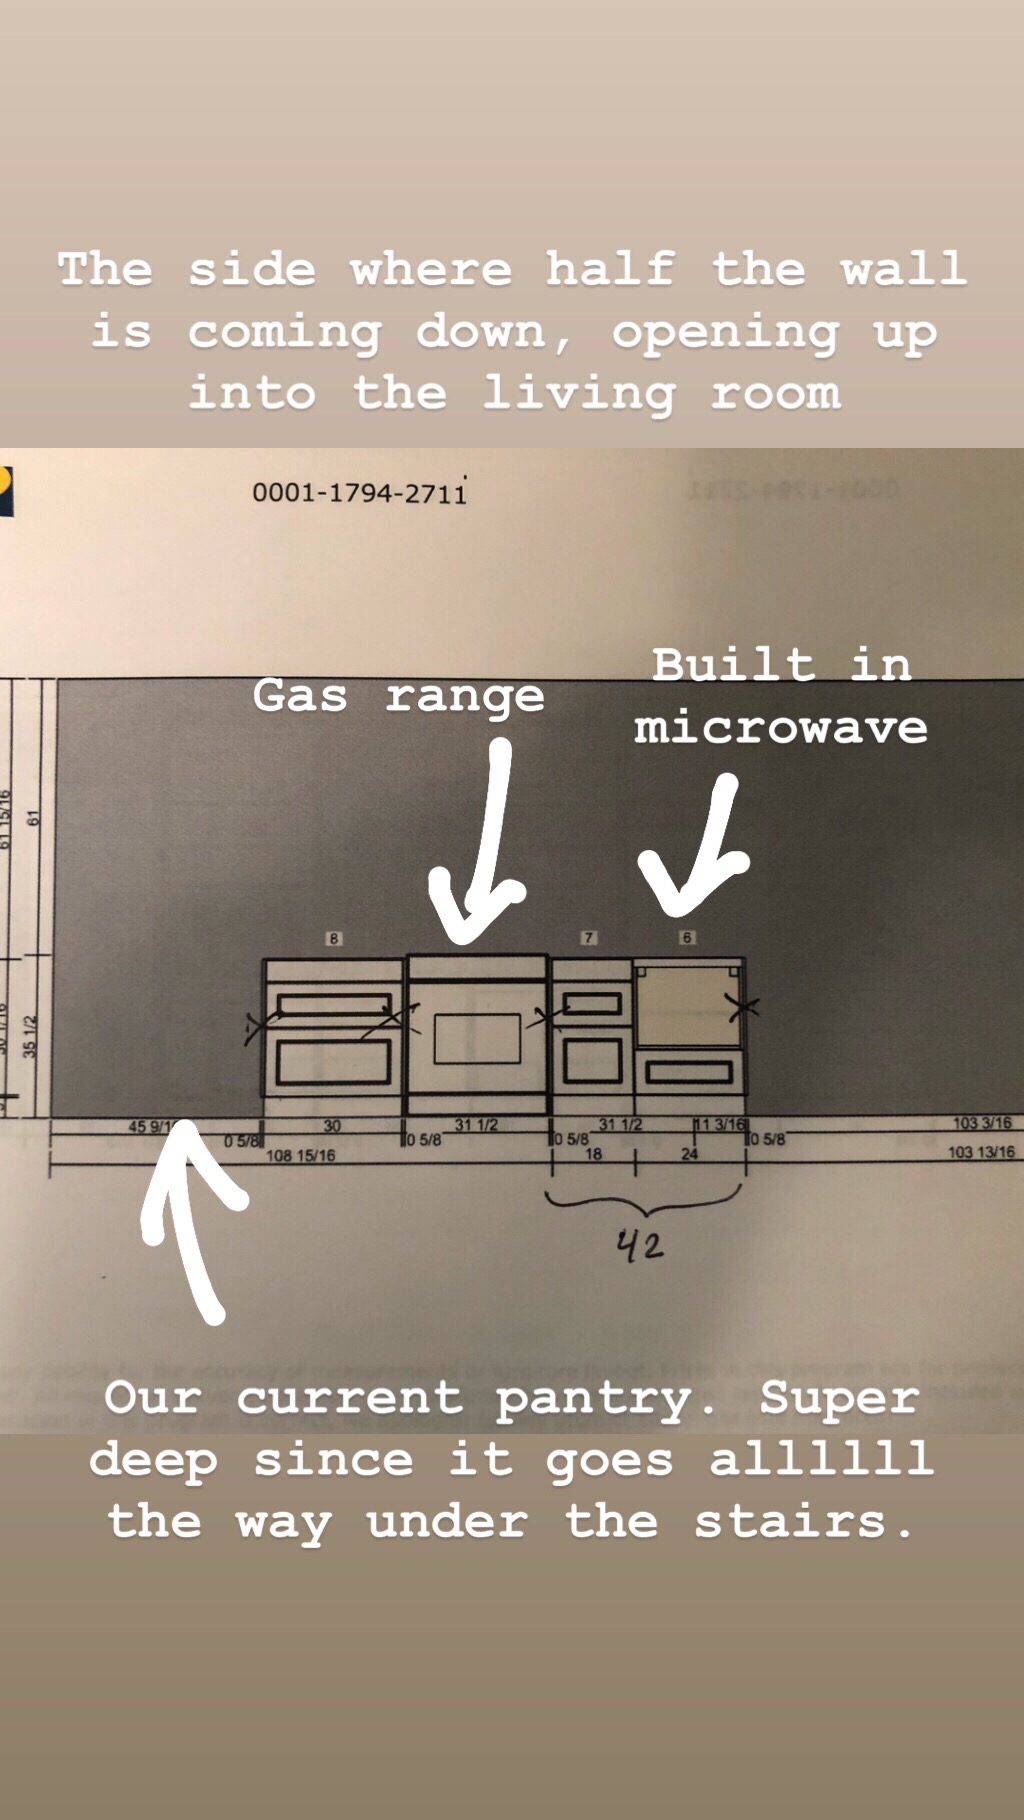
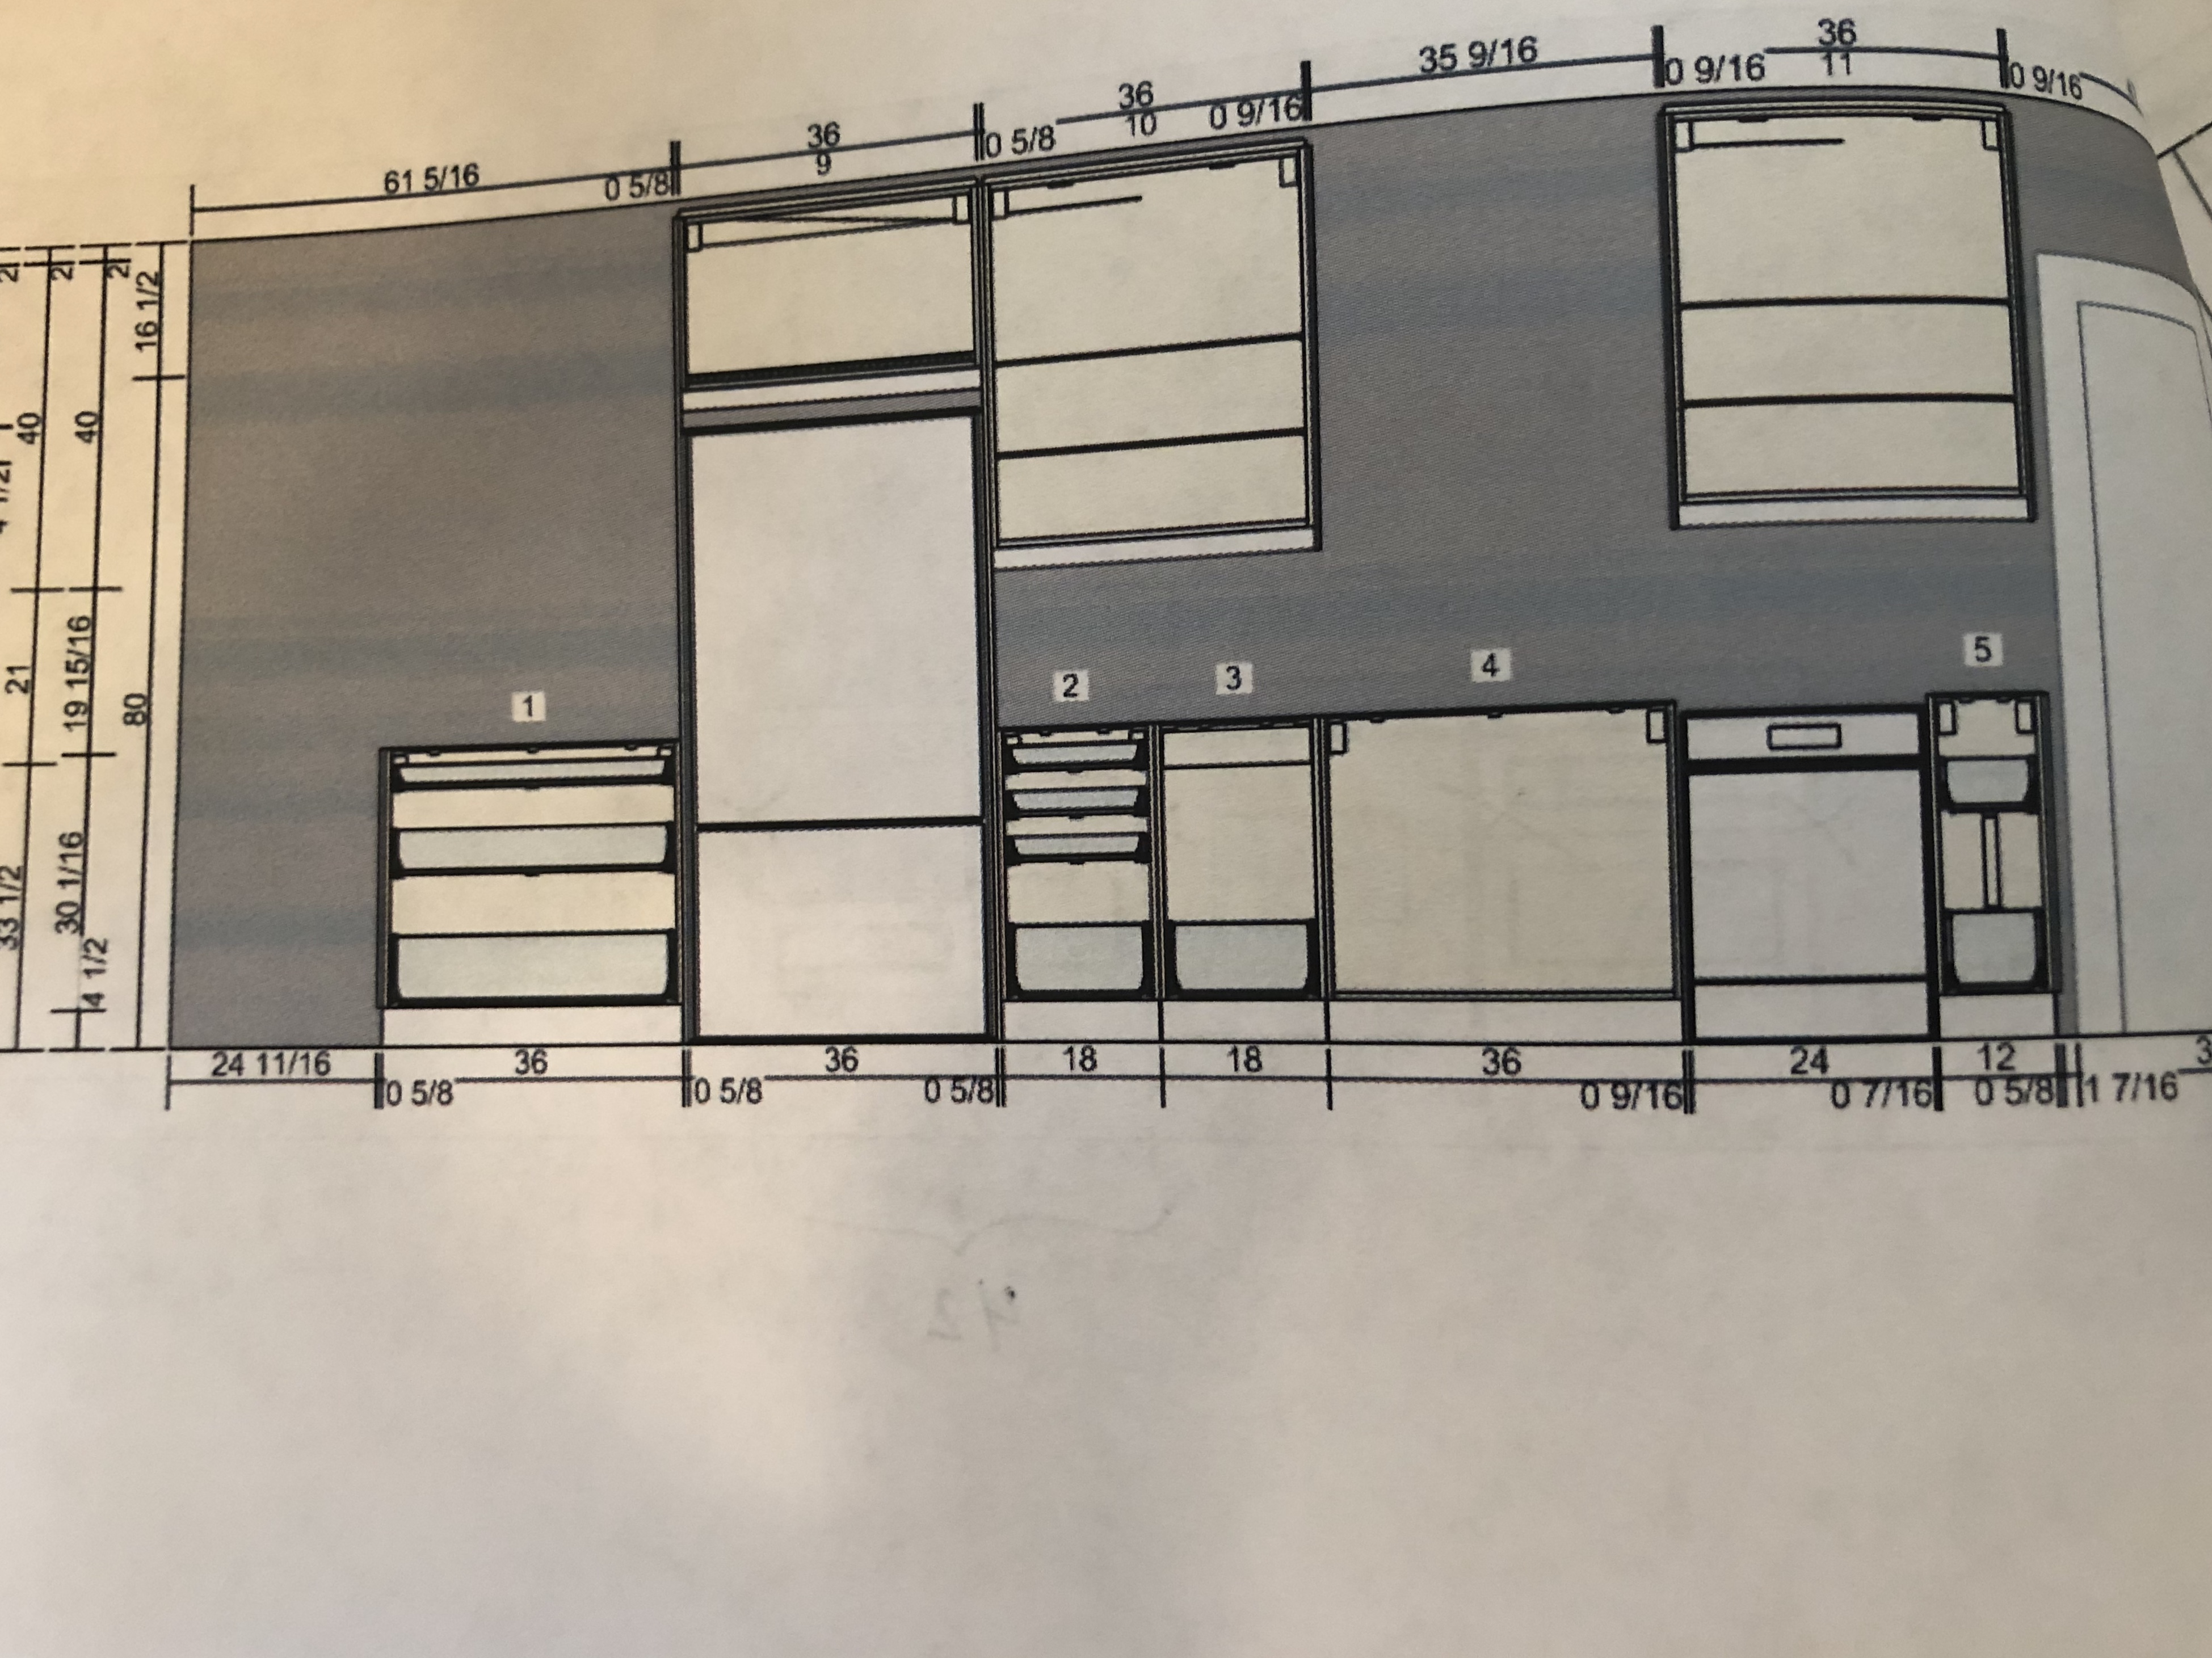
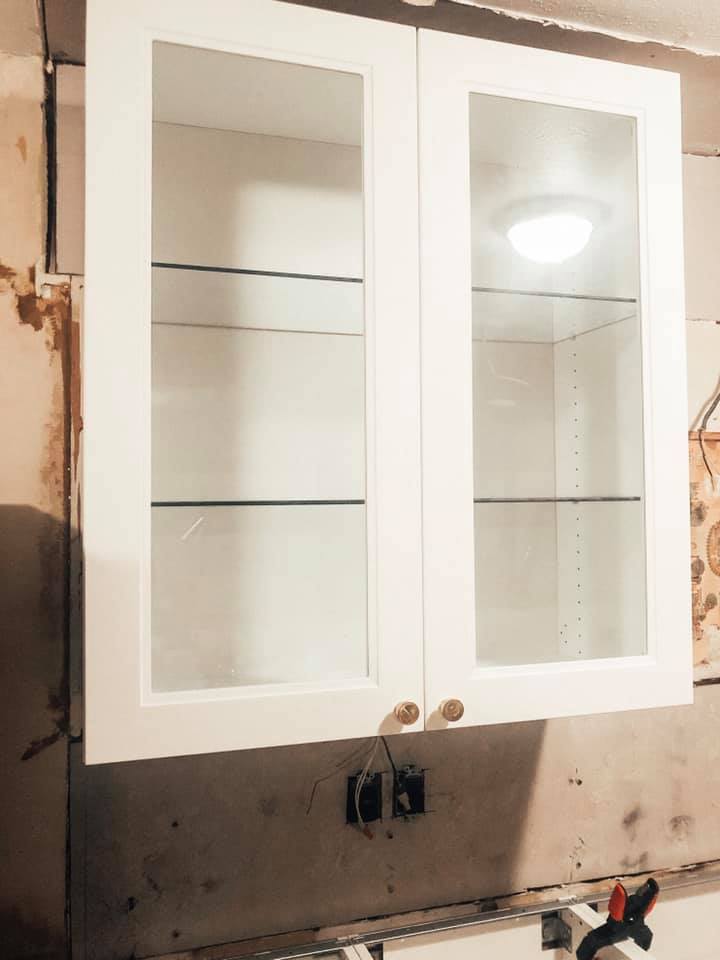
We *almost* went with doors from Semi-Handmade, but in the end, that was another 4 weeks of waiting and I was pretty desperate to get going. I also liked the new “matte” Axstad white doors with the Shaker style, so I decided to make it easy on everyone and grab the ones they had. In retrospect, I’m 50/50 on whether or not this was the right way to go. After 18 months, they’ve held up BEAUTIFULLY with three boys and a dog. Like, for white cabinets, these are about as good as it gets. I can wipe them back white easily with just some water, and we don’t have a single scratch! They have a super tough finish. But part of me wishes I’d spent the extra $1k and gotten real wood doors so I could repaint down the road if I wanted. The beauty of the IKEA system is that I can always upgrade the doors down the road if we end up staying here for many many years and I want to splurge a bit.
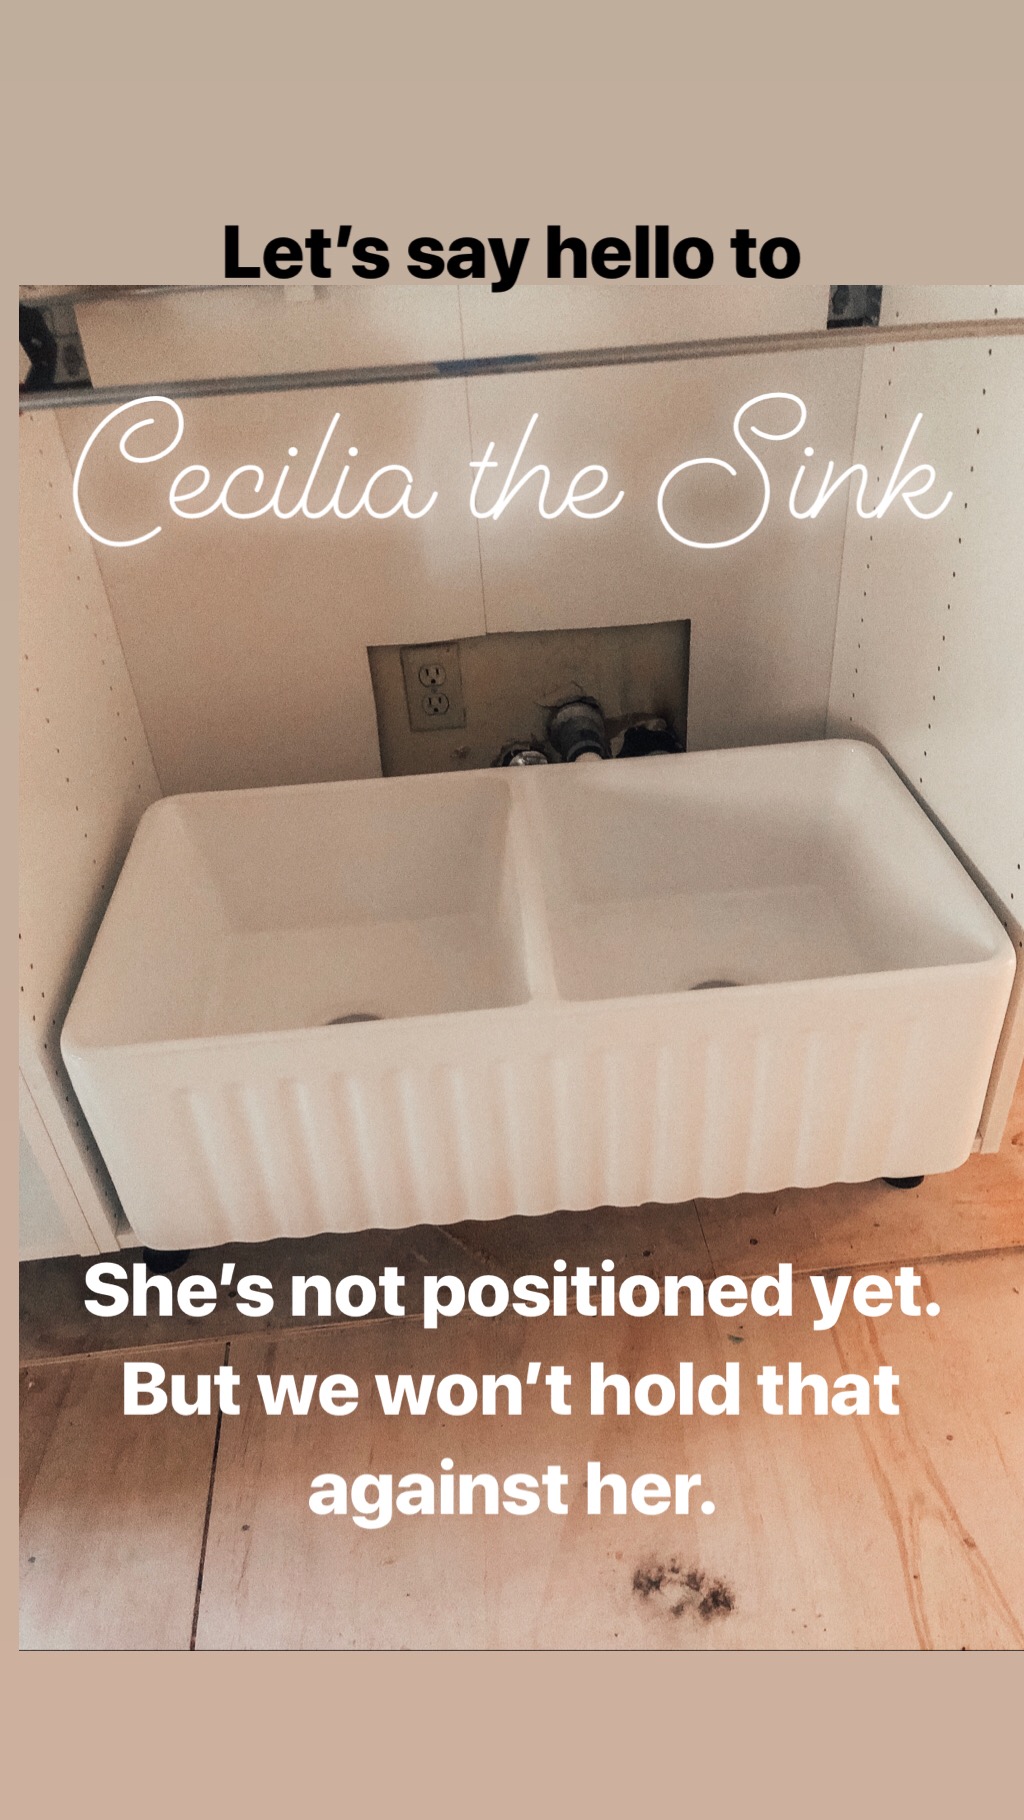
I had my heart set on a deep double basin apron sink, which meant that we had to get a bit creative (as you’ll see) with the IKEA cabinet, since they don’t offer one for an apron sink. Truthfully, we still have some trim work to do on it. I just didn’t read many good reviews about the IKEA sinks, and I wanted under mount so I could wipe crumbs right into the sink.
After we placed the orders for our cabinets, trim and supplies, we got to work on demo. Some of our good friends (Thomas’ godmother) came to help us with the “oven wall”. We were able to save $900 by demo-ing the cabinets ourselves. This was a lot of fun, truthfully!! We did discover a TON of weird quirks– I’m really glad I didn’t try and cook in here before we demo’d. For instance, that vent hood didn’t actually “go” anywhere! It vented right into the second story floorboards! We definitely fixed that.
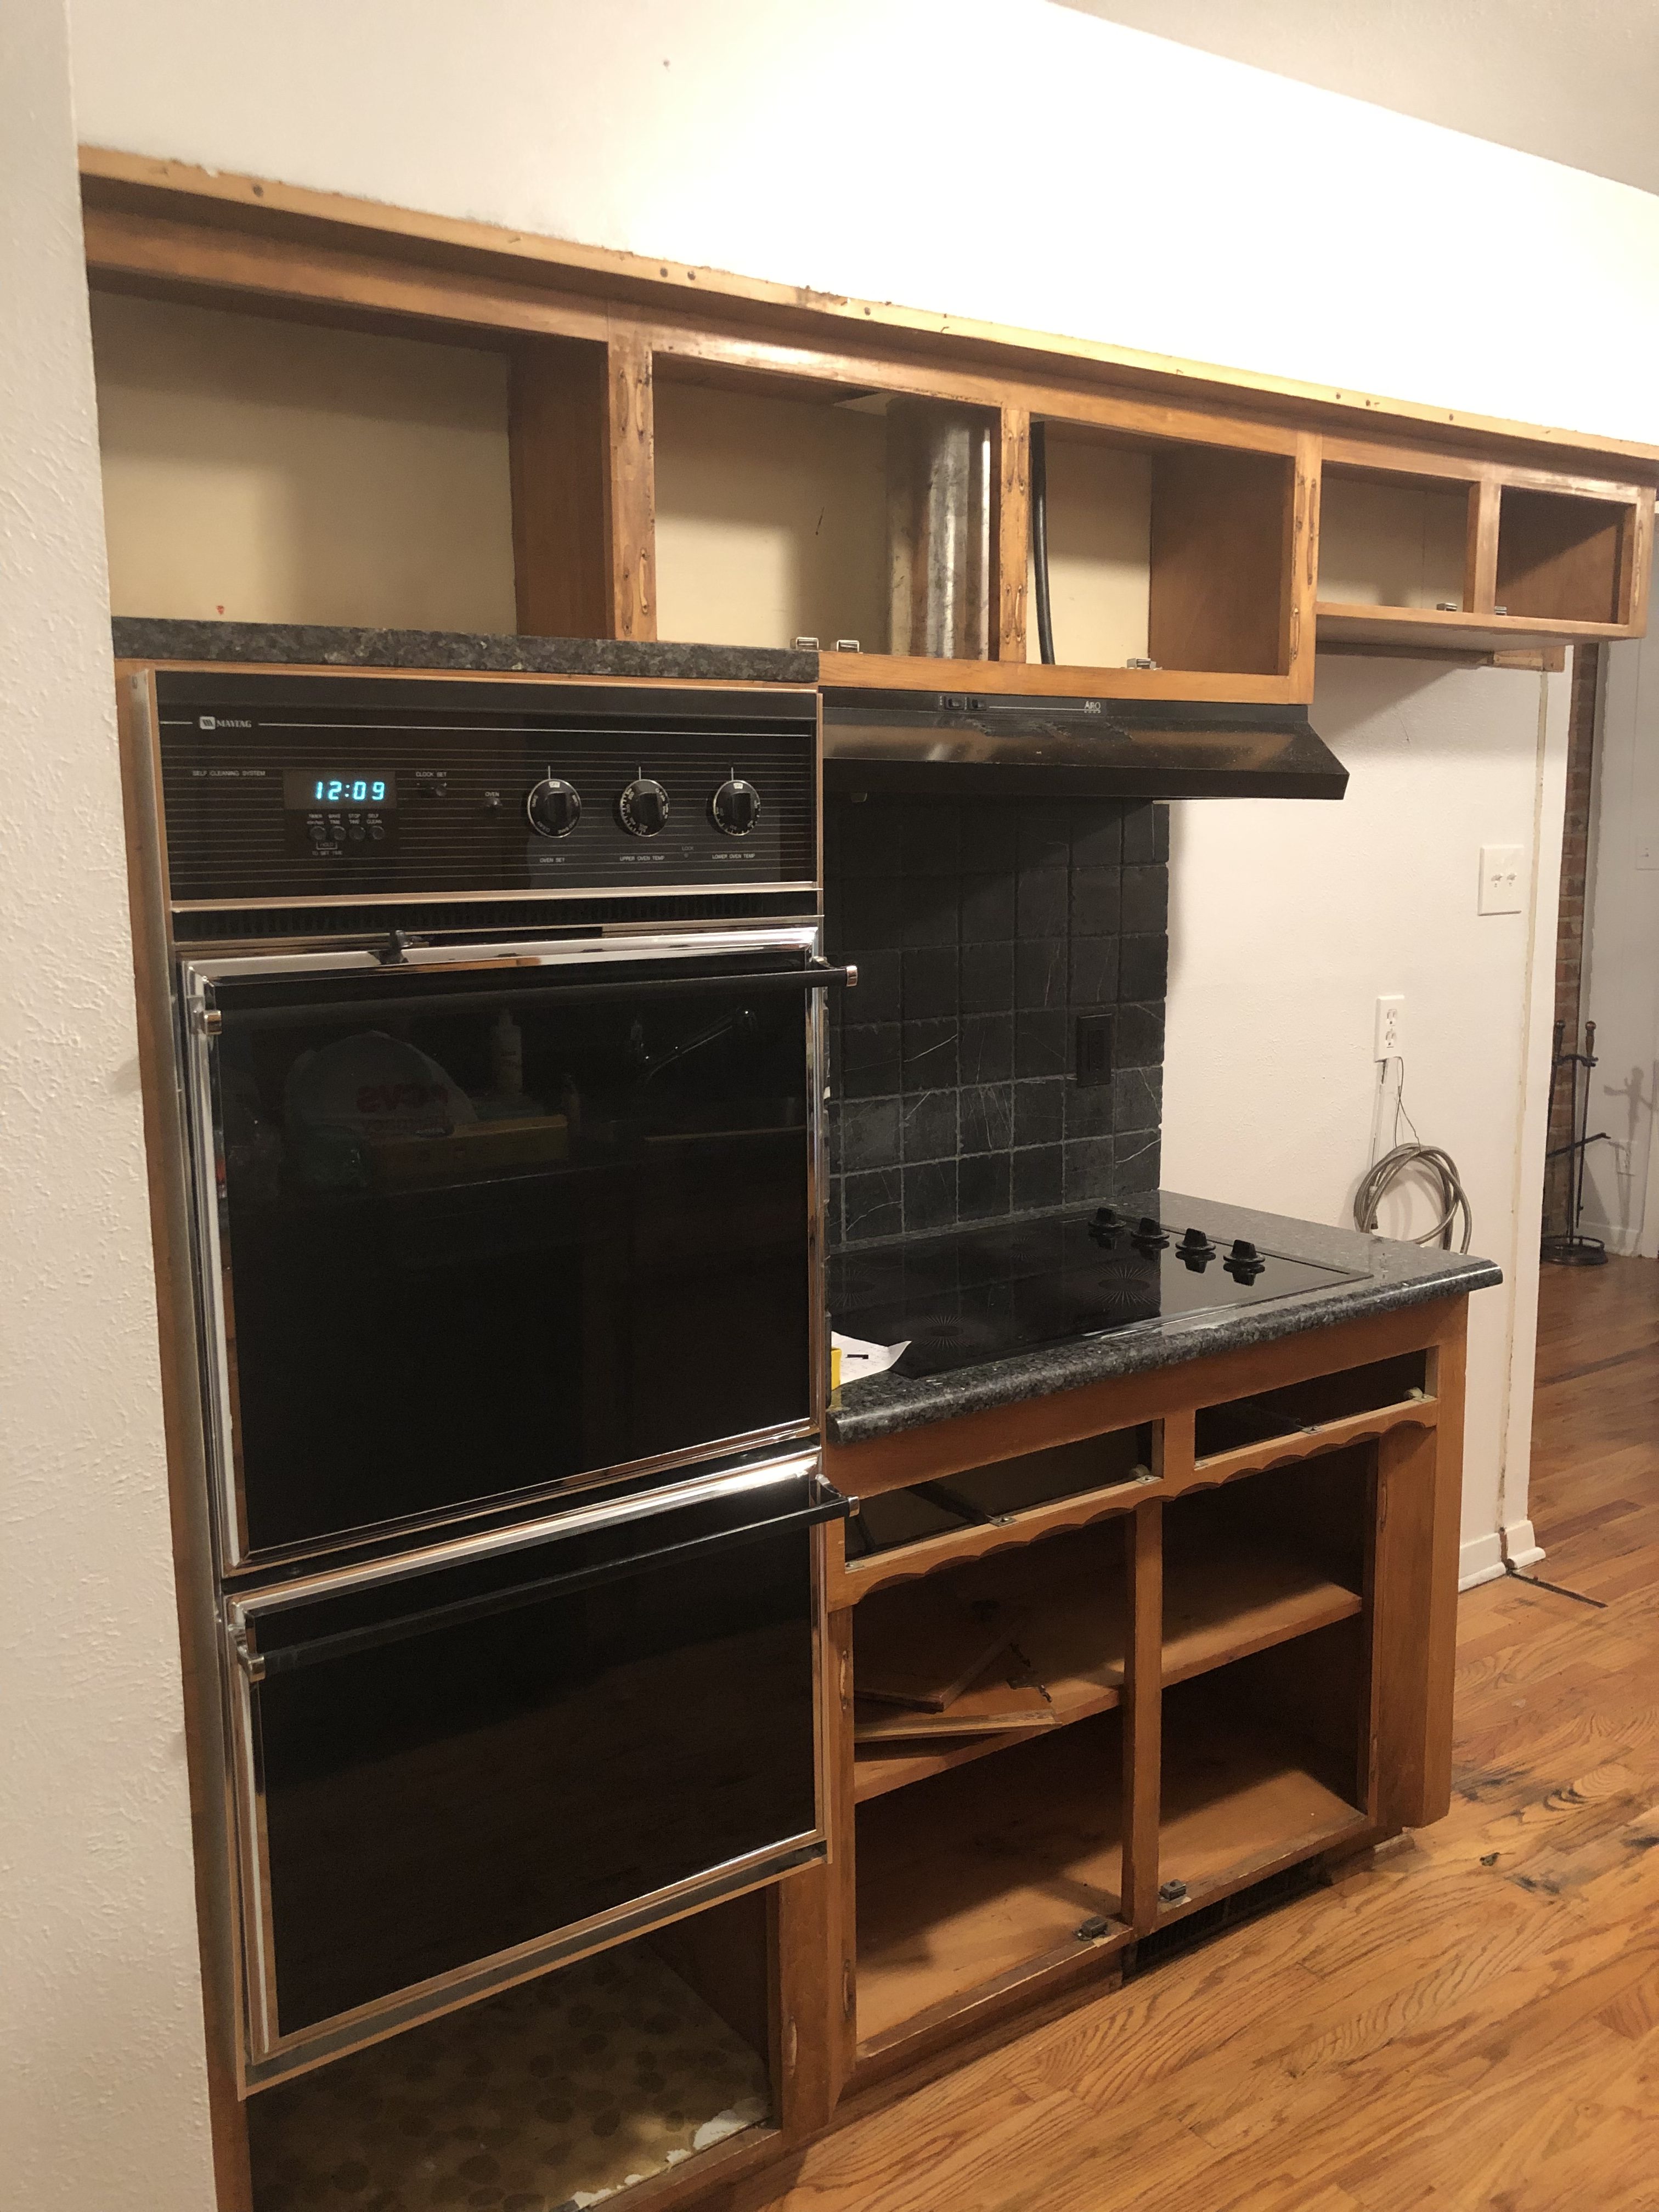
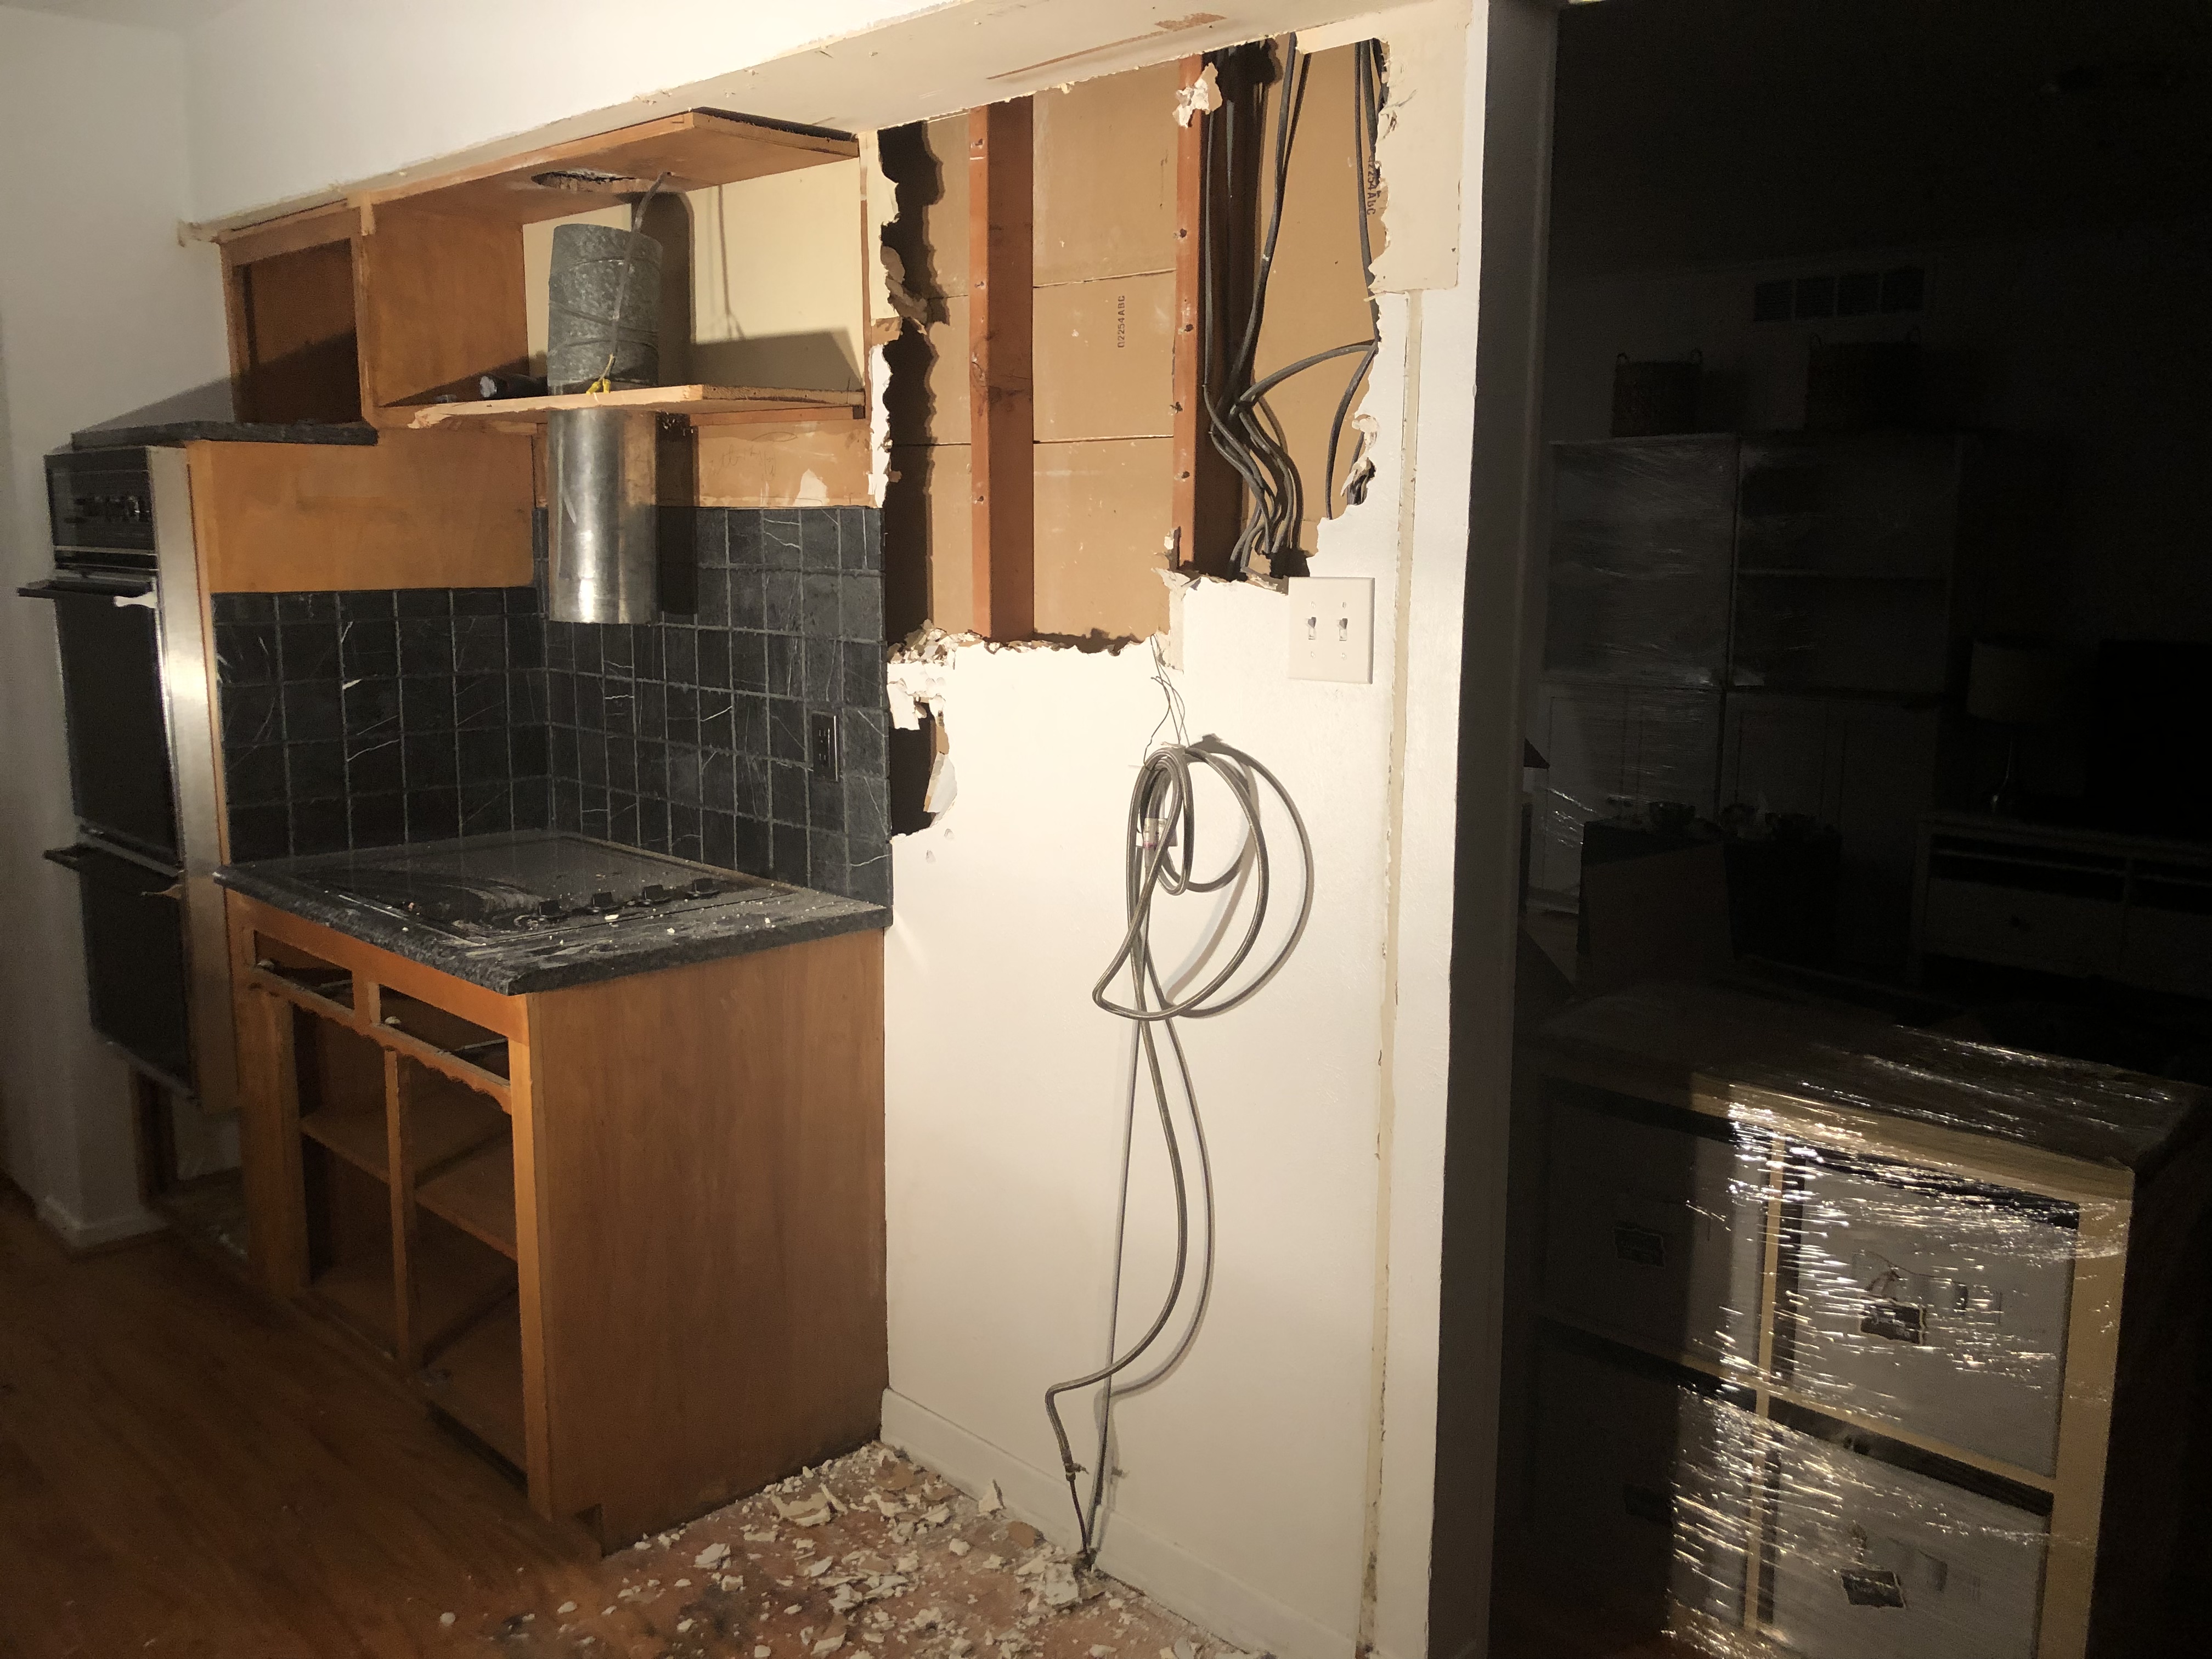
We even had the kids help!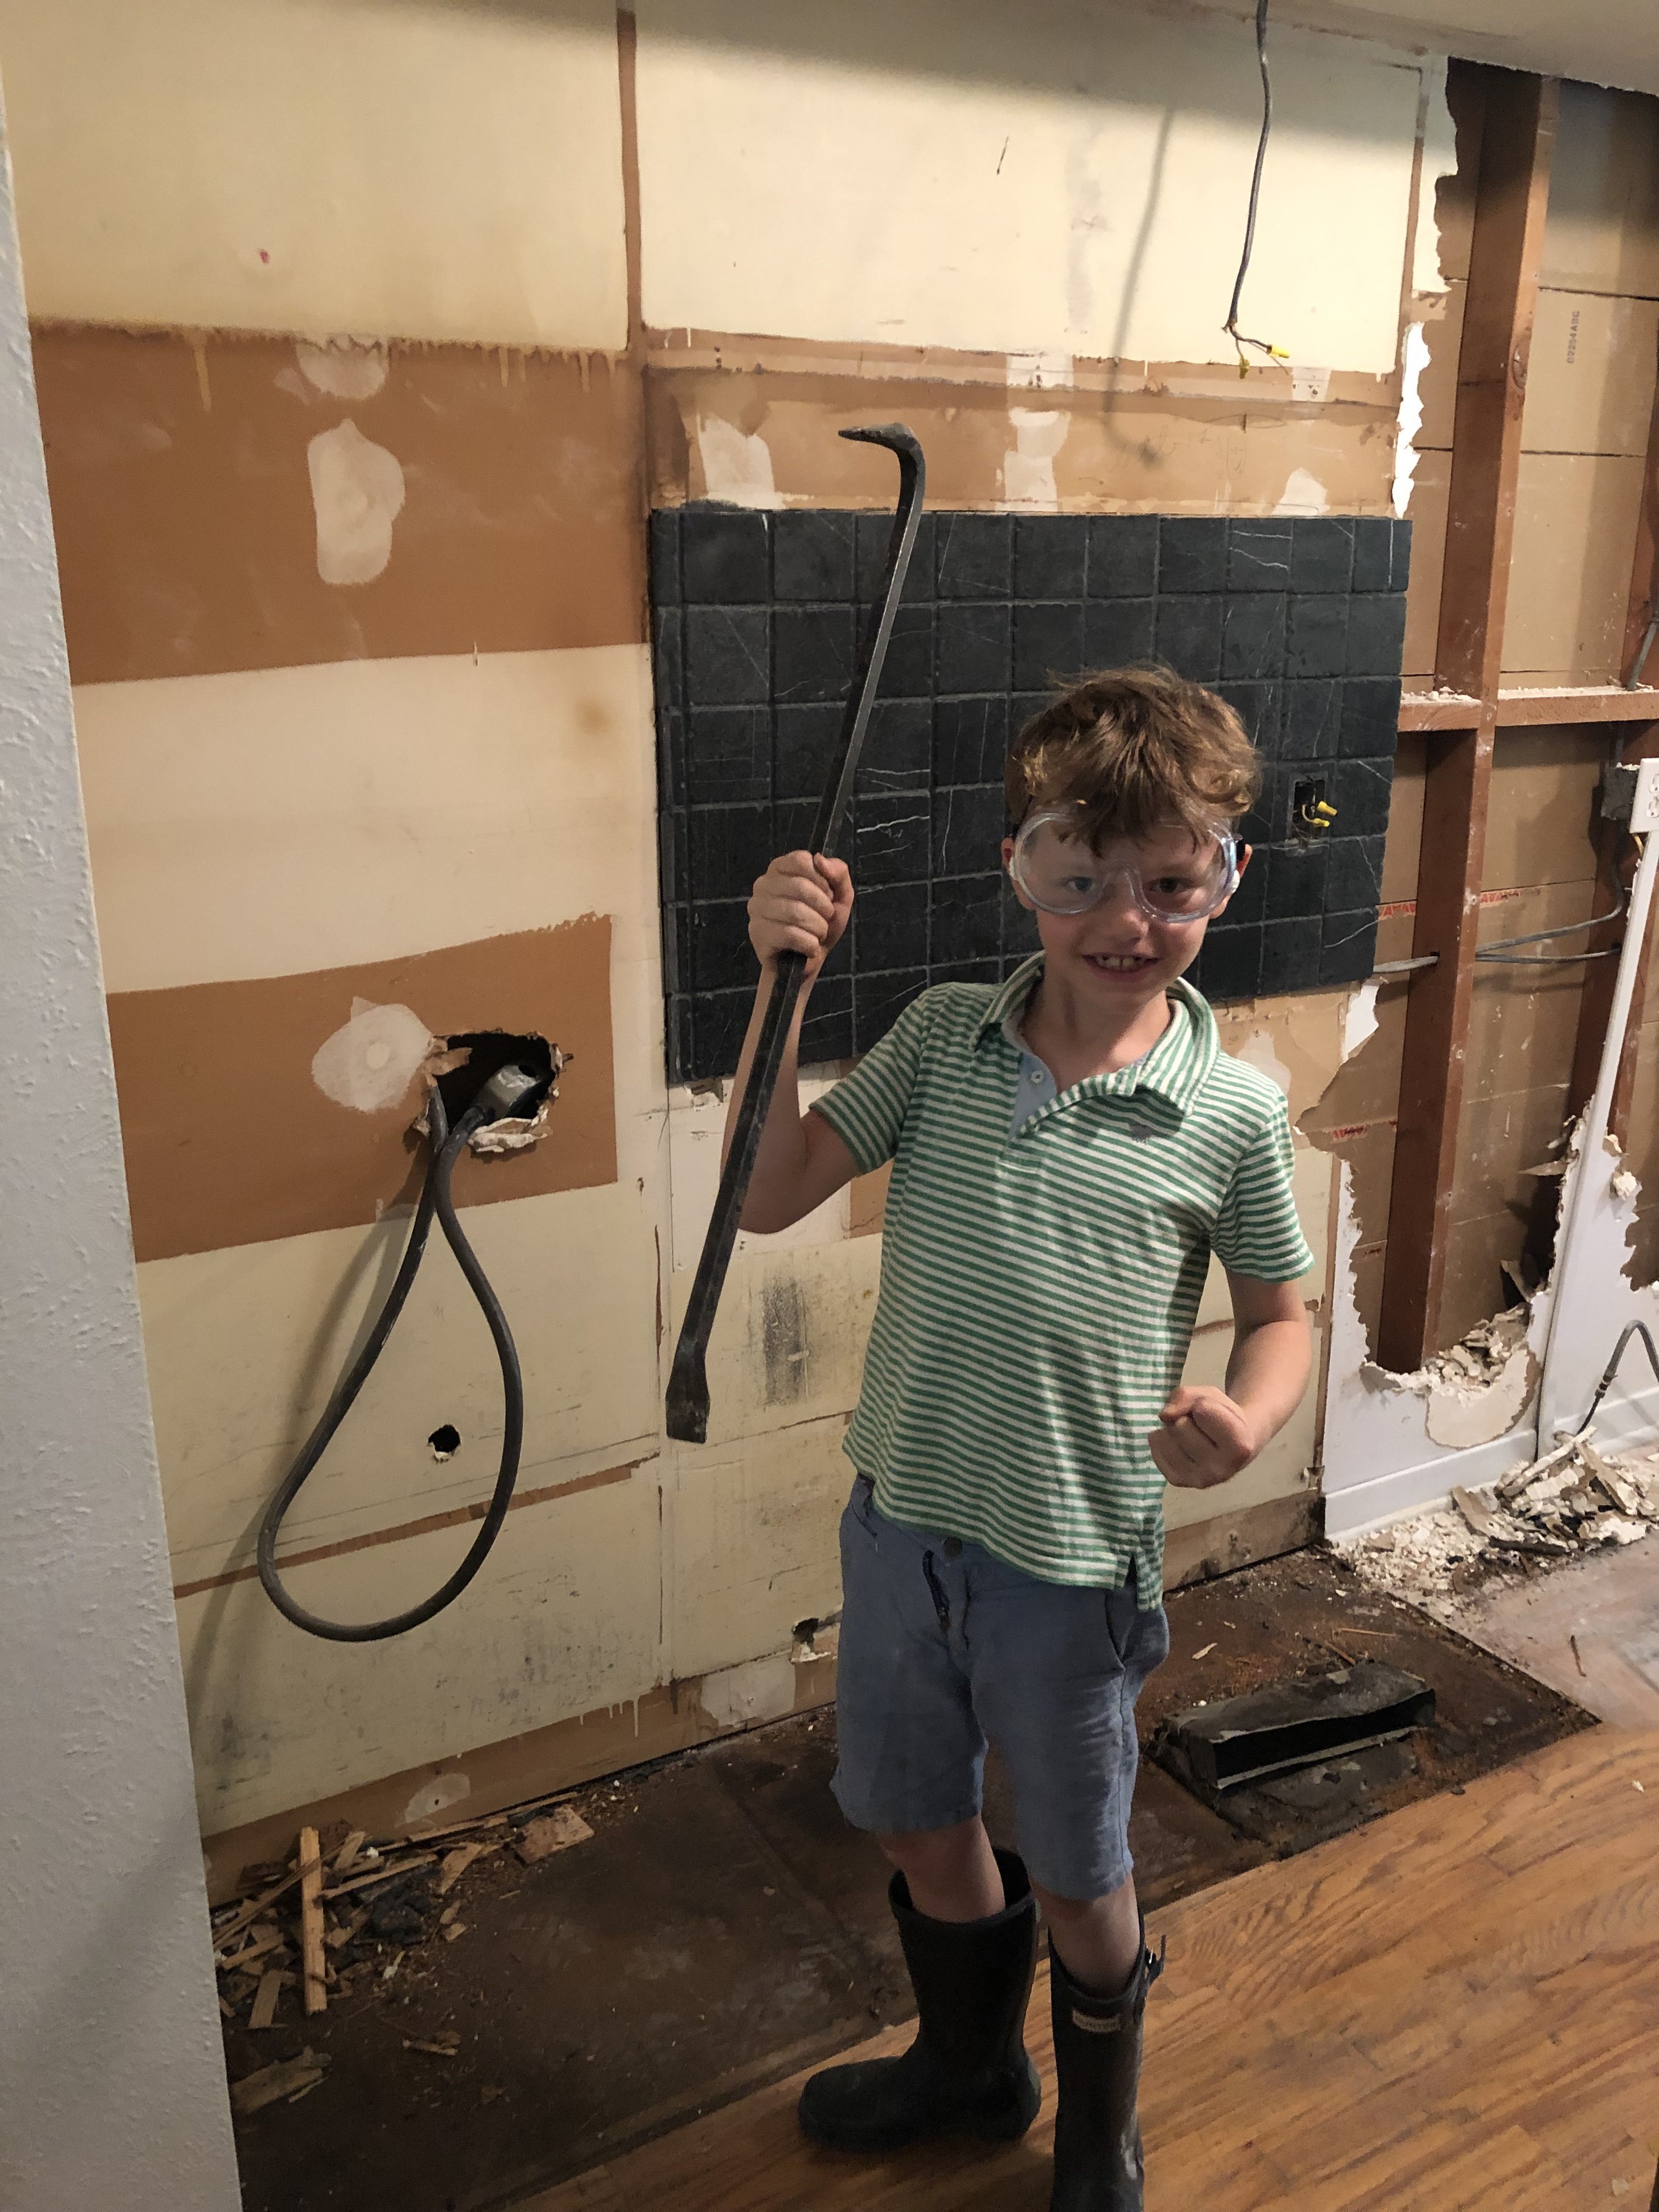
After we had the cabinets, oven/stove and dry wall out, it looked like this:
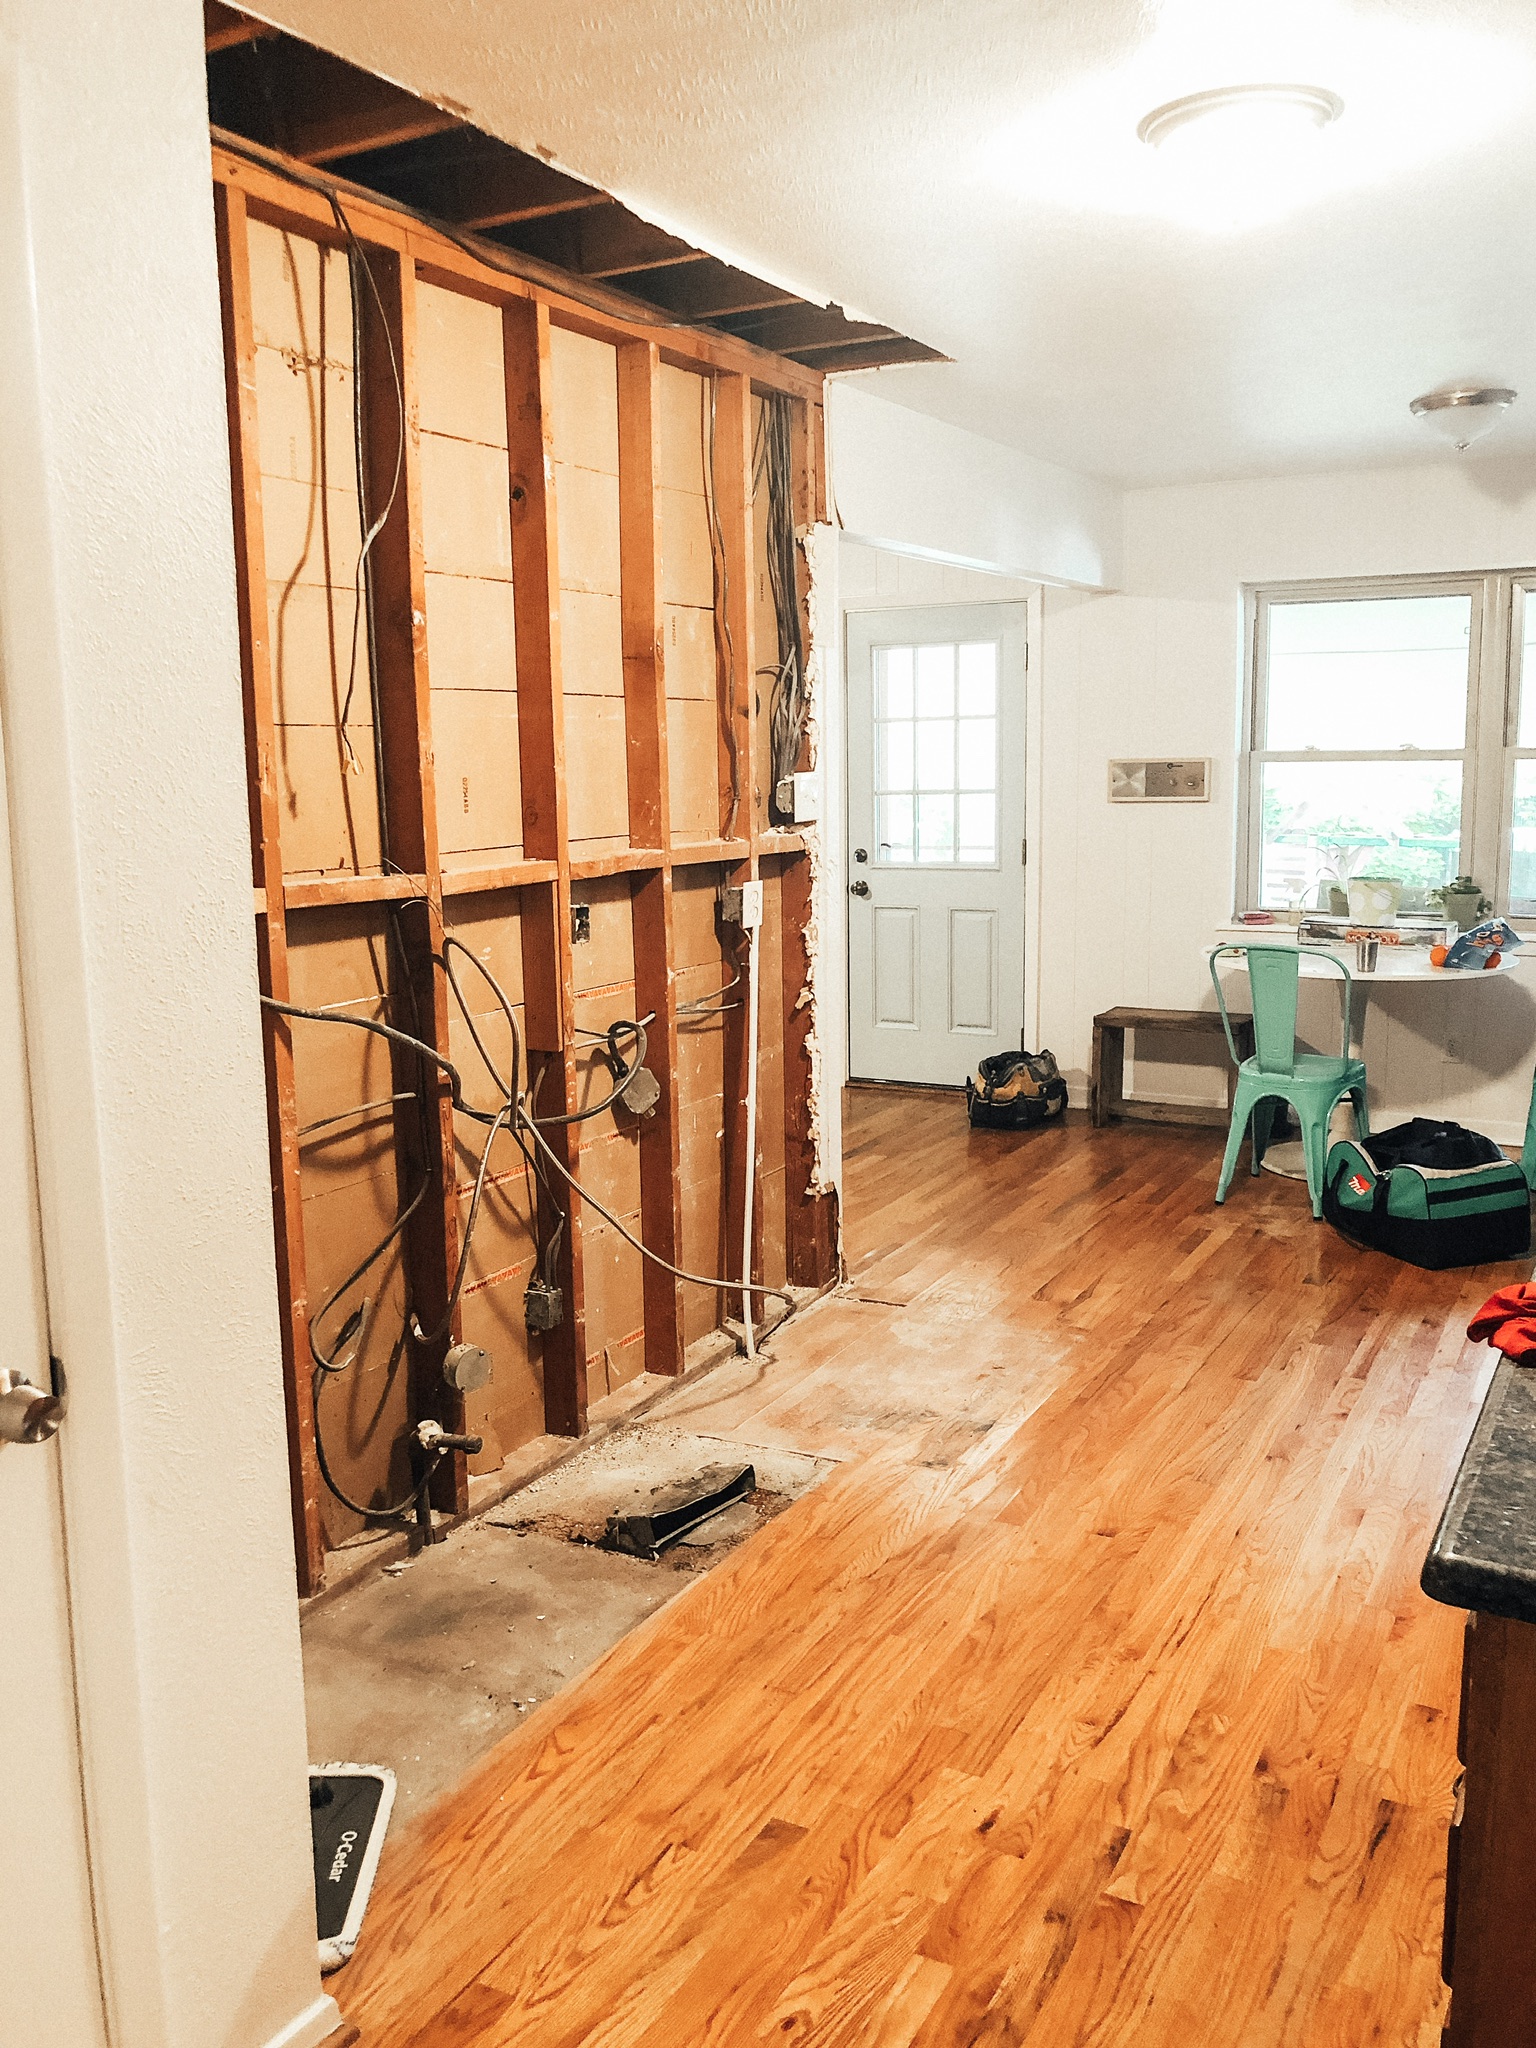
And so we waited! The next day, the contractor and his team arrived and they immediately got to work! It was super exciting.
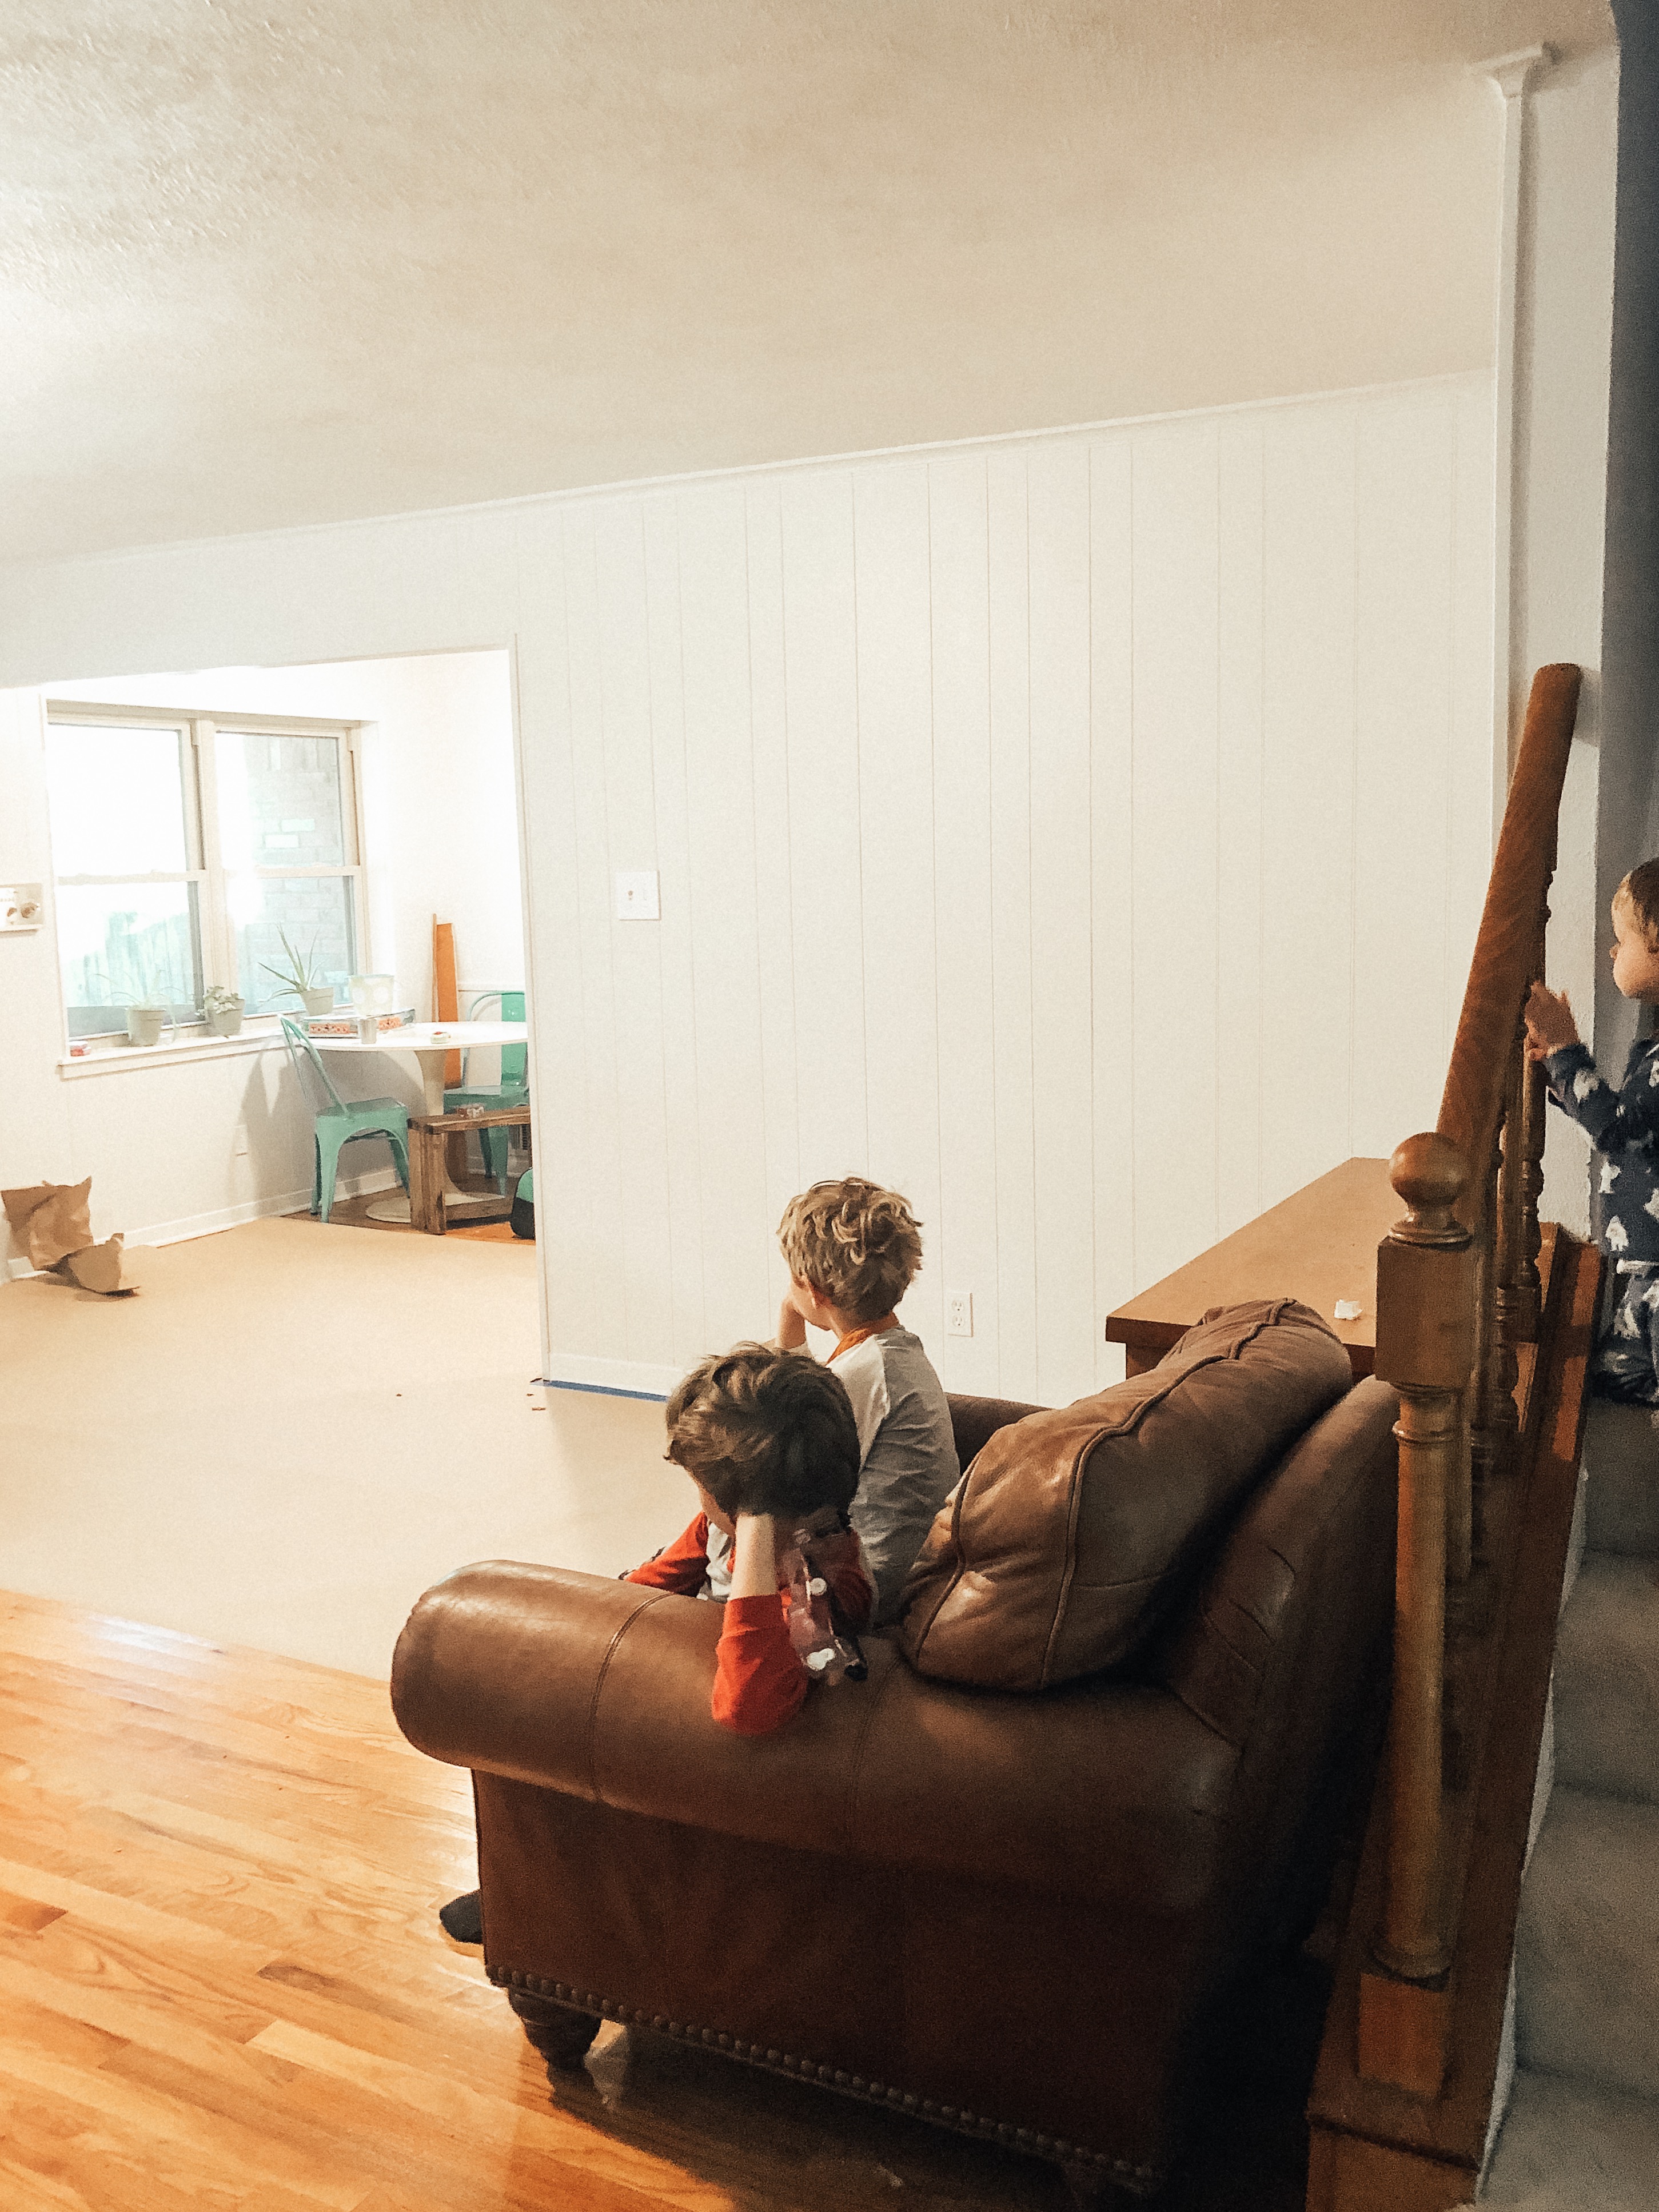
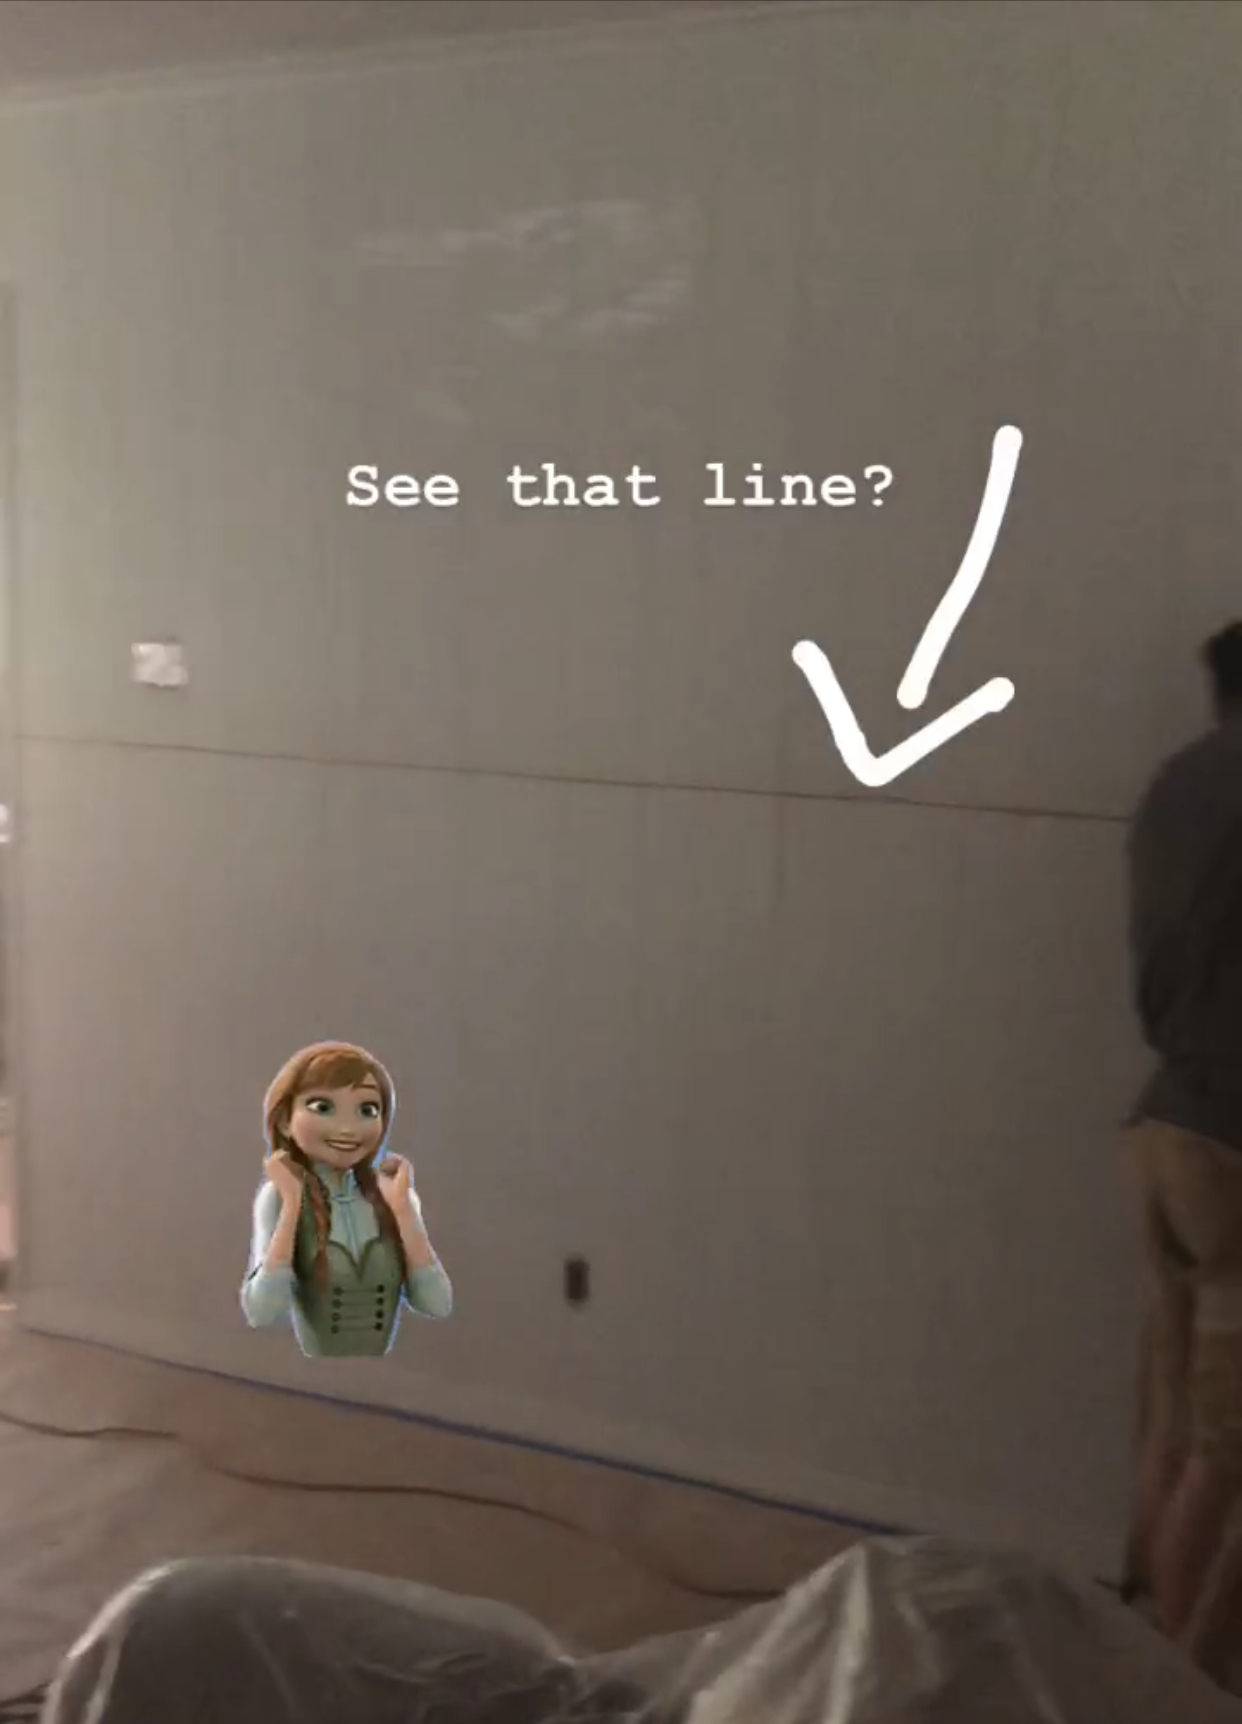
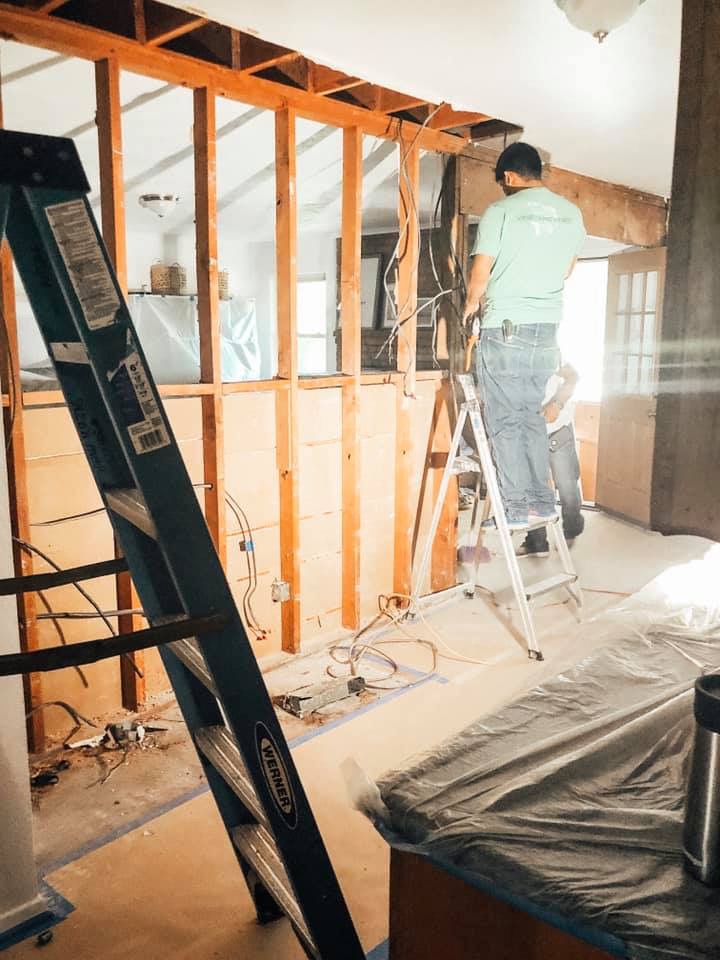
On day 2, they brought in the giant 25 ft. beam and bolted it underneath the house into our foundation.
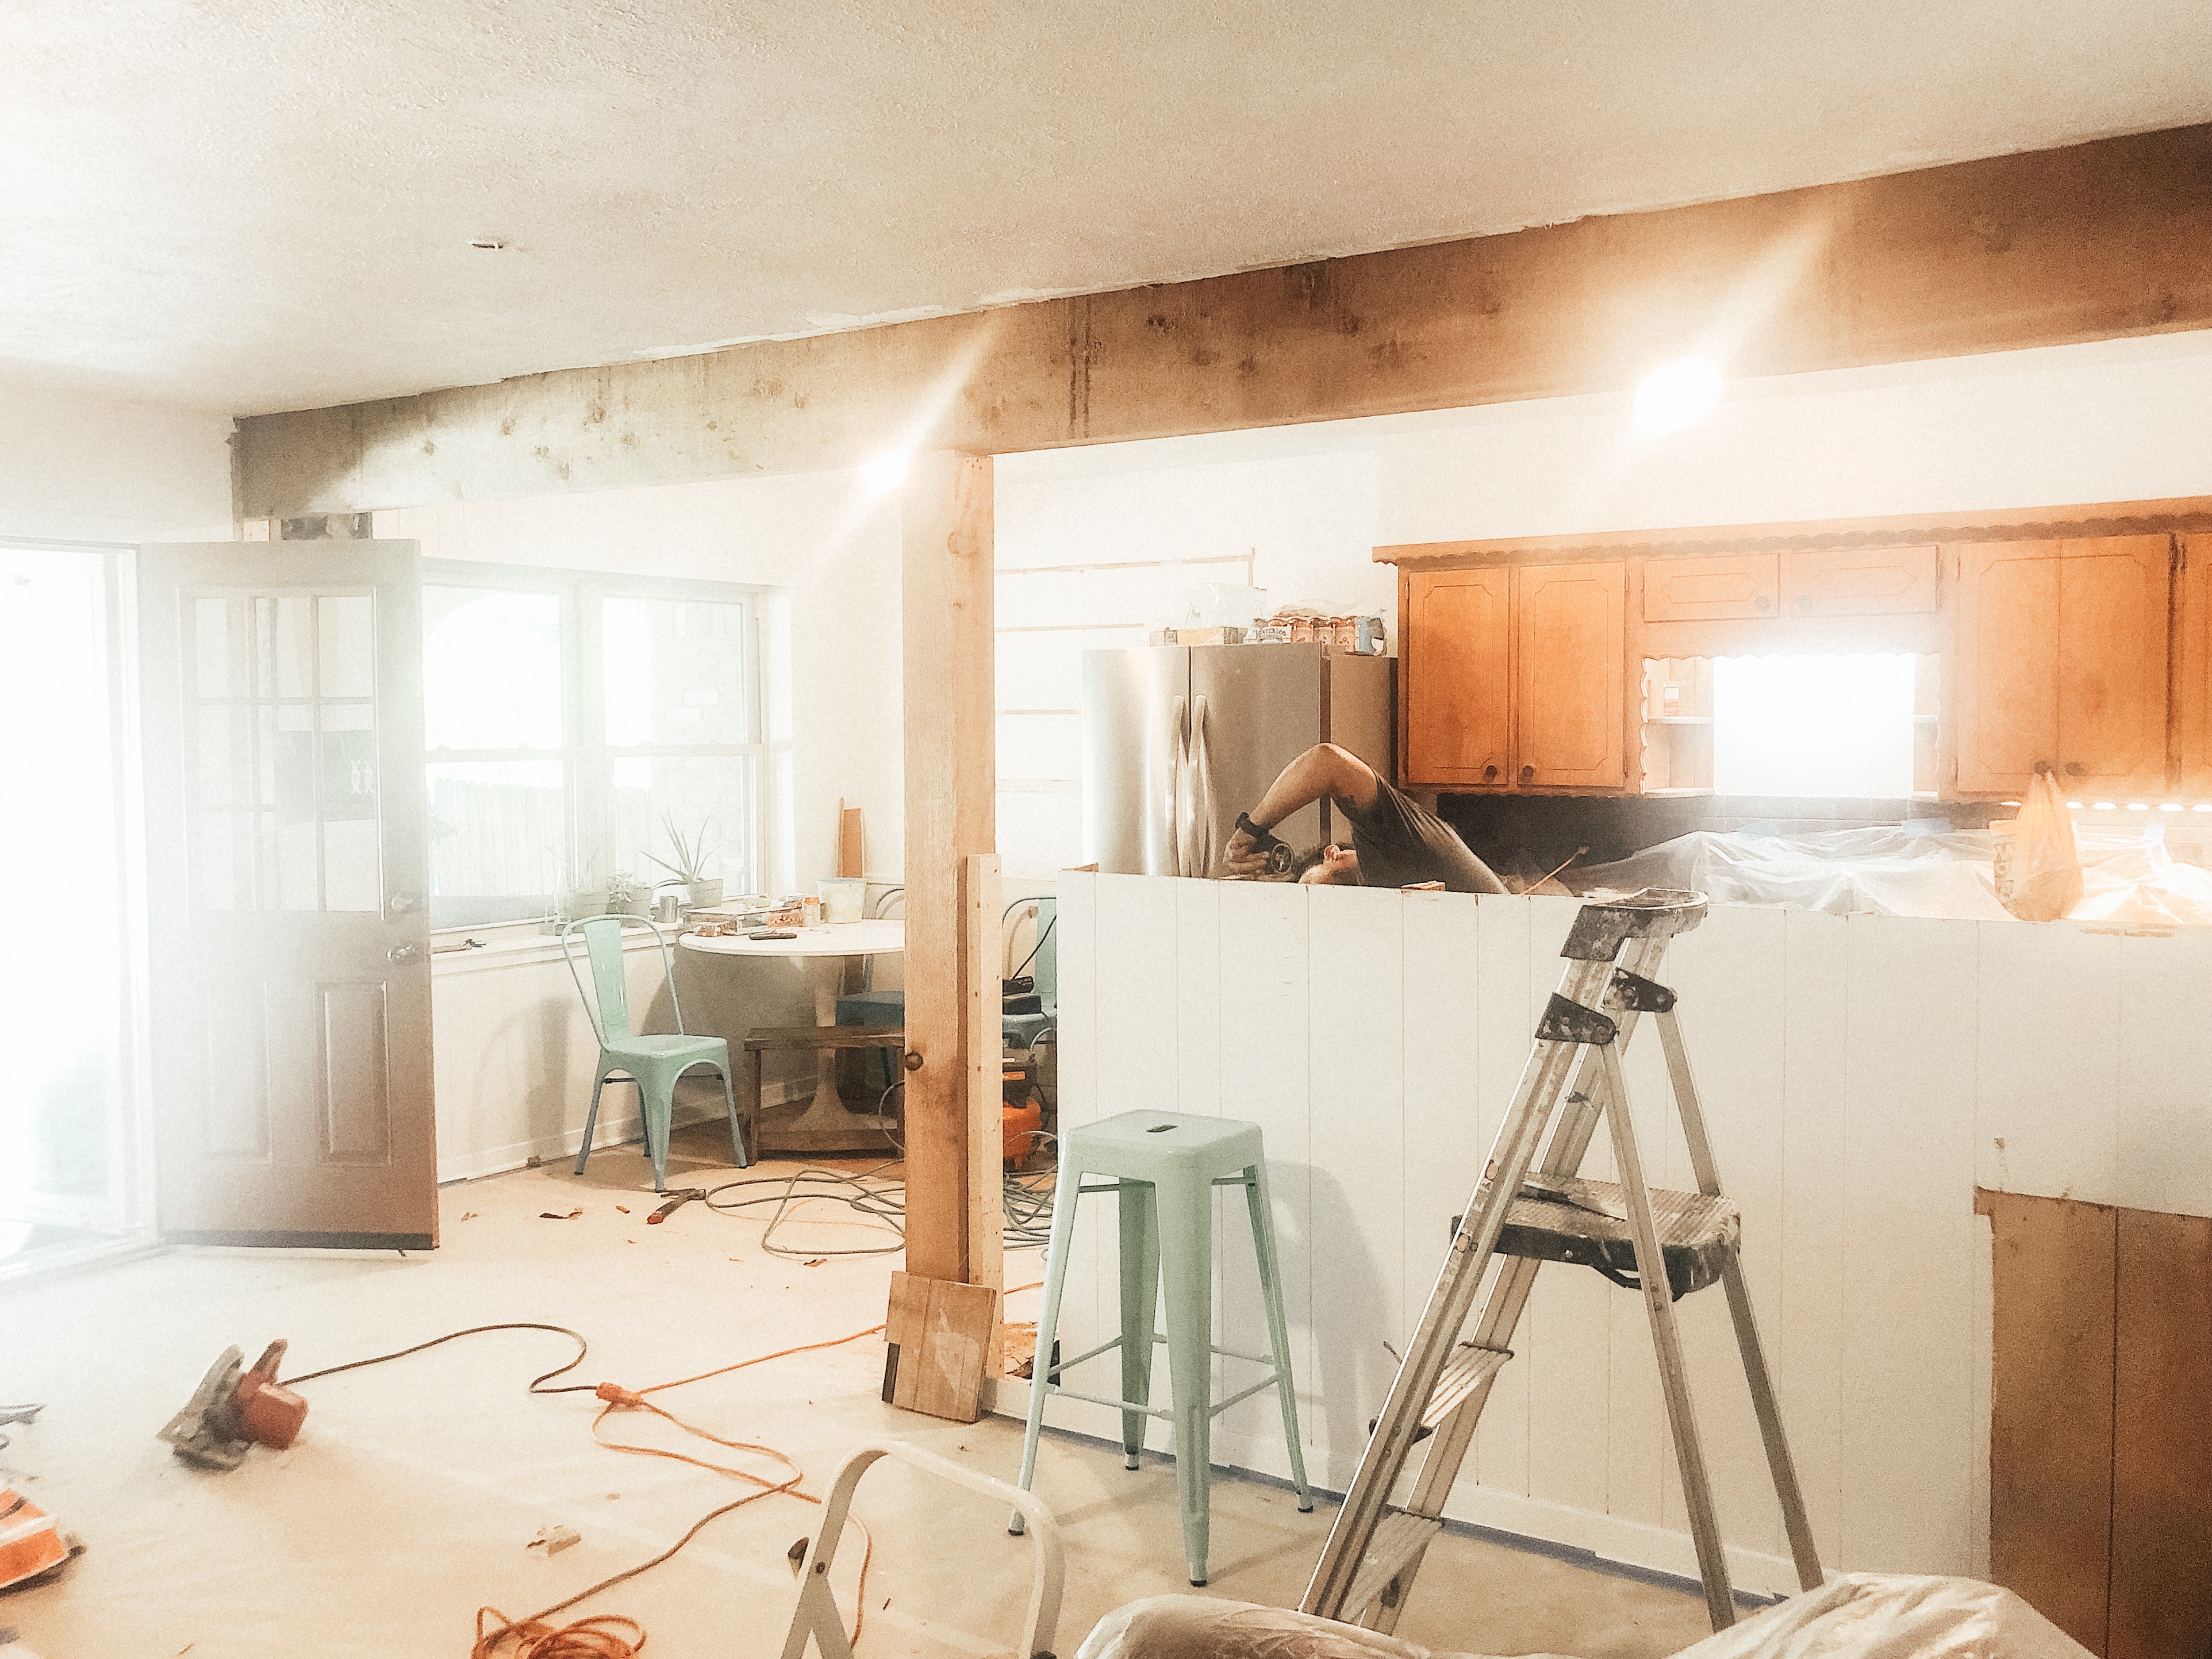
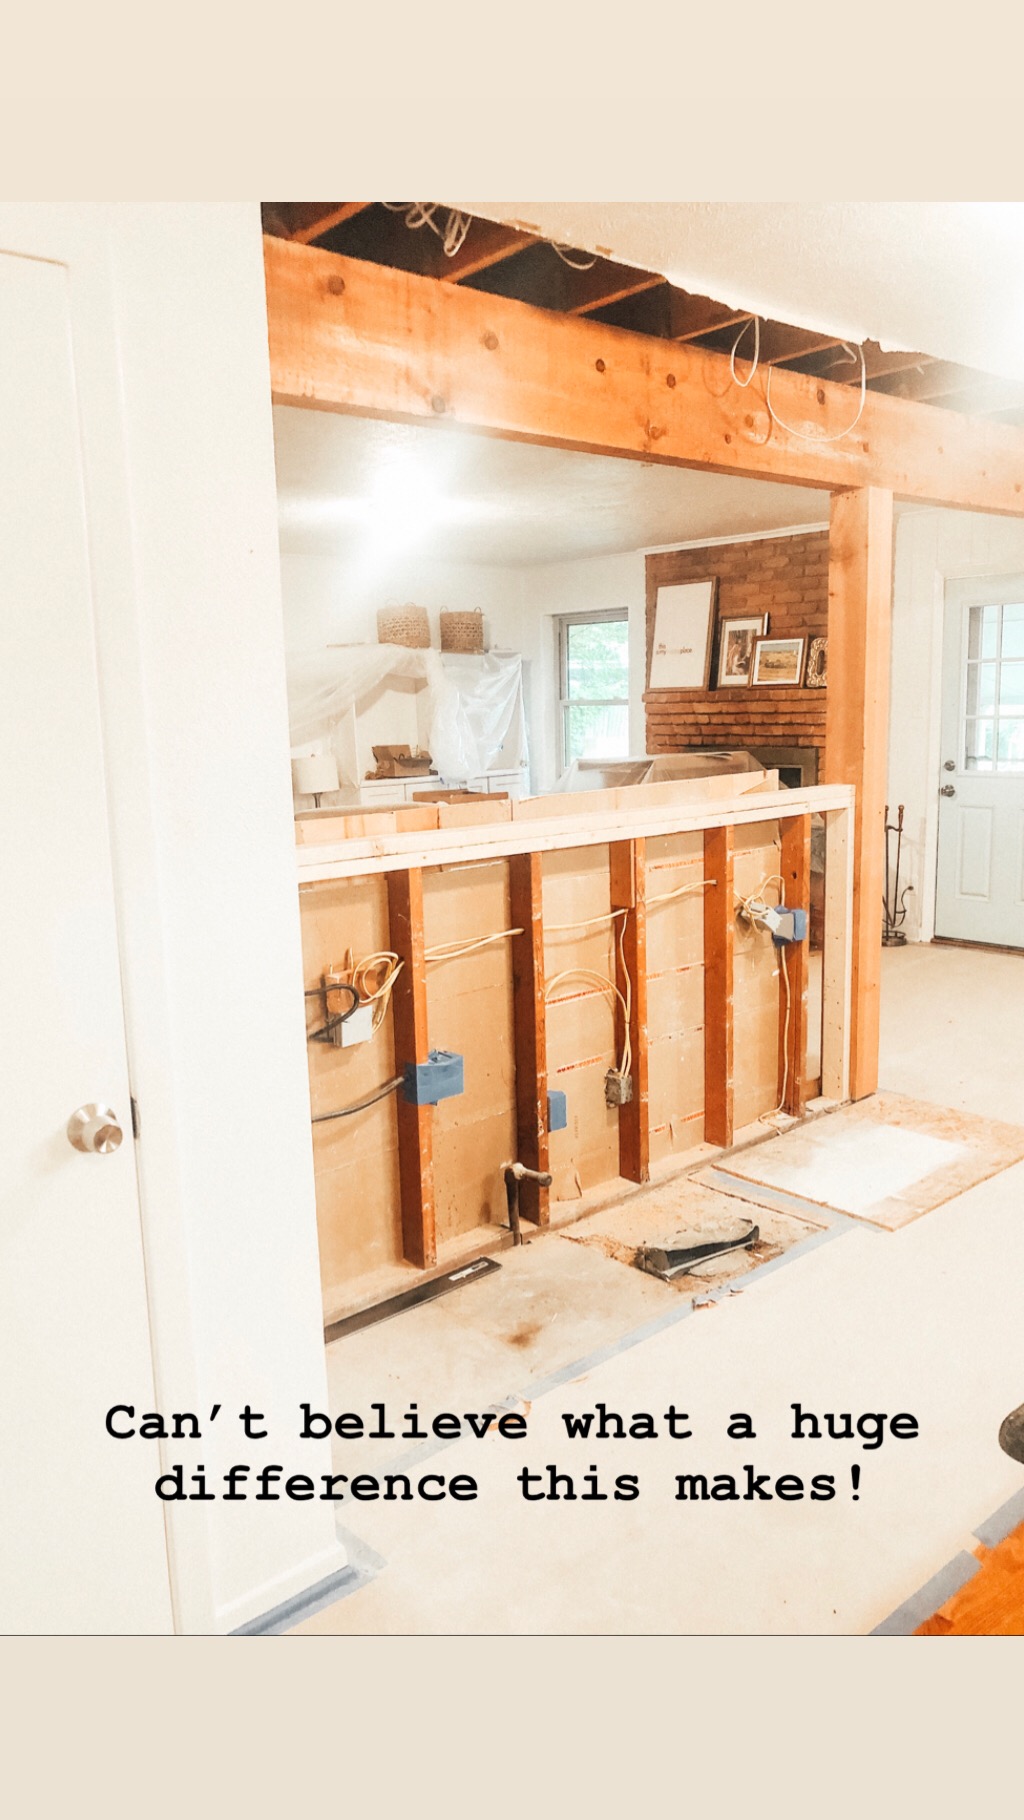
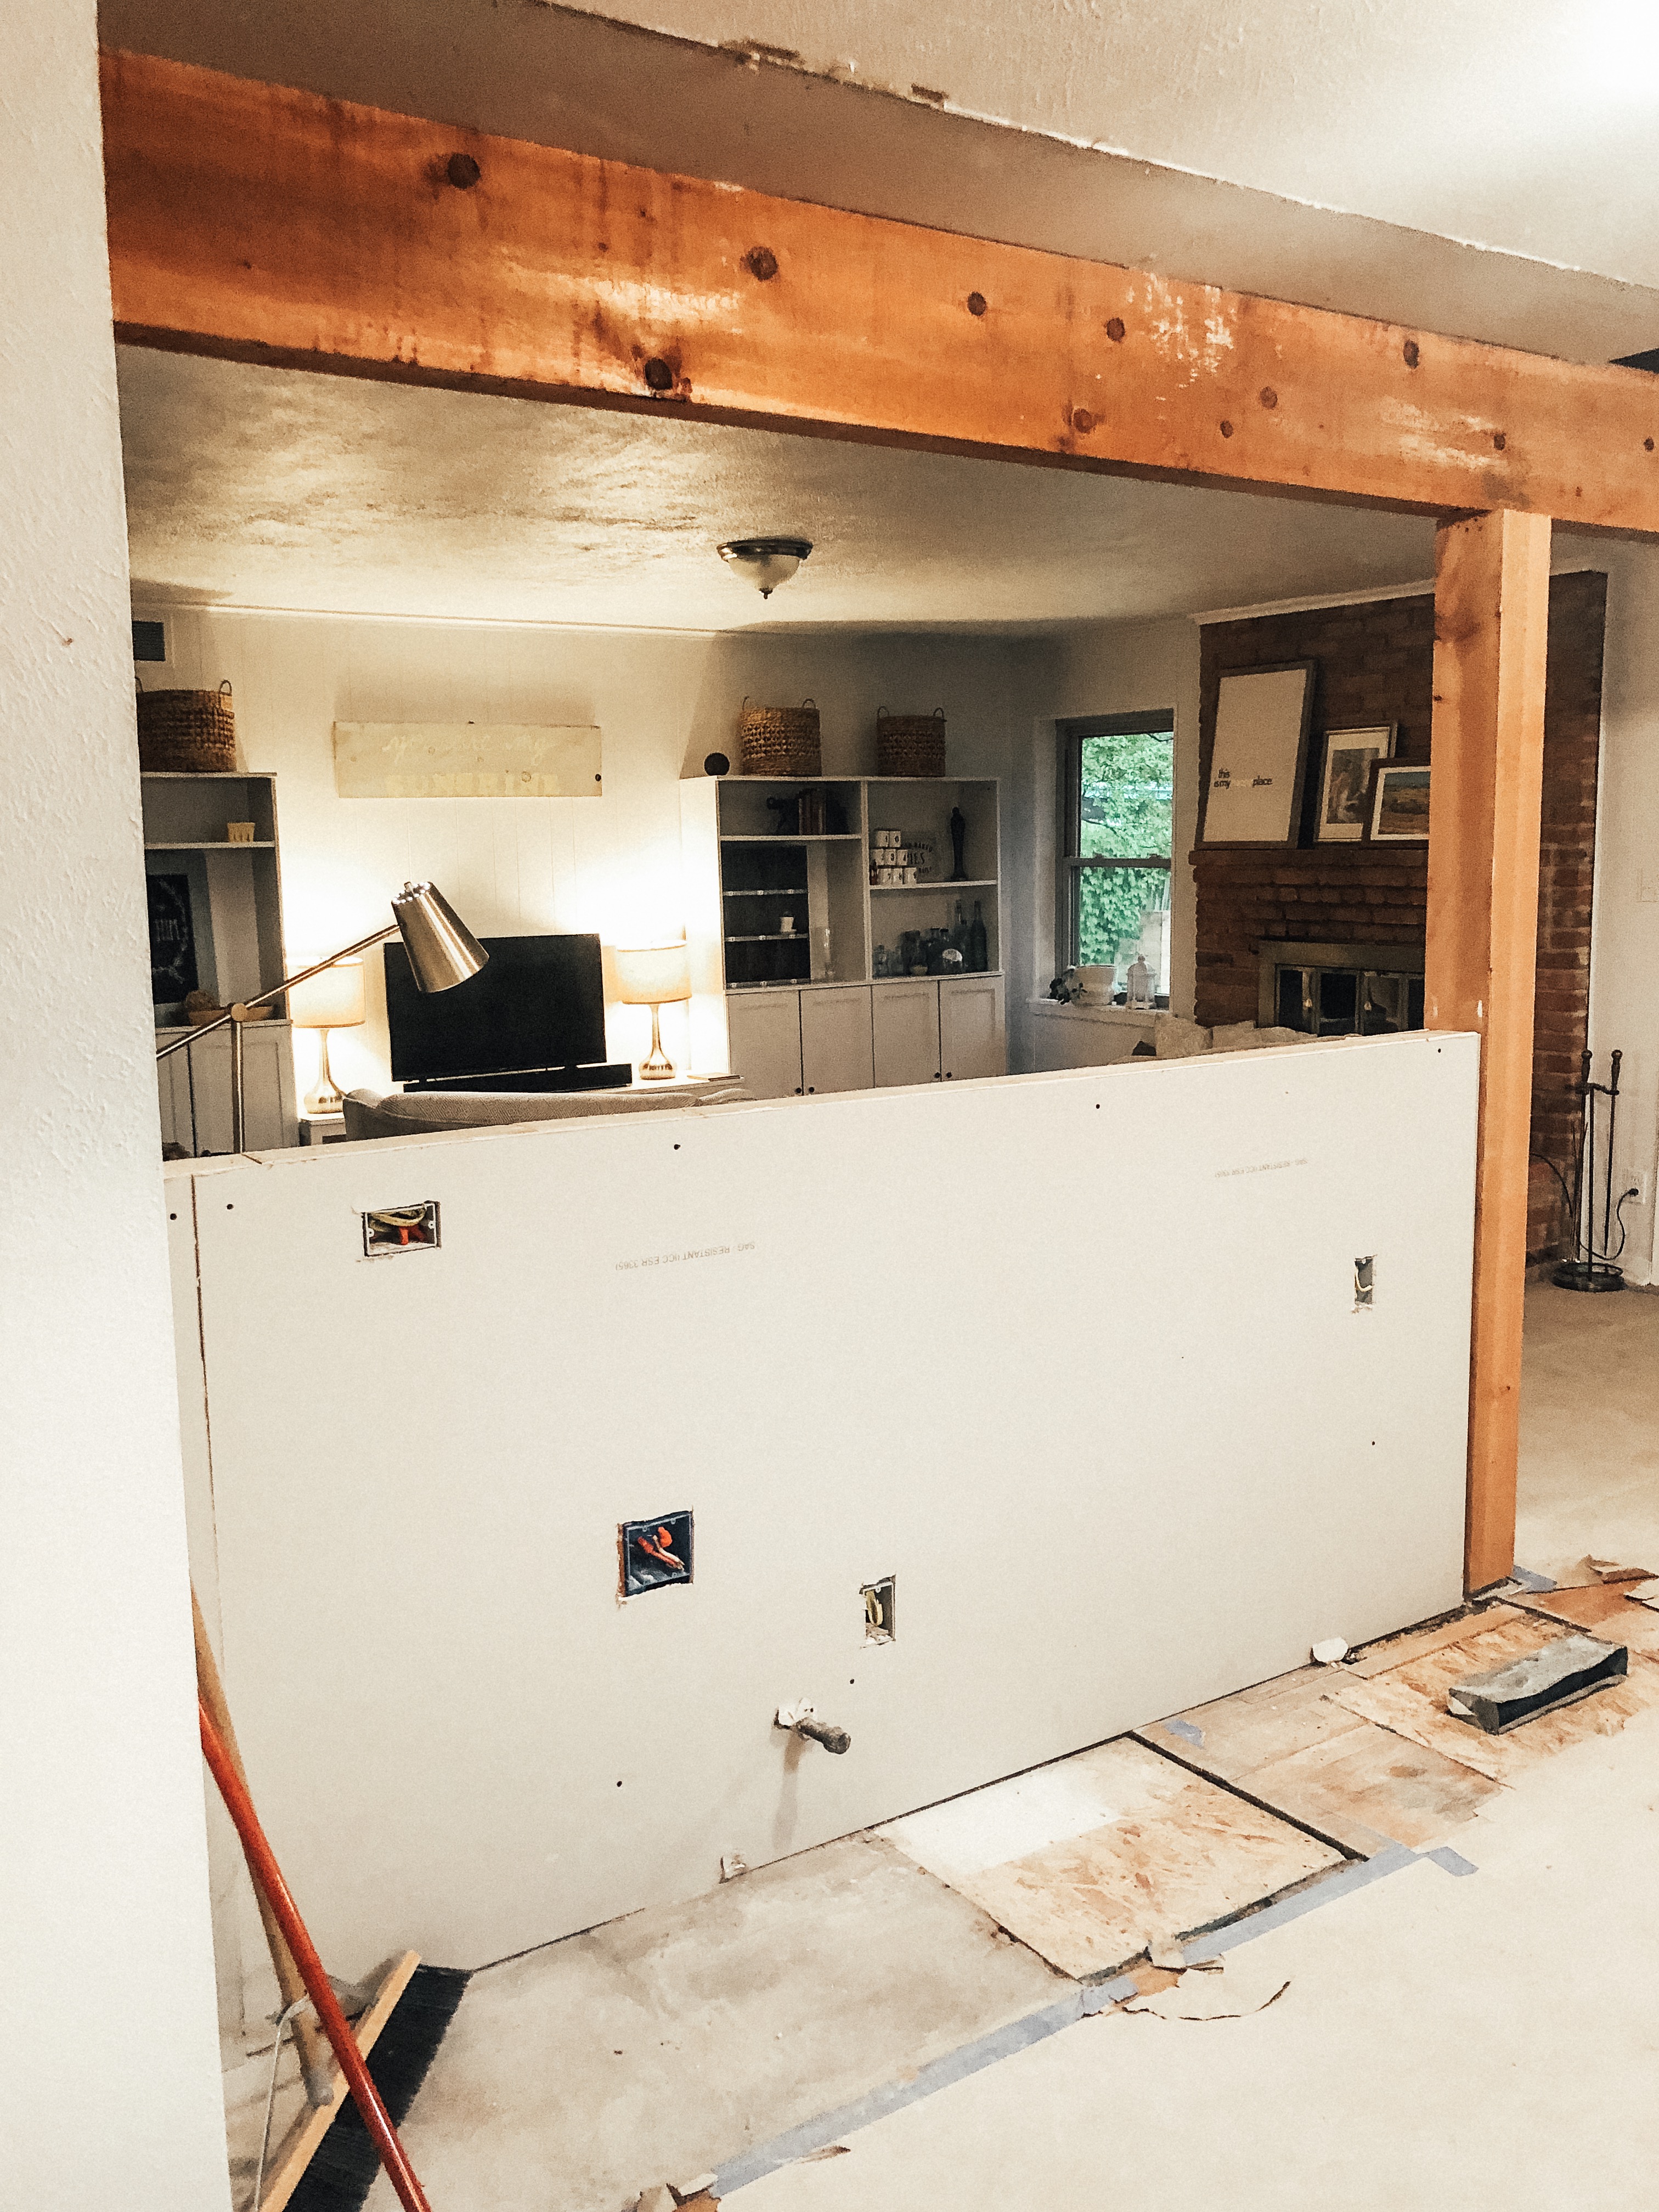
I was so glad that I had the detailed plans from IKEA so I could make sure the contractor added outlets where I needed them. The boxes arrived somewhere in here, and I had read to double check your order immediately, and then double check it a second and a third time! It took me forever, but we were missing quite a few things so I’m glad we did!
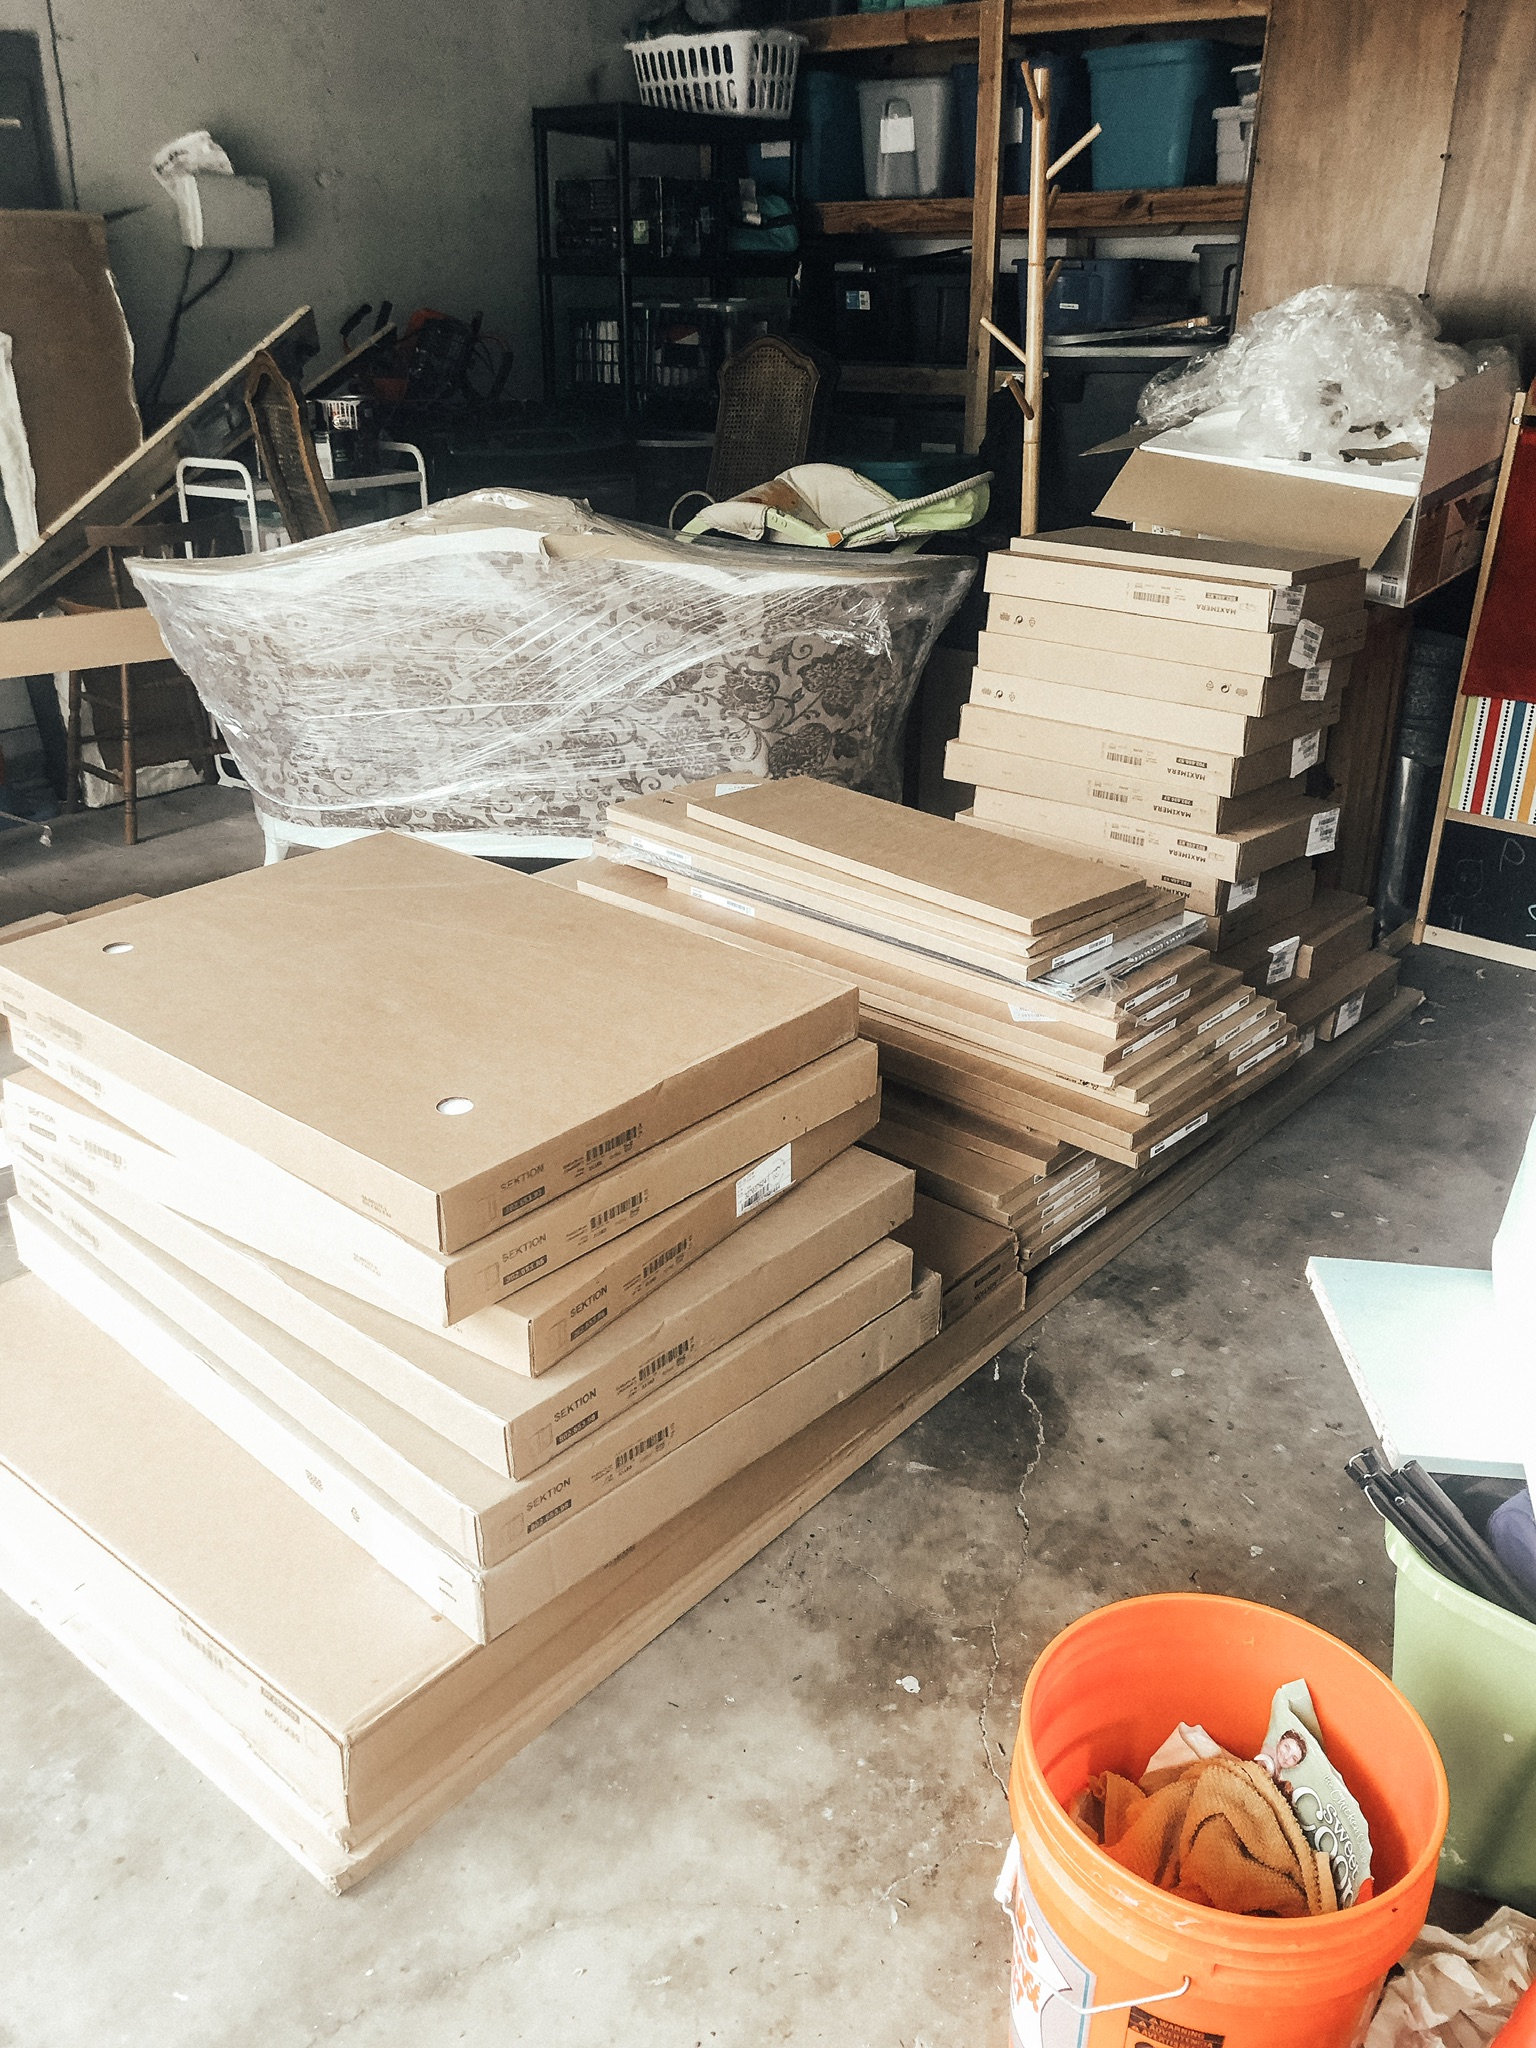
After day 2, it was the weekend, so we had a couple days of rest from the loud noises. Tom Tom definitely told me often how much he didn’t appreciate it.

For the weekend project, we decided to demo the sink wall.
This is where things got….awful. I would actually prefer to never re-live or re-tell it, but I am hoping our experience can help someone else who tries to renovate an old house!
The beginning was okay. Our friends came over again, and we turned off the water valves under the sink and started demo-ing.
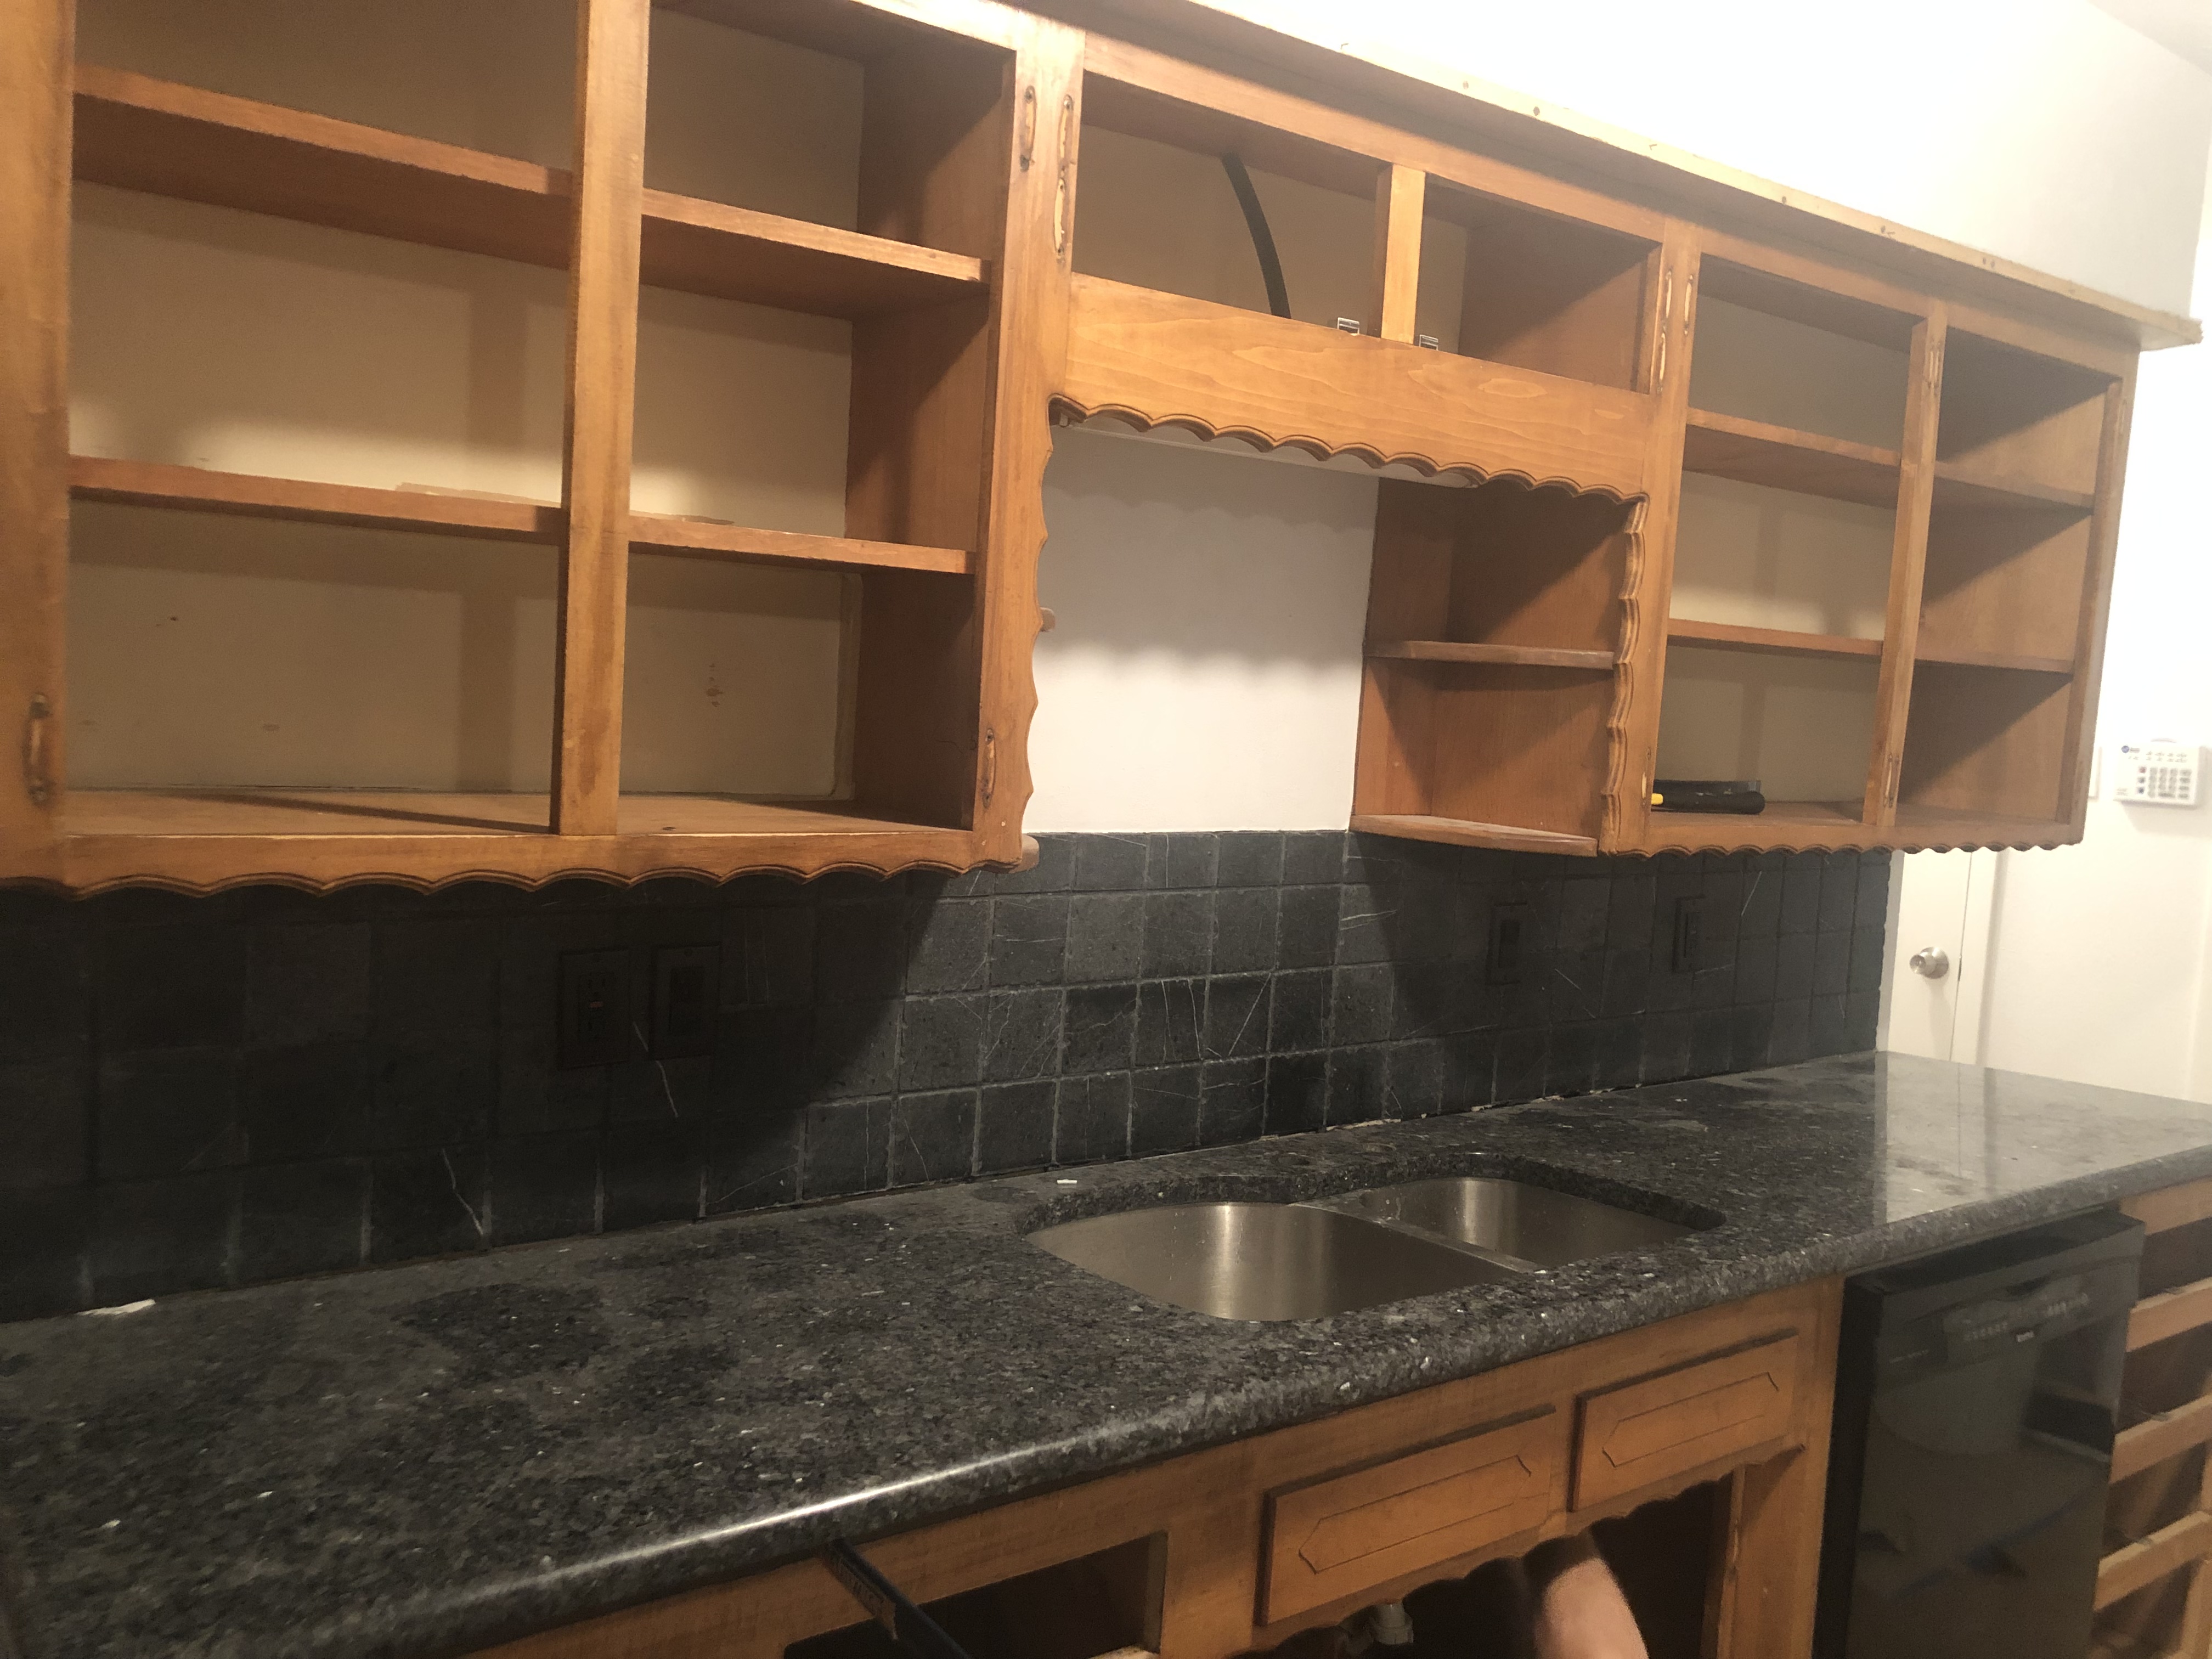
Getting the heavy granite piece out of here was extremely scary, There were four of us and we came up with three makeshift dolly situations, and even then I was 99% sure someone was going to the hospital. But we did it.
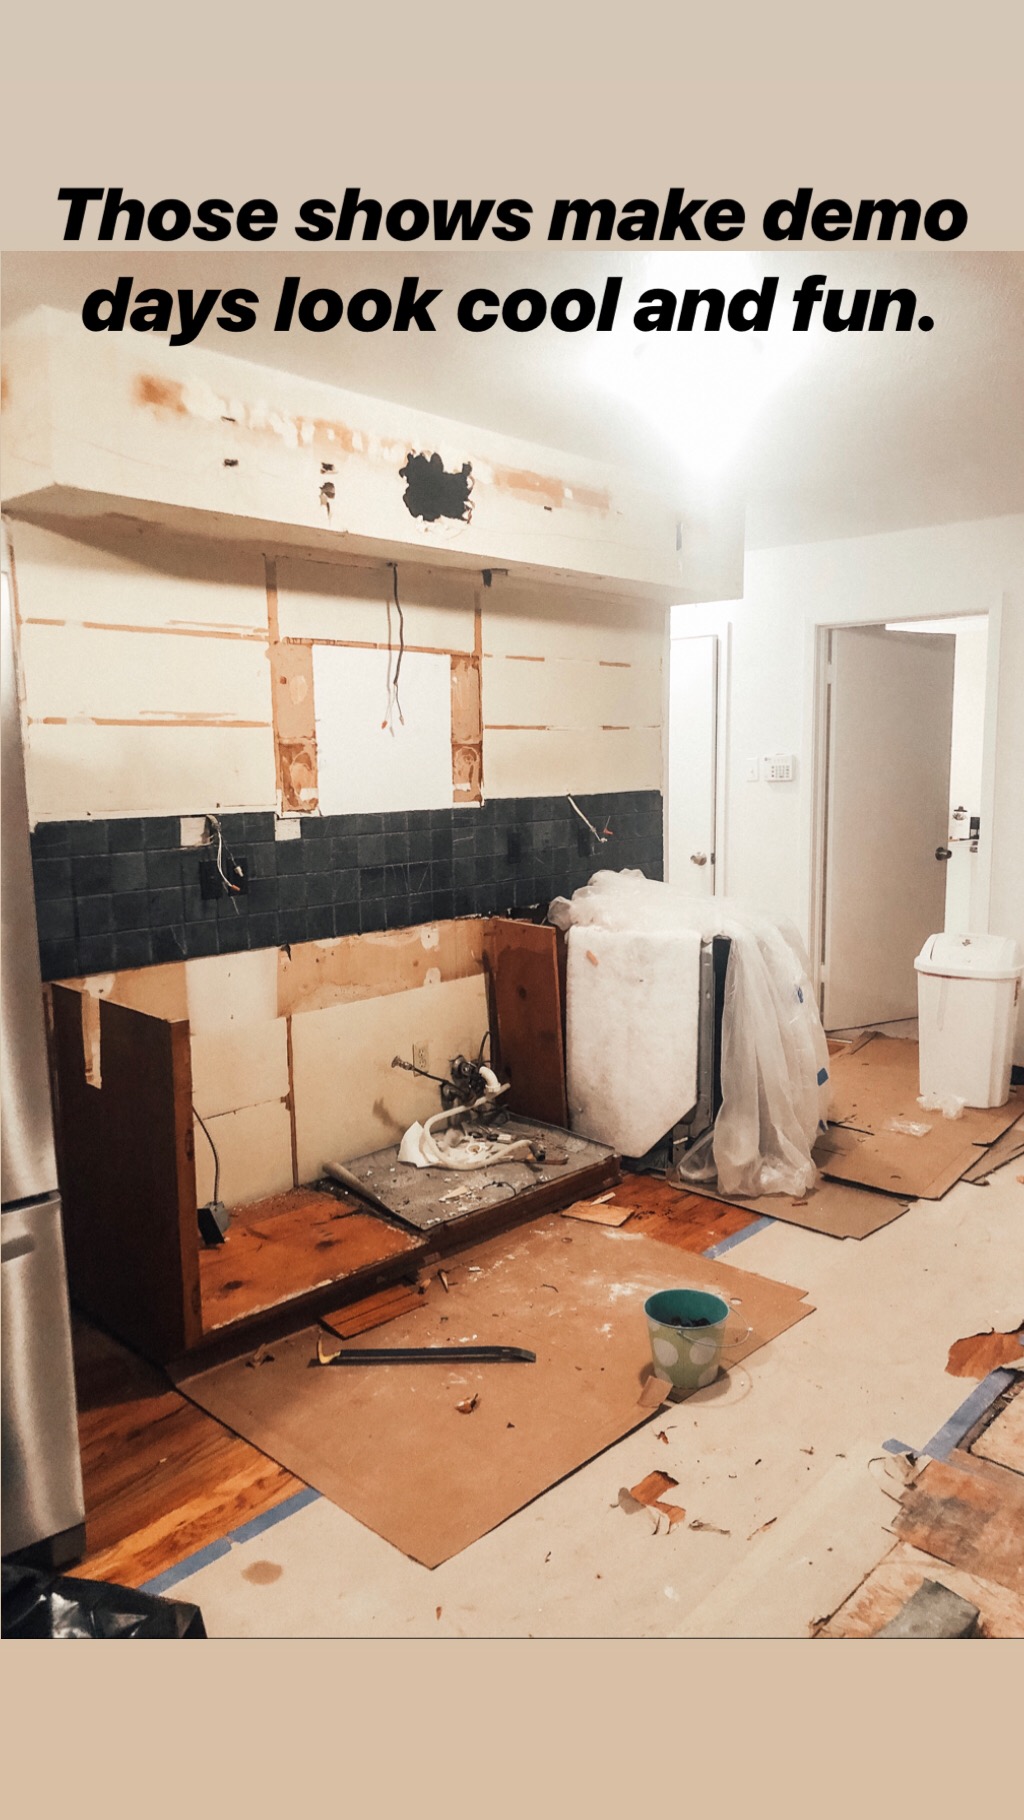
At this stage, our friends left for dinner/evening plans, and we kept plugging away.
I’ll never forget what happened next. I was upstairs kissing the boys goodnight when I heard Jesse urgently yelling for me. As I came down the stairs I heard a “hissing” leaking sound. And then all of a sudden, a gushing that sounded like a waterfall.
Jesse’s urgent yelling turned into shouts and cussing, of the likes I had never heard before (who could blame him). He had just tried to move the dishwasher, and the copper pipe was so old-jerry-rigged that it snapped in two. Even though we had shut off the water valve to this portion, apparently this was piped in BELOW the shut off- valve (there’s a reason this is not how they build anymore….we’re about to show you that reason) and the valve failed us.
Water was POURING into the kitchen. By pouring, I mean we filled a giant Home Depot bucket once every 10 seconds. Jesse started bailing water while I called 911 (they laughed and said to call 311) and then 311. They said it would be 30-60 minutes until they could make it out. My heart sank. I asked the woman if she heard my husband yelling in the back ground and could she hear the waterfall sound, and did she really think 30-60 minutes was a good idea???? I begged her to show me ANY POSSIBLE WAY that I could try and turn this off myself at the street. She said that was tampering with government property. I started crying because I was FREAKING TERRIFIED, and so she finally took a little pity on me. She looked up our house on google earth and guided me to where the city shut off valve was. She got me there, then said, “legally that’s all I’m allowed to do” and hung up.
I ran back inside and asked Jesse what I should do. He said he would try at the water main (all of this took less than 5 minutes, but time slowed wayyyy down in the moment) if I would bail water. I did my best— but it was rough. Like cross fit, with bending, running out the back door to toss the water, running back, switching buckets, and doing it all over again, every 10-15 seconds. 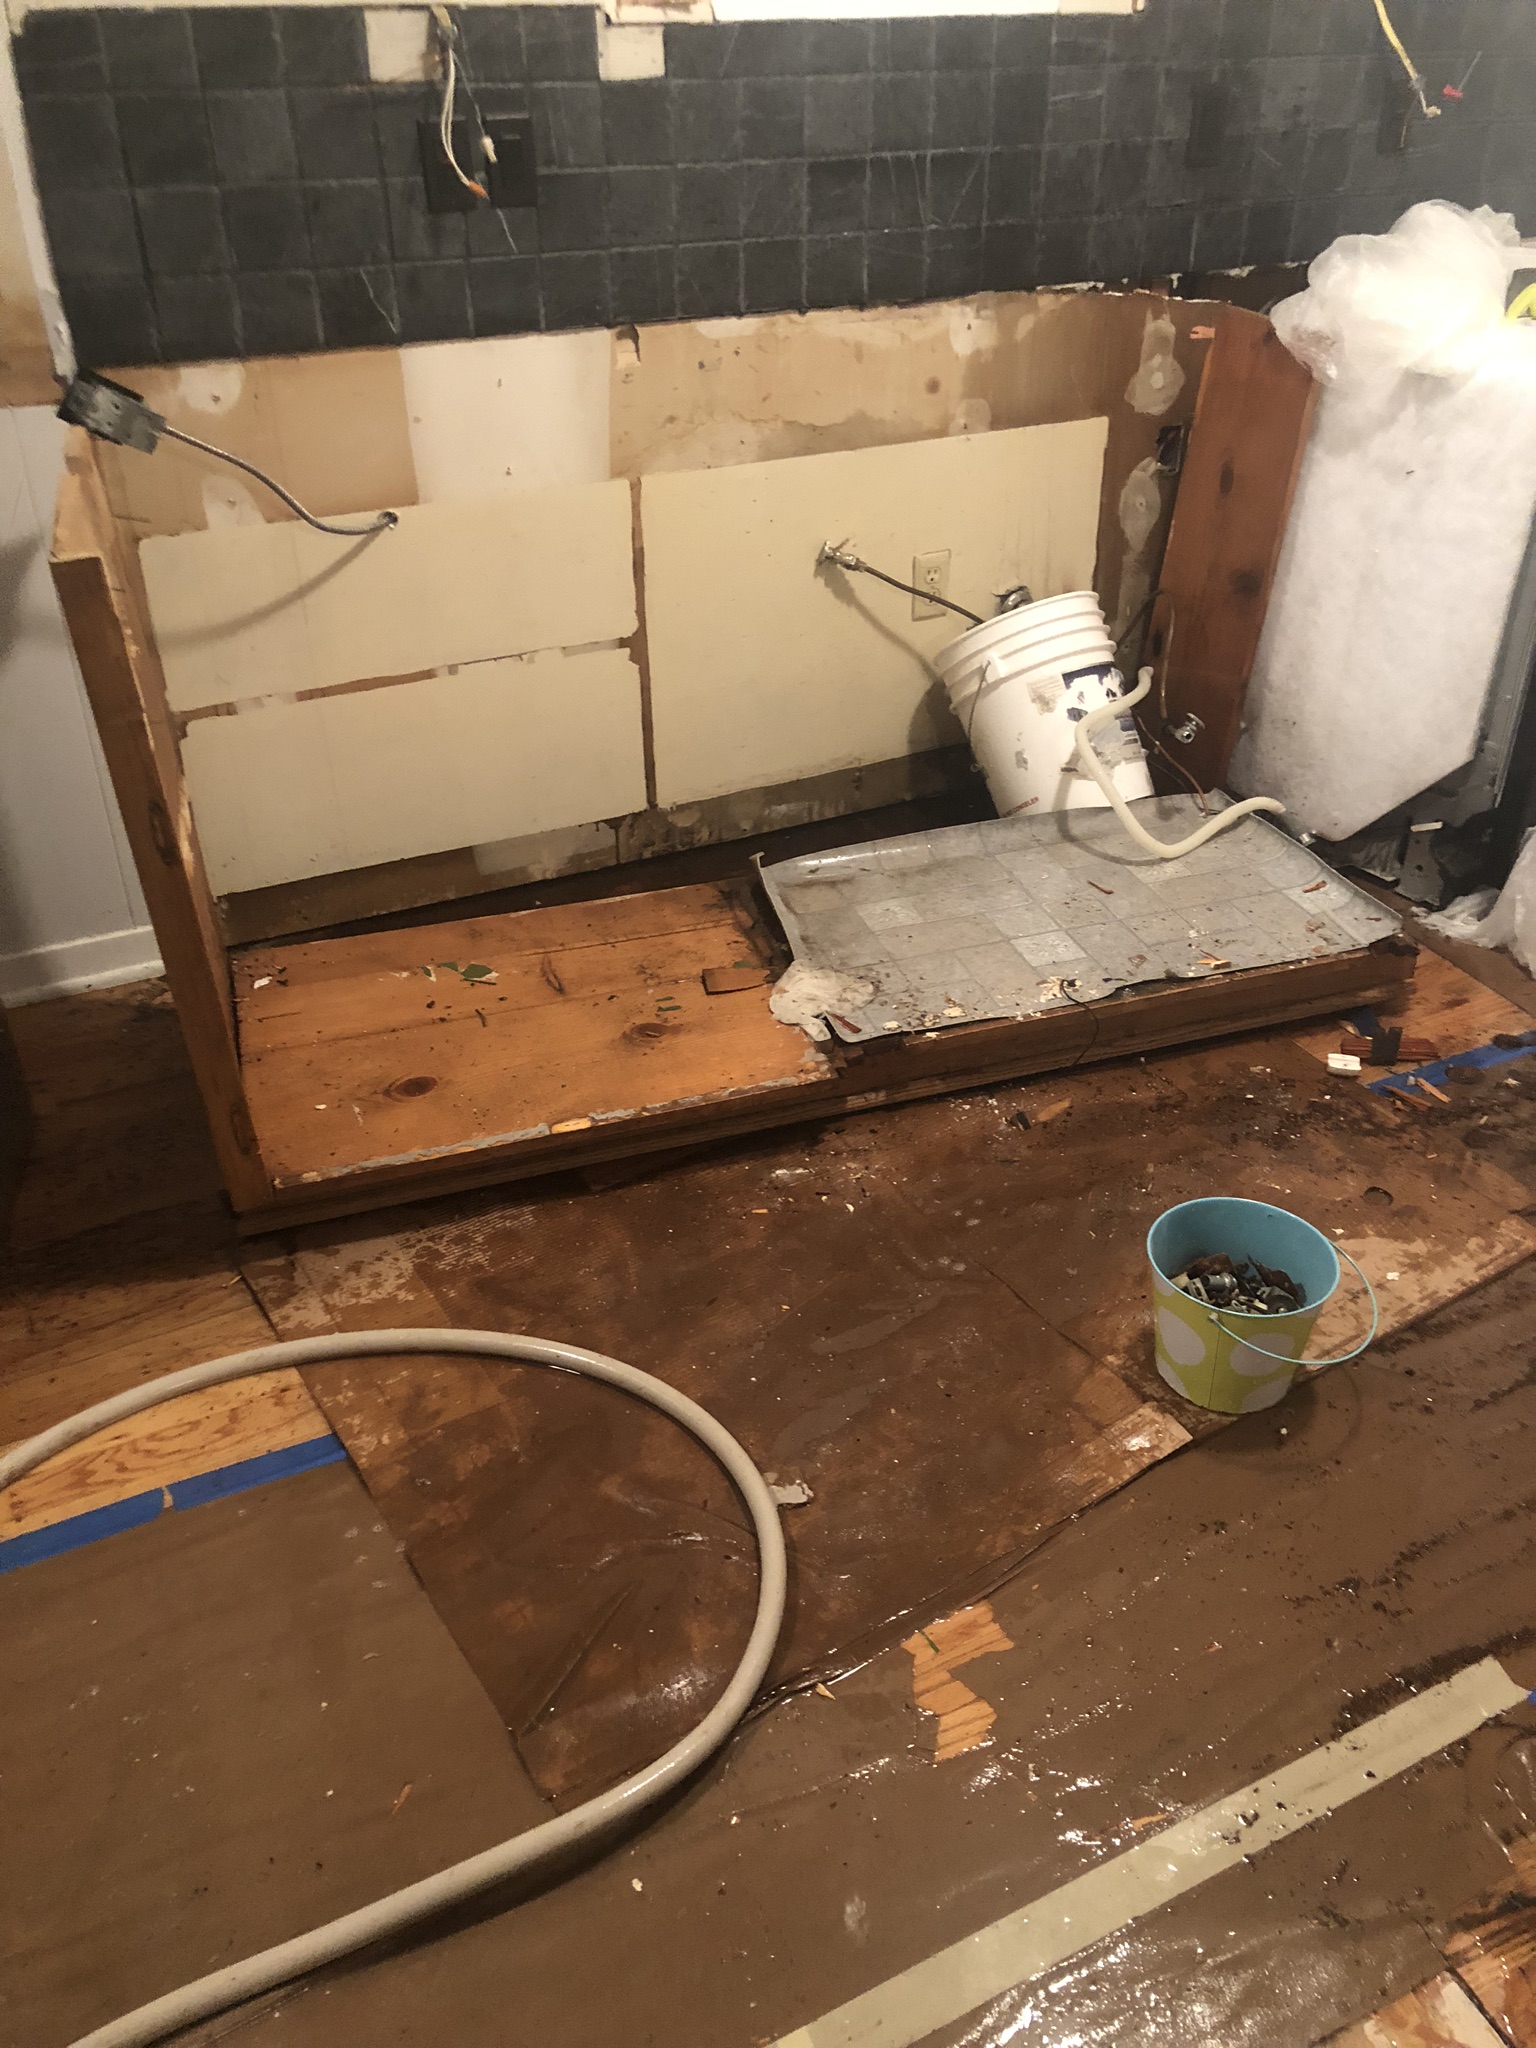
Jesse came right back without any good news. He didn’t have the right tool to shut off the water, and he didn’t have time to look so he decided to help me and we would wait. We bailed and bailed and bailed for that full 60 minutes and it was HELL. Like we were both yelling and crying and our legs were burning and we were out of breath and so scared that we had broken our house. It was literally one of my worst memories, but I know God was protecting us. We were standing in 2 inches of water, and later when I look back at the pictures, I see the electrical outlet that used to be in a cabinet, dangling precariously. There were nails and sharp wood everywhere that we couldn’t see under the standing water (and I was barefoot for the initial part, I ran and got thick boots mid-way in once my senses kicked in). Looking back I know that angels were guarding us, because neither one of us was even slightly injured (other than feeling like we had done 600 burpees the next day).
Once 311 had shut off the water (he actually showed us how to turn it back on so we wouldn’t need to call again), we were able to call our friends and assess the damage. They came right back to help, and even ran to Home Depot at 10pm for a mop and some supplies. We were able to mop up/shop vac the standing 2-3 inches of water, but we decided the floors were goners. In truth, we had been 50-50 on whether we wanted to rip them out anyways, seeing as they were warped and buckling in spots, and also considering that to match them in the rest of the house was gonna be costly (I’ll get to that in a post on flooring!). But this “accident” sealed the deal and I began work on finding a flooring option.
For the meantime, we had to call a plumber out to put new valves/fittings on (copper pipes are a beast to deal with!) and live for TWO DAYS without running water until it happened. Have you ever tried this with kids??? It was ROUGH. Since it was an emergency and we didn’t have a plumber yet, I called out the first available person. It cost us $900– when things are emergencies, they can charge whatever they want.
THIS IS A HUGE TIP SO WRITE IT DOWN FOLKS. Before you begin a reno that involves plumbing, practice shutting your water off wherever it meets the city meter. Make sure you have the key!! Technically you’re not supposed to have one (sometimes a screwdriver works) but if you call the city and tell them what you’re up to, they’ll bring you one. If the valves in your house are old, chances are, they will fail you like ours did, and you’re gonna need to know how to shut the whole thing off quickly.
Also, find yourself an honest plumber AHEAD of time and plan in some cash to see if you can pay pre-emptively. If we had had our current guy who is awesome, we could’ve had him take a look for free ahead of time to see if we were going to encounter issues, and he probably would’ve just disconnected it for us for under $200. Instead, we were out $900 because it became an emergency. LEARN FROM US!!

God had a hand in this whole thing, however, because the moment we decided to pull up the wood floors, we started seeing TONS of soggy underlayment and rot from 40+ years of a slow leak. The old woman (original owner) who had lived here prior had tons of “handymen” who did shoddy patch jobs on everything, which is why the plumbing accident occurred. I’m so glad we didn’t spend money to put a new kitchen on top of that mess! Take a look at the plywood on the right. It peeled off in our hands as if it was butter.
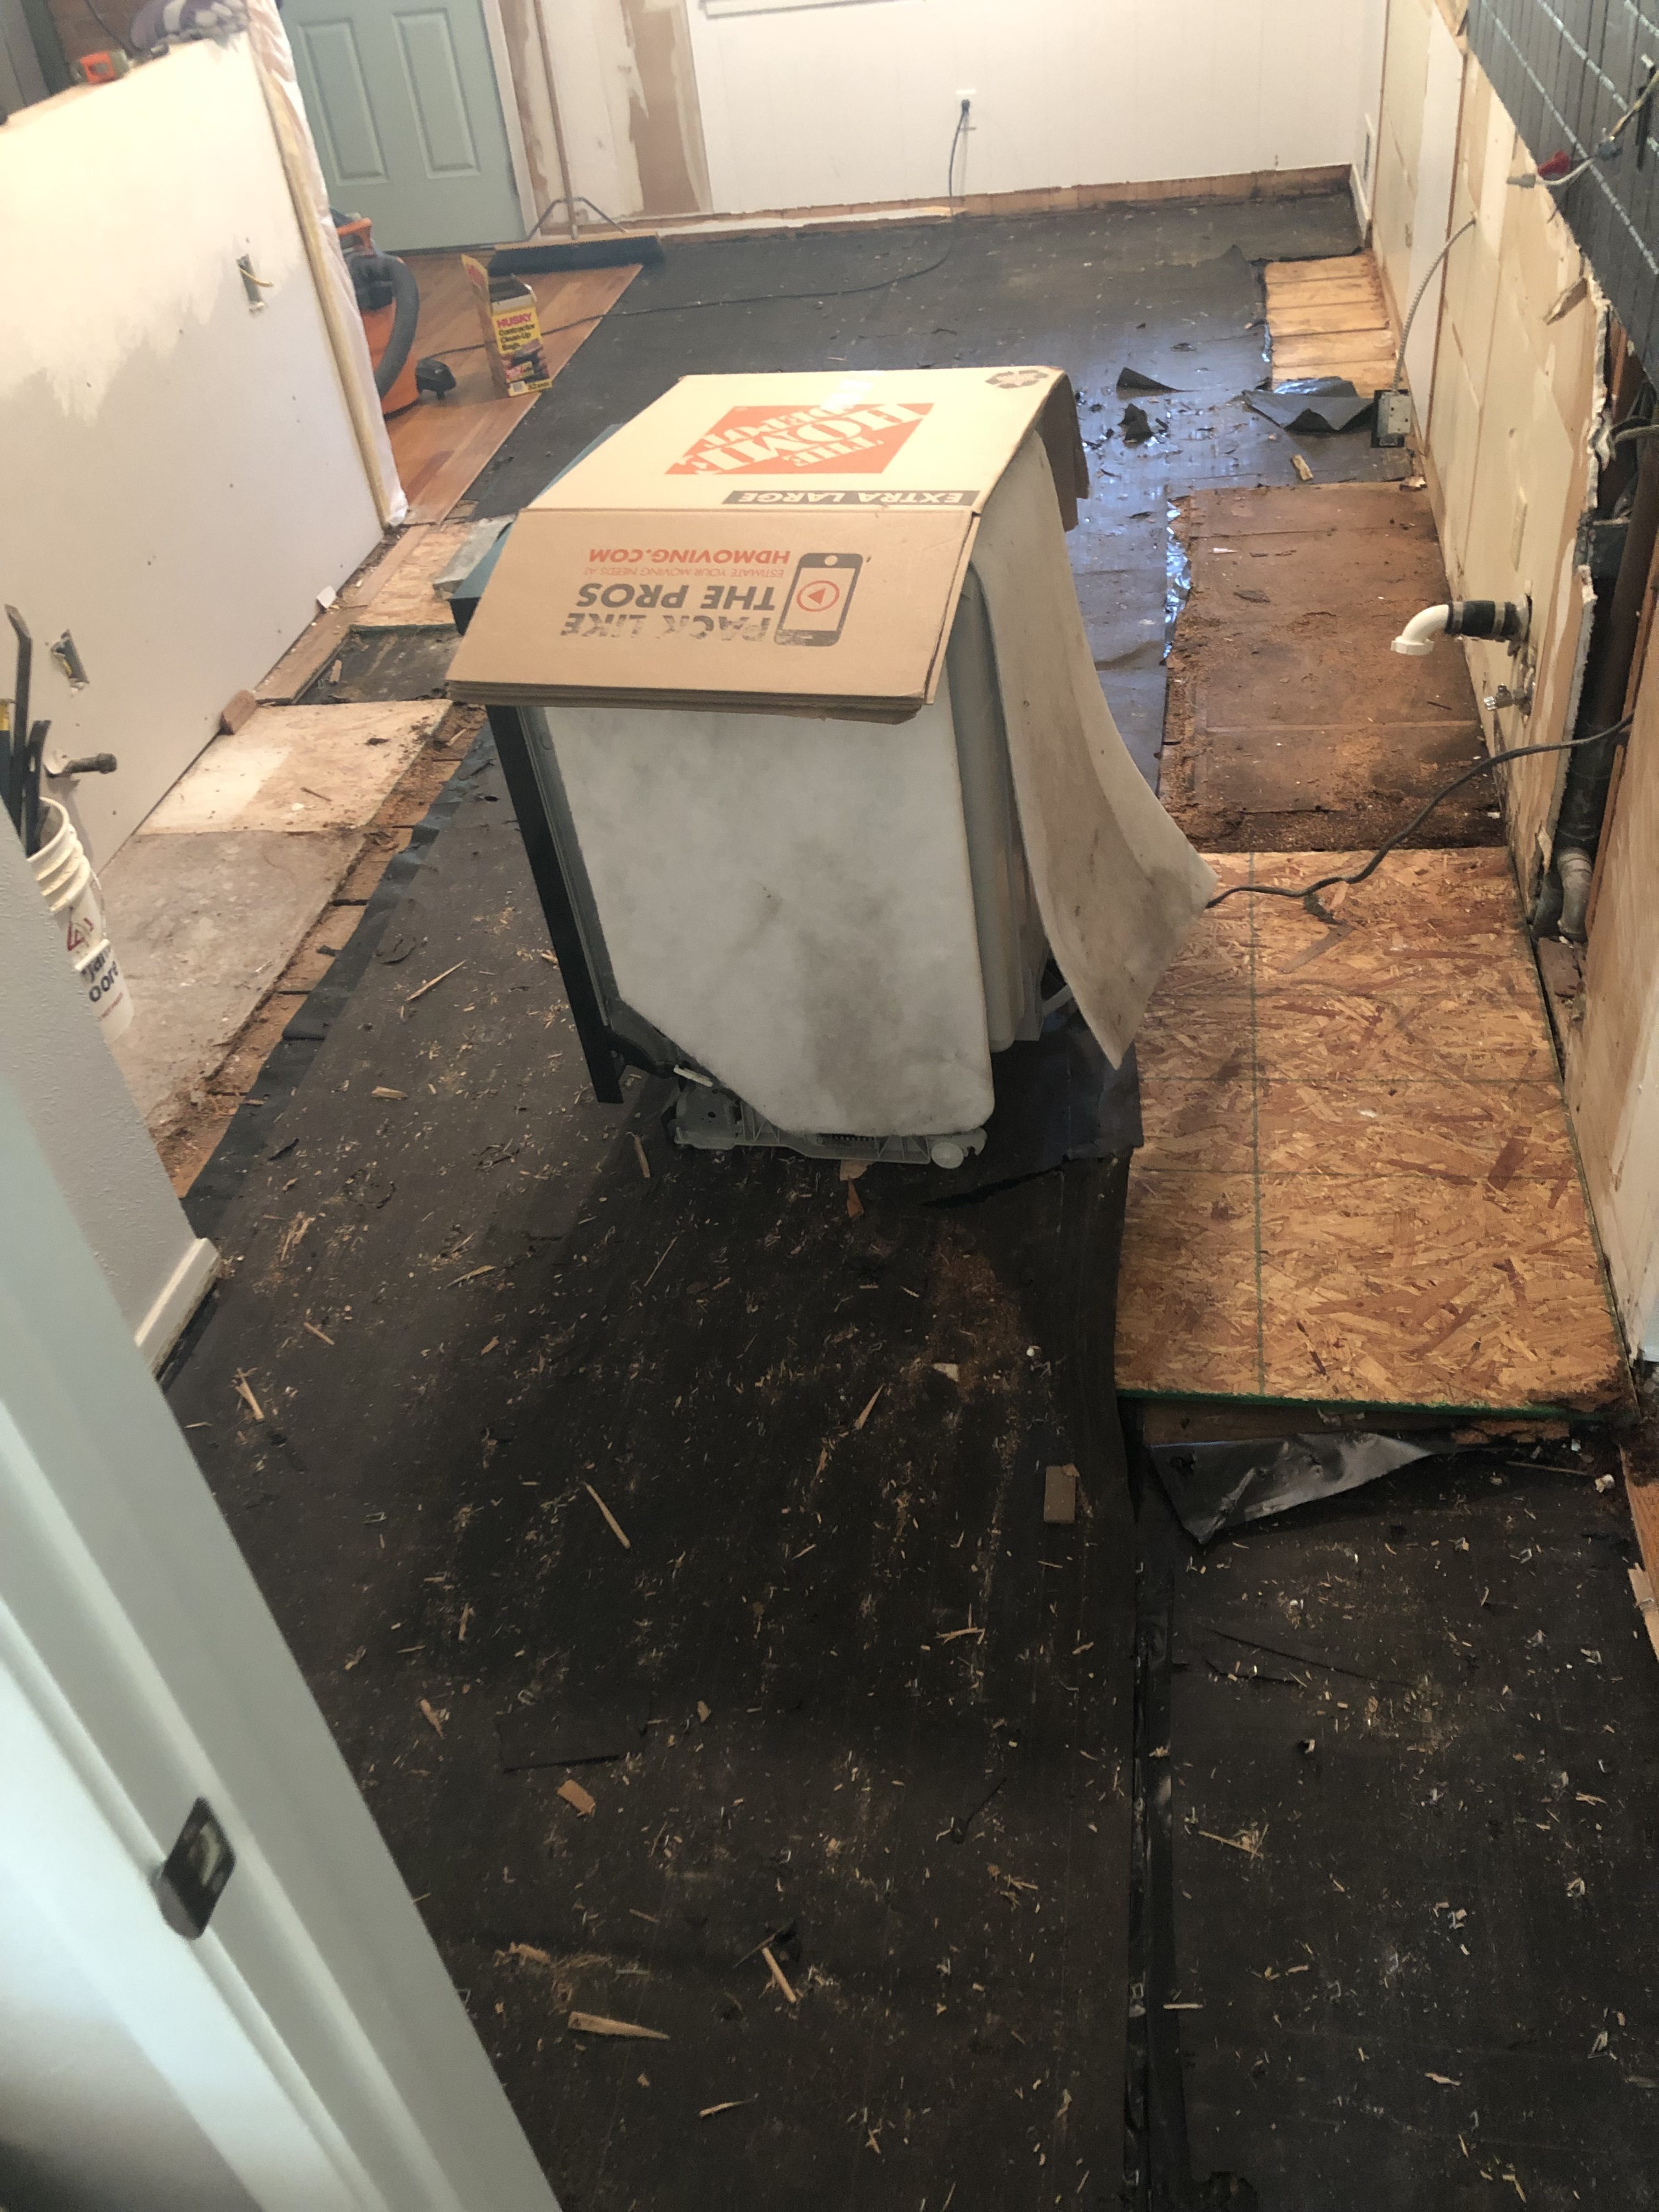
Unfortunately, we were living in the house, and it was now super dangerous for kids since they could literally fall through the floorboards. So I took the kids to my parents house (they were back from Europe) and he called his friend Michael. They spent an entire day, sun-up to way past sun down, pulling floorboards and staples.
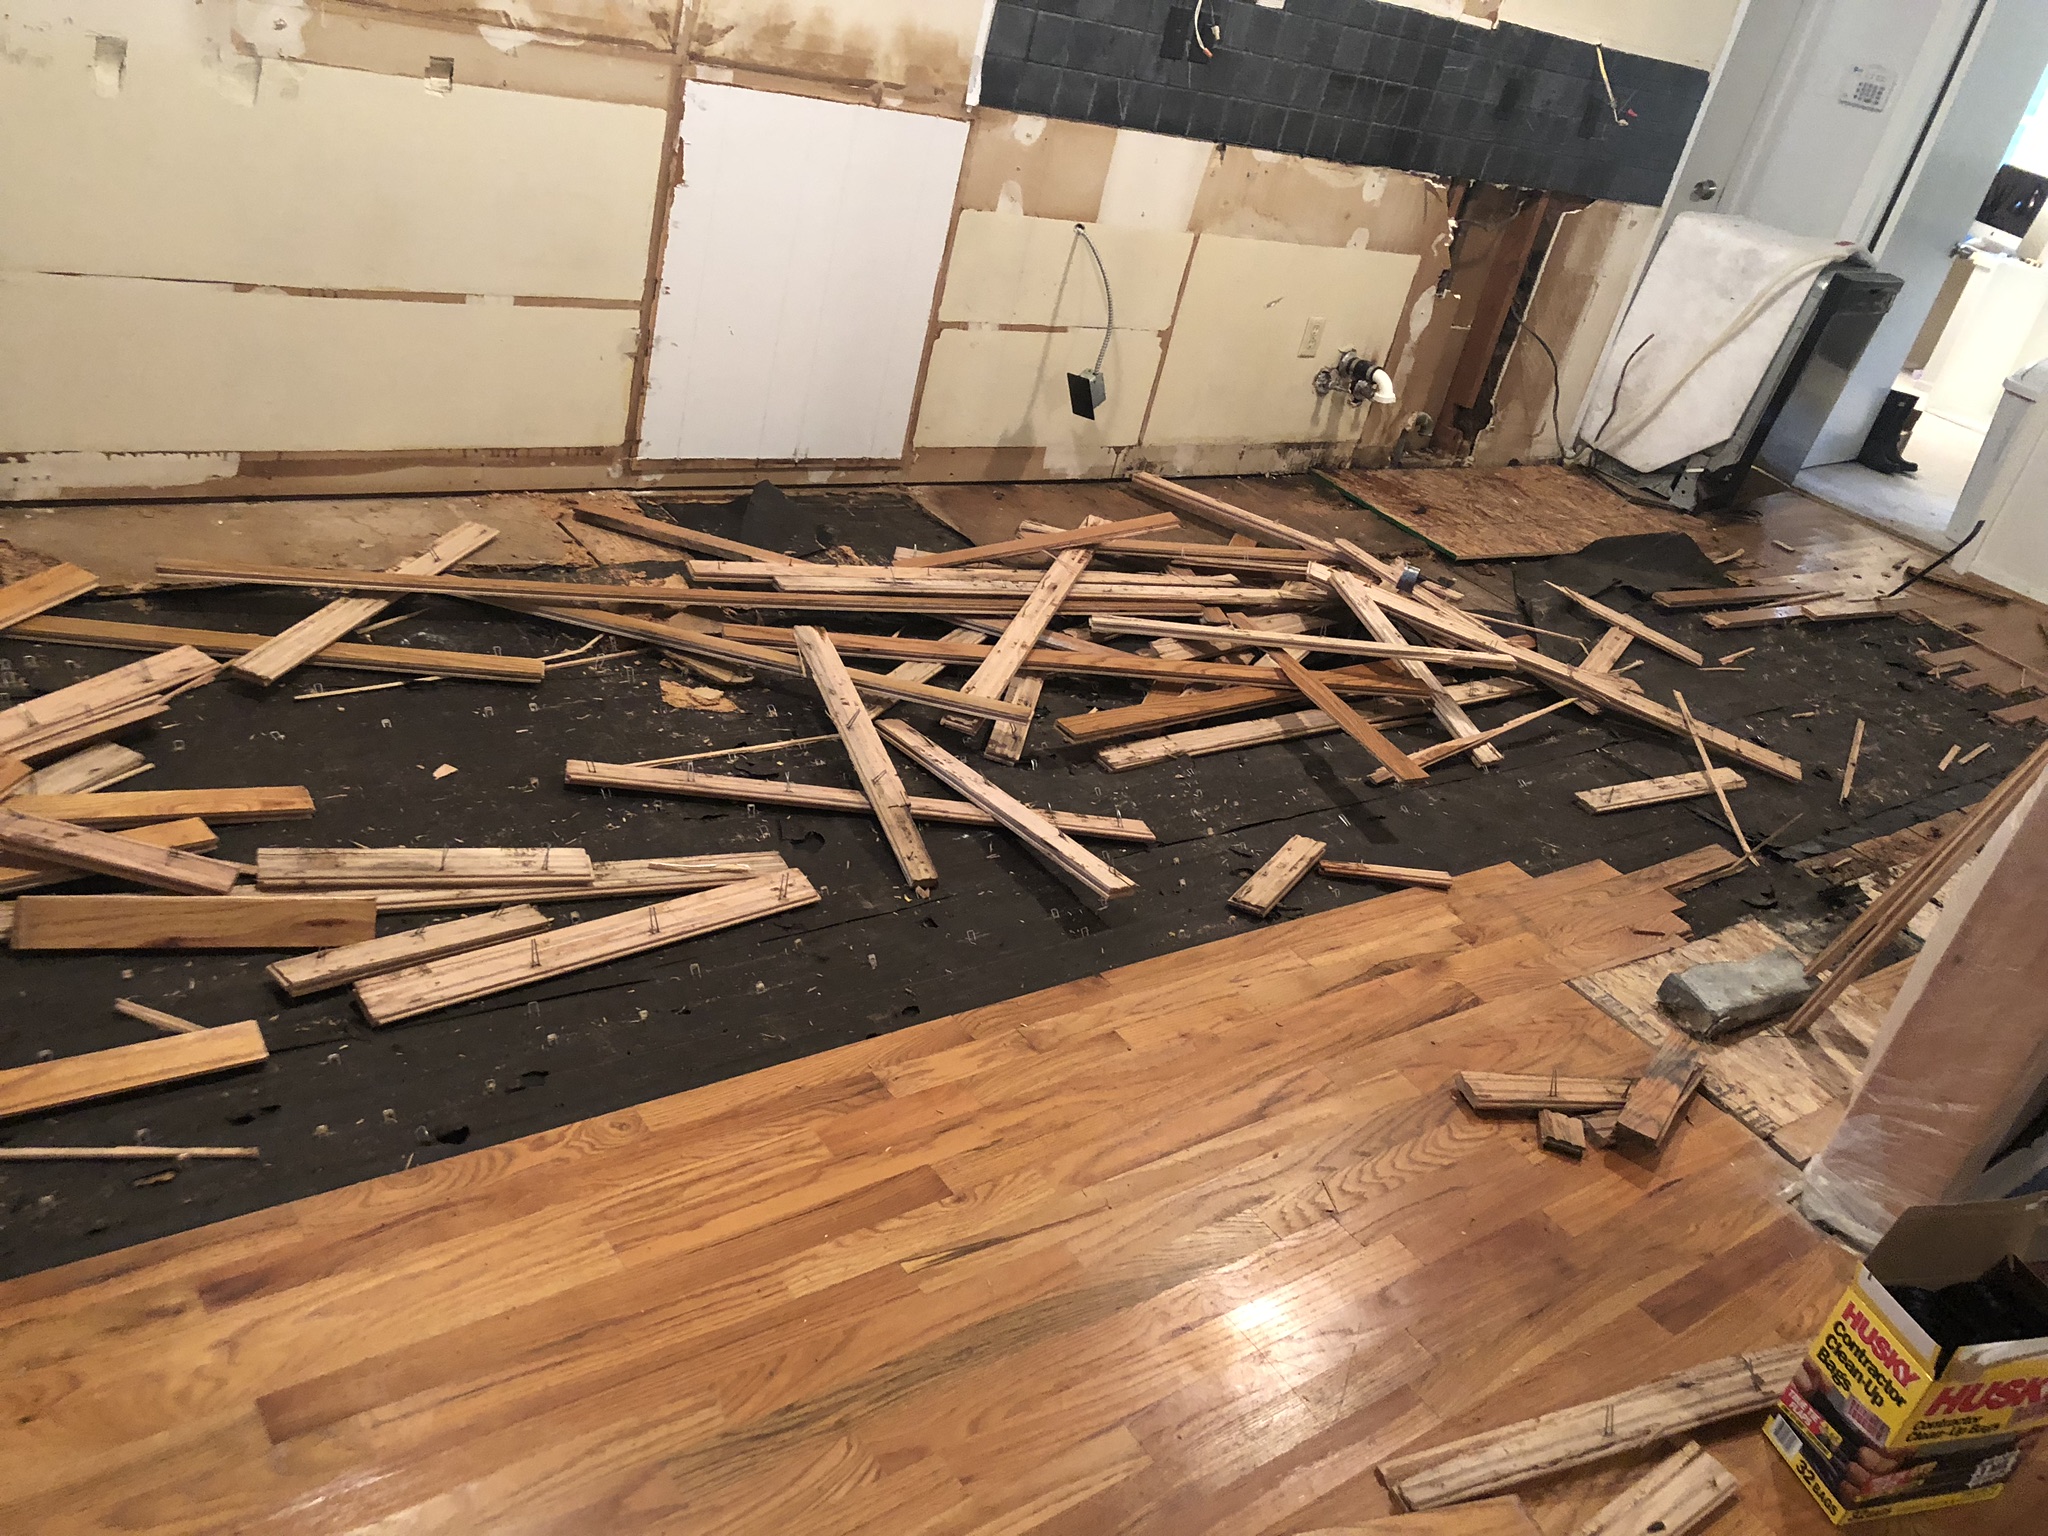
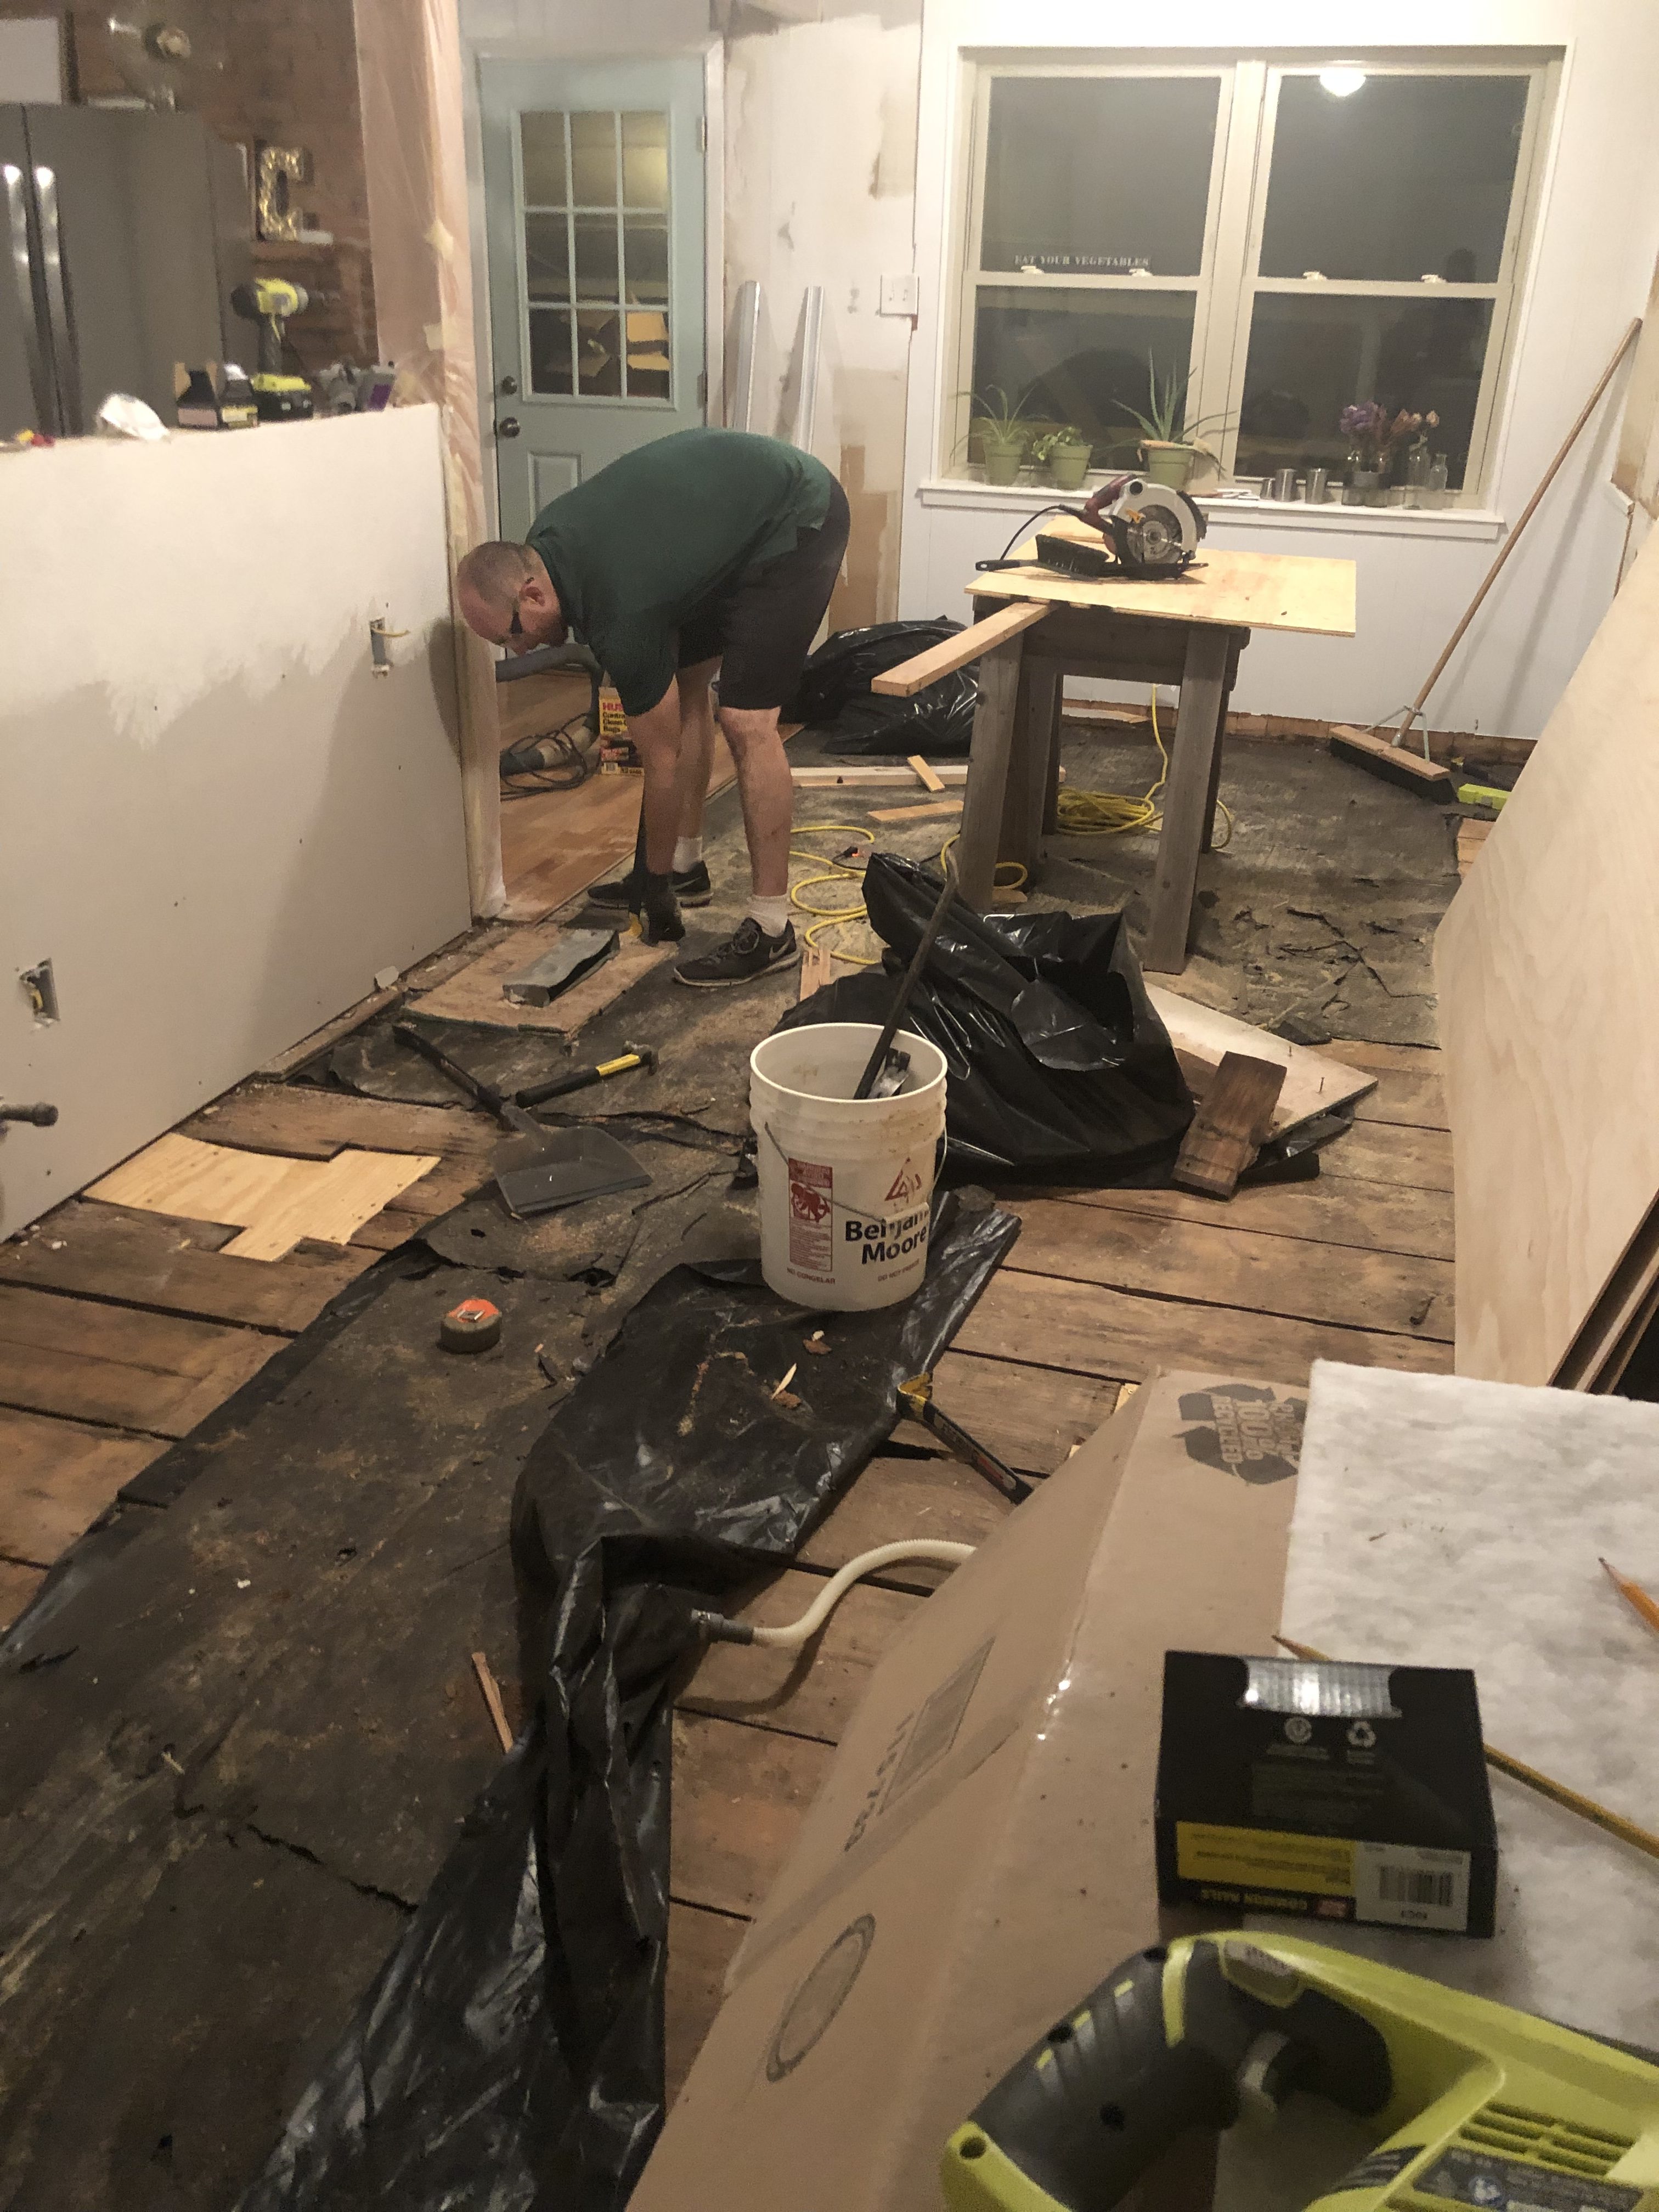
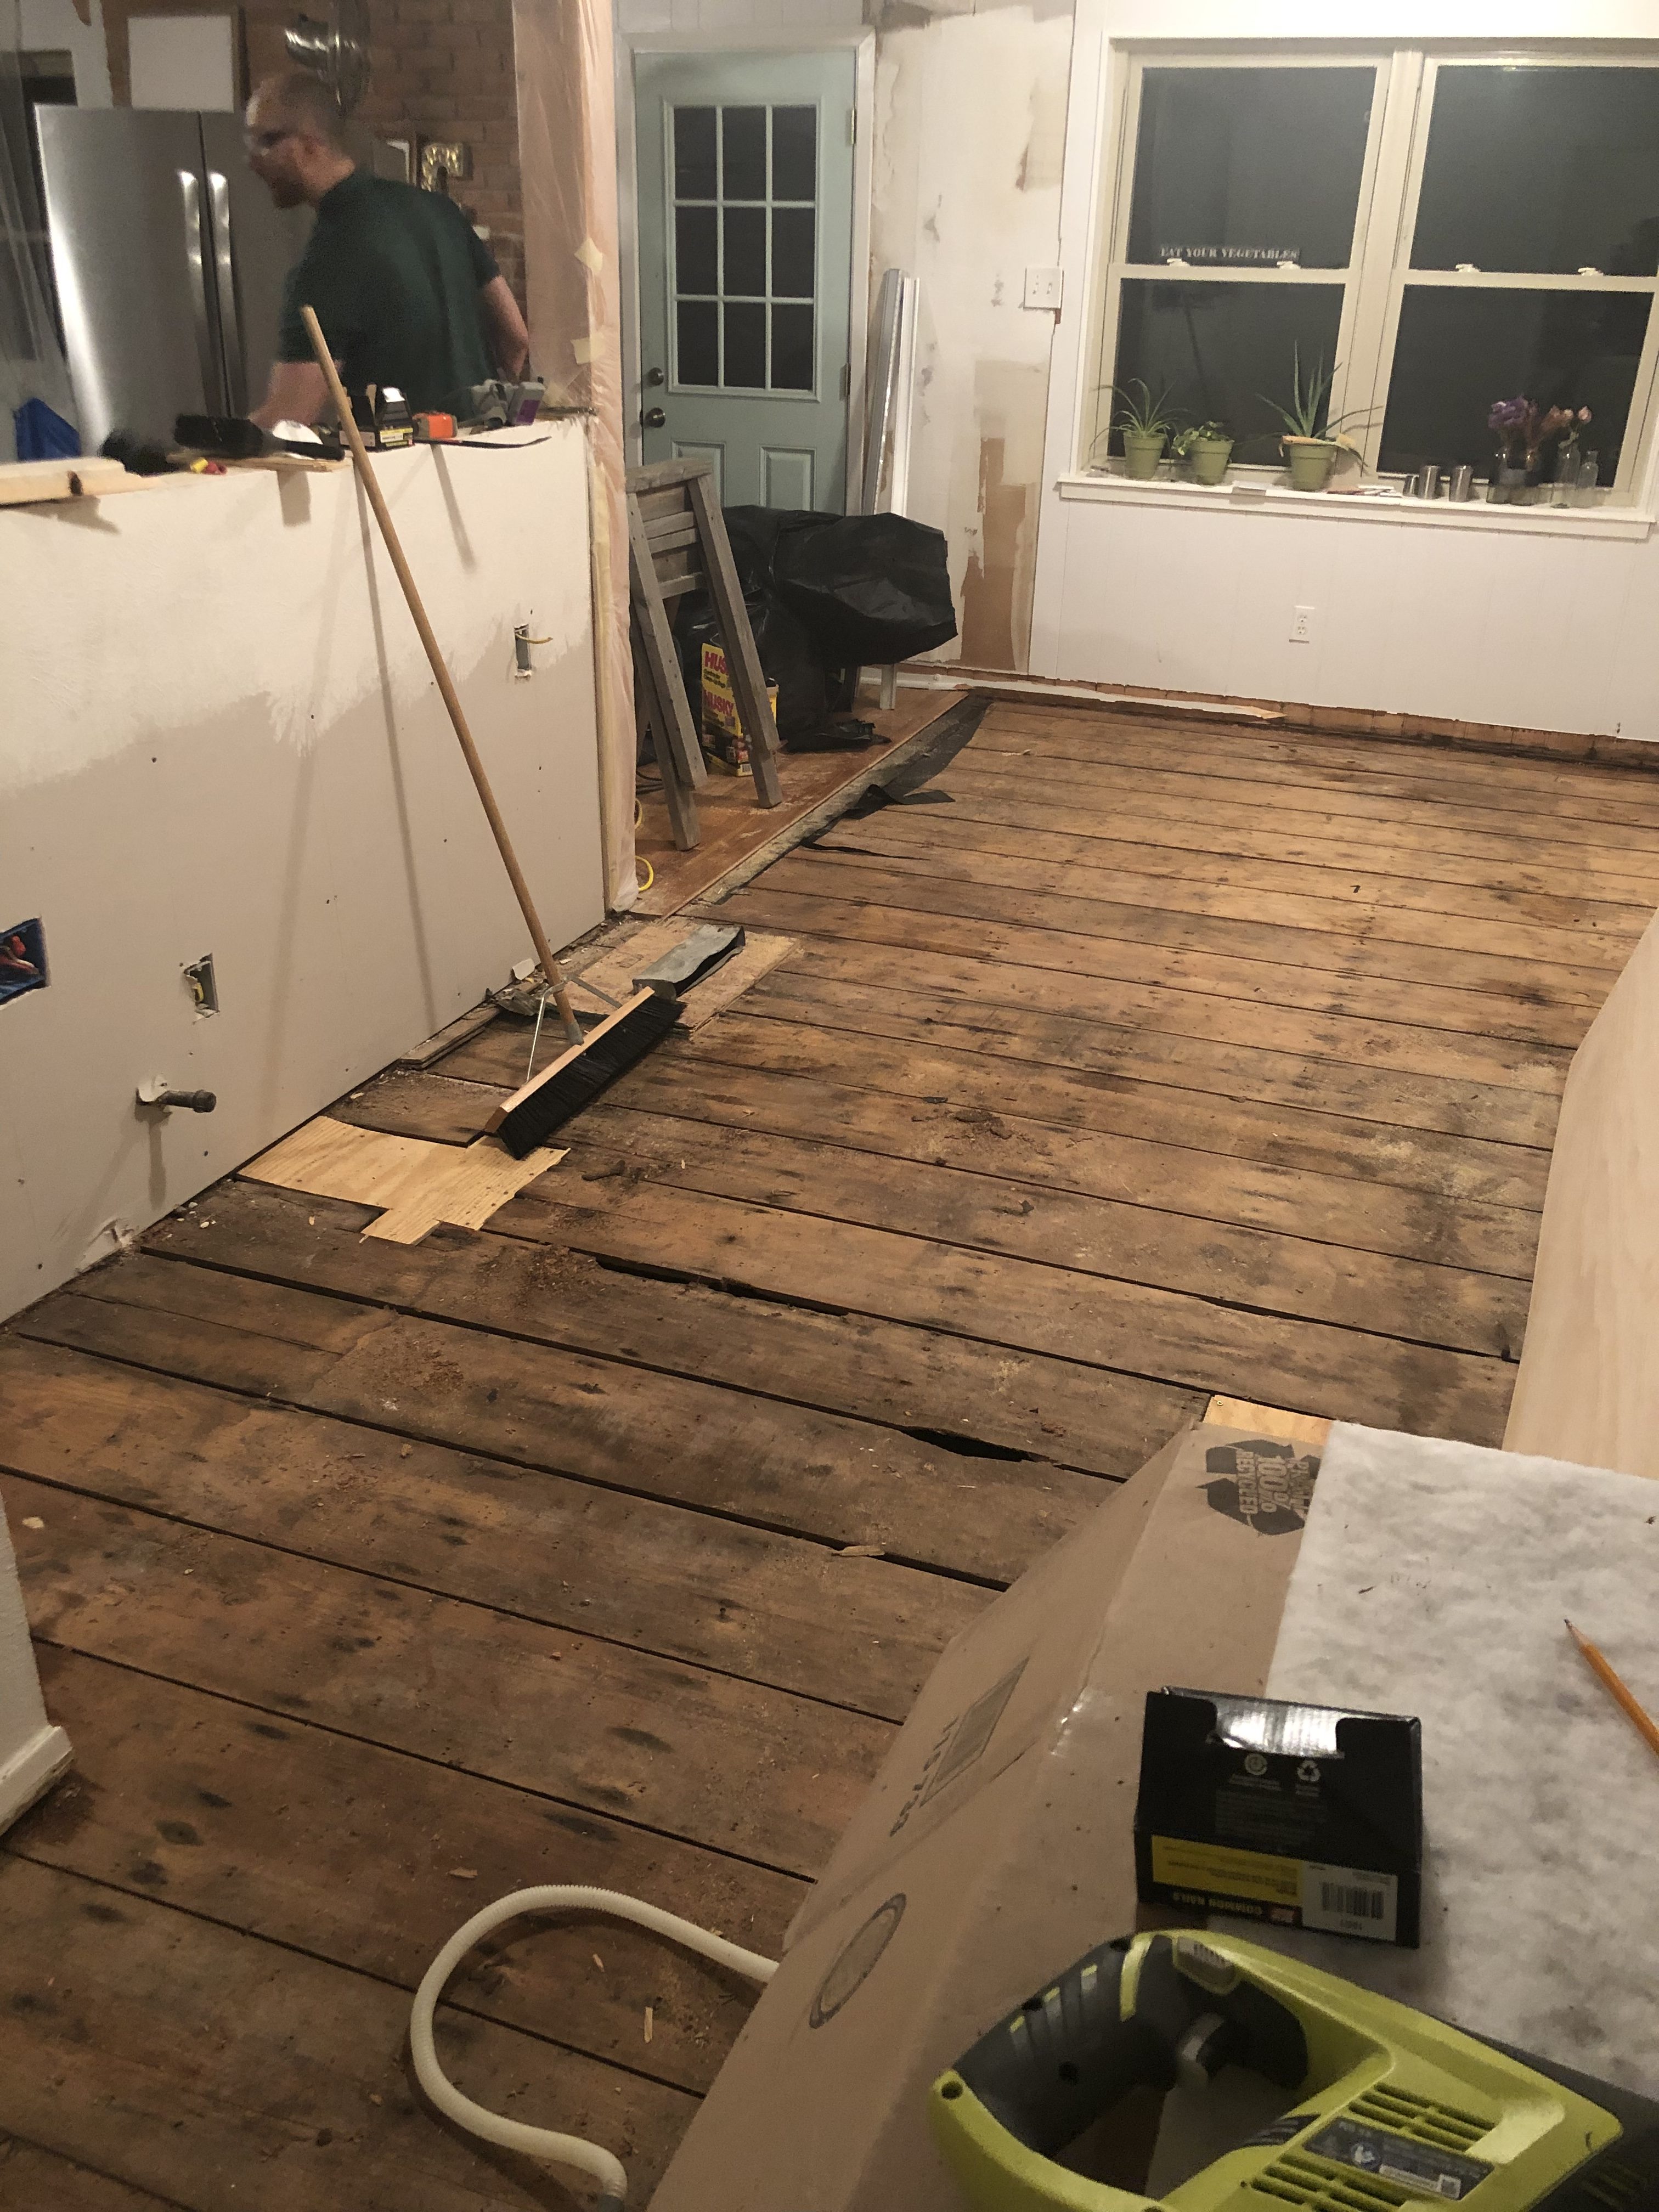
He got the floorboards cleared around 10pm, as I was carrying in the sleeping babes coming back from my mom’s house. Then he and I stayed up until 3am, putting the underlayment down so the kids wouldn’t fall through.
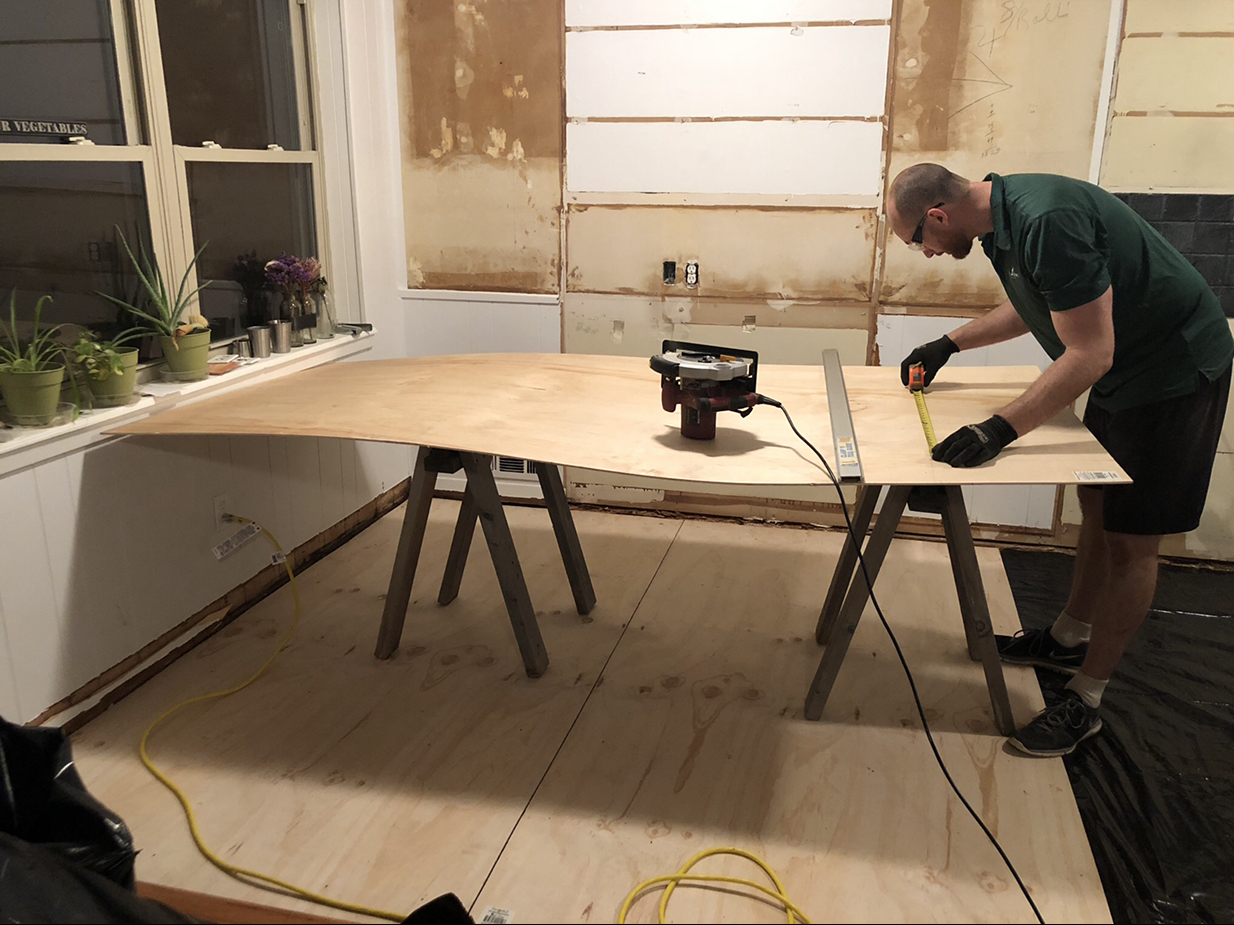
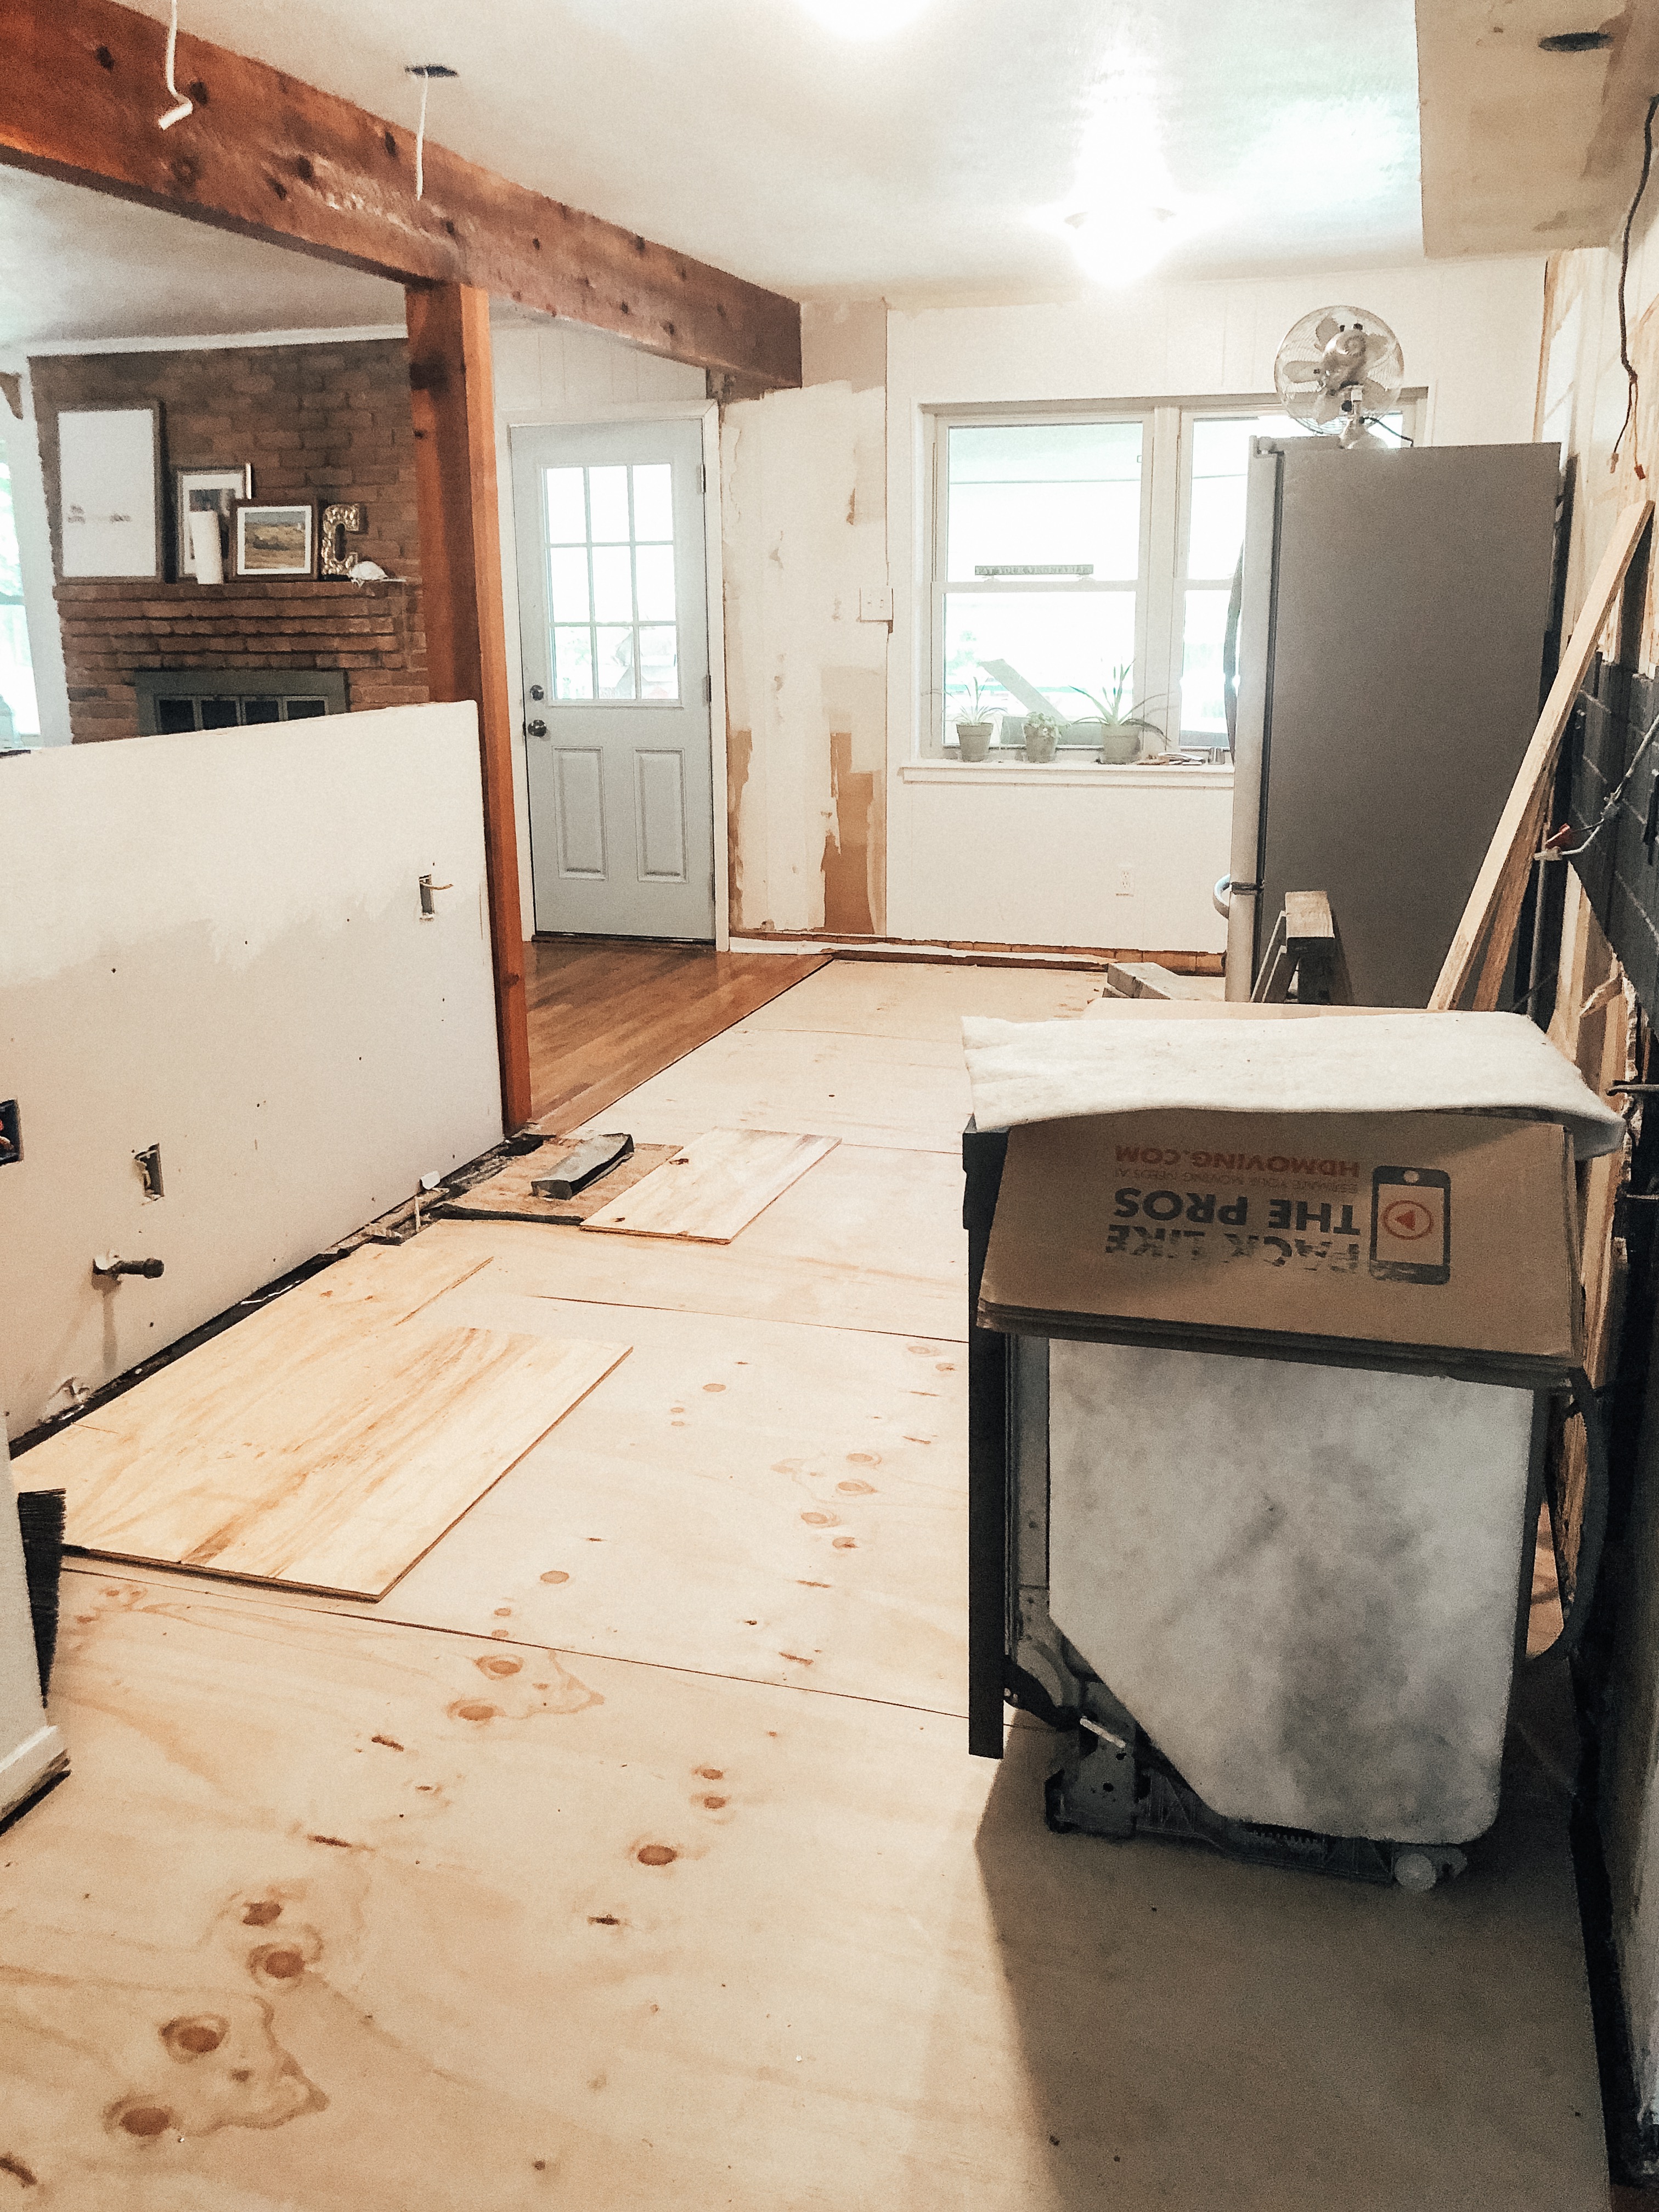
Now that the underlayment was down, Jesse and I were able to breathe a sigh of relief and get back to things. We attacked the remaining tile backsplash and the soffits on the wall. We were kind of discouraged (we were a week behind because of the leak and floorboard situation!!) but it was fun and not scary again, at least!!

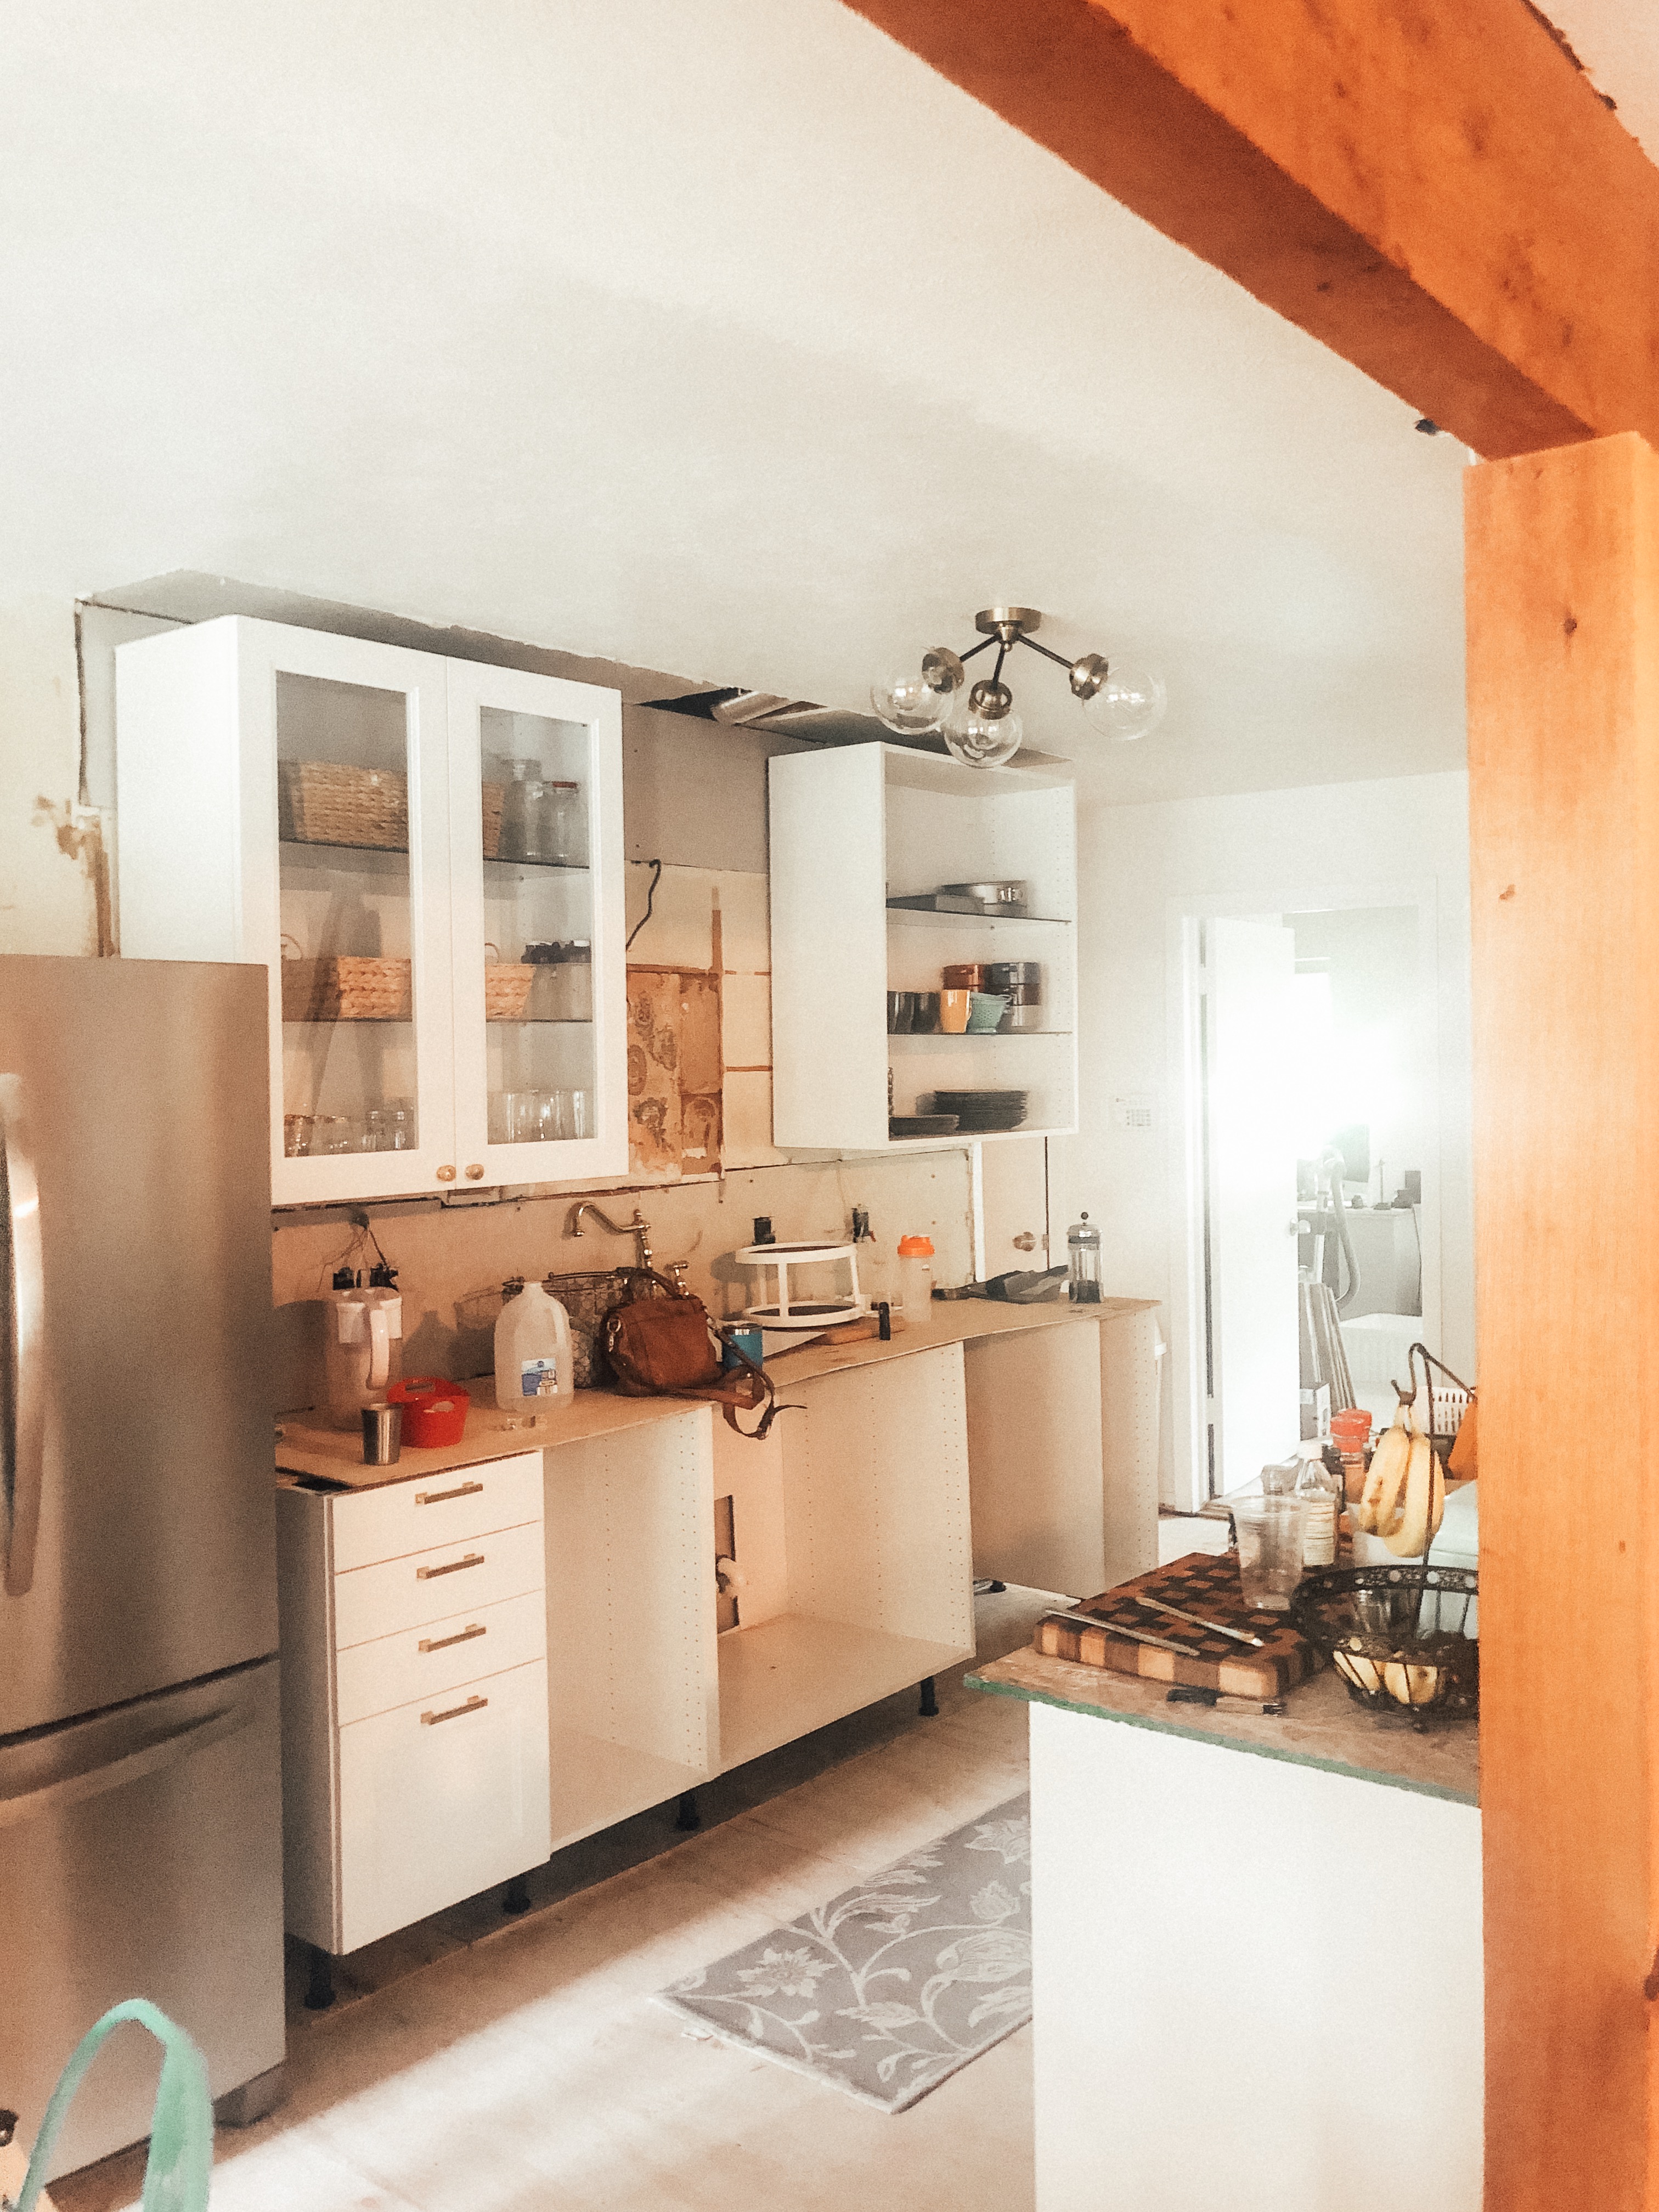
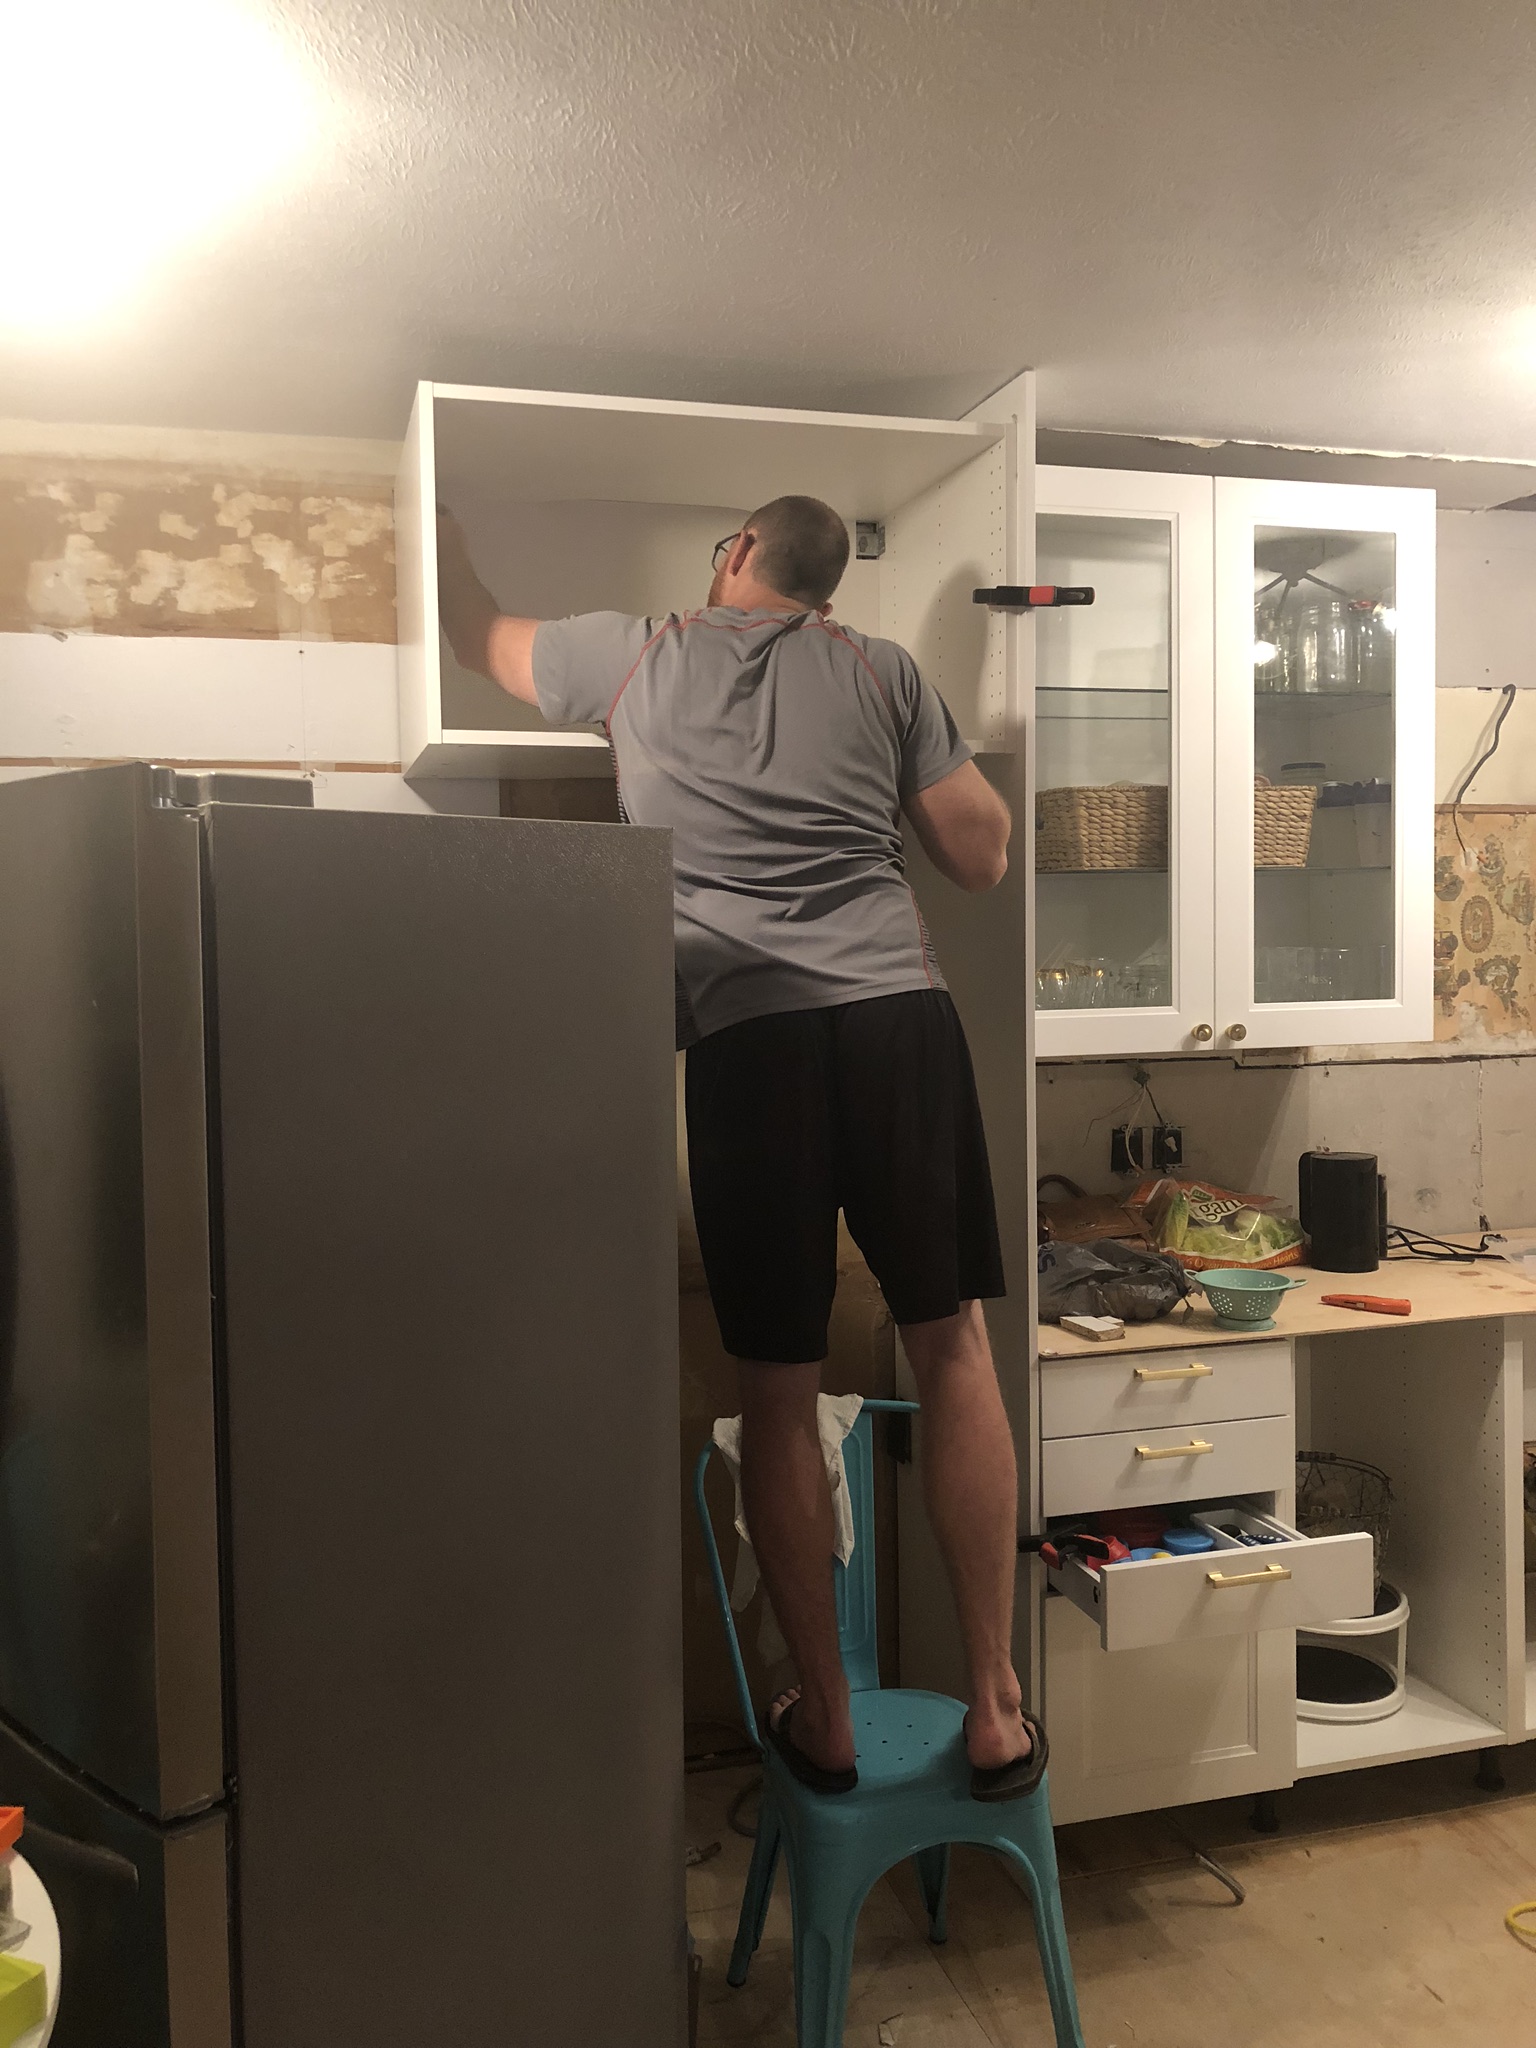
Once the soffit was down and the drywall up, we put in the upper cabinets! You can also see the actual vent pipe we were threading through the roof to vent out to the garage.
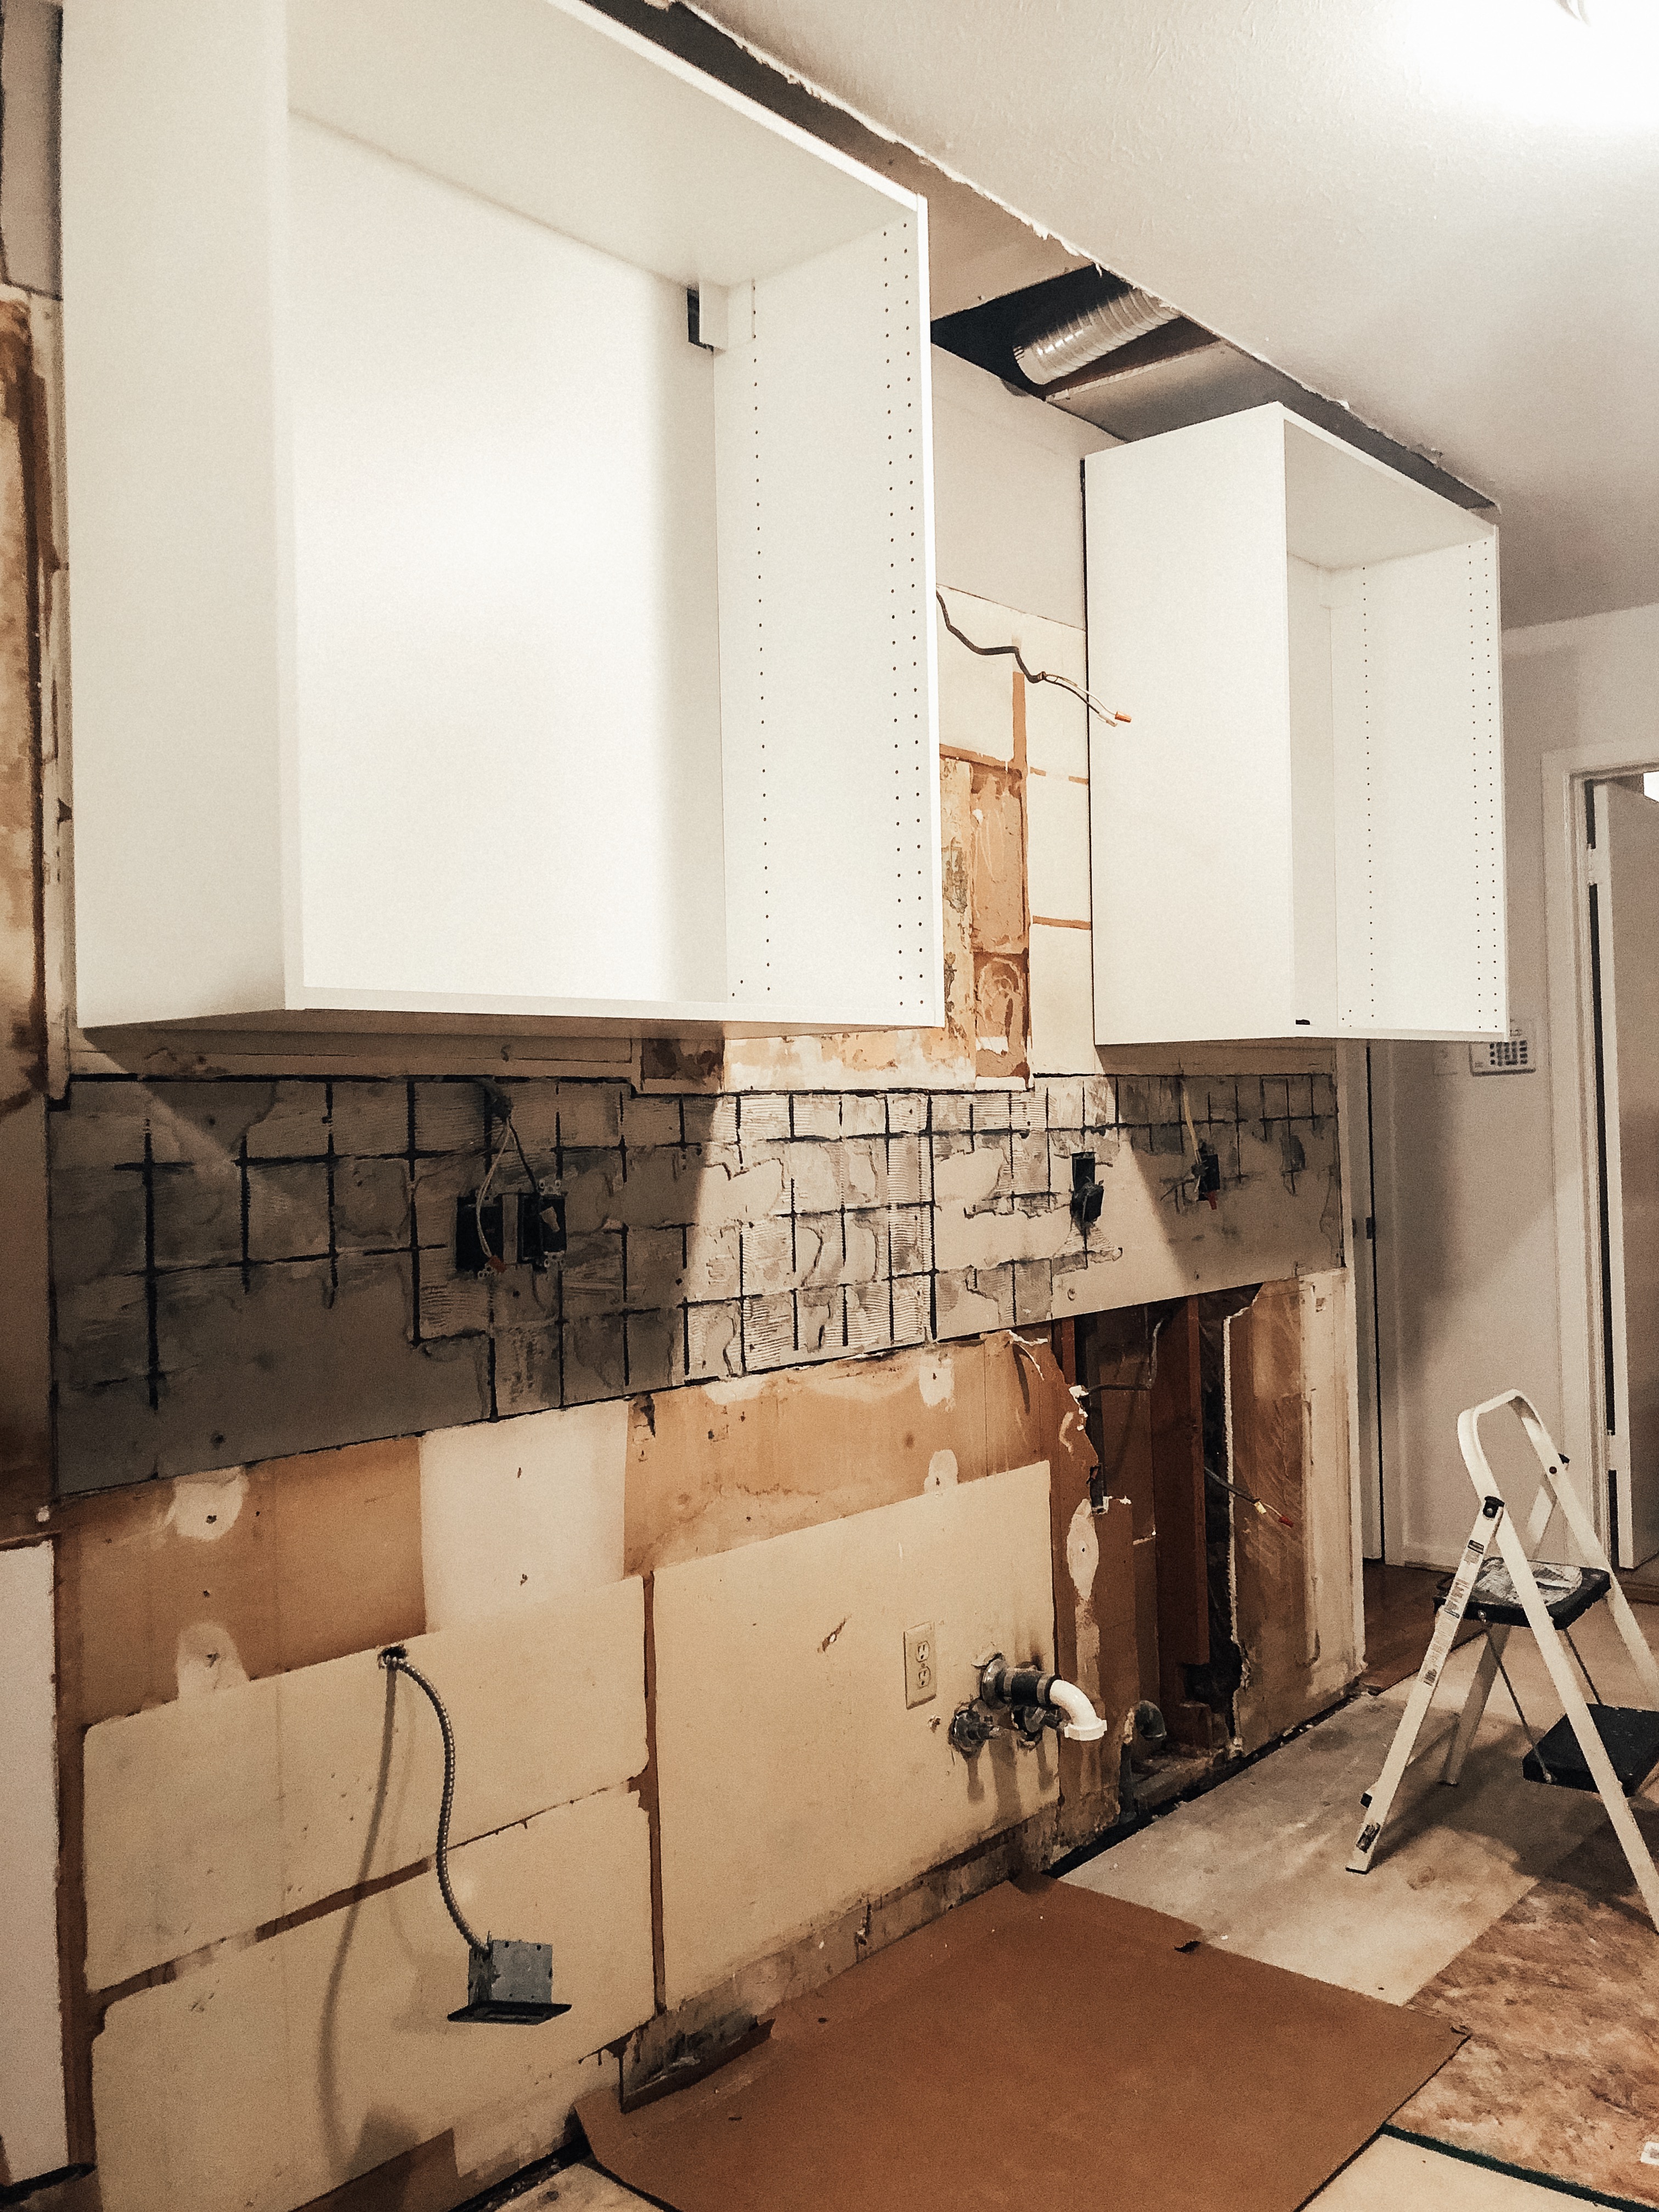
Next up, lower cabinets, on both sides! Jesse and I were hurrying big time at this point, because he was due to go away for a trip with his dad and brother, and I was like, “don’t you dare leave me for three days with the kids and no floor and no kitchen!!!!!”
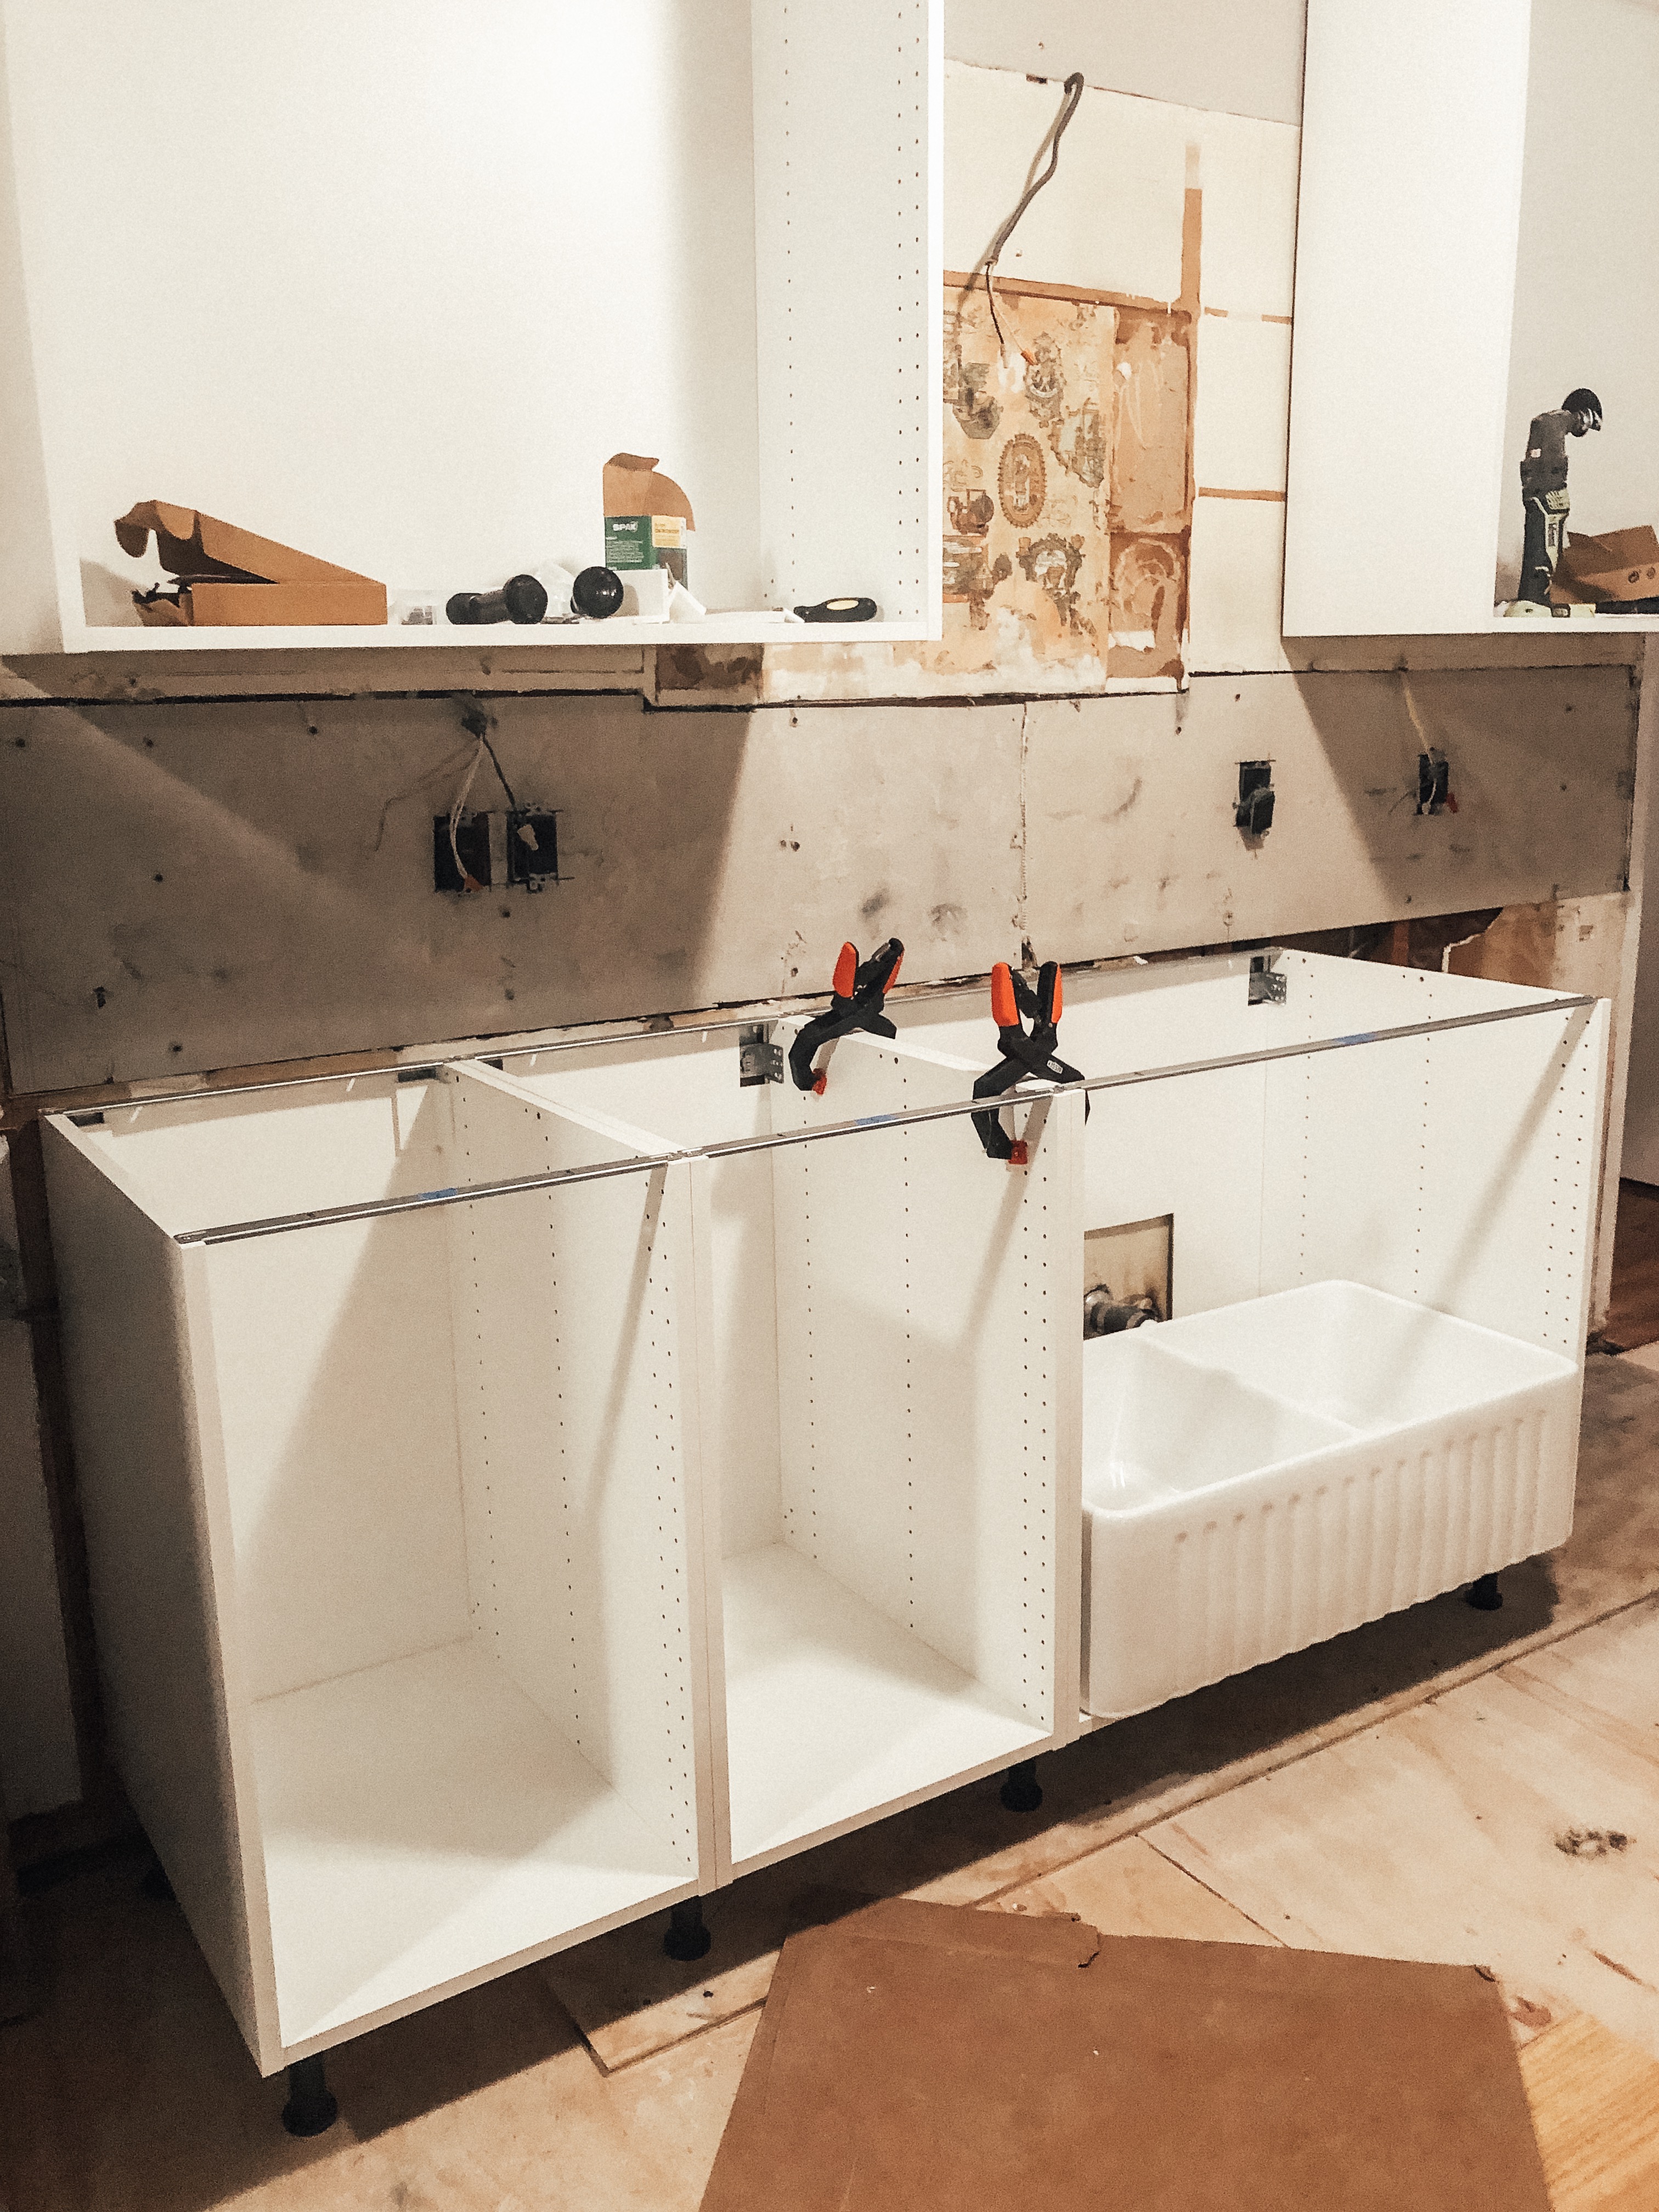
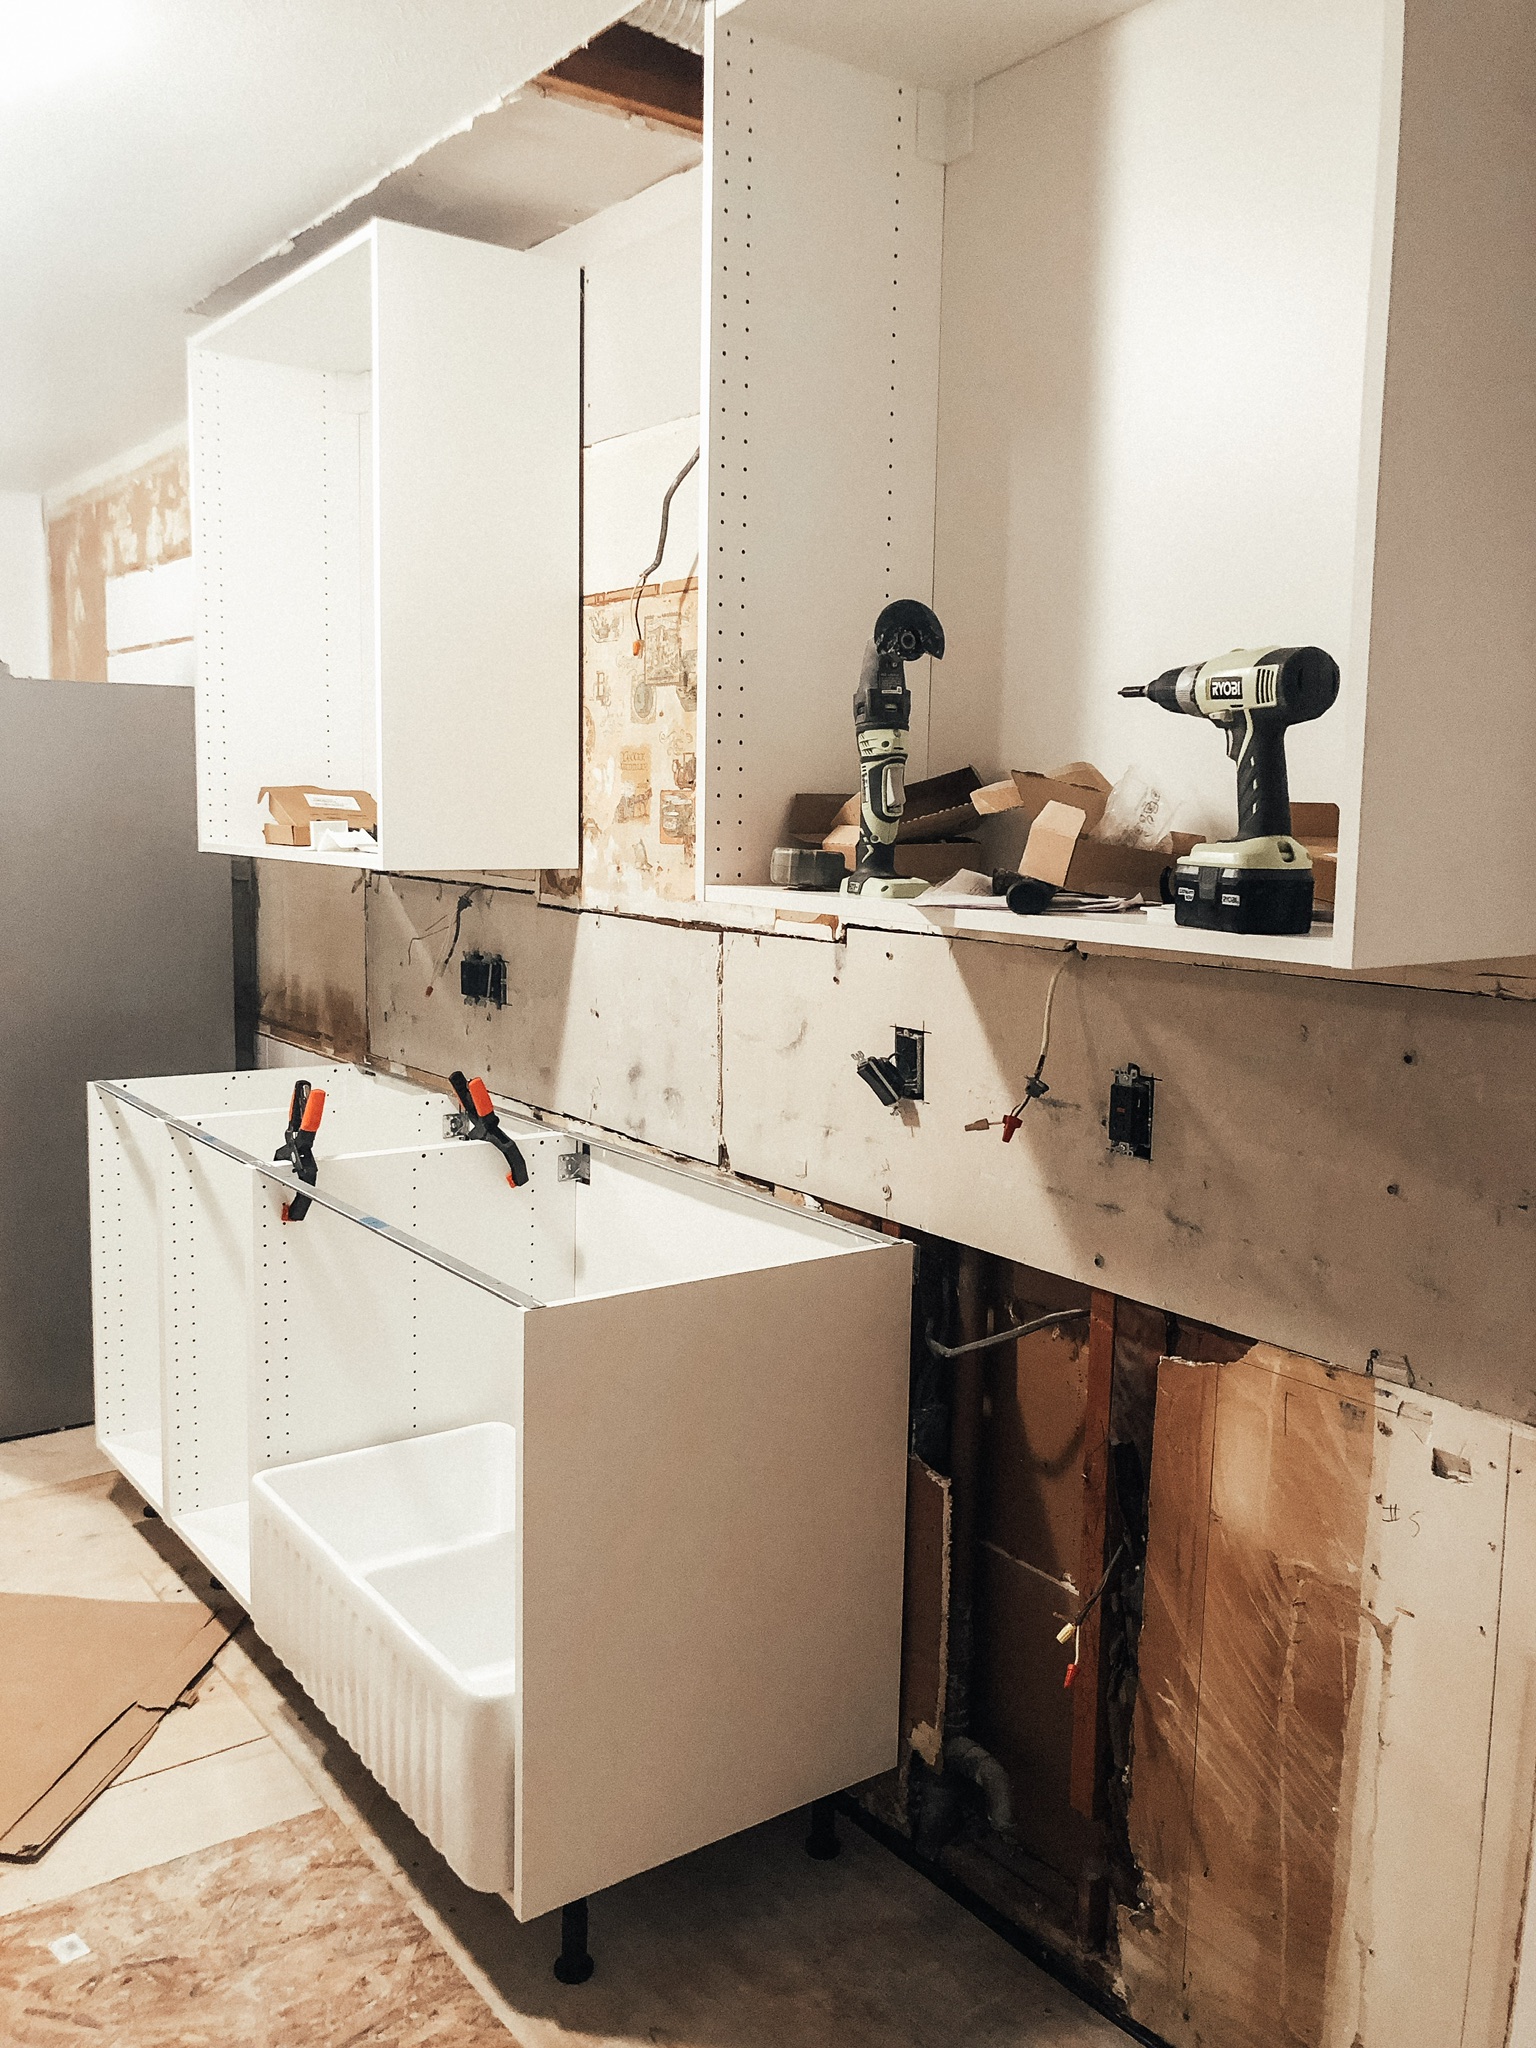
At this point, Jesse was due to leave, so he threw some plywood on top of the cabinets so I could at least set things down.

While Jesse was gone, a couple things happened:
A Giant Rainbomb/tornado thing hit our house and we lost power for 5 days. I was like C’mon!!! Seriously????I had been living without water or a kitchen for a long time, and now no power, with three kids and all by myself??? We even had a huge tree fall in our yard and block our back door so that I couldn’t get out.

But we had good friends who brought me coolers and ice for our perishables, and we made it work. My dad/sister and I literally assembled cabinets by candle light a few nights!! My sister was super speedy at it. I was determined that nothing should stop me from getting my kitchen back!
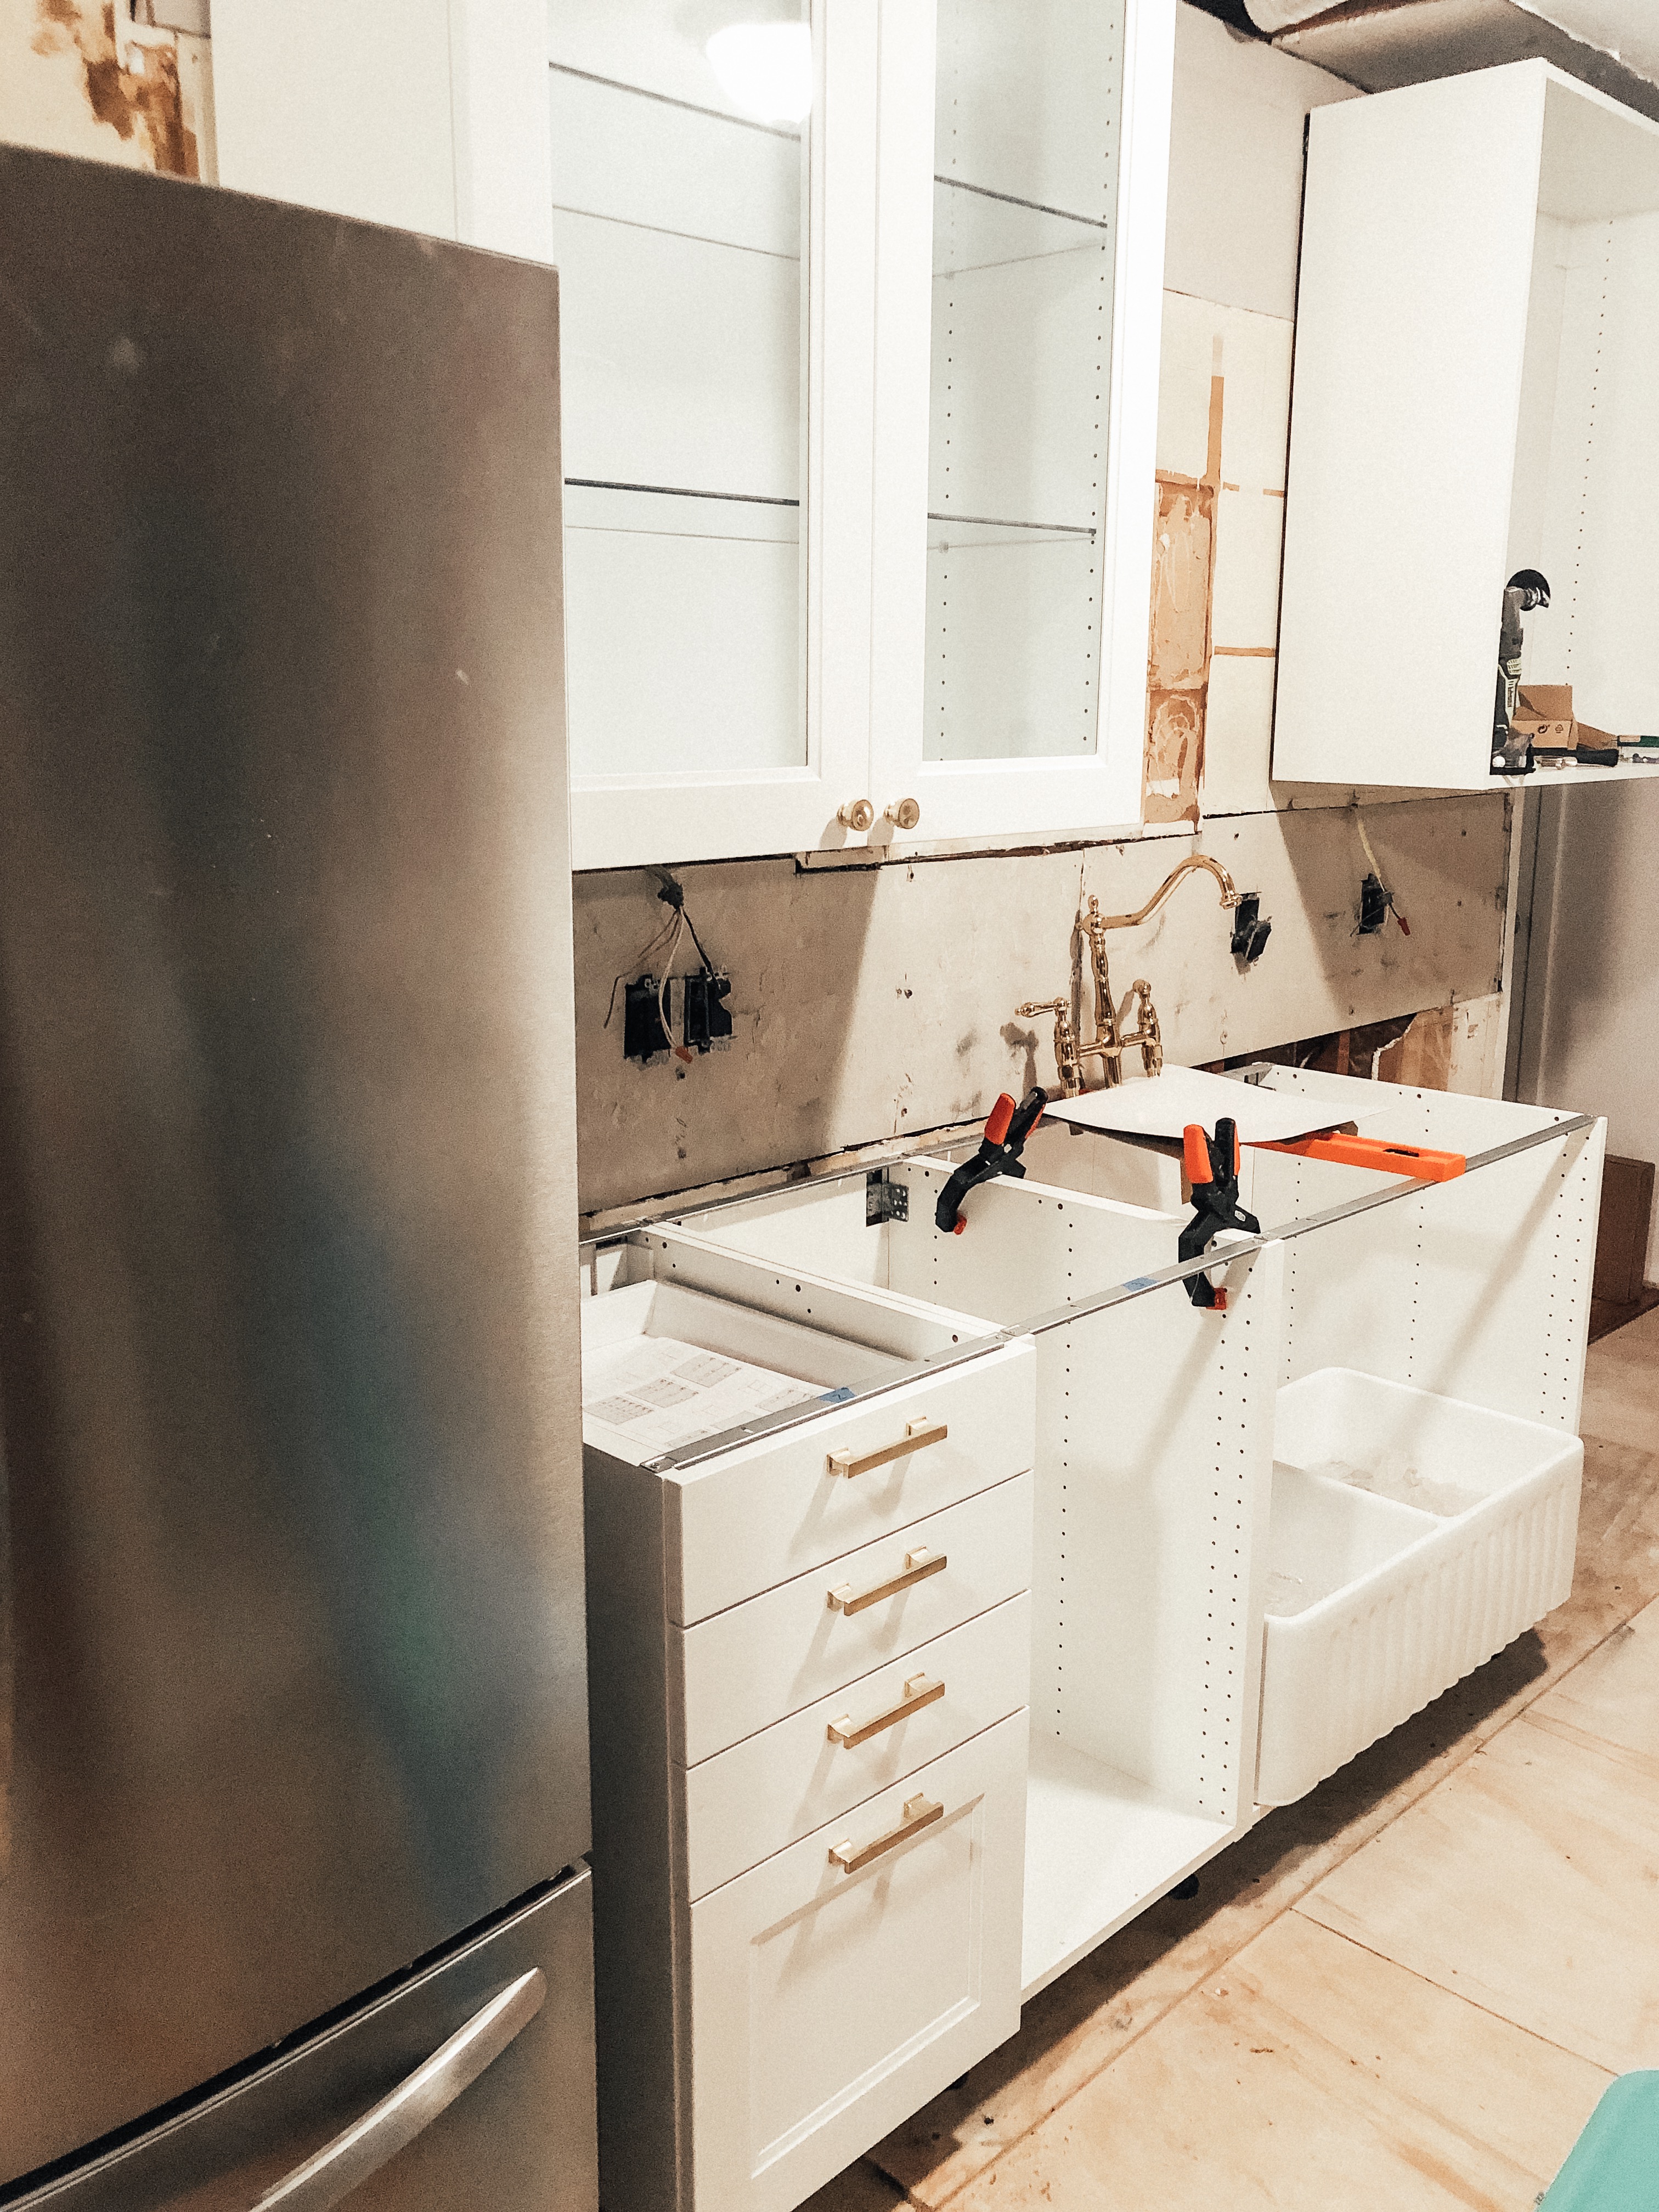
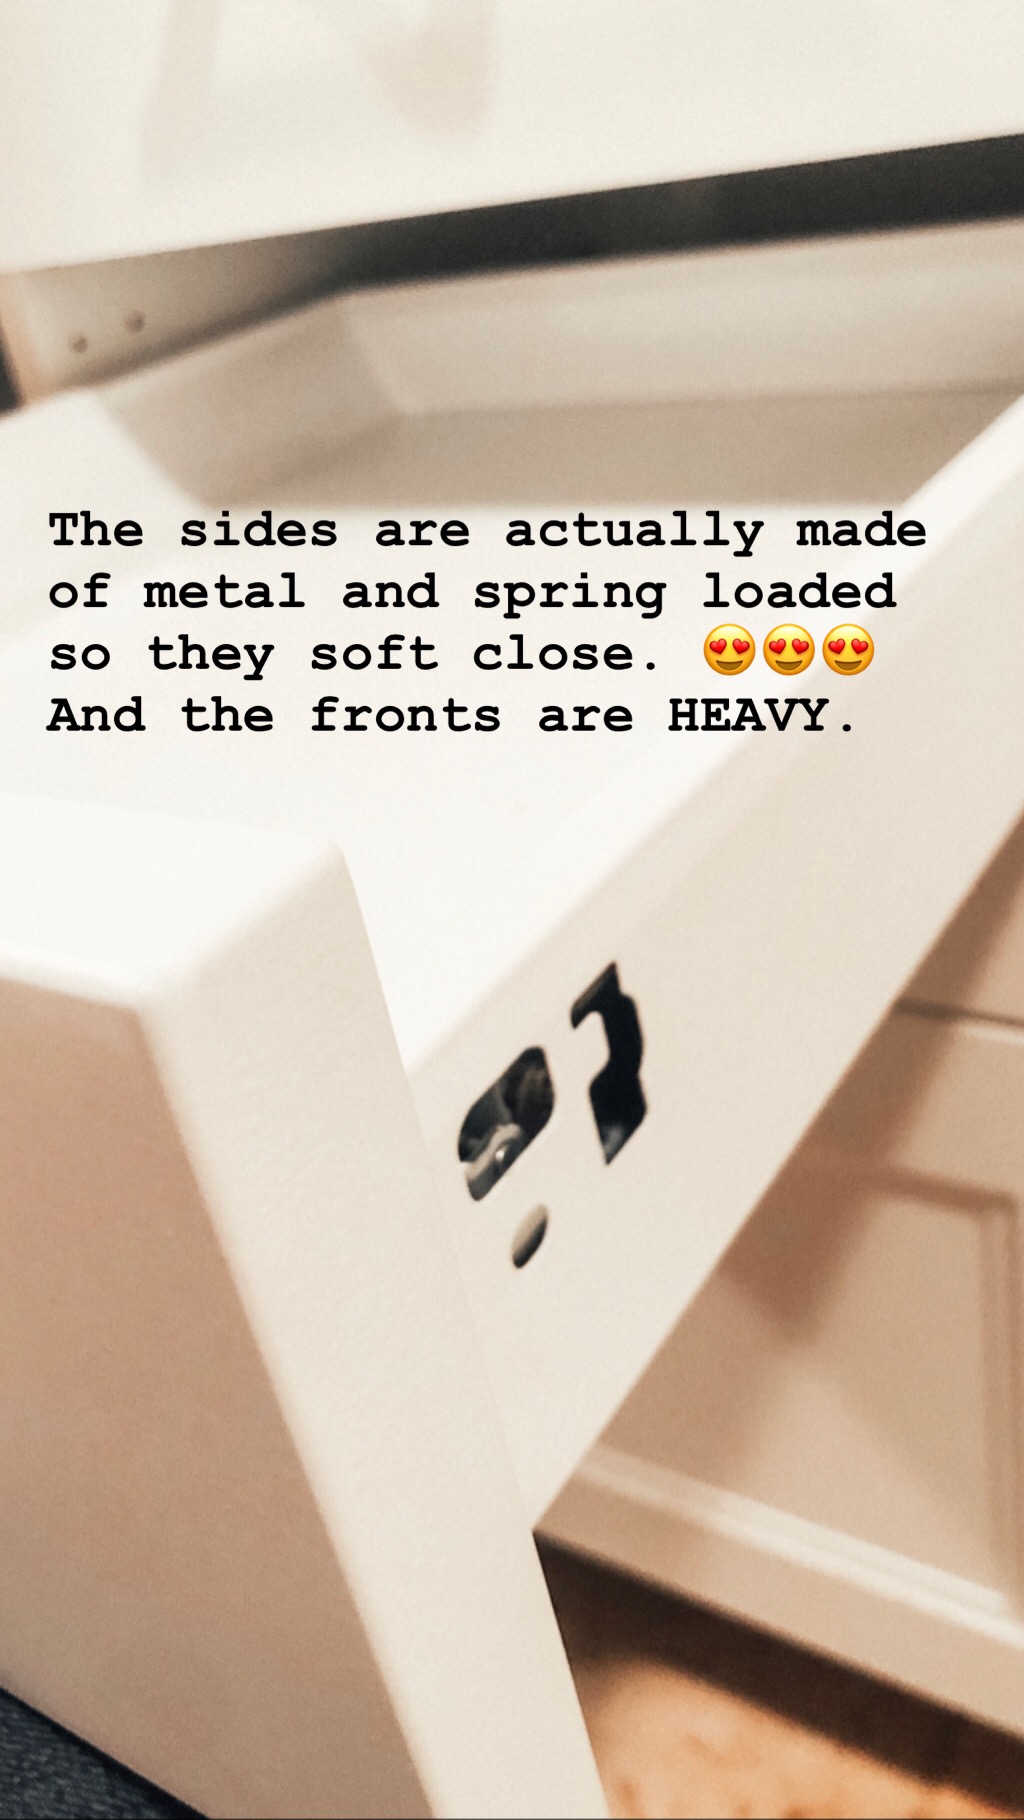
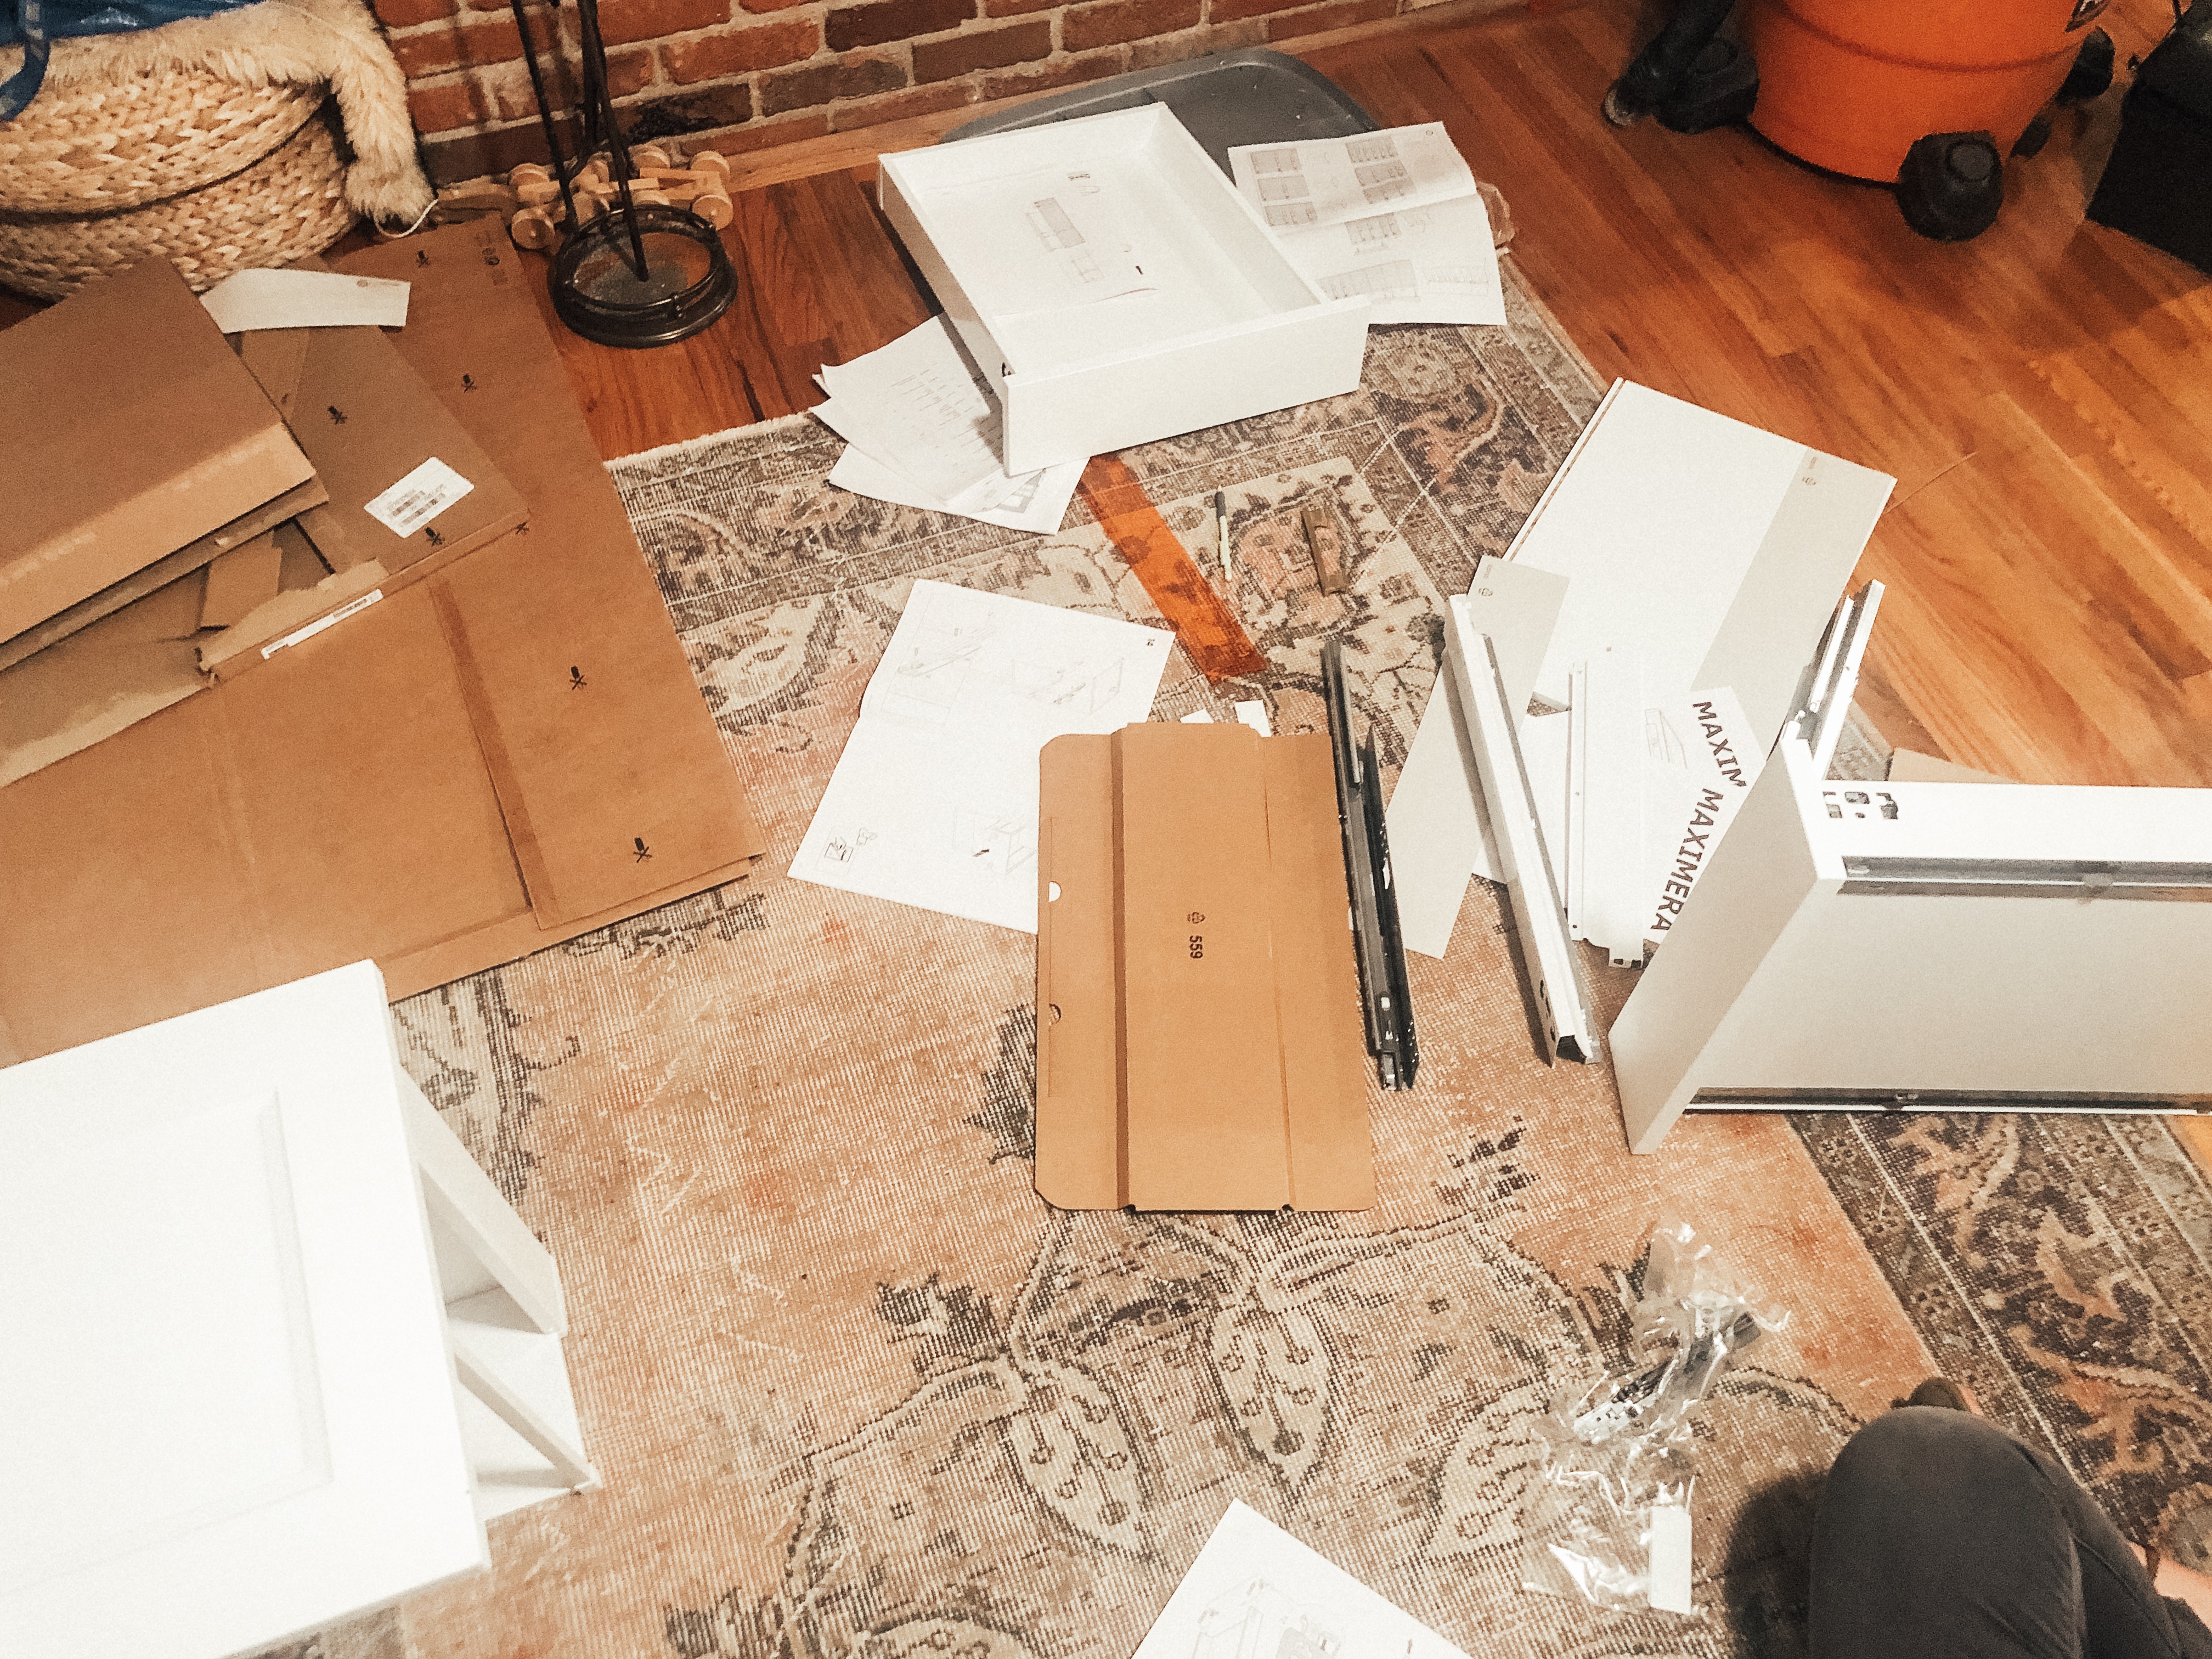
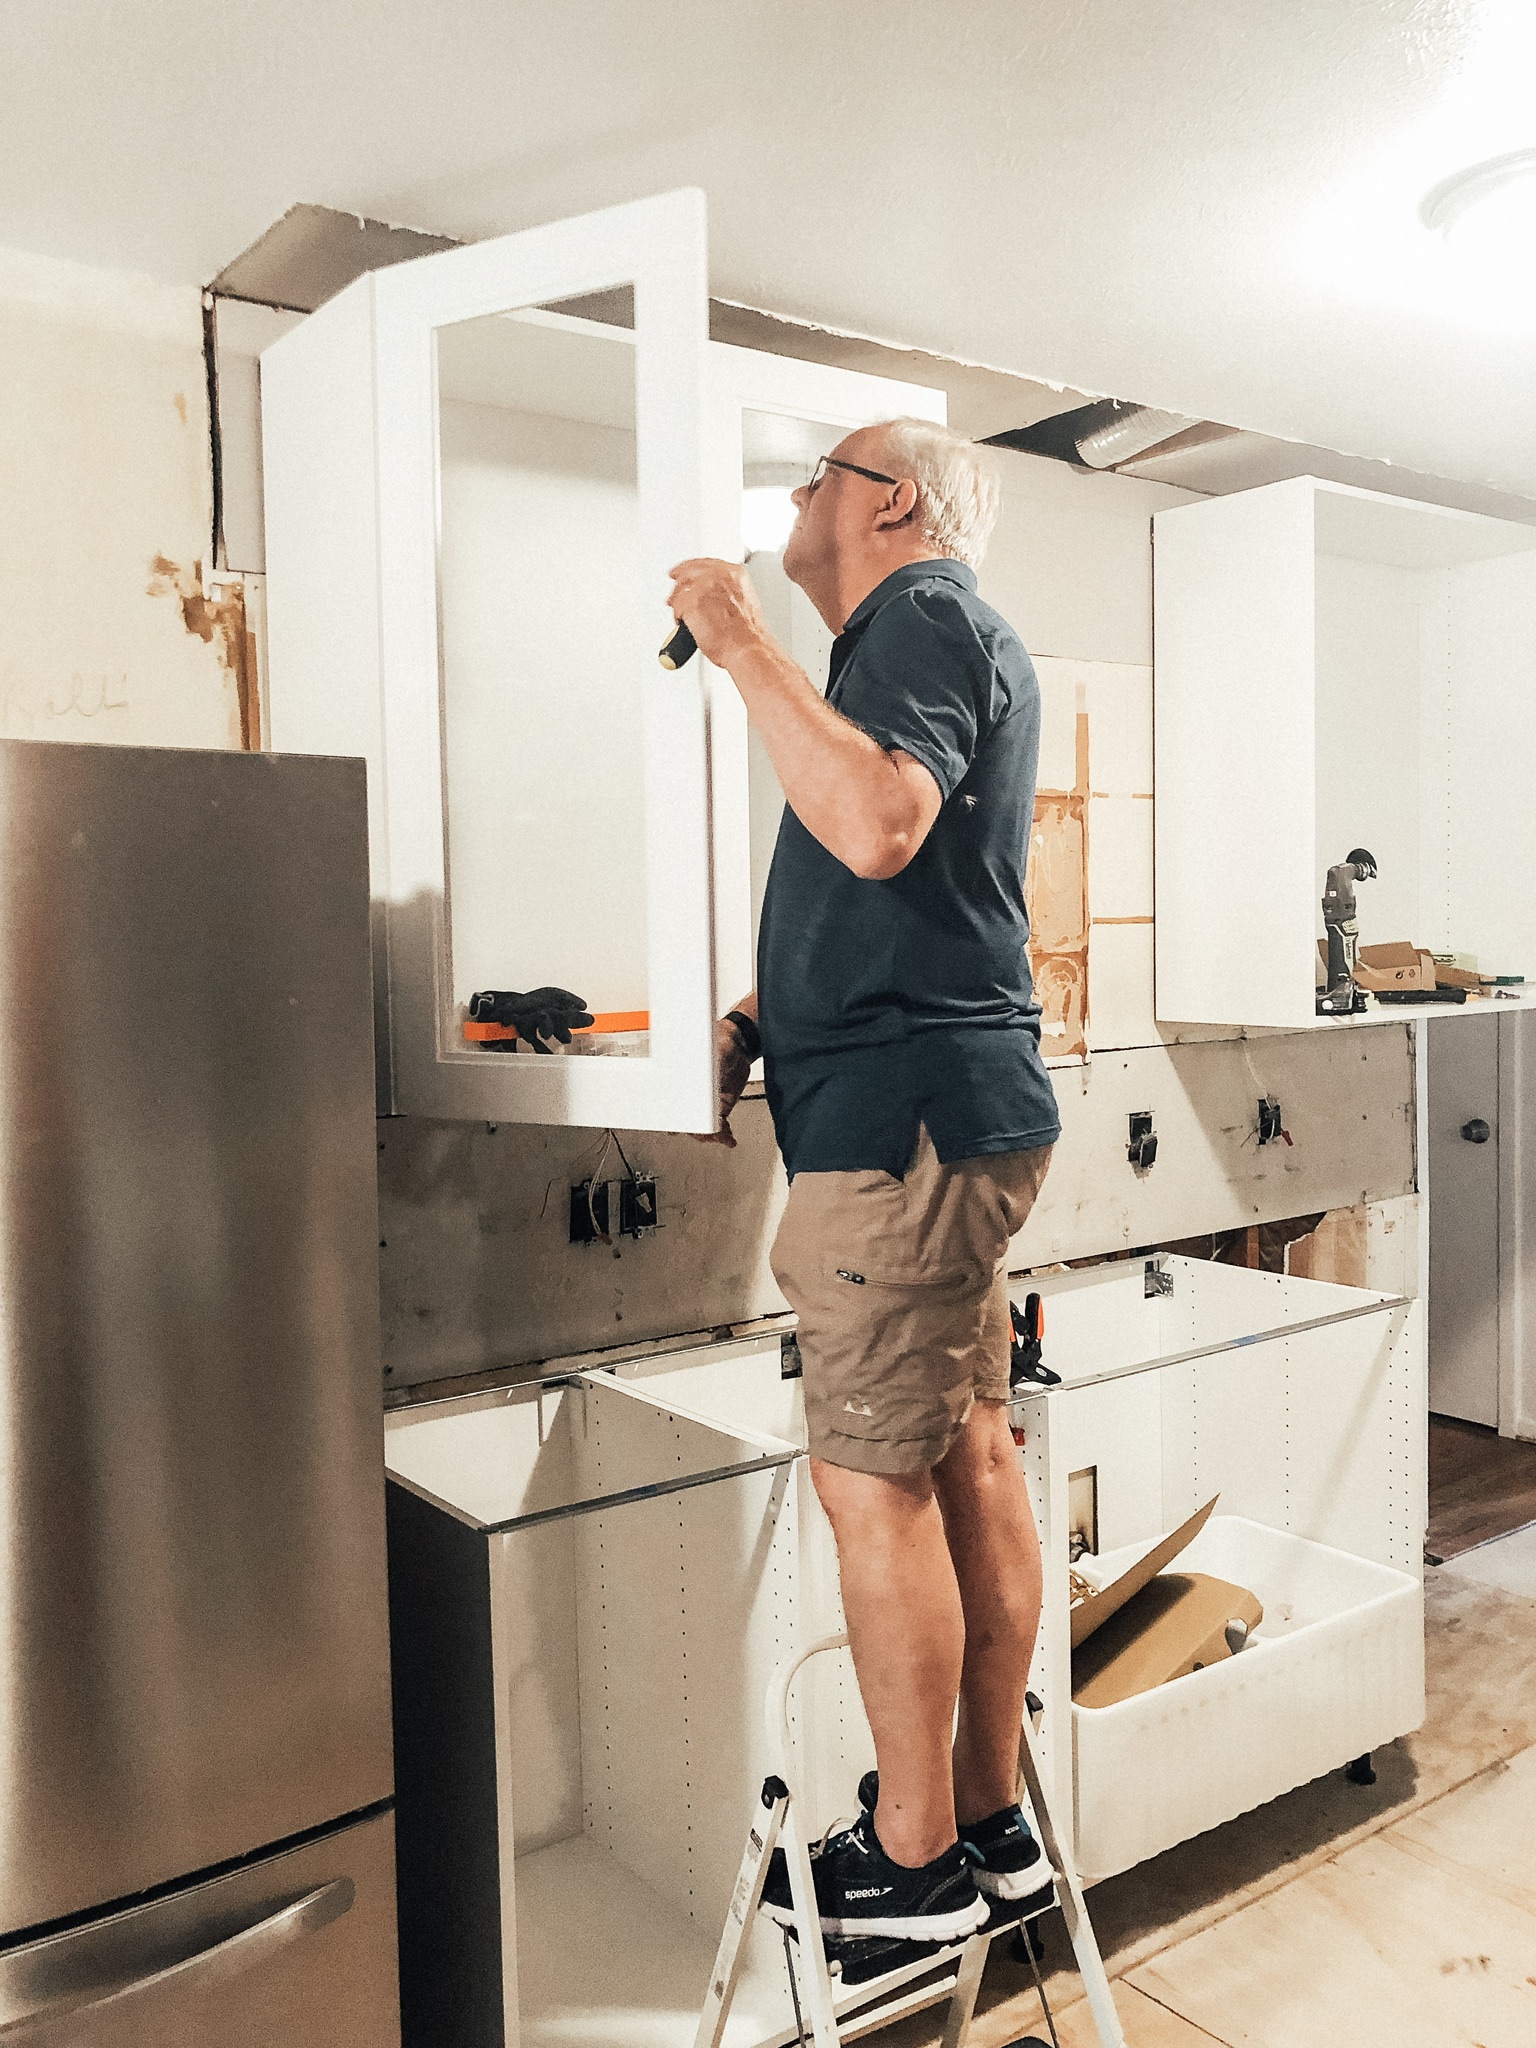
It started looking like a kitchen!!
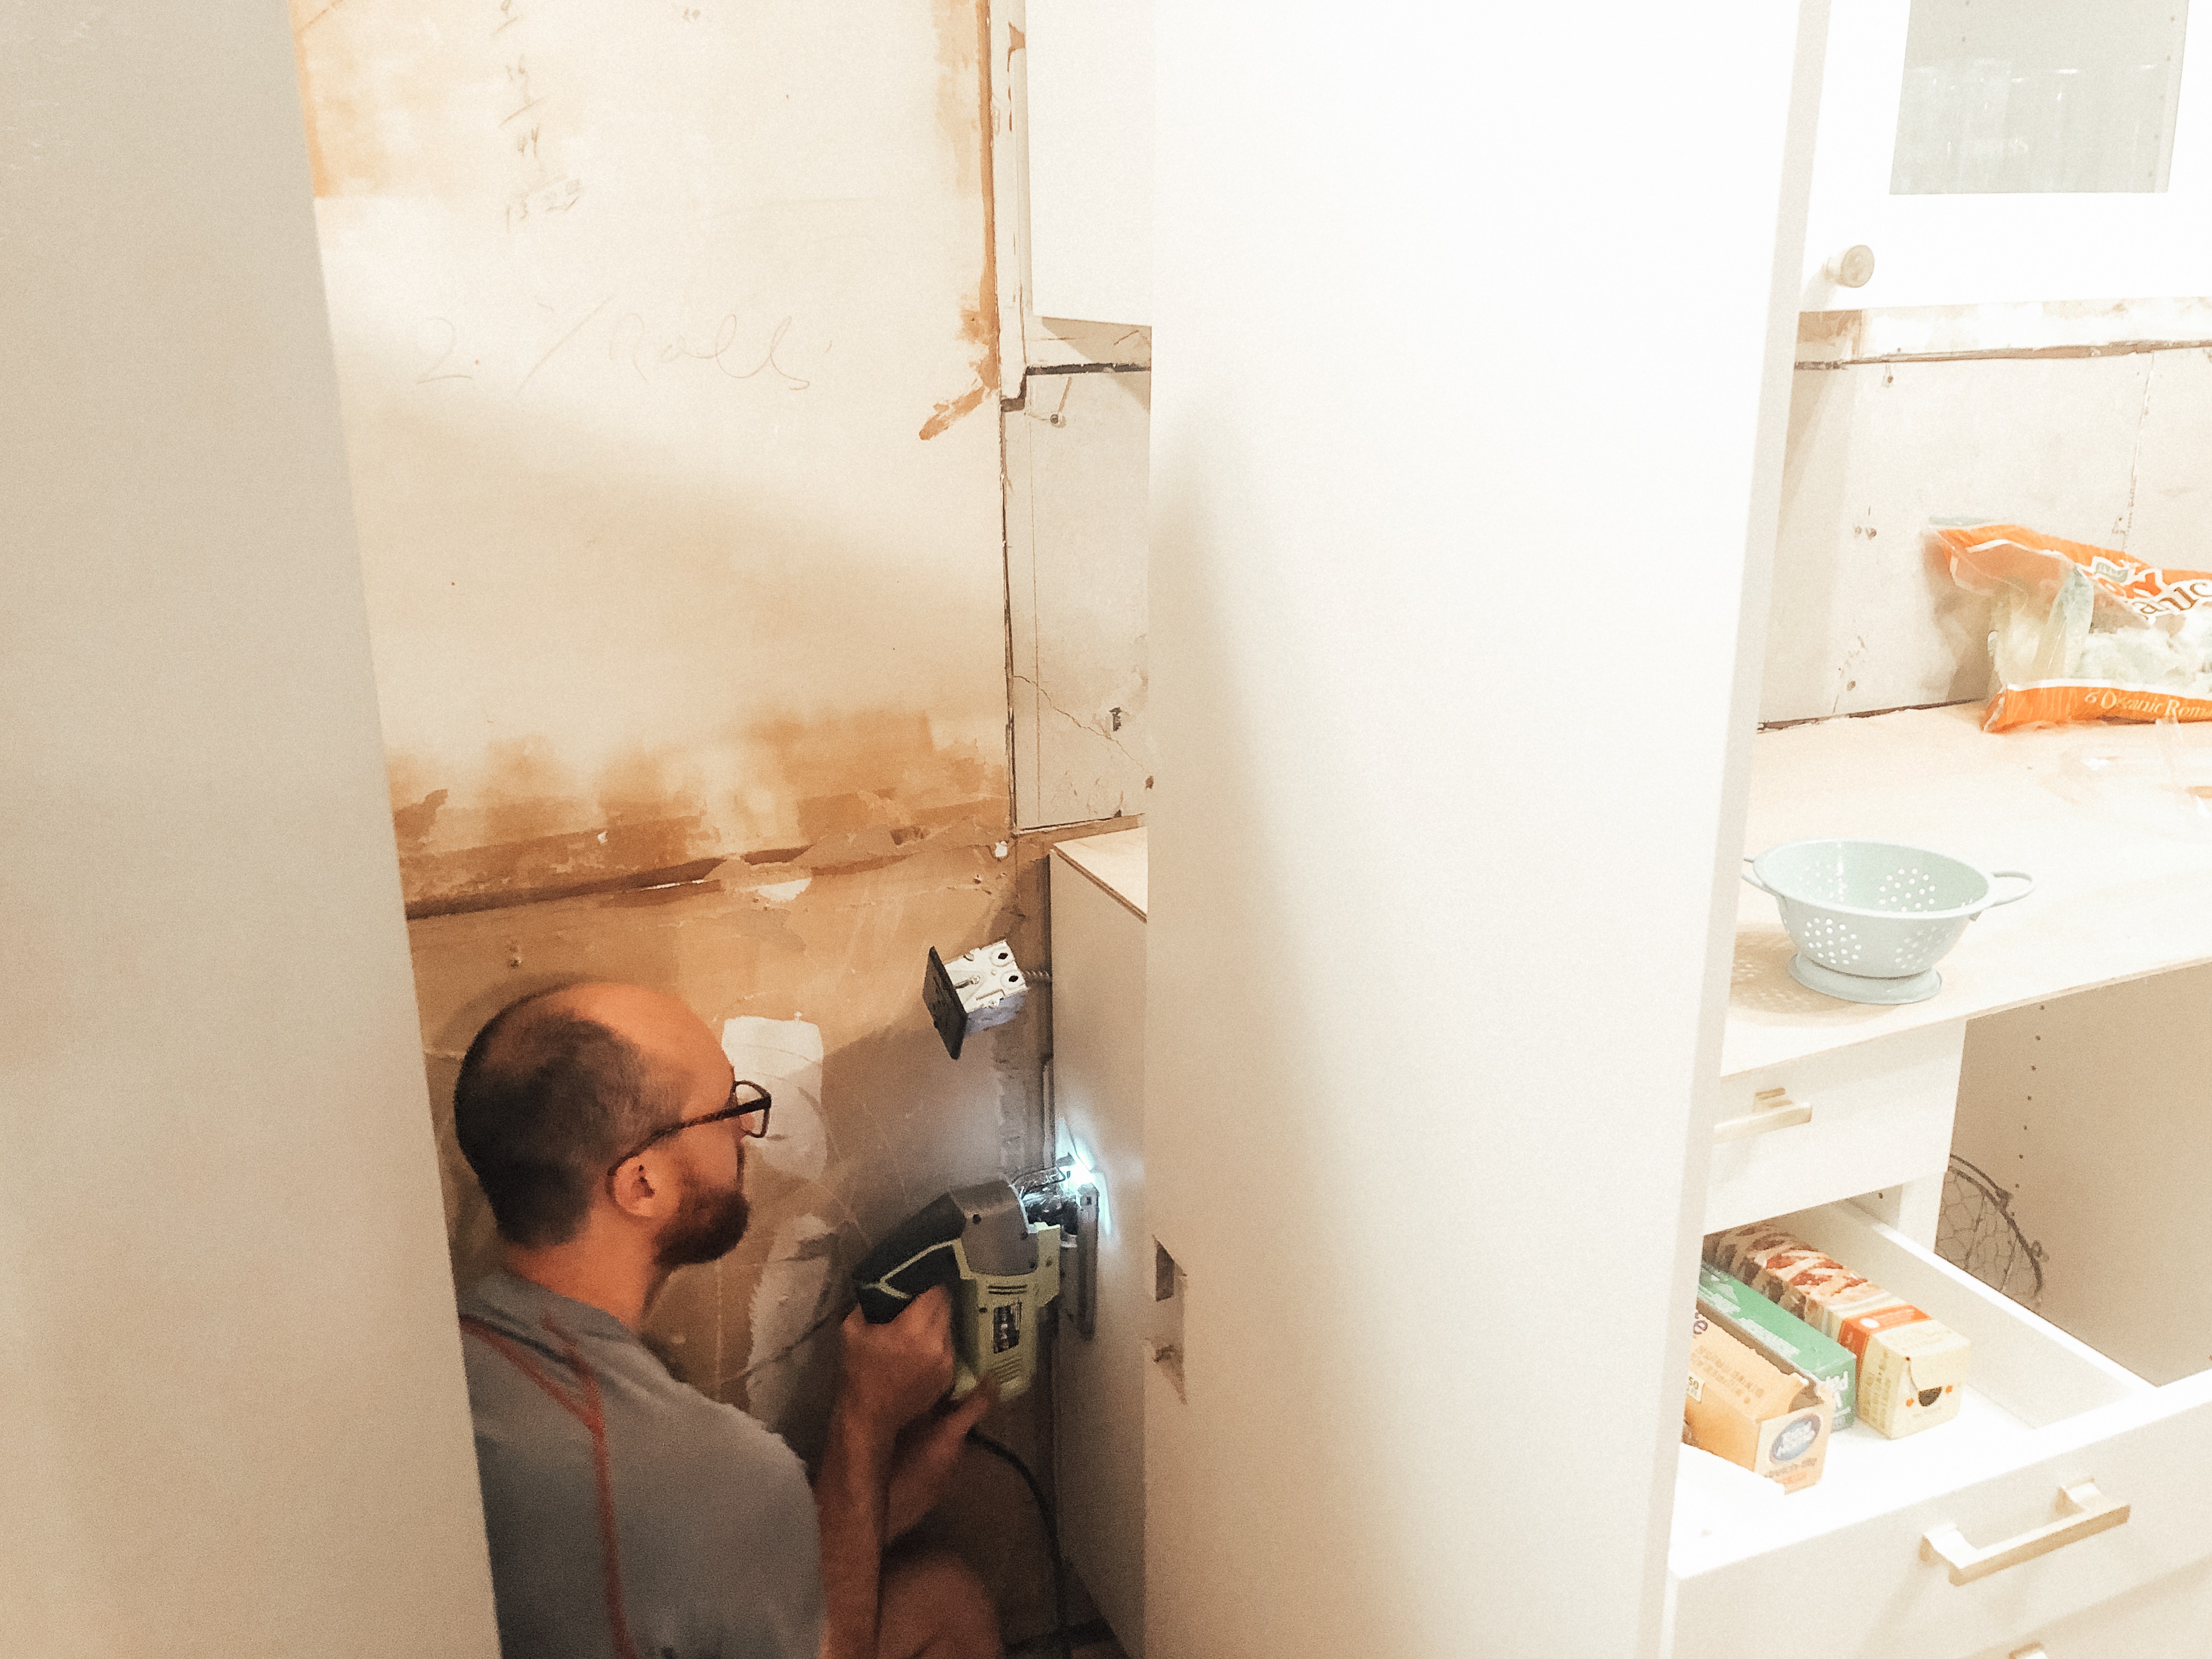
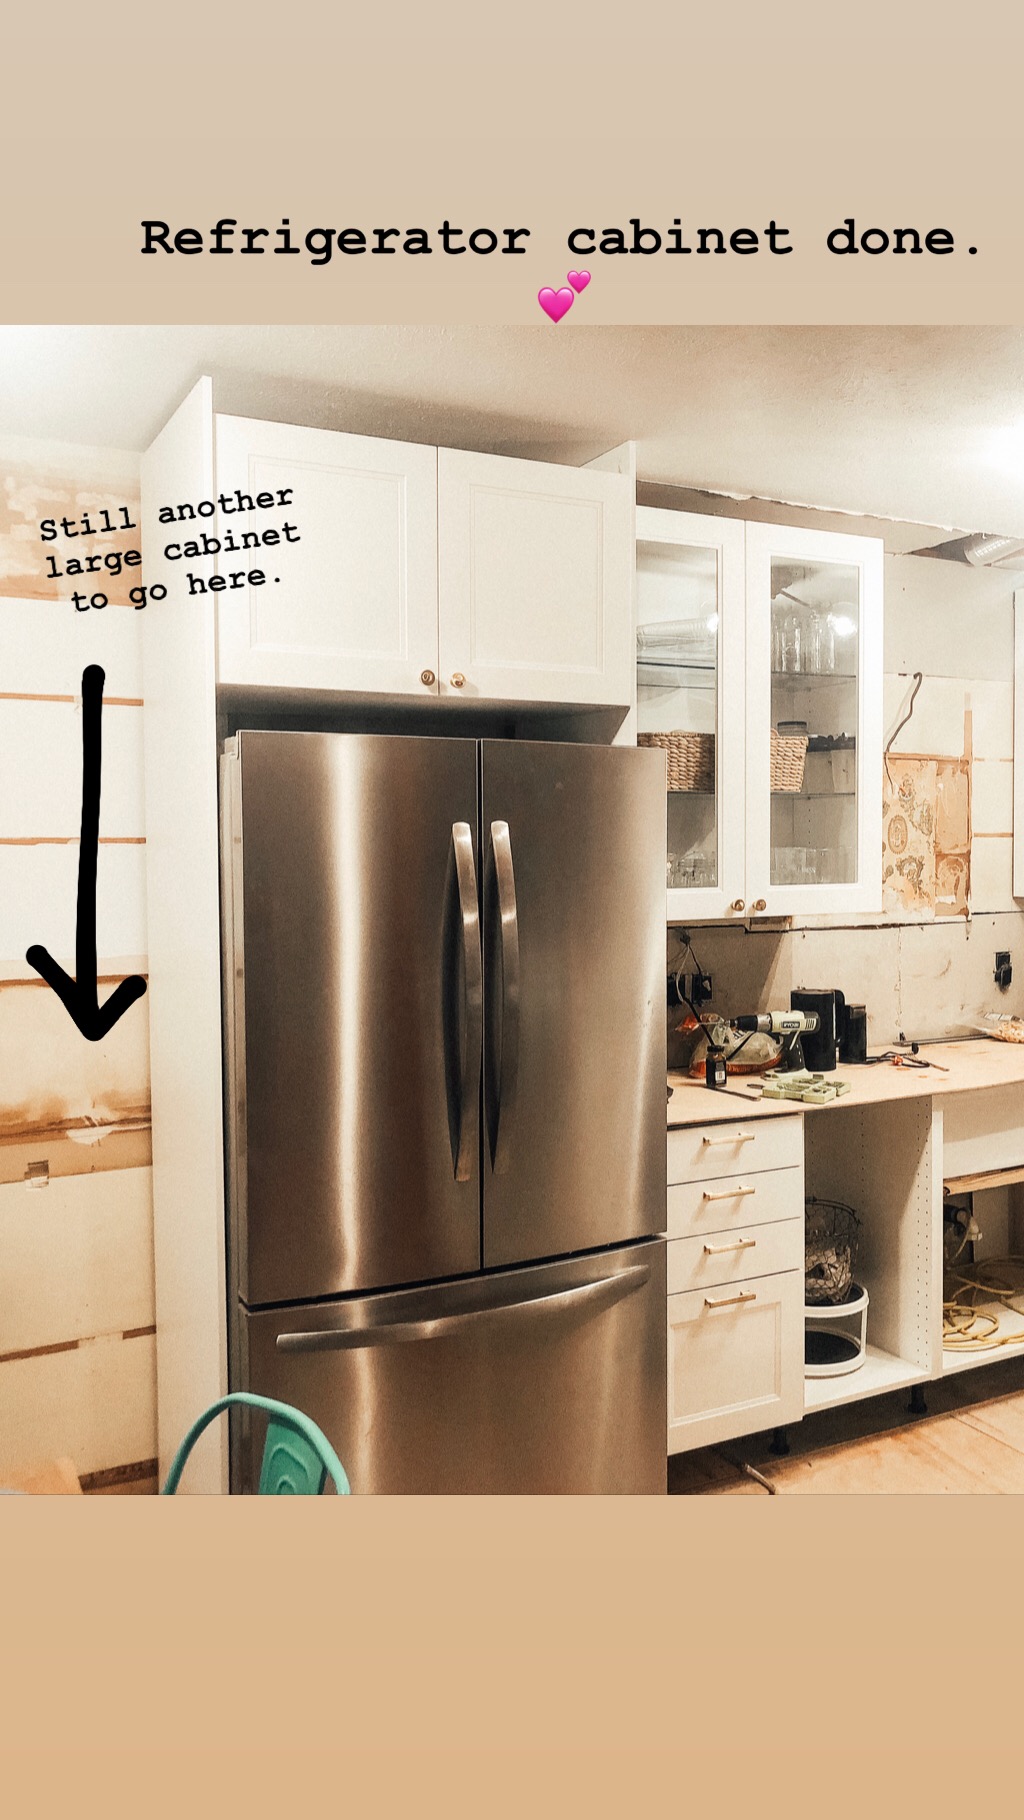
Once Jesse got back, we installed the refrigerator panels and cut a hole for the water line to run from the sink to the fridge.
We were trying to hustle because the counter top people were due to come and install our marble slabs! Let me back up a bit and talk about why we didn’t go with IKEA’s quartz option. The quote for the counters through IKEA was 4k. We checked with a few other people, and a custom quartz installation was right in this $3-5k ballpark.
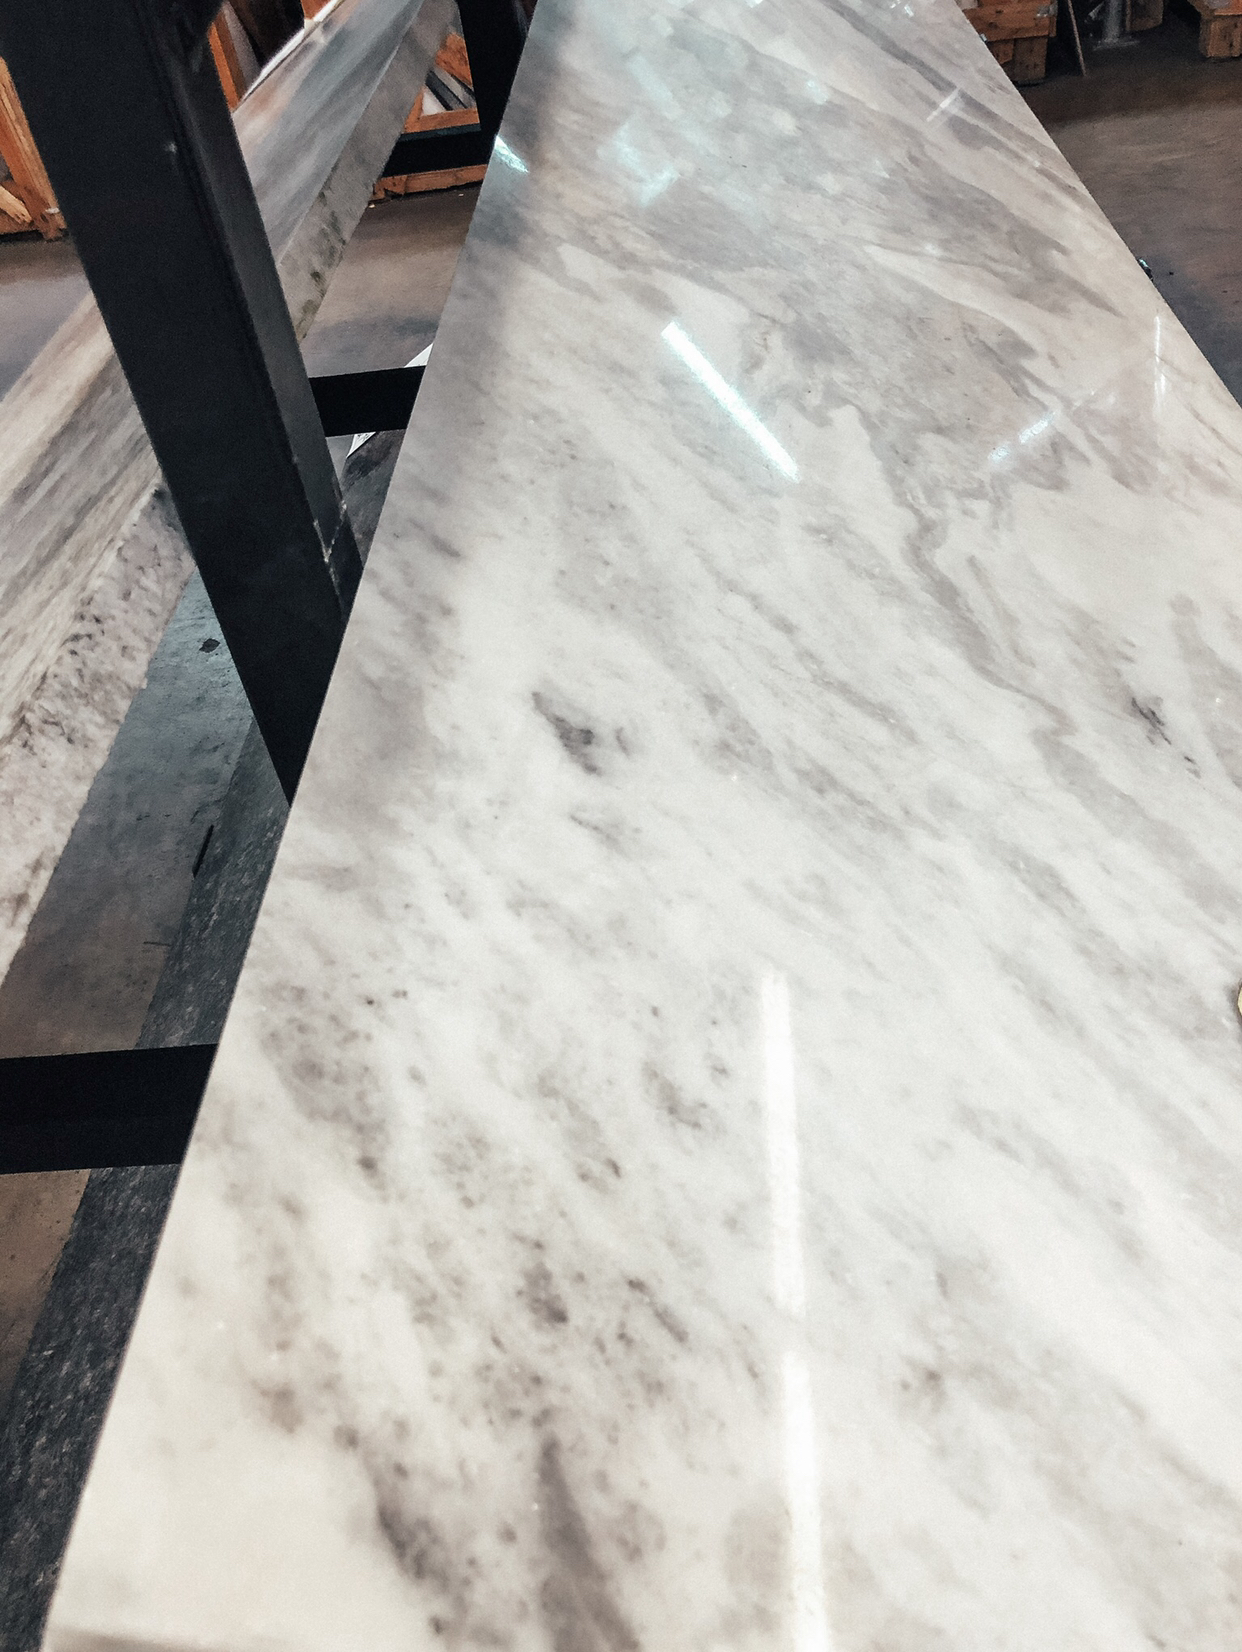
We were about to pull the trigger when we wandered into a local warehouse store called “Seconds and Surplus”. We found two marble slabs for $400/each, and called down the list of the contractors they work with, until we found one that could install the following week. They picked up our slabs from the warehouse and installed for $700. So we did the whole thing for $1500– a far cry from $4k!!
I had so many people warn me about how tough the maintenance is on marble, but we’ve had them now for 18 months and we don’t have a scratch or stain. We cook at home a LOT too. We sealed them really well (that stuff burns your eyeballs out, make yourself scarce for a day or two afterwards) and we use cutting boards just like we always have. I’m SO glad I wasn’t scared off of it! If you use Young Living, the Thieves cleaner does NOT harm it at all and is, in fact, one of the only safe things you can clean marble with! (DO NOT USE VINEGAR!!!! YOU WILL RUIN THE ENTIRE SURFACE!!!).
The day they got installed was literally one of the happiest days of my life. All of a sudden it felt like the kitchen was coming together. It meant I would have a sink for the first time in 2 months. It was just like Christmas morning!! Anyone who has ever done a kitchen reno knows EXACTLY what this feels like!
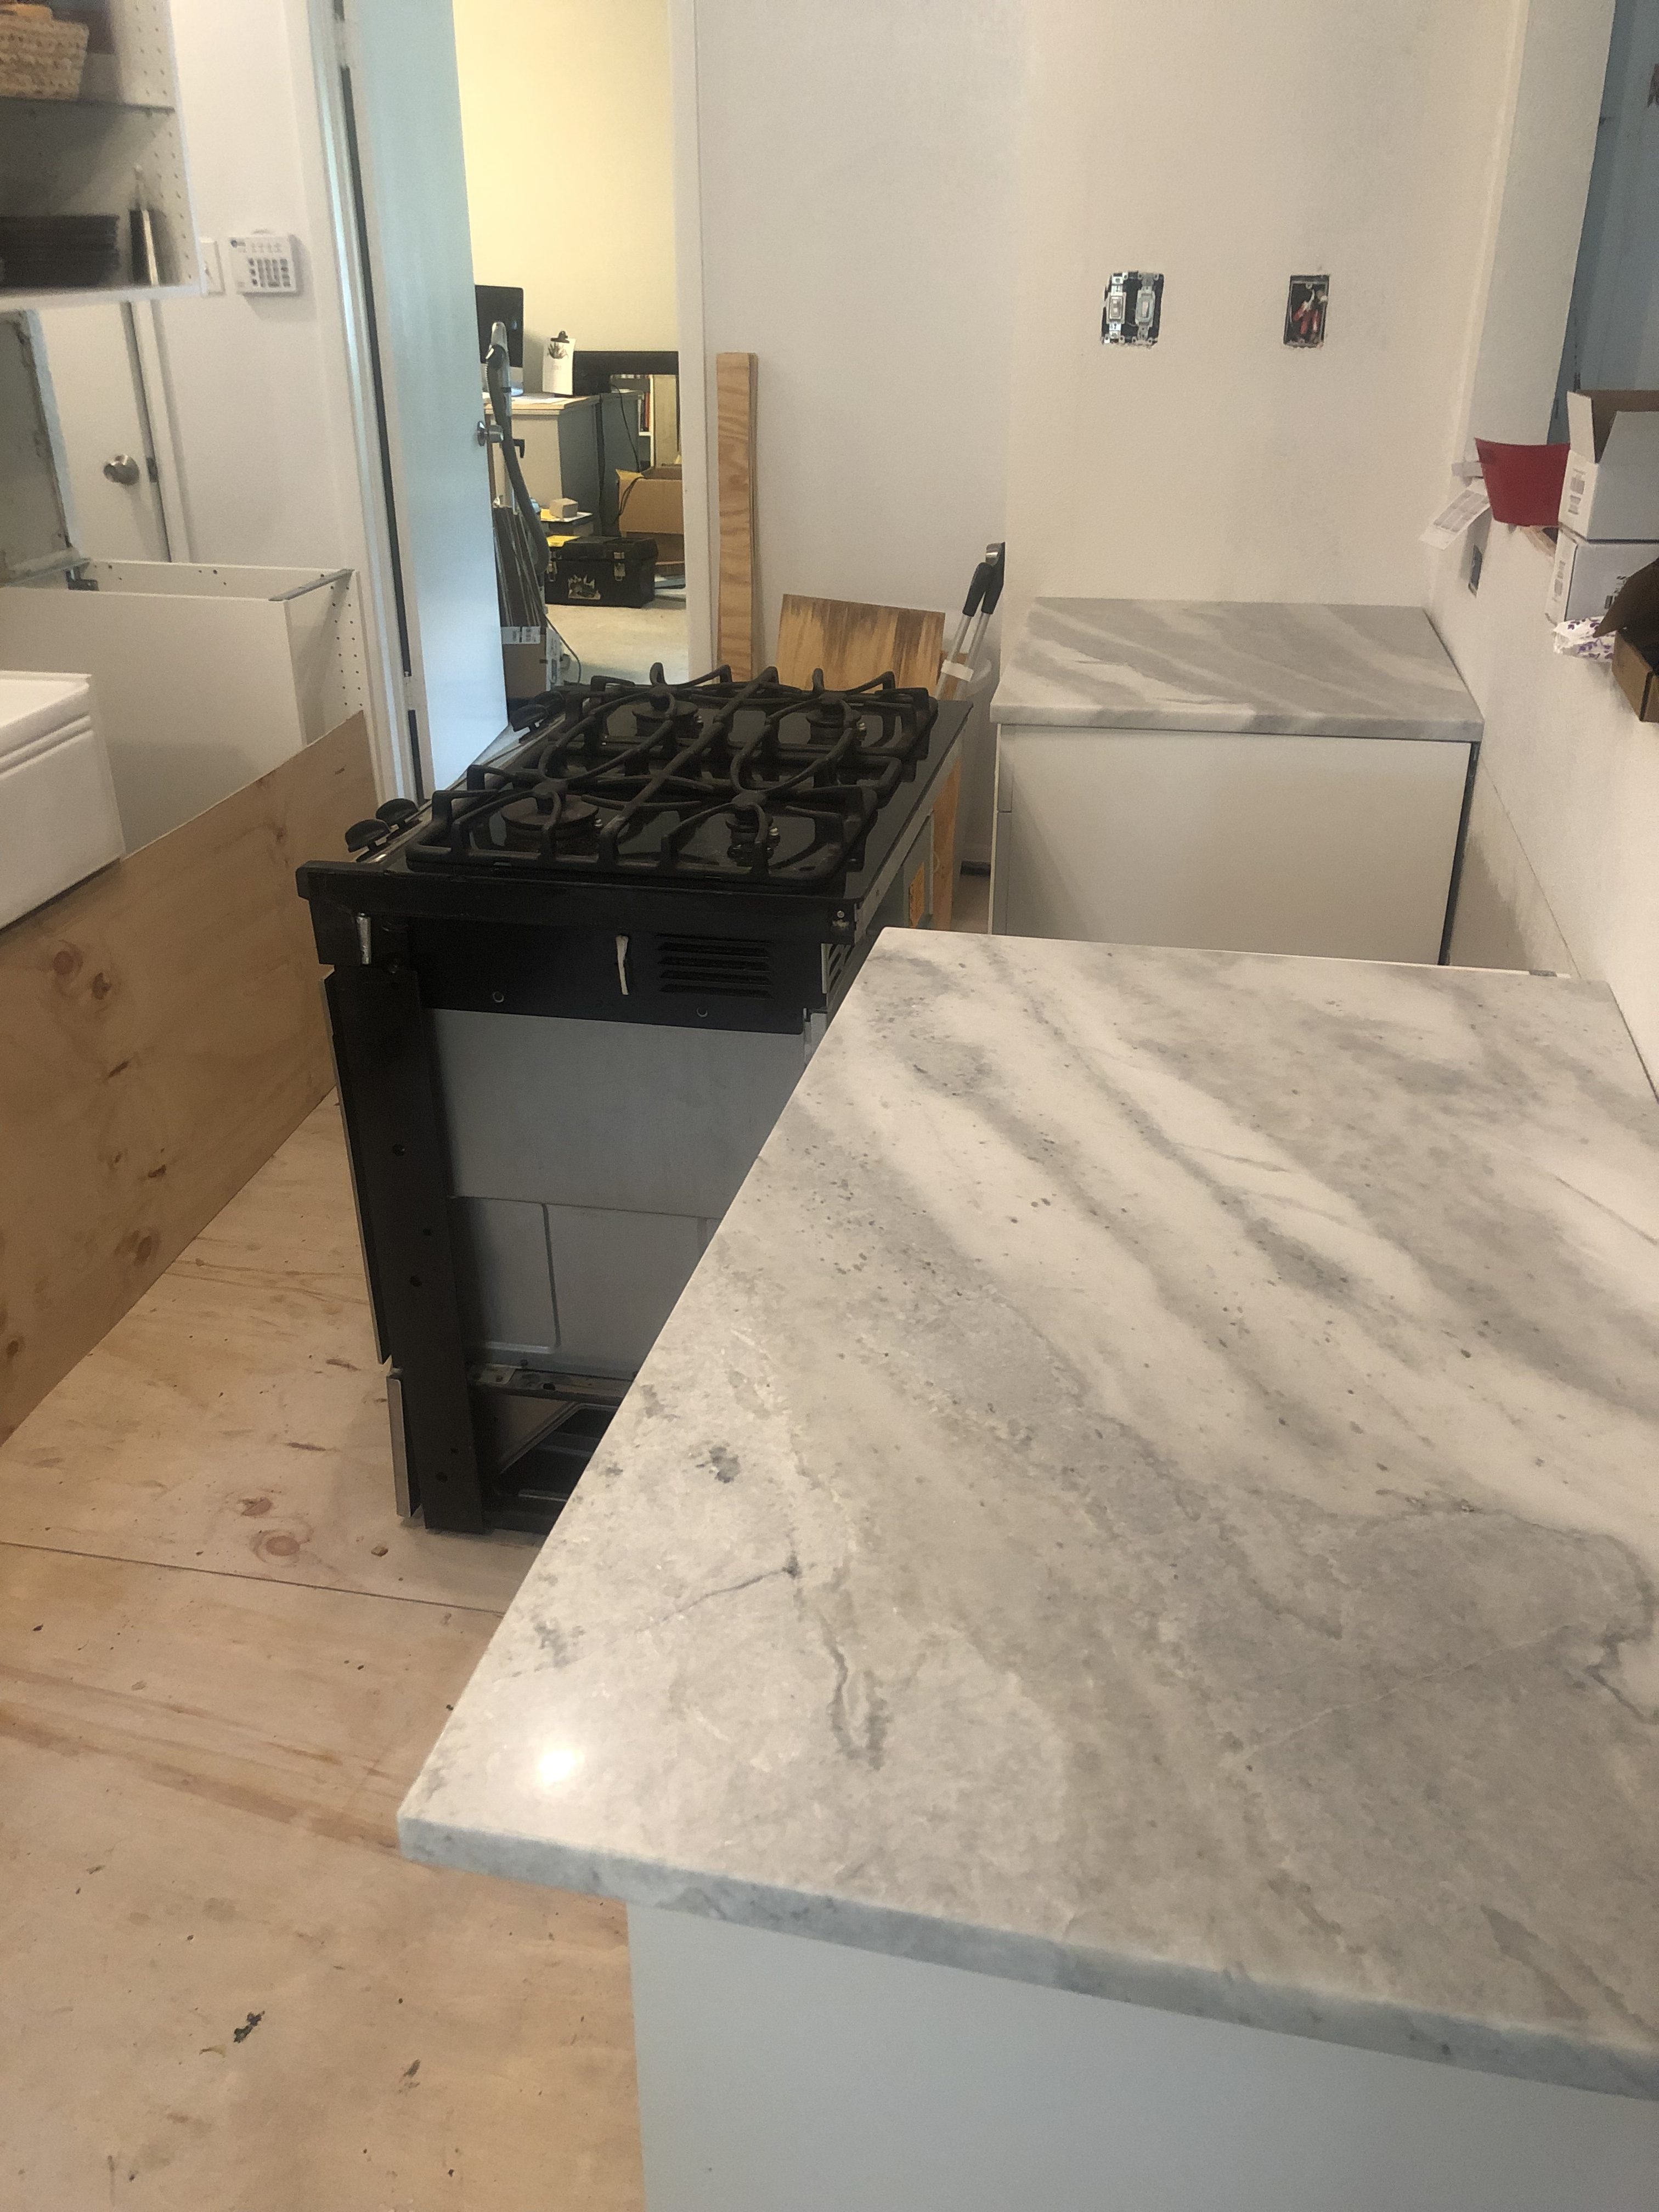
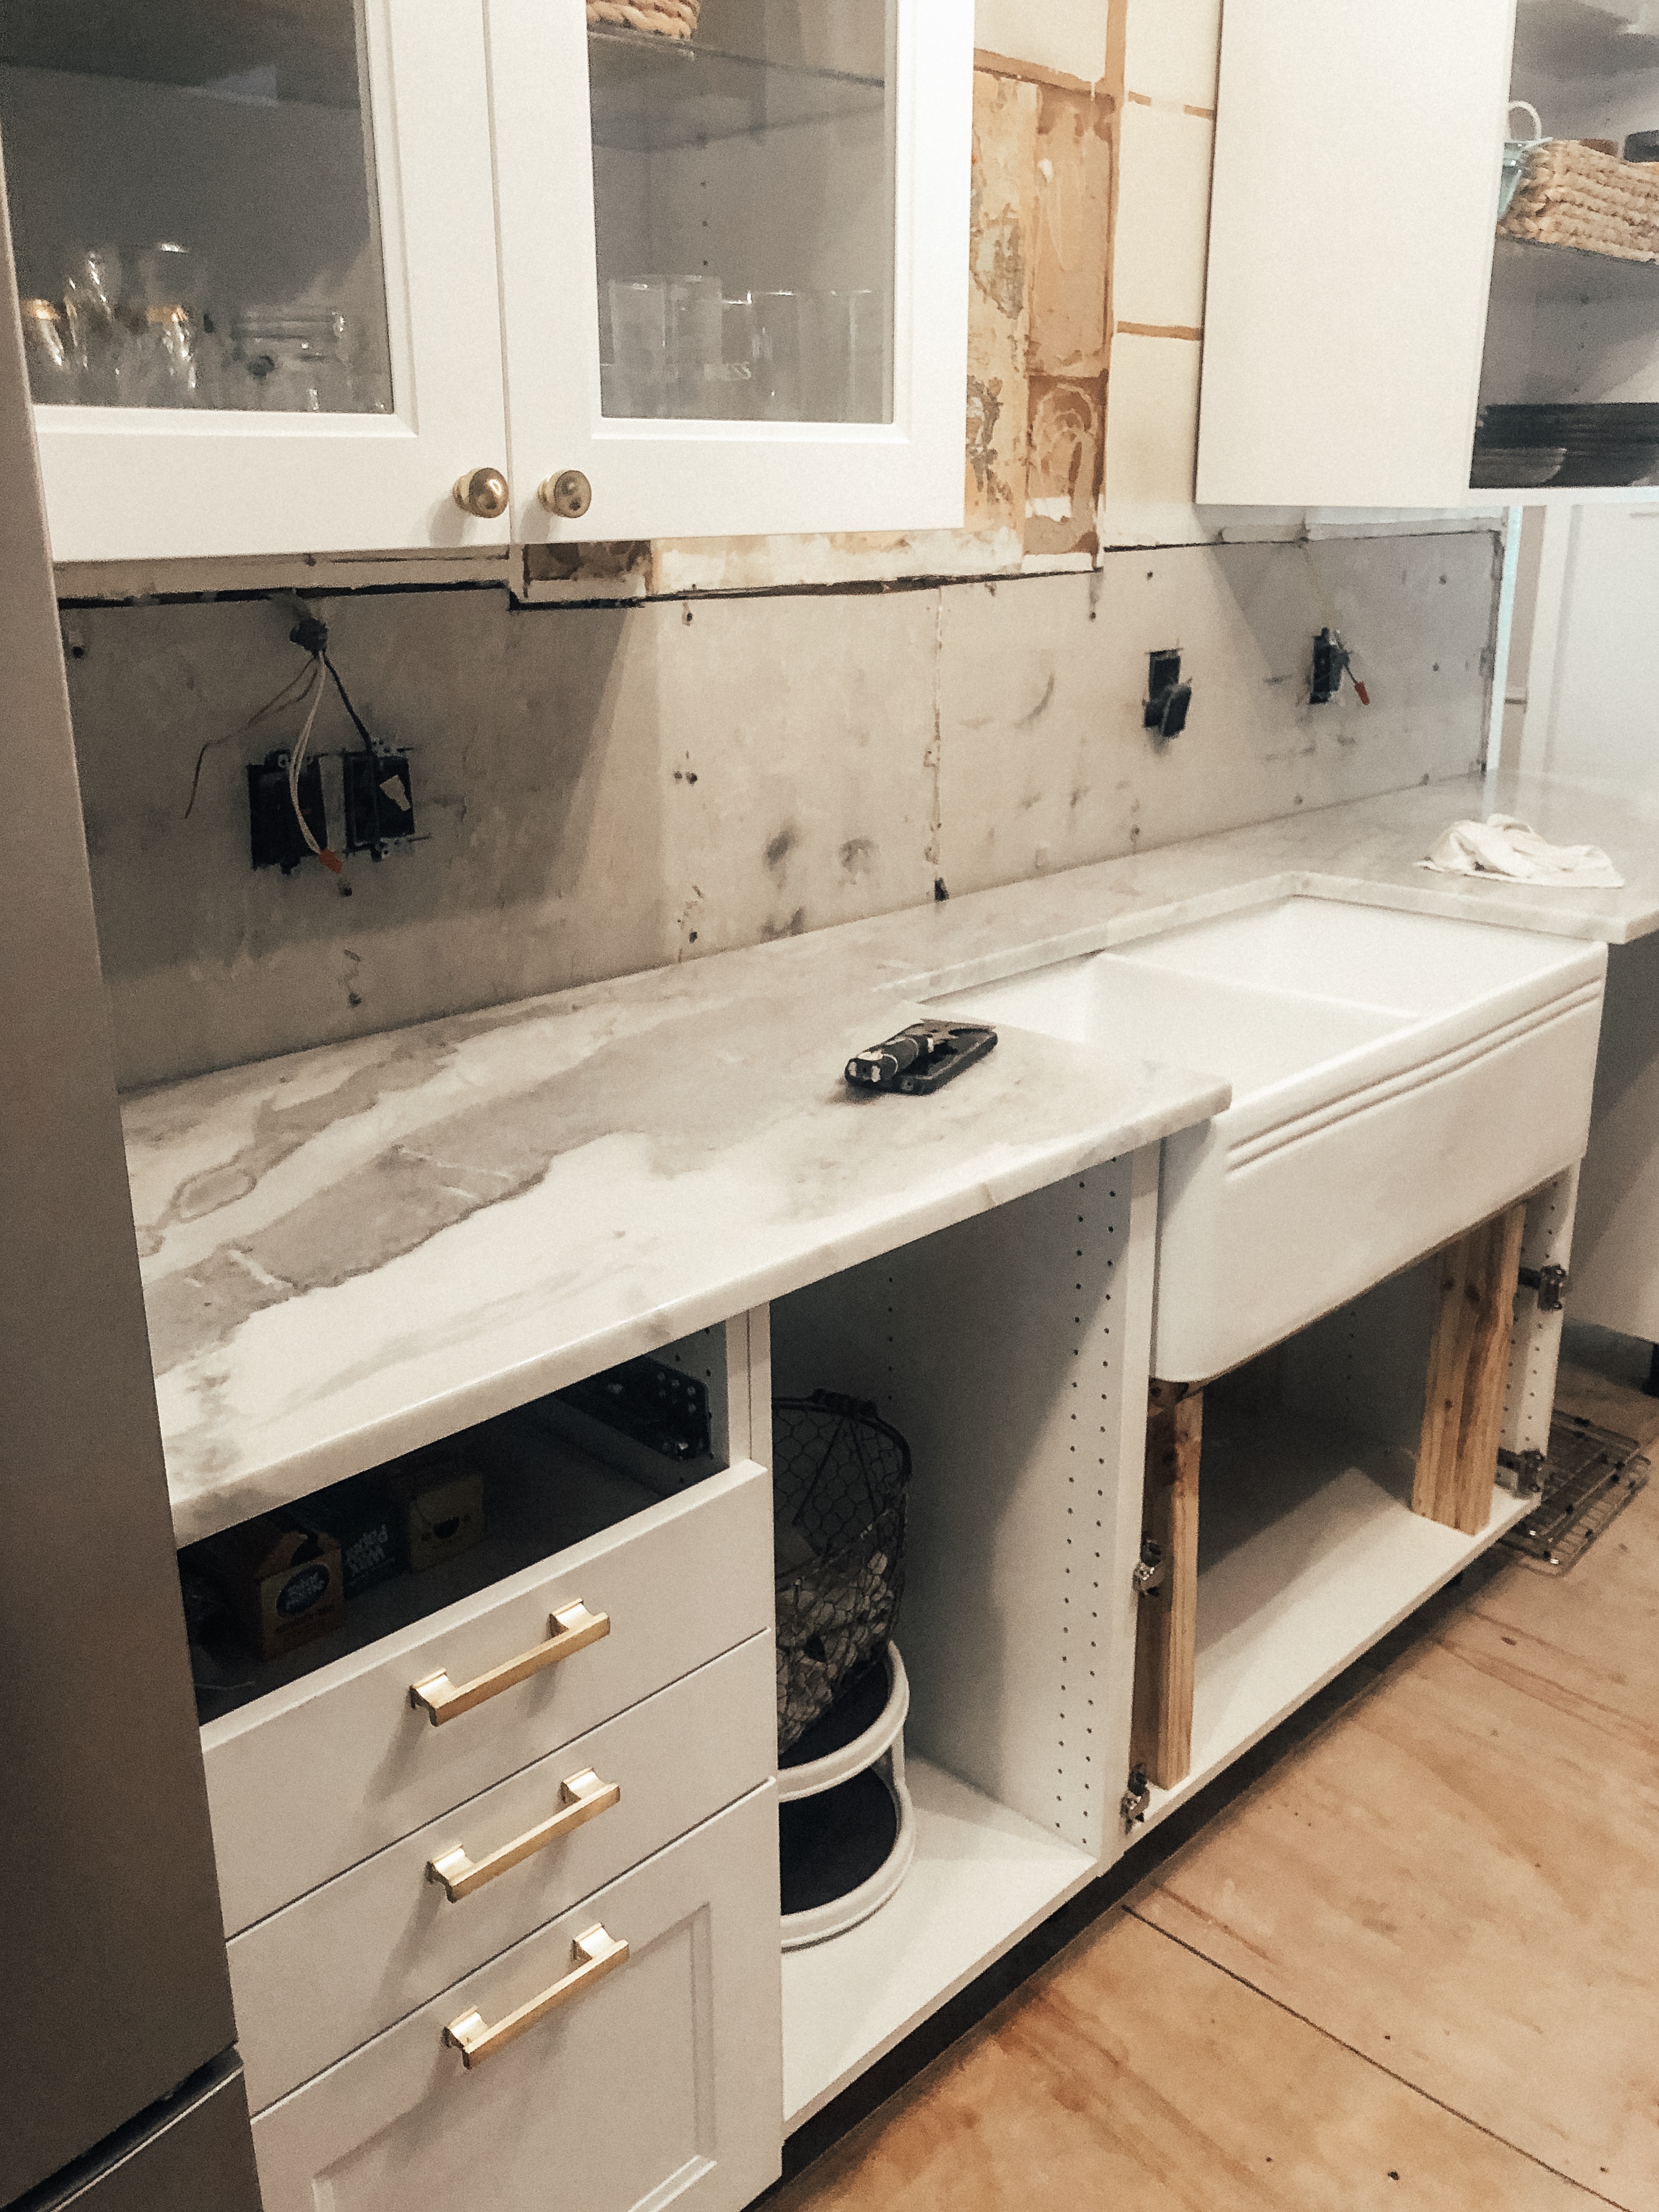
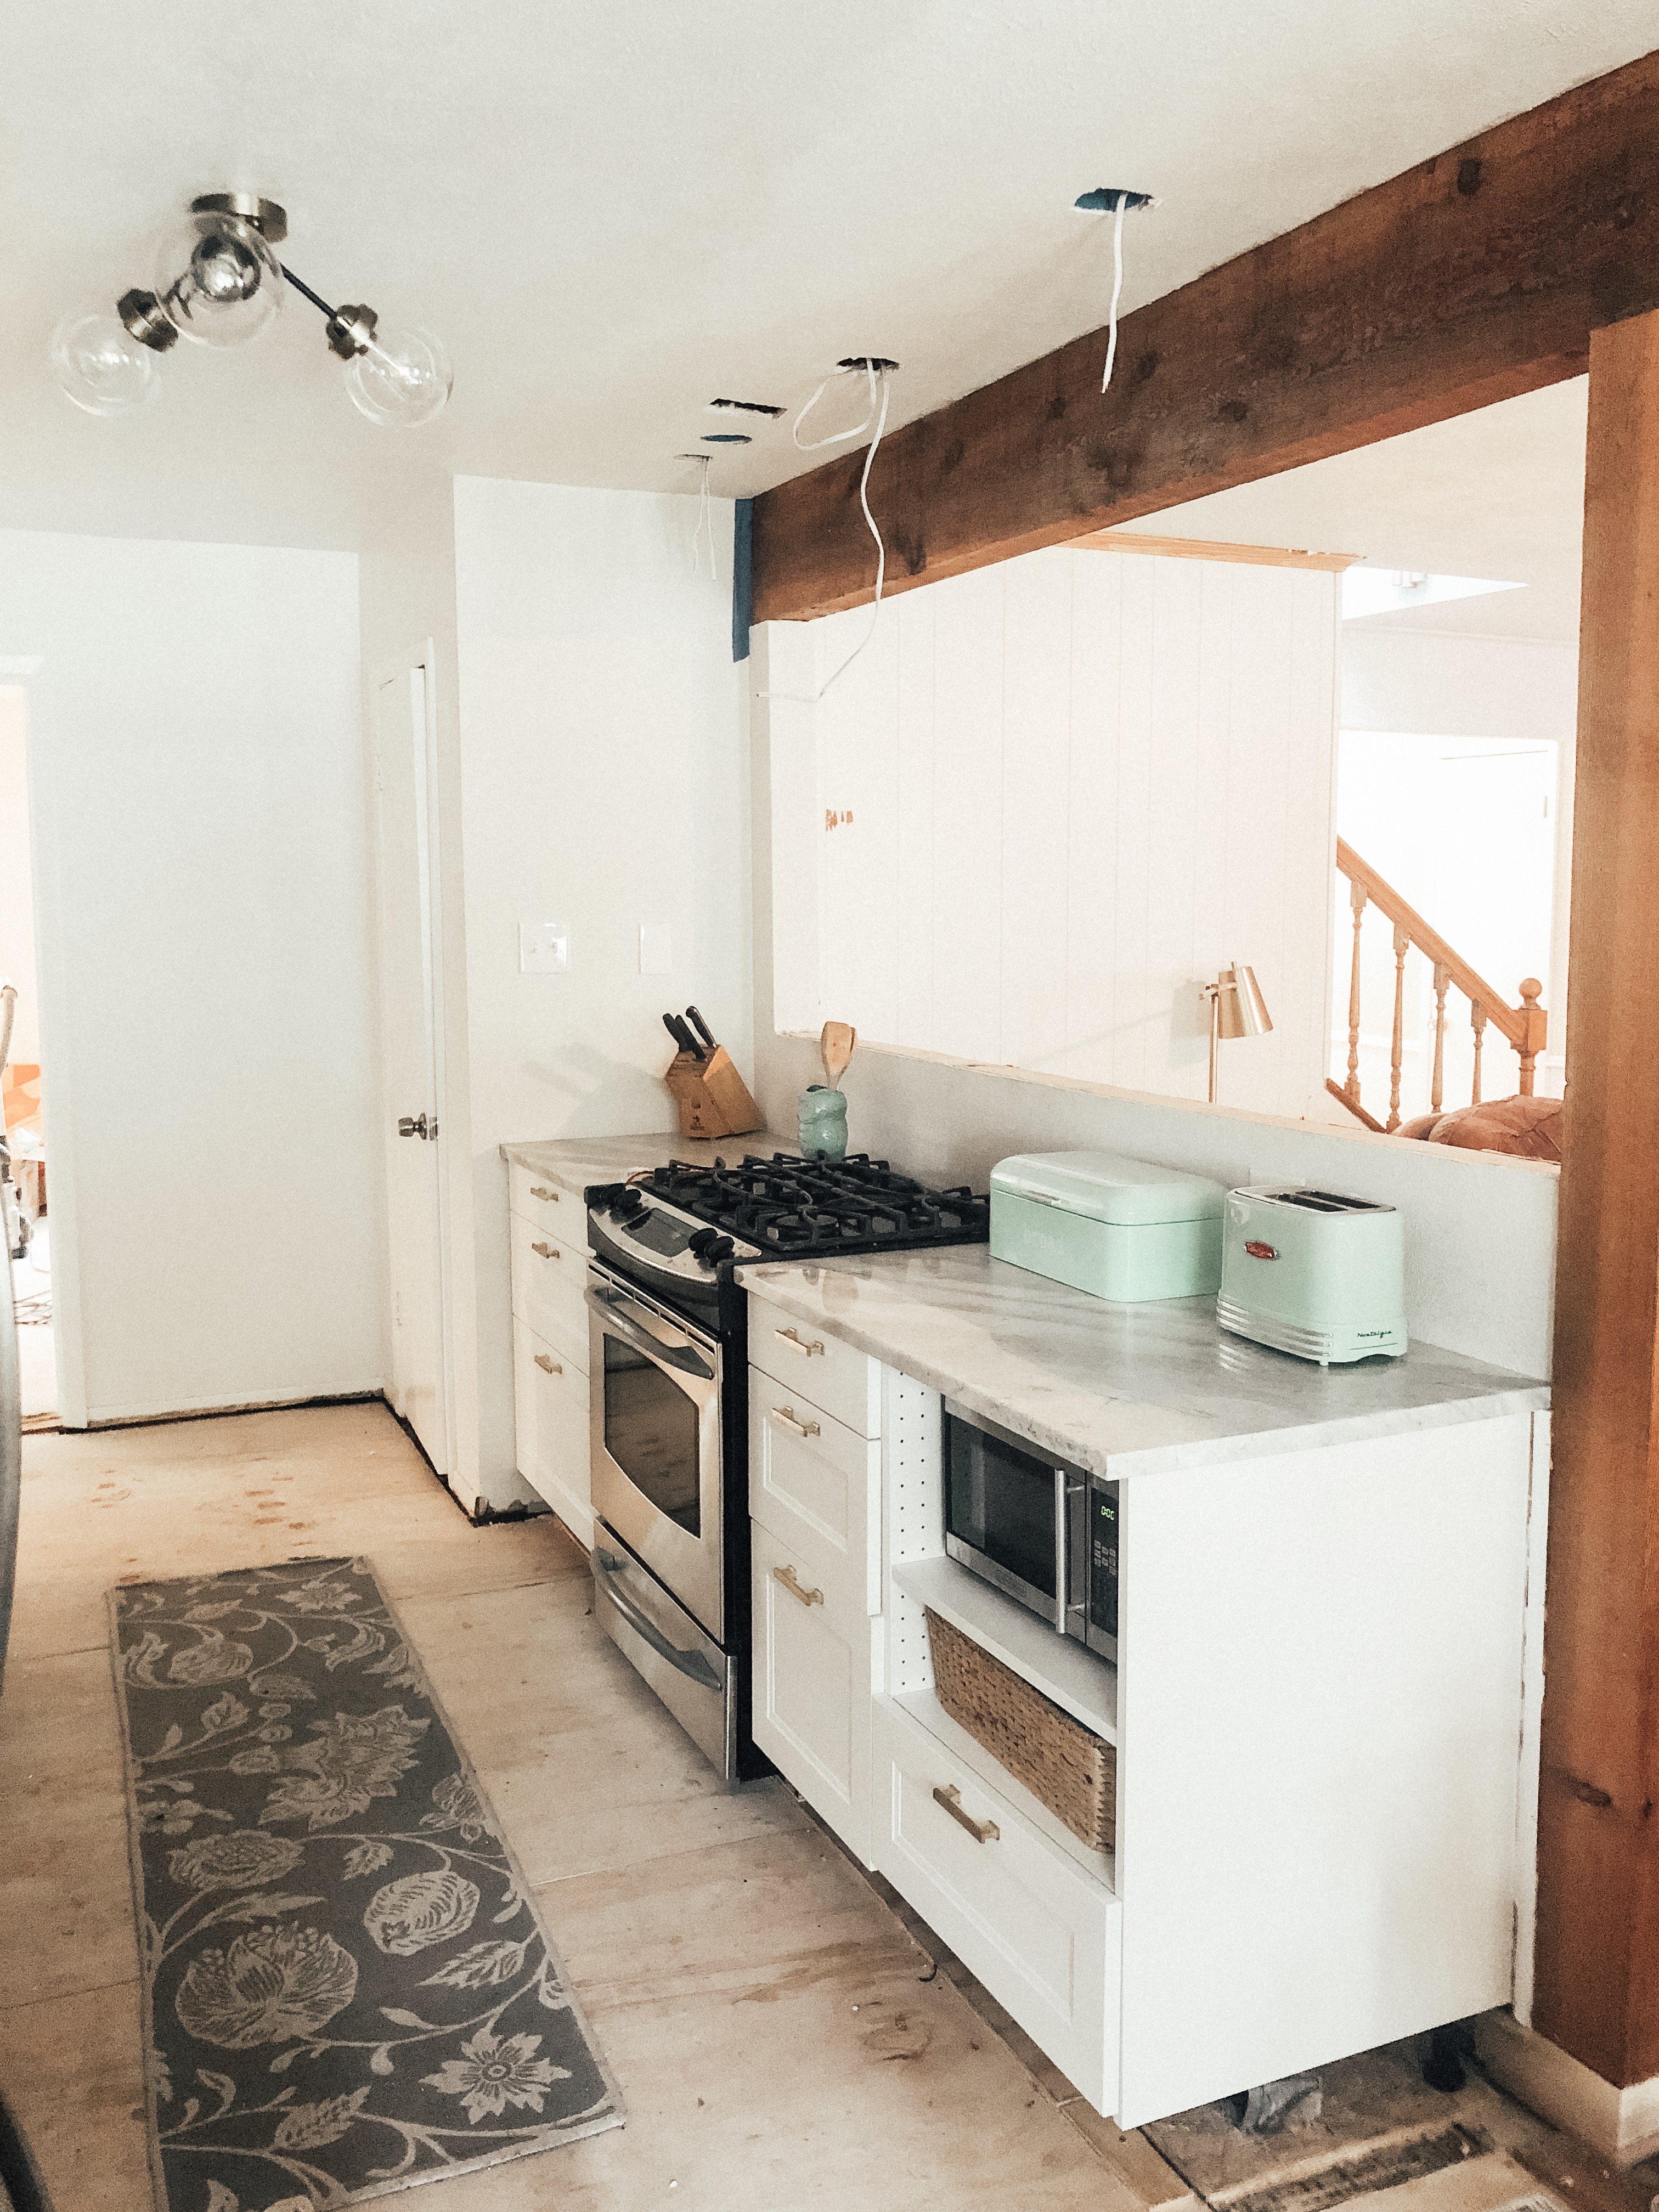
Once the counters were installed, we turned our attention to the floors. The underlayment was getting beat up (it’s soft plywood, essentially) and we had received our shipment of Cali Bamboo in the mail. I am going to cover “all things floors” in another post, but here is what the process looked like in the kitchen!
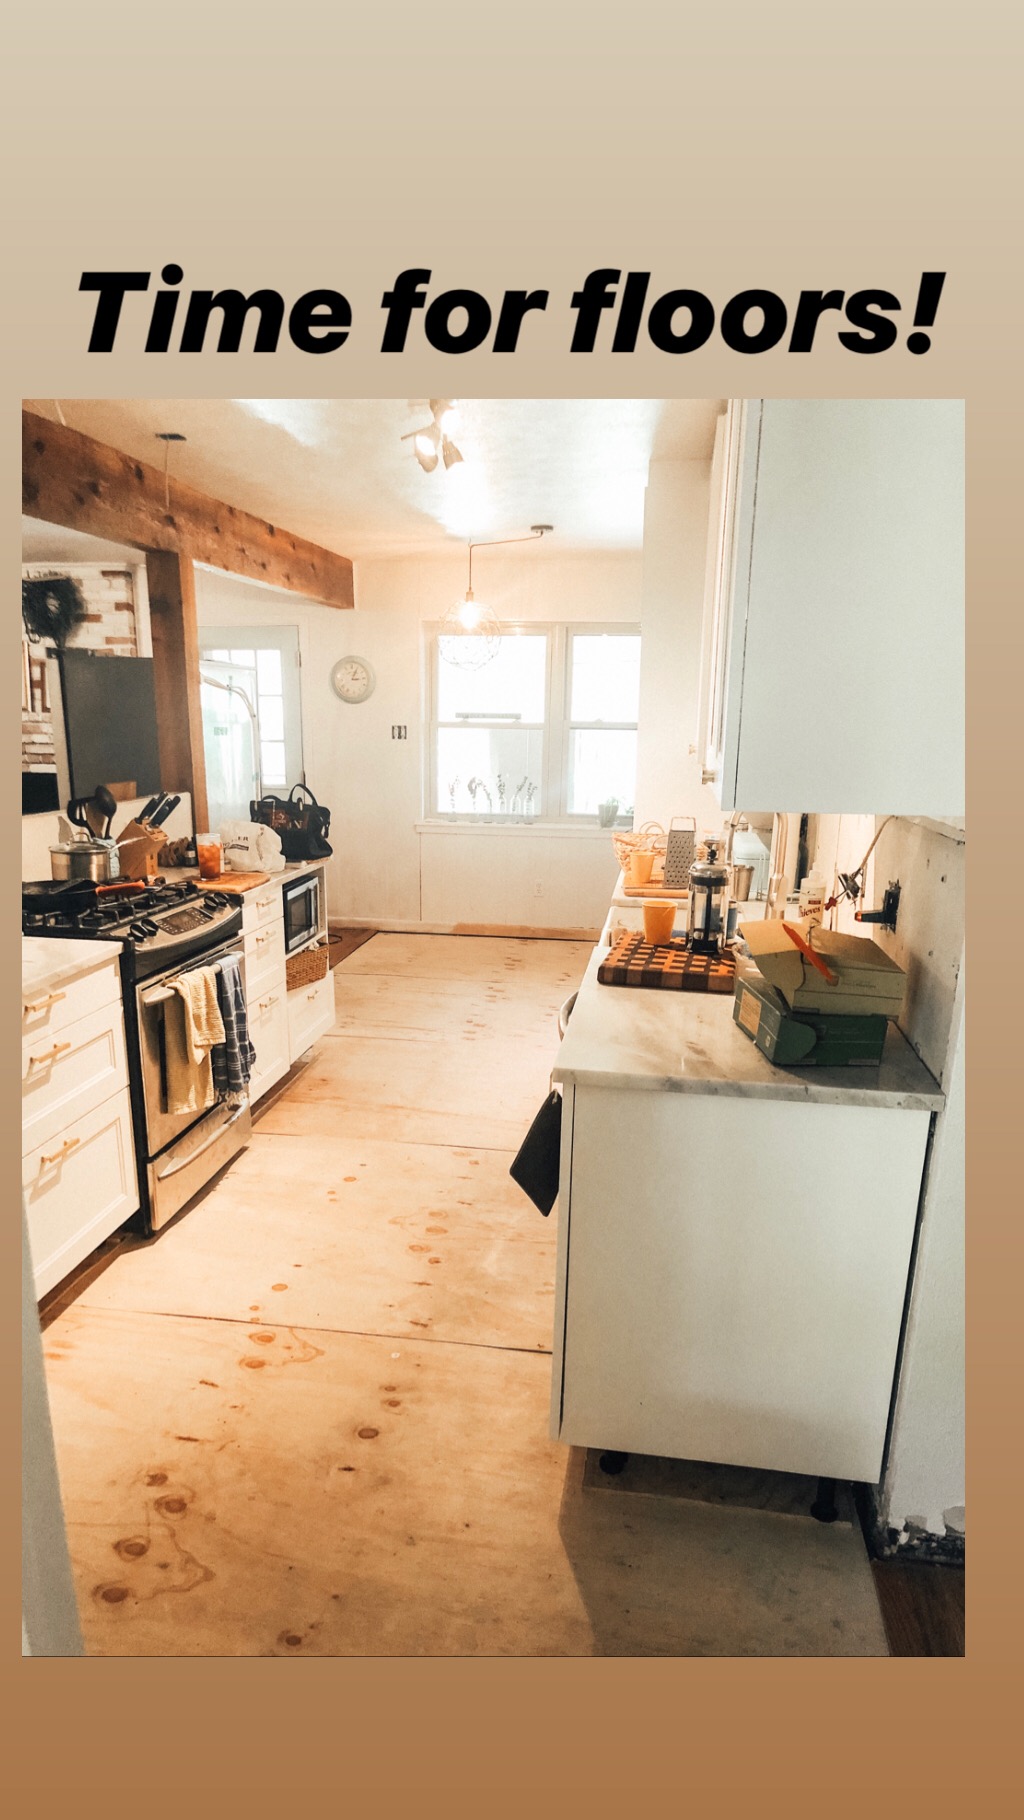
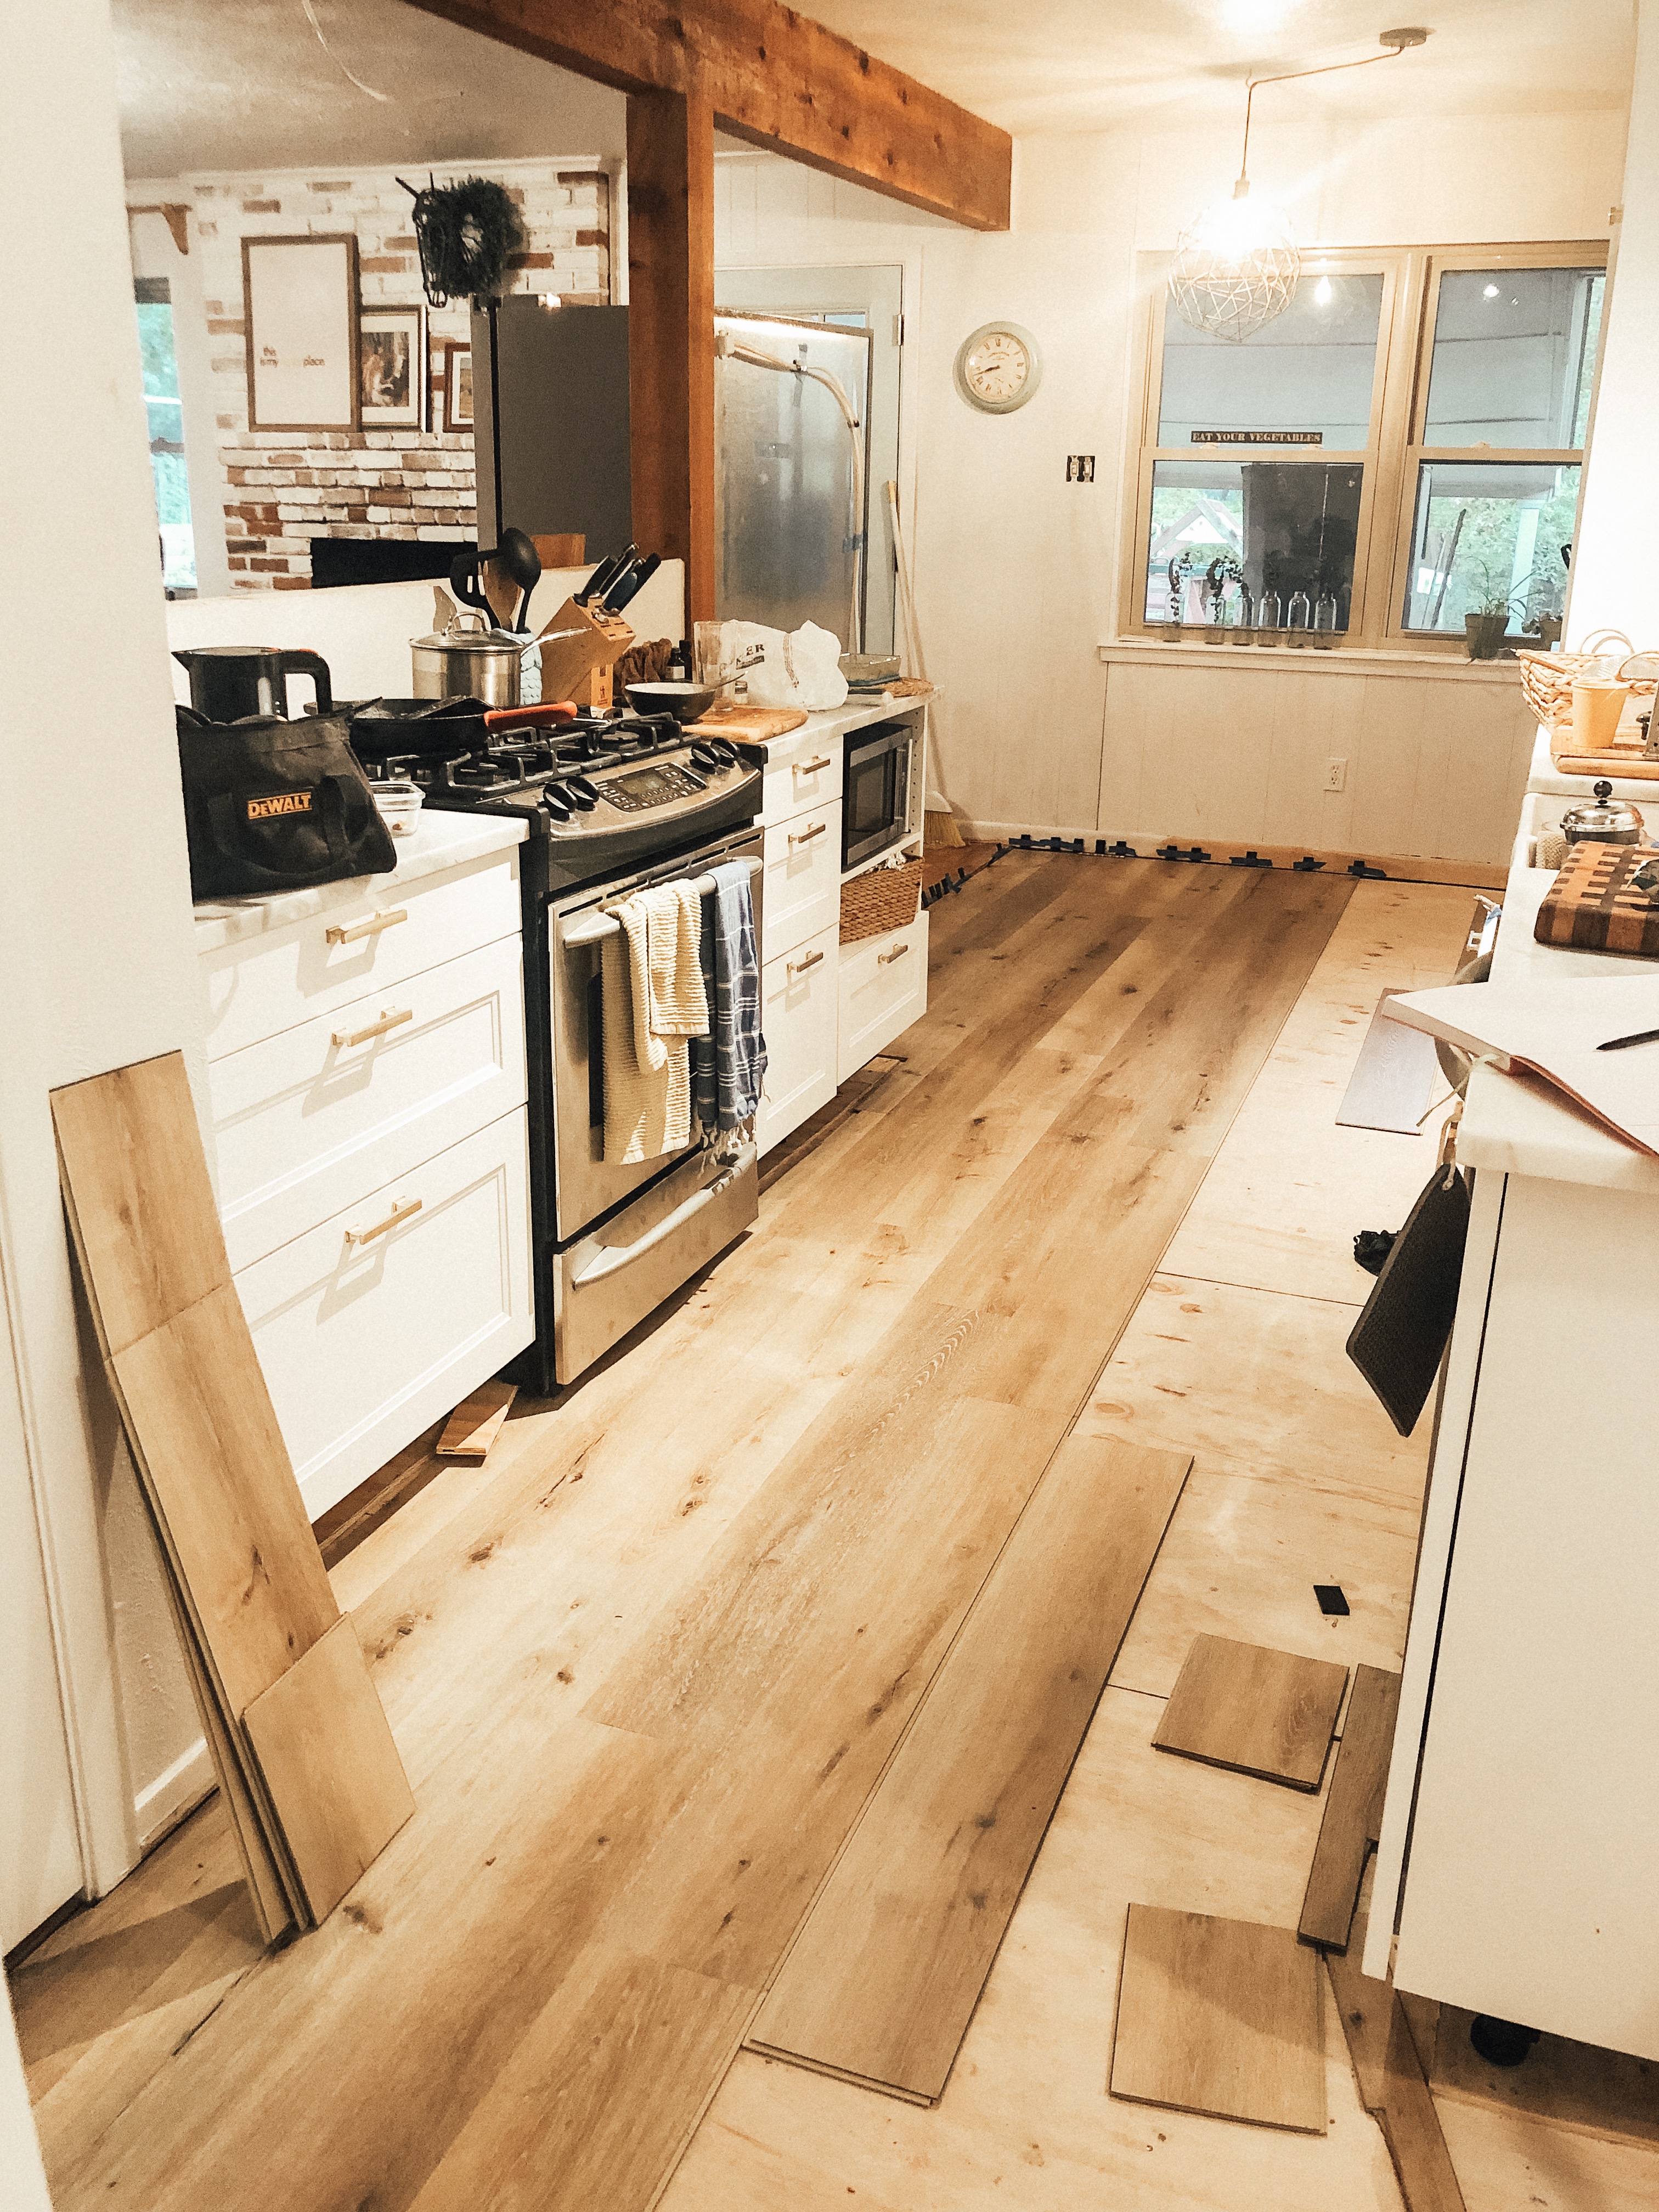

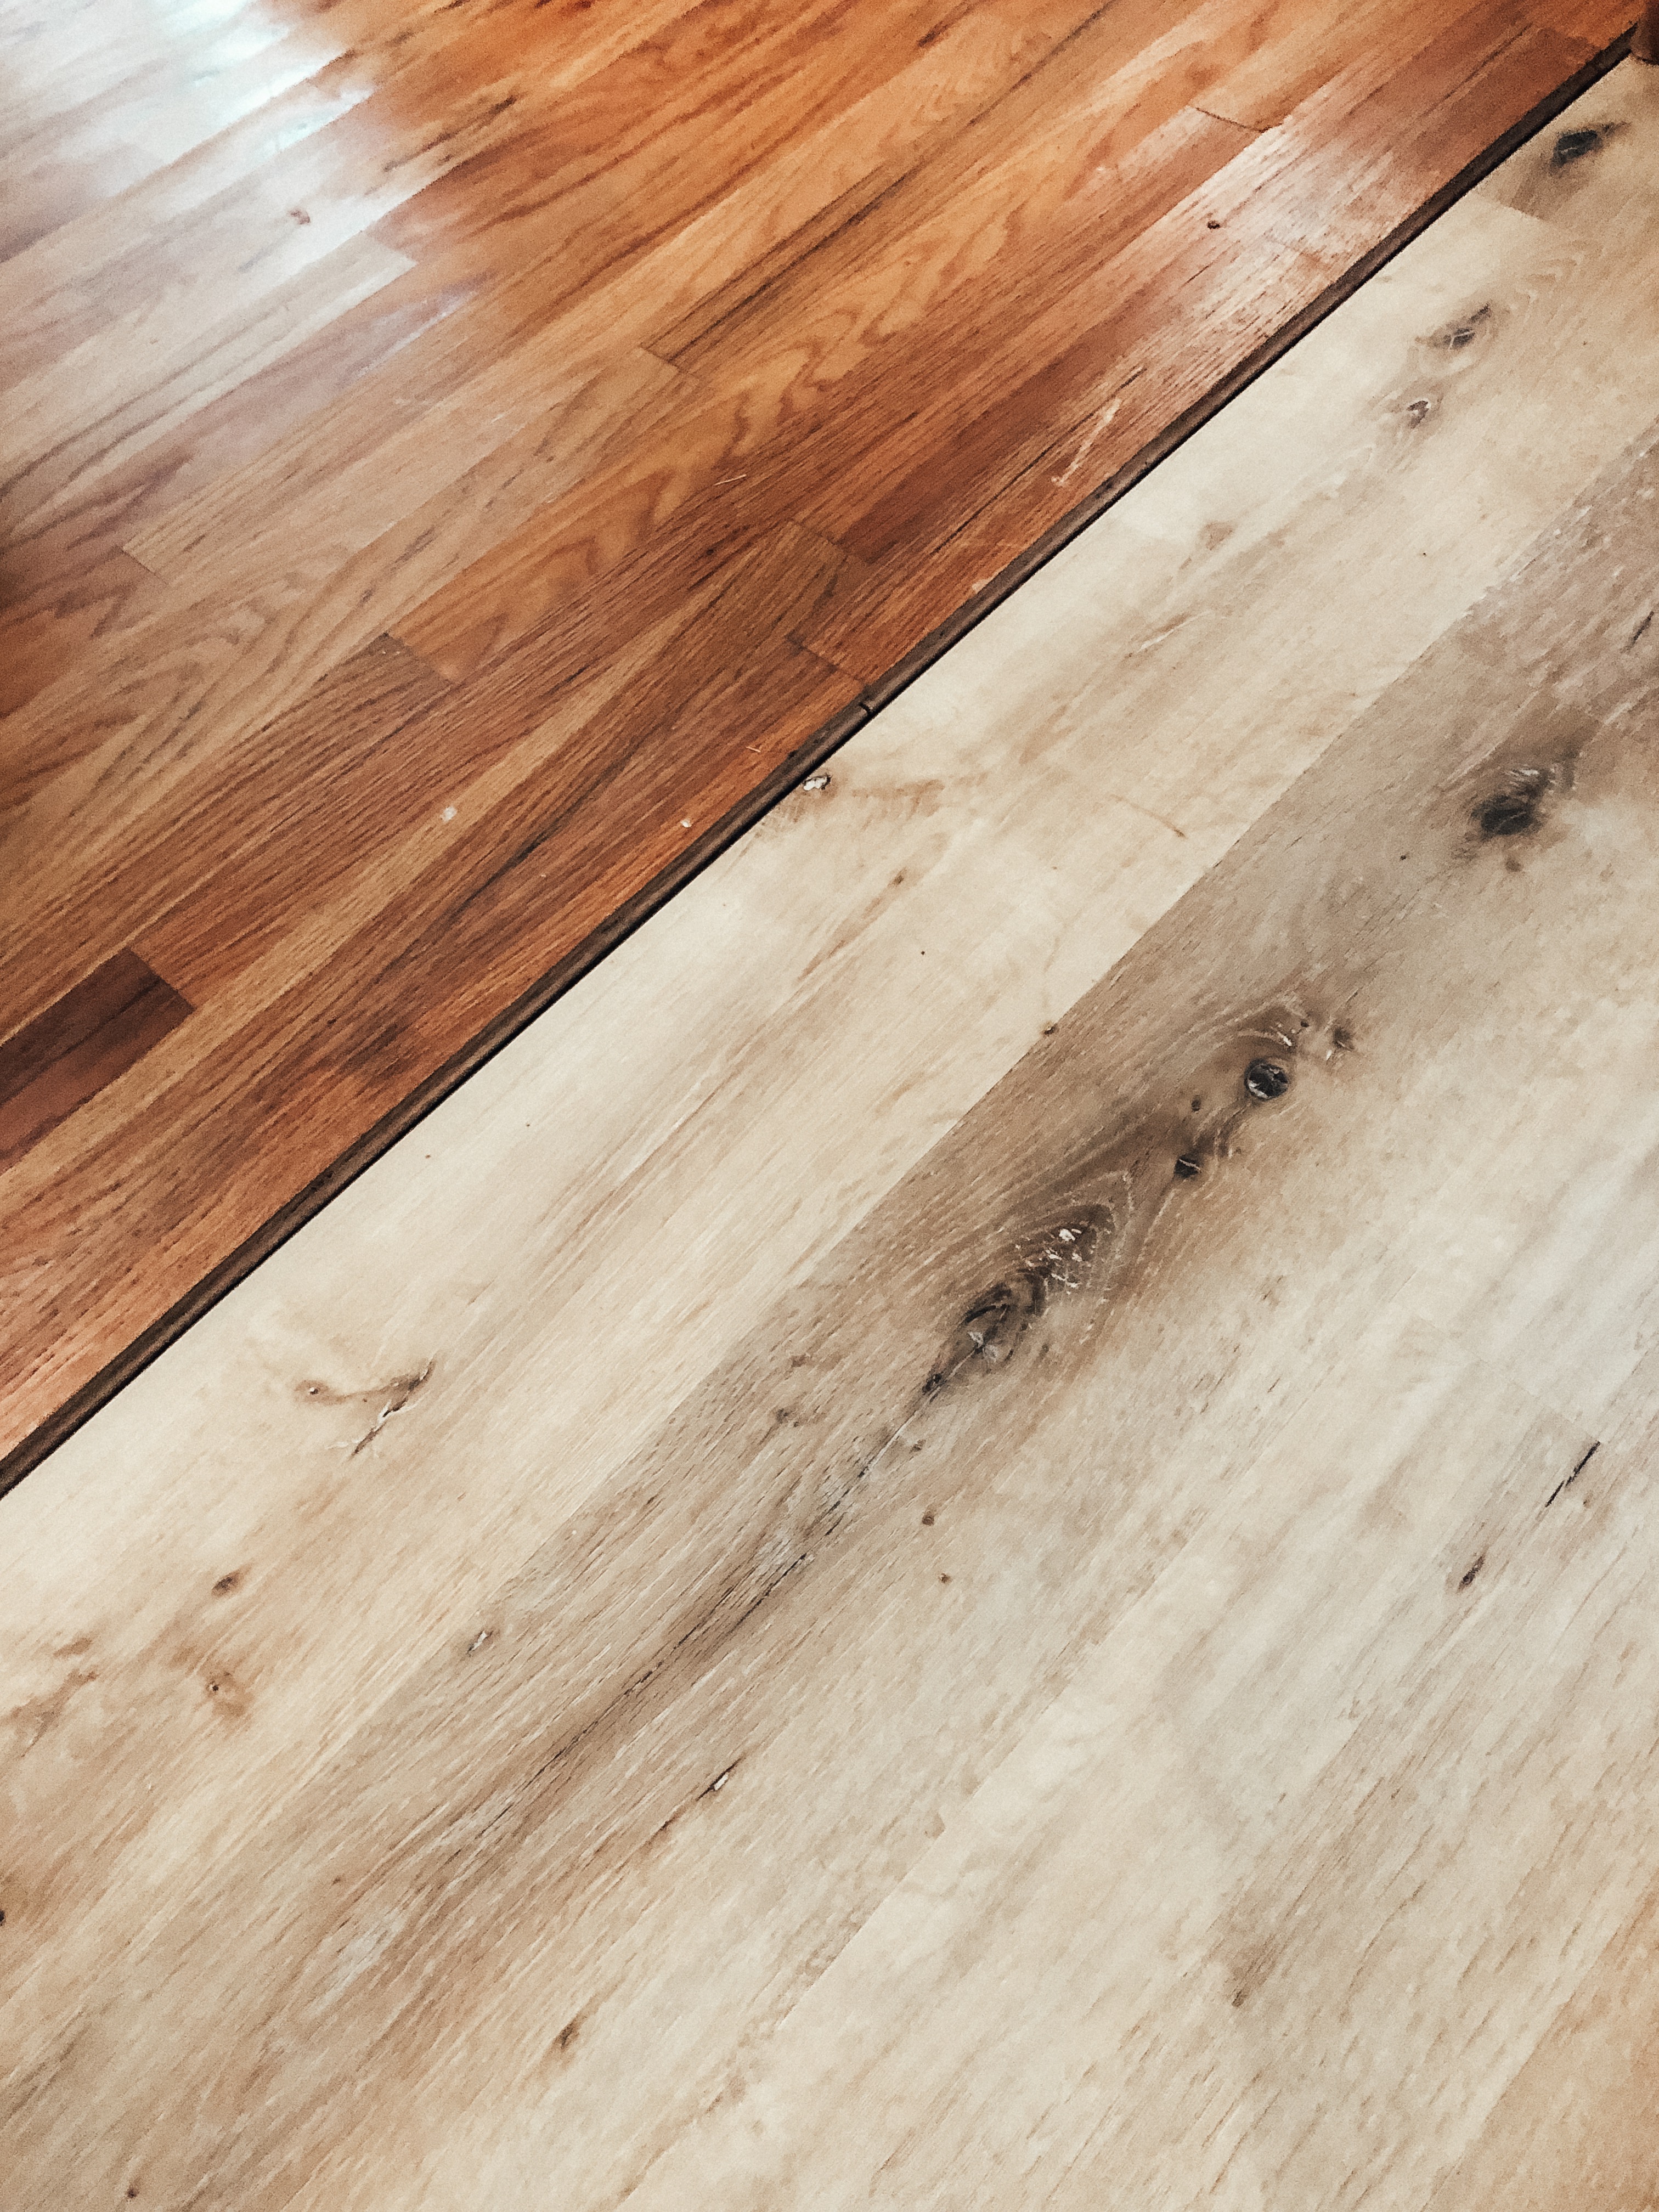
We knew we’d have the awkward transition since we hadn’t finished ripping out the old floors in the living room. But we decided to leave it for a while. Getting the kitchen done was the priority.
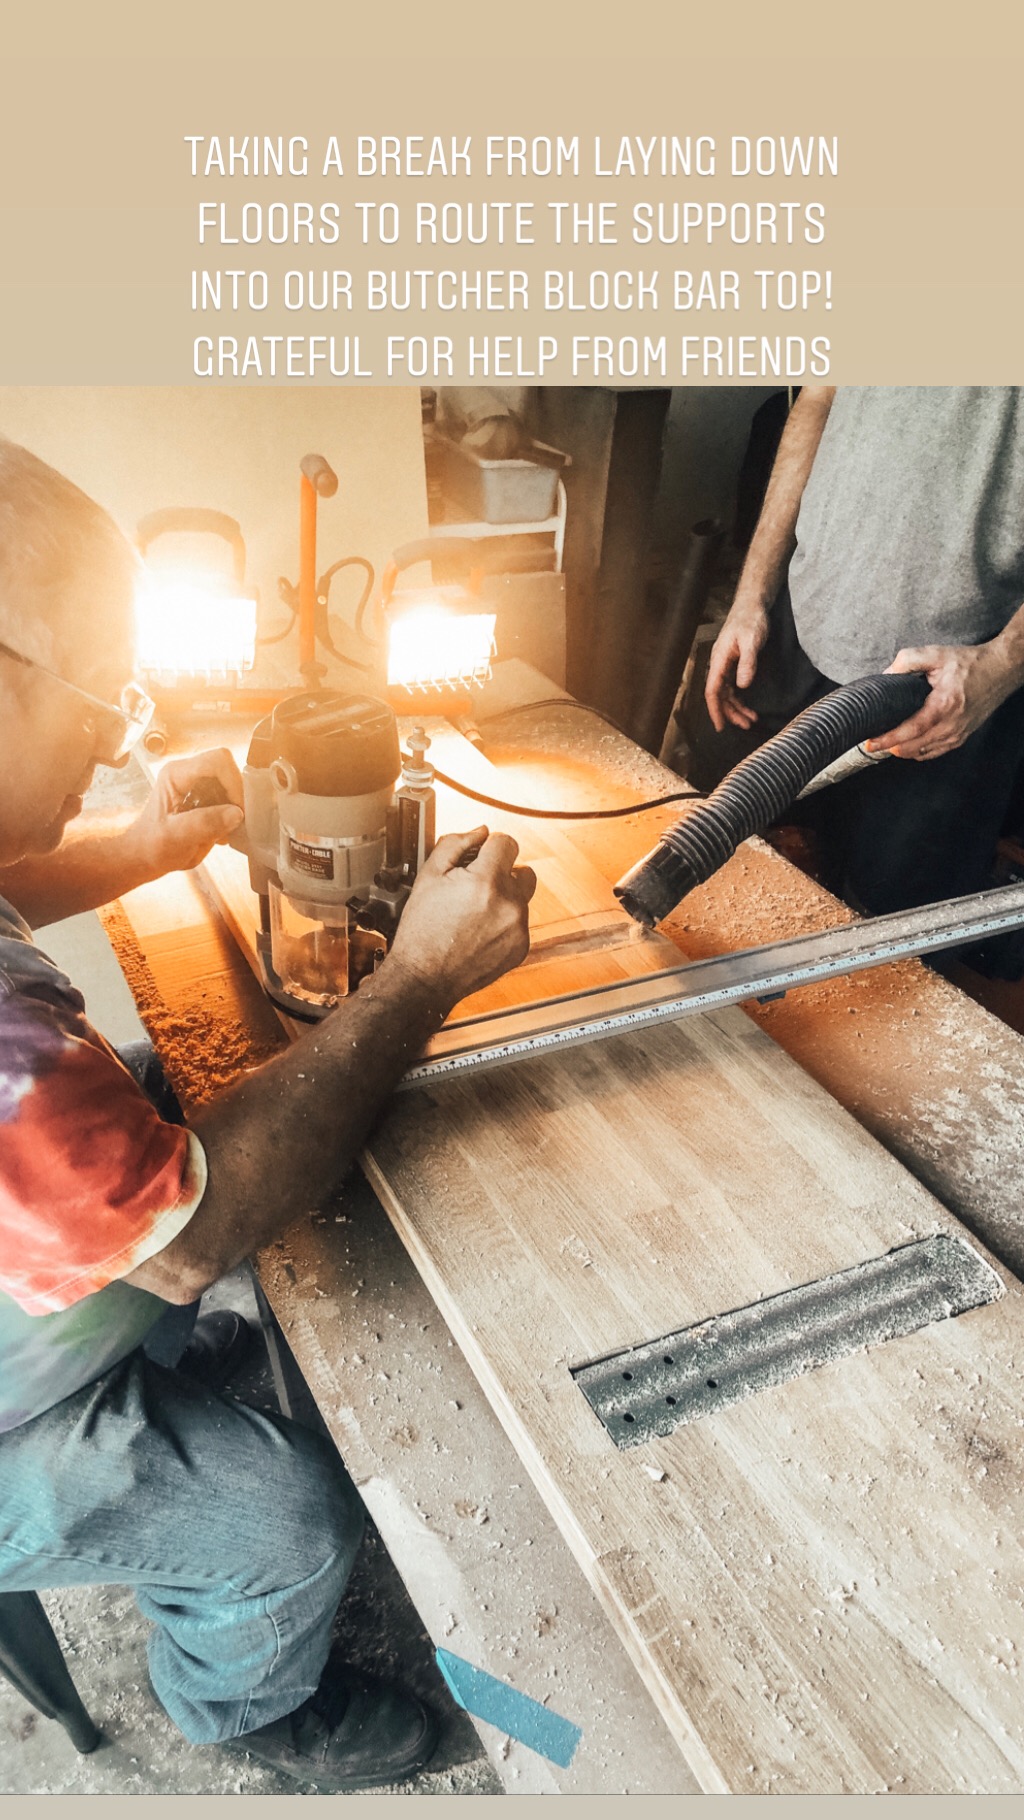
It was about time to start on our butcher block bar top. FYI, IKEA has discontinued true butcher block. Now, they have slabs with a wood veneer, but a different substance in the middle. We grabbed one of the last slabs of butcher block (had to get it shipped from far away), which was okay since I also needed two more glass doors delivered. Our friends helped us take the slab to a workshop where we did one long cut down the center of it to make it the right width for the bar top. We used the other half to make our floating shelves, using these “blind” brackets. Our friends also came over to help us install the bar top, using a special routing tool we didn’t have.
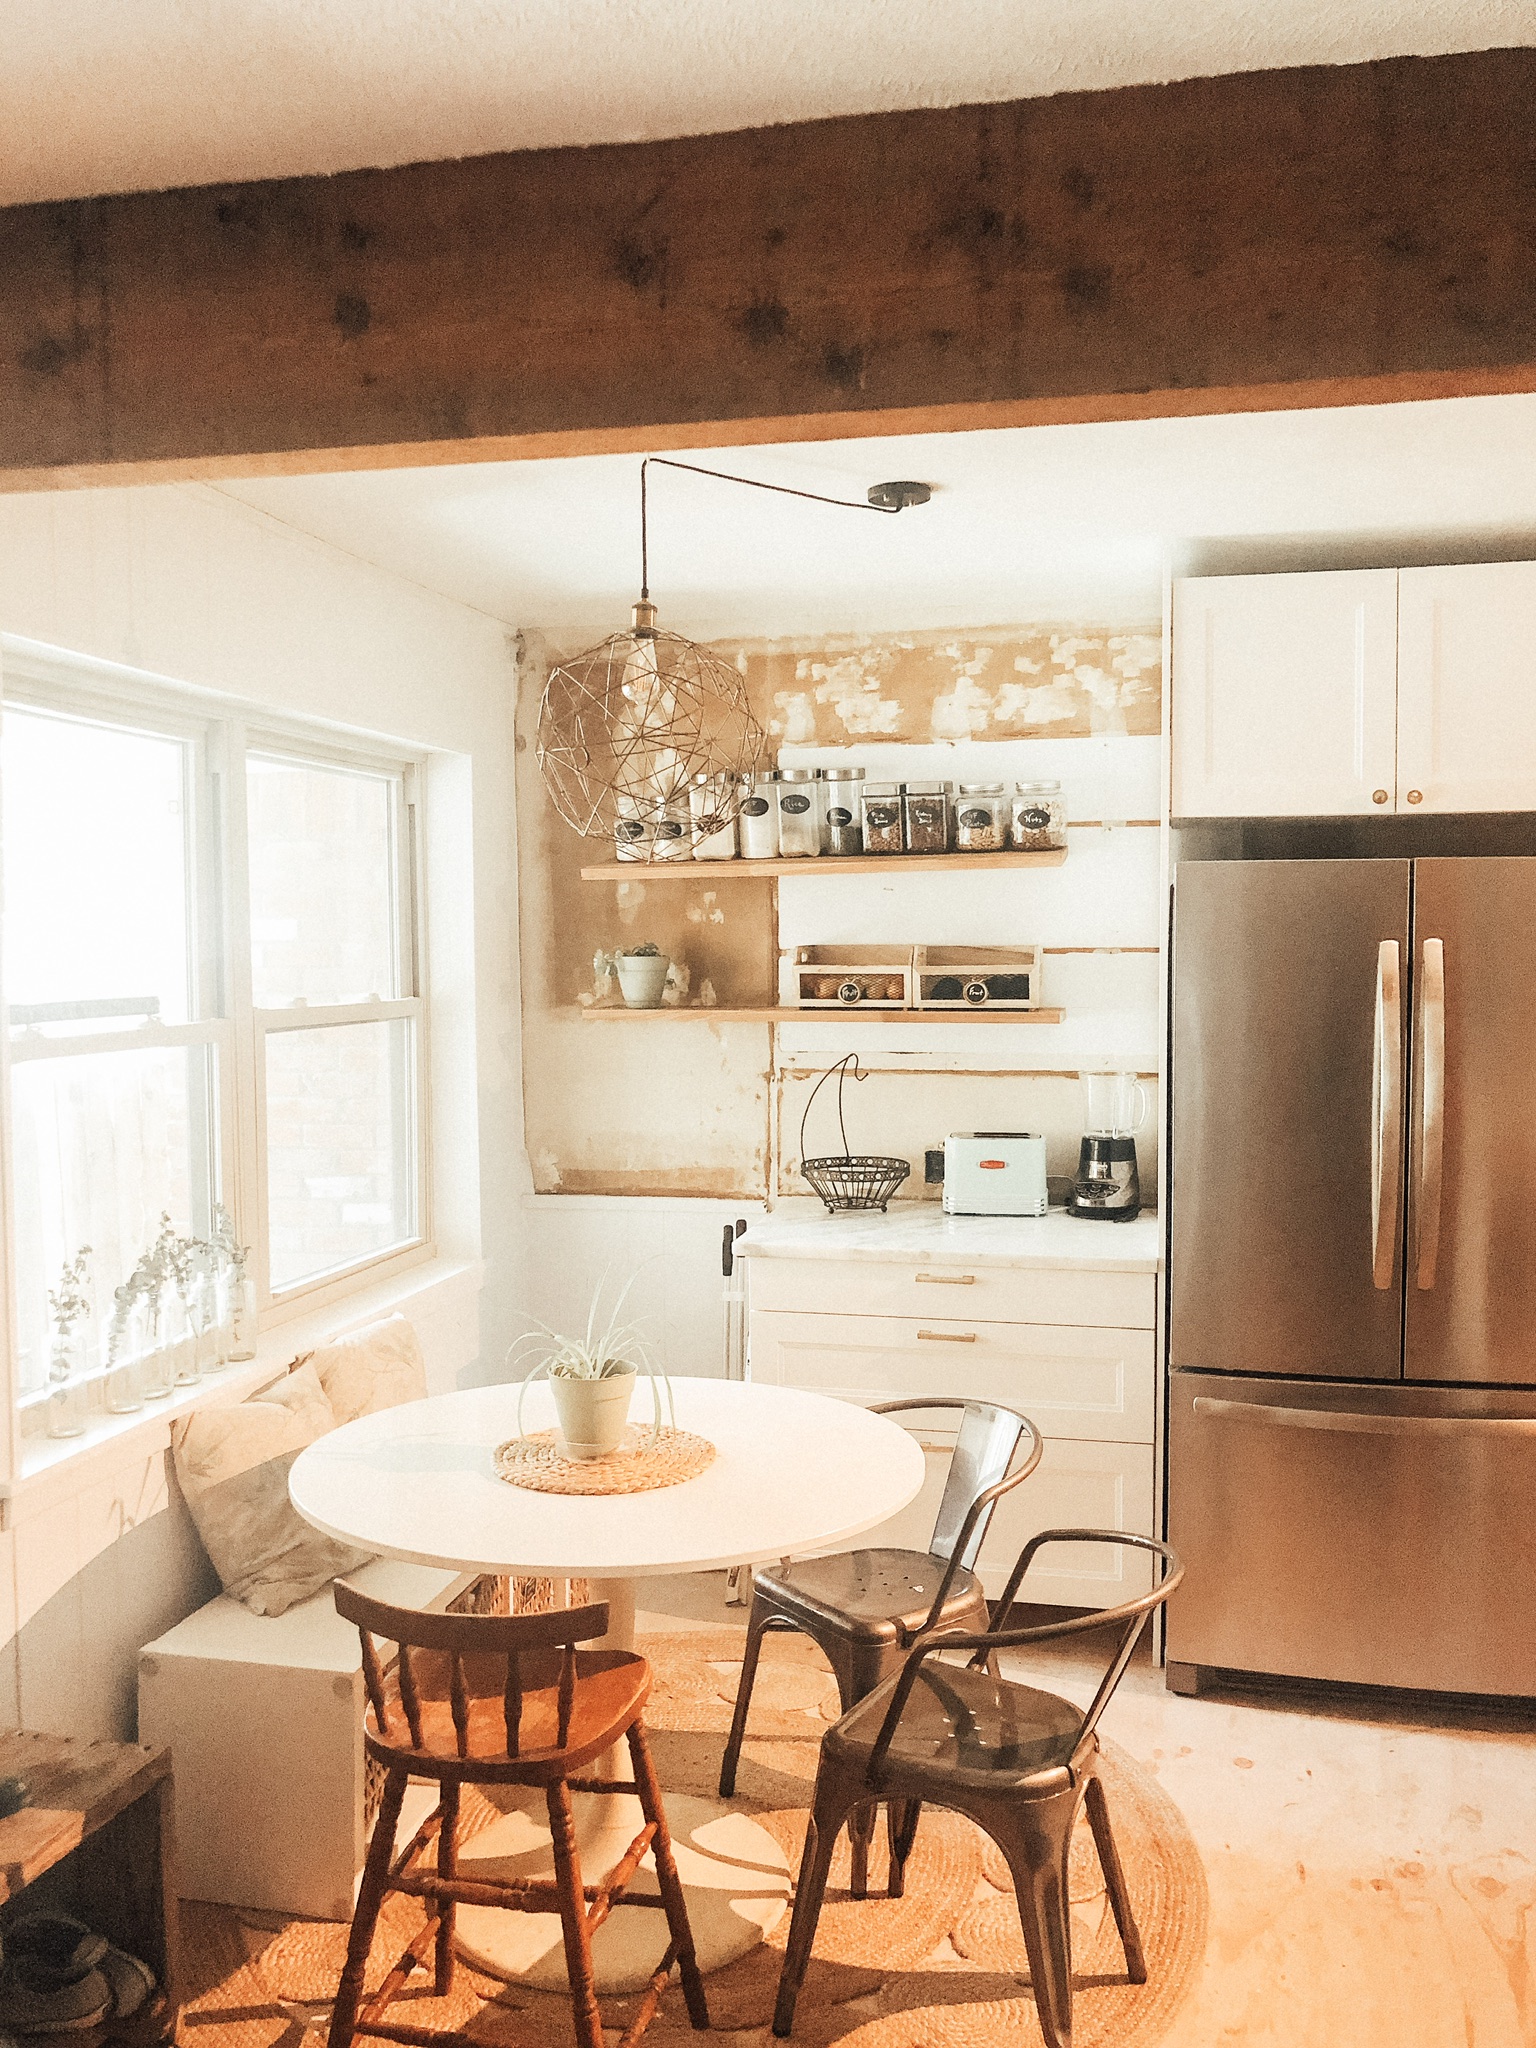
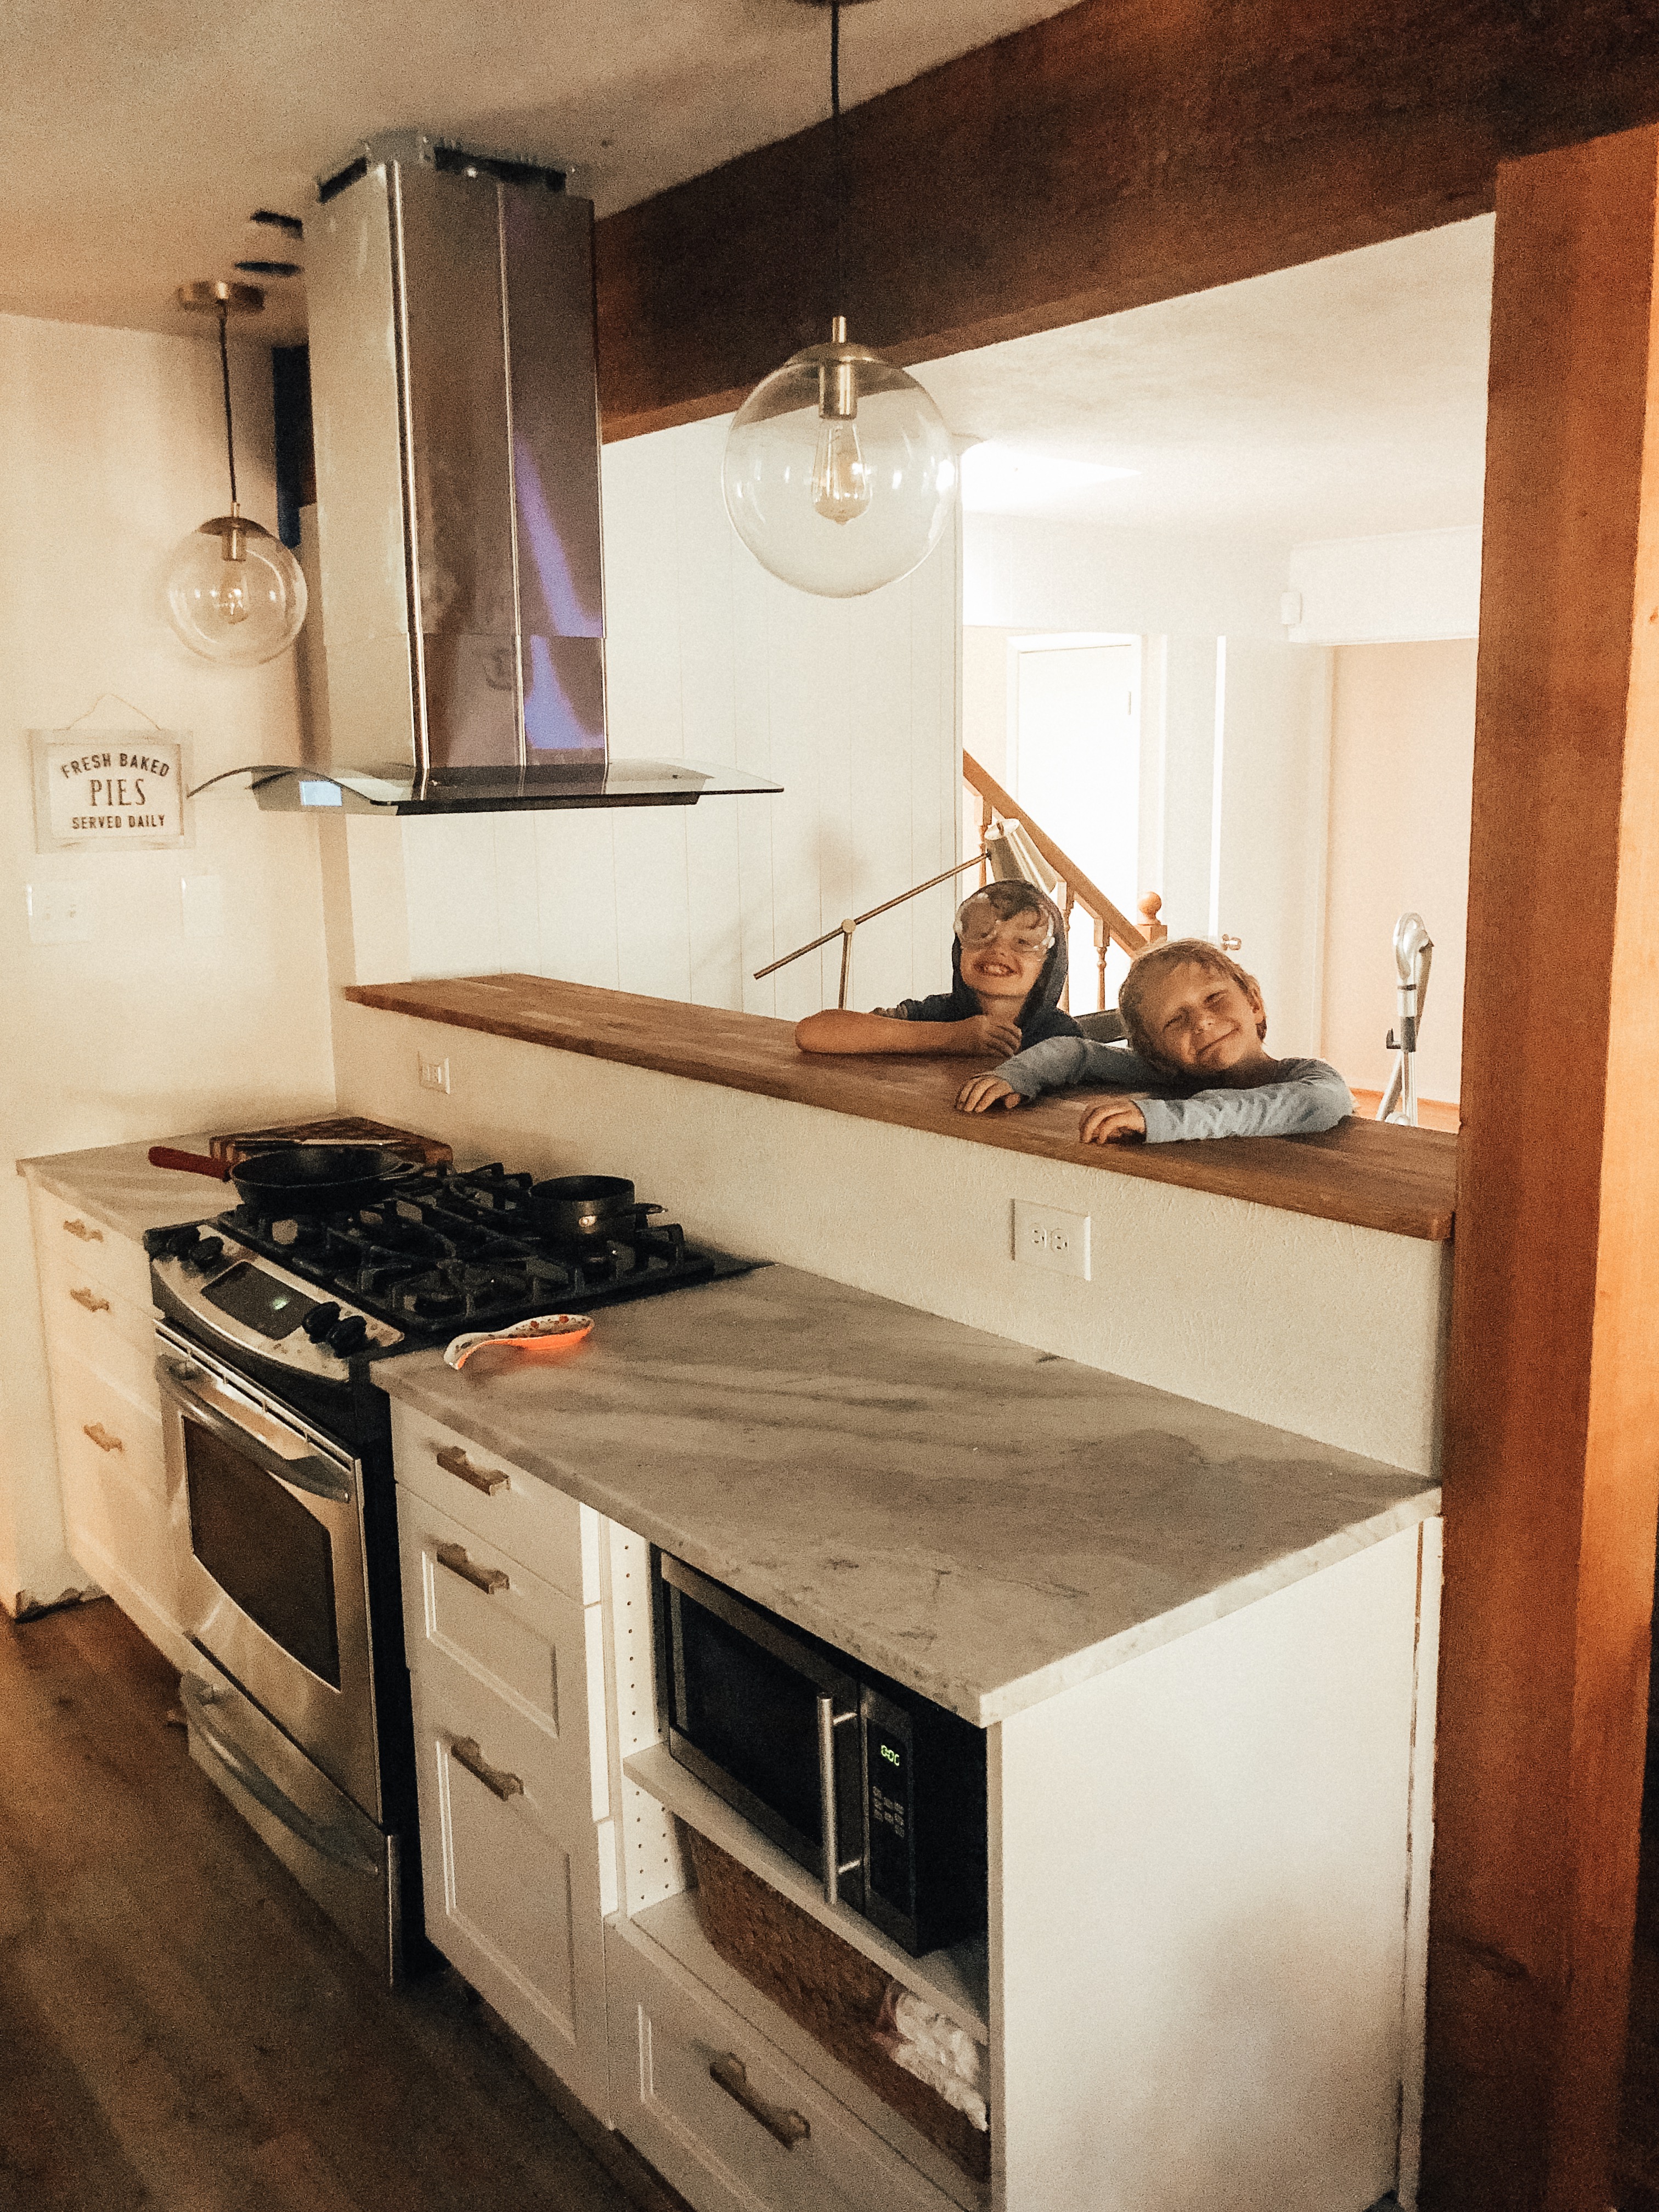
Once the floors were done, it felt like a whole different kitchen!
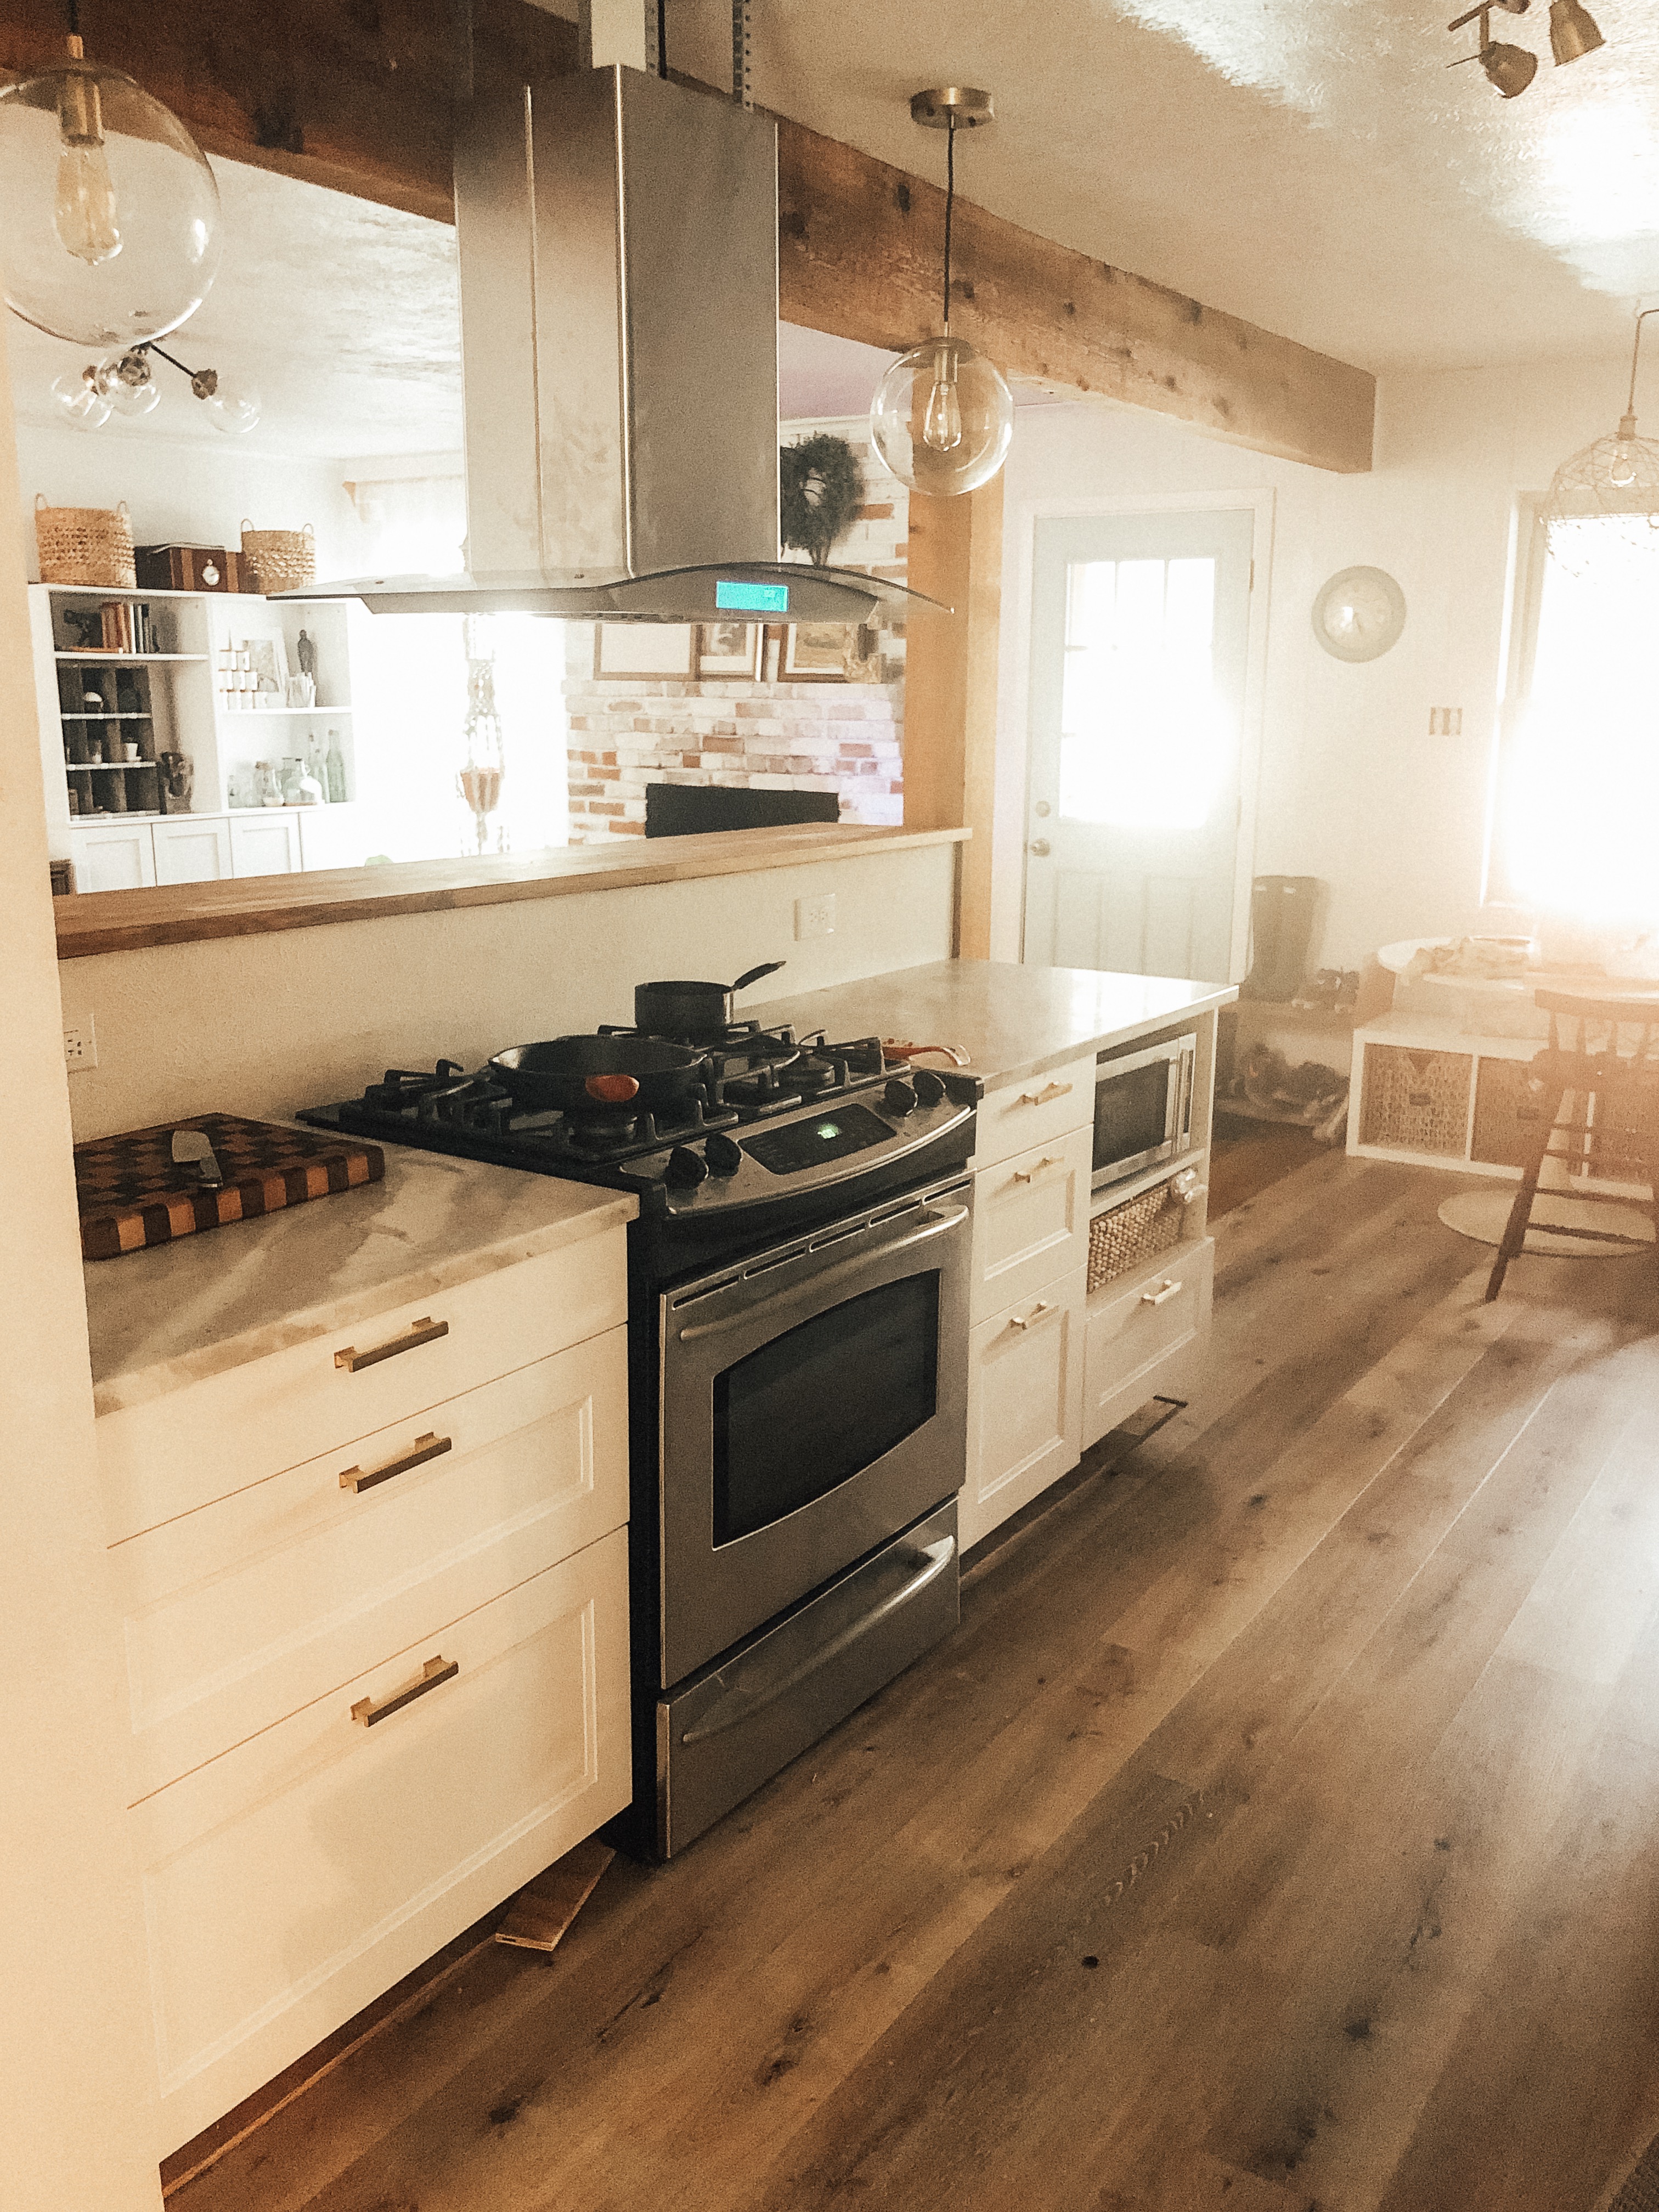
We still hadn’t done any mudding or backsplash, however. We actually lived with it looking like this for around four months! Everything thus far had happened from May– September. Jesse had already started back at school in August, and we just needed a chance to BREATHE and rest.

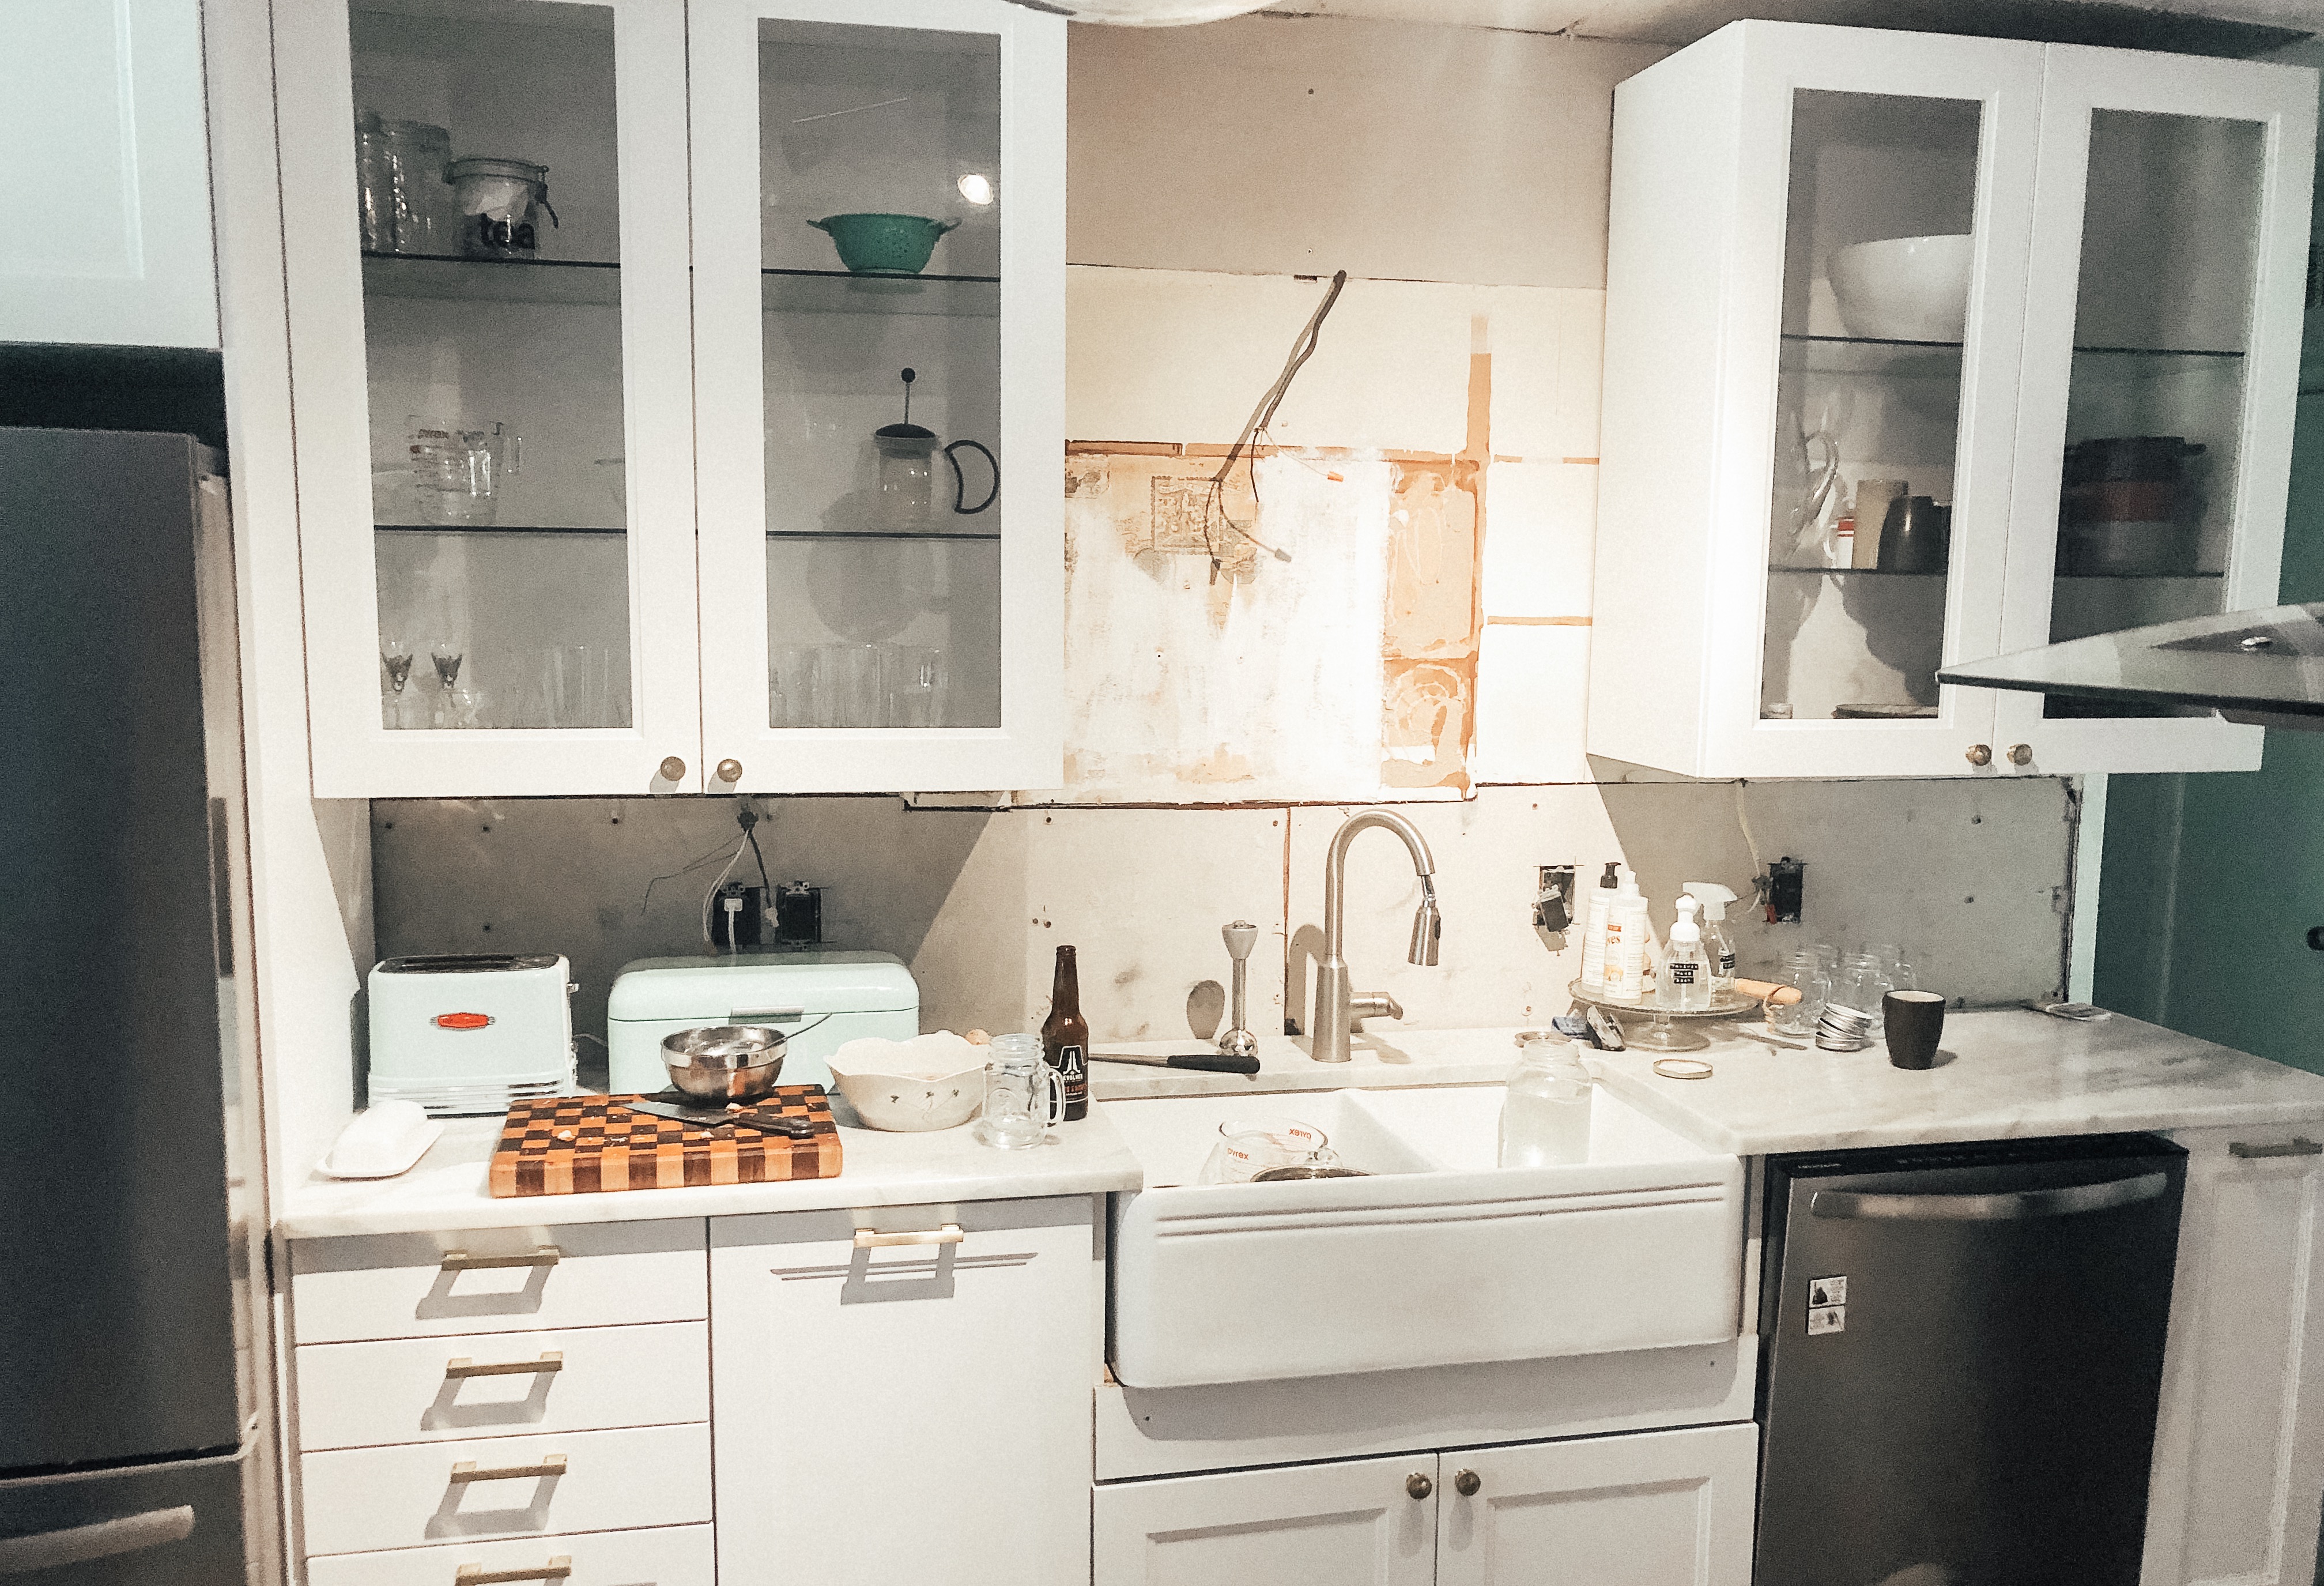
So our next step around Thanksgiving was to put paper over the marble counters and get to mudding! The wall was pretty uneven and it required many mud layers to get the incline flat.

After it was mudded, I tiled using a white hexagon tile.
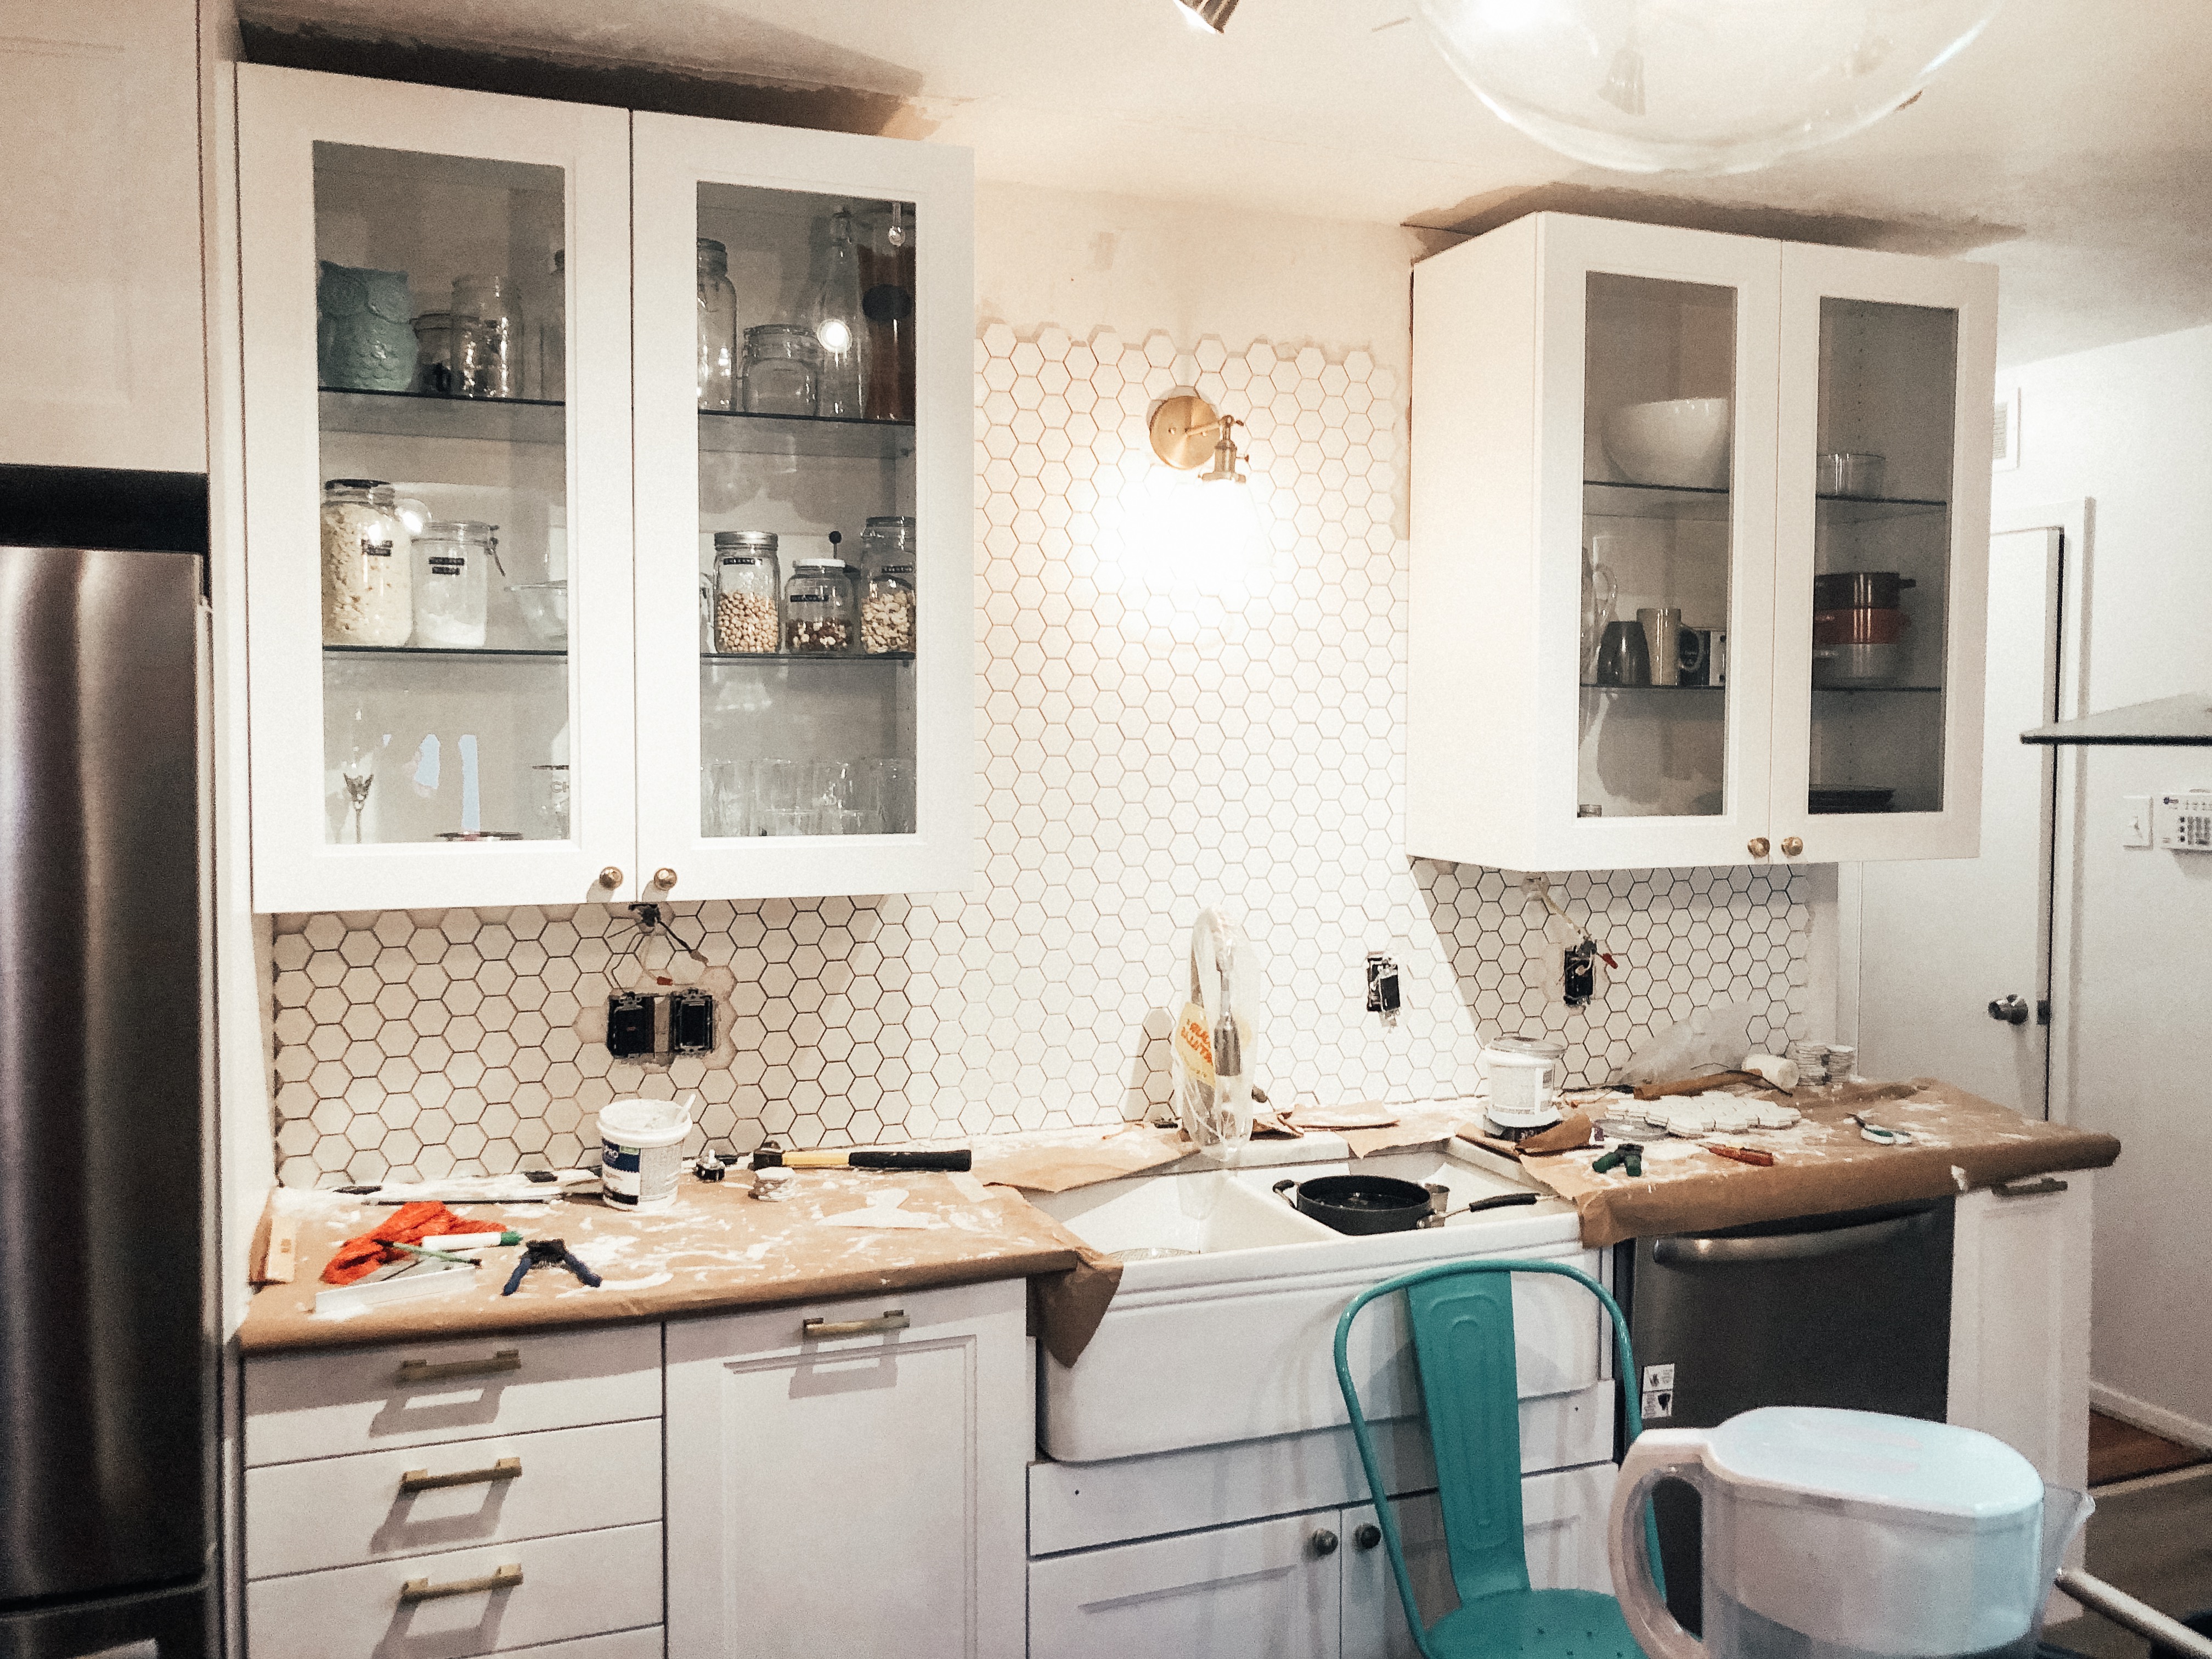
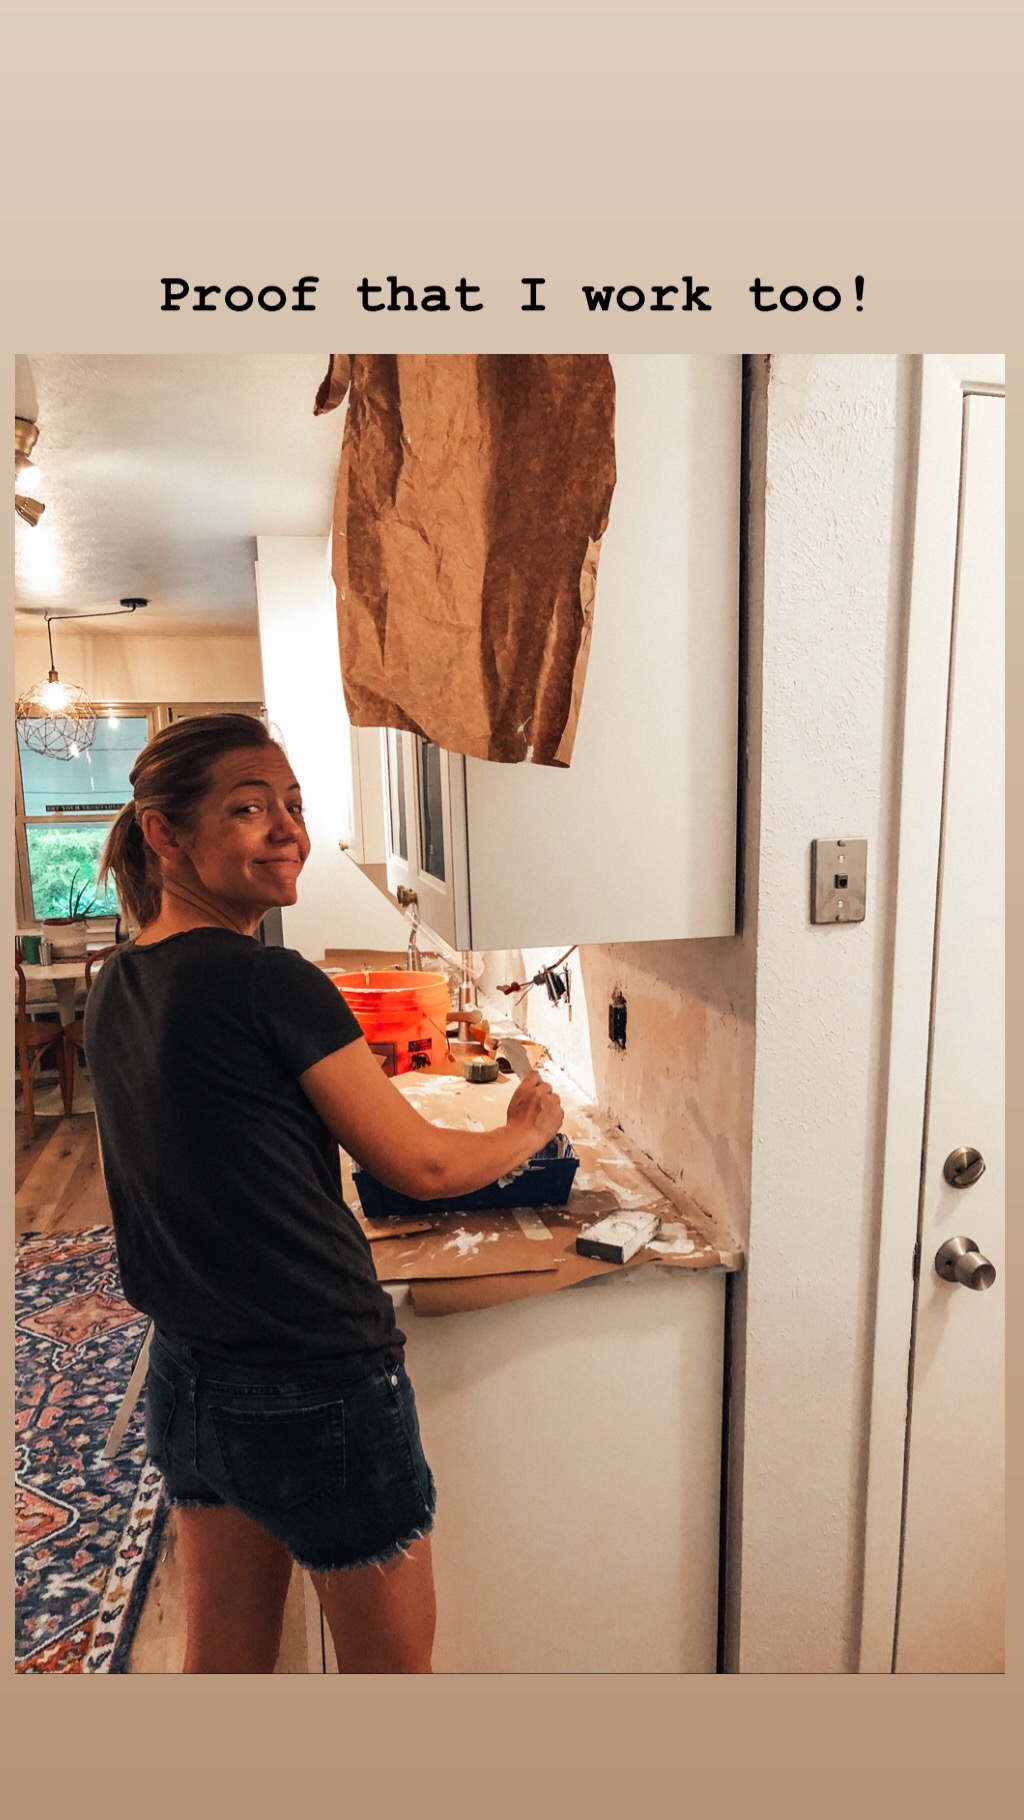
We grouted, installed the light, and called it good!
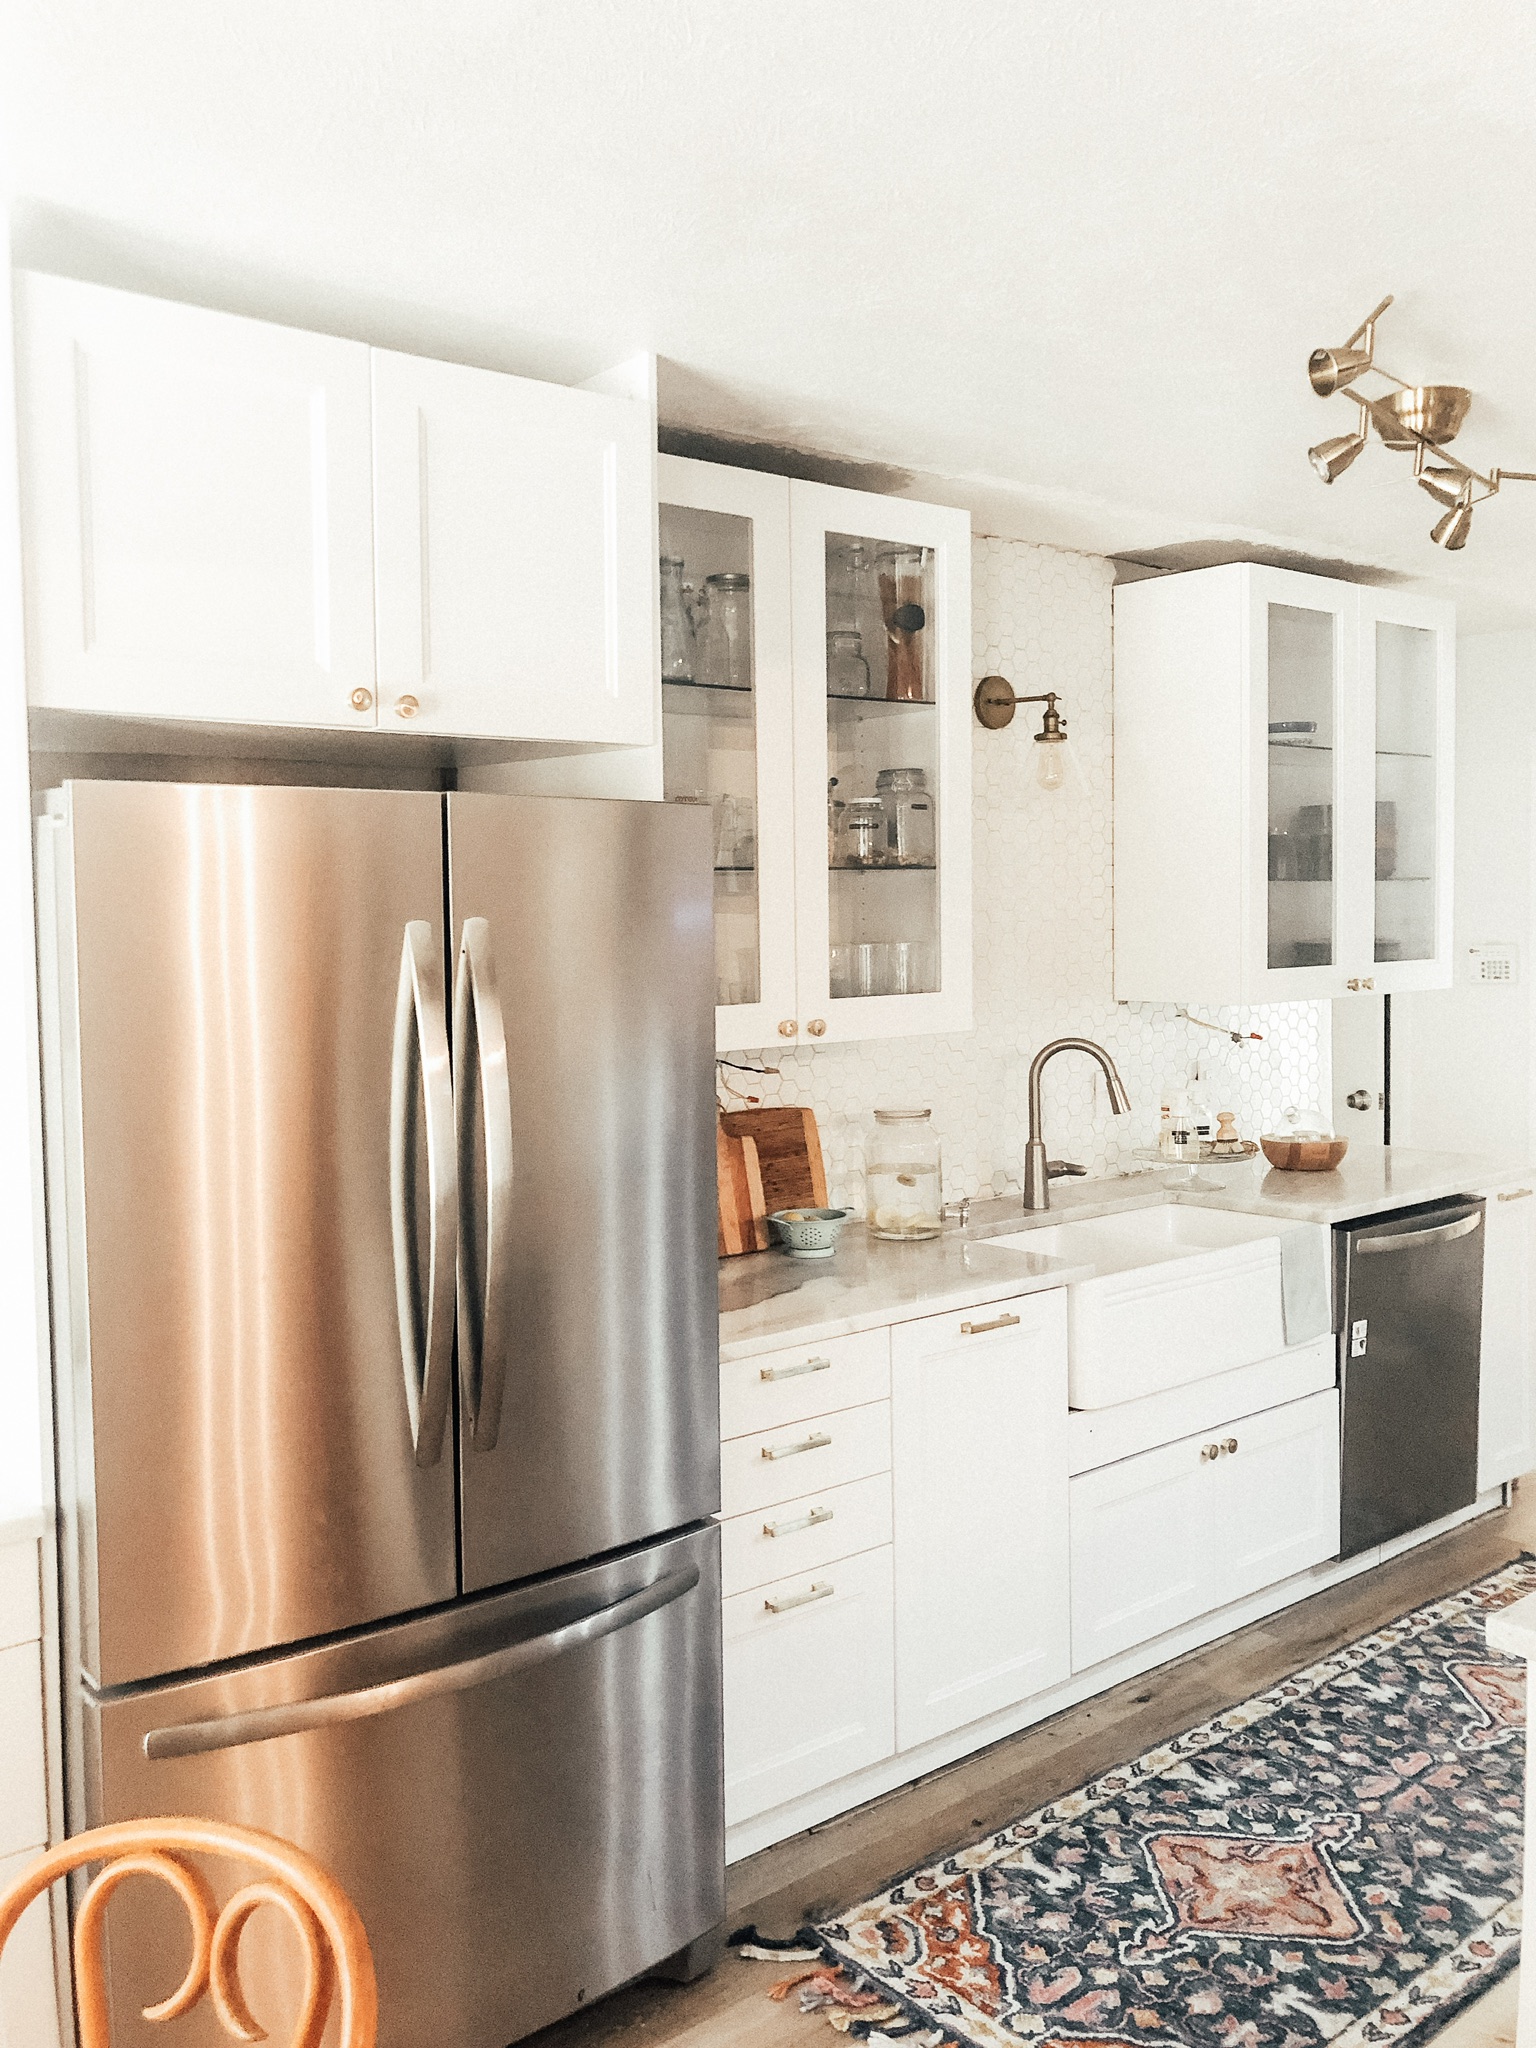
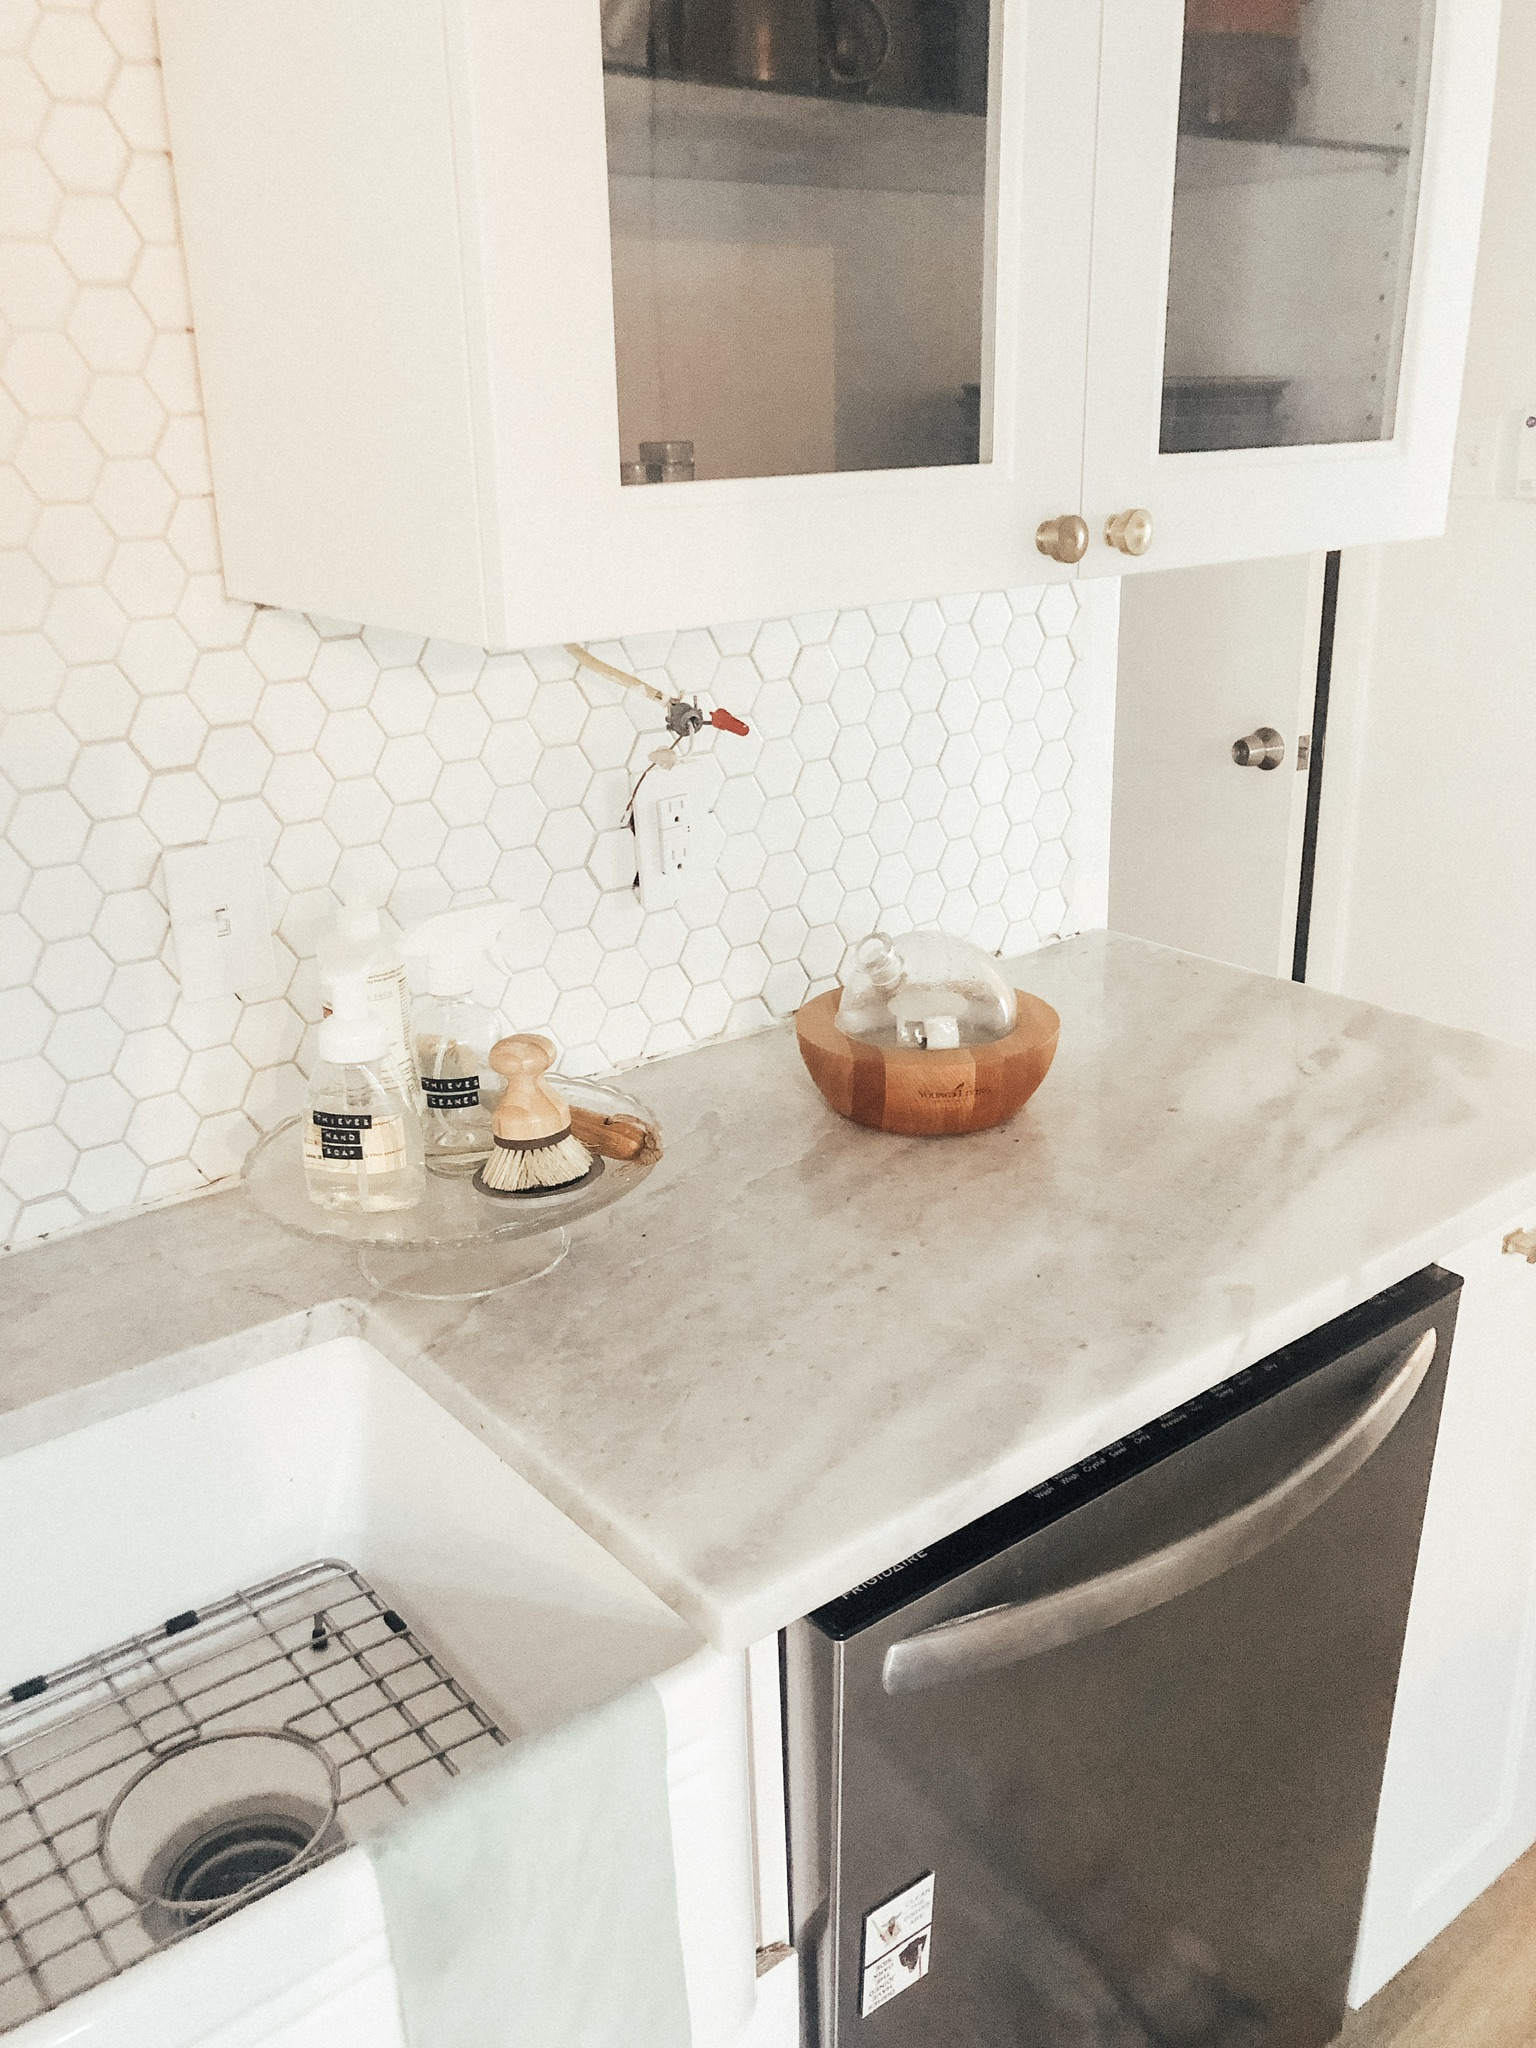
Since then, we haven’t really done much. We had other projects that needed our attention, and we were TIRED. I did install this black light above the floating shelves using the famous “light bulb” trick. Basically you screw a light into the wall wherever you want it, no wiring necessary. A piece of pvc pipe glued onto a hockey puck battery light screwed into the lightbulb area, and presto! You have a feature light wherever you want it. I have three of these in the house now.
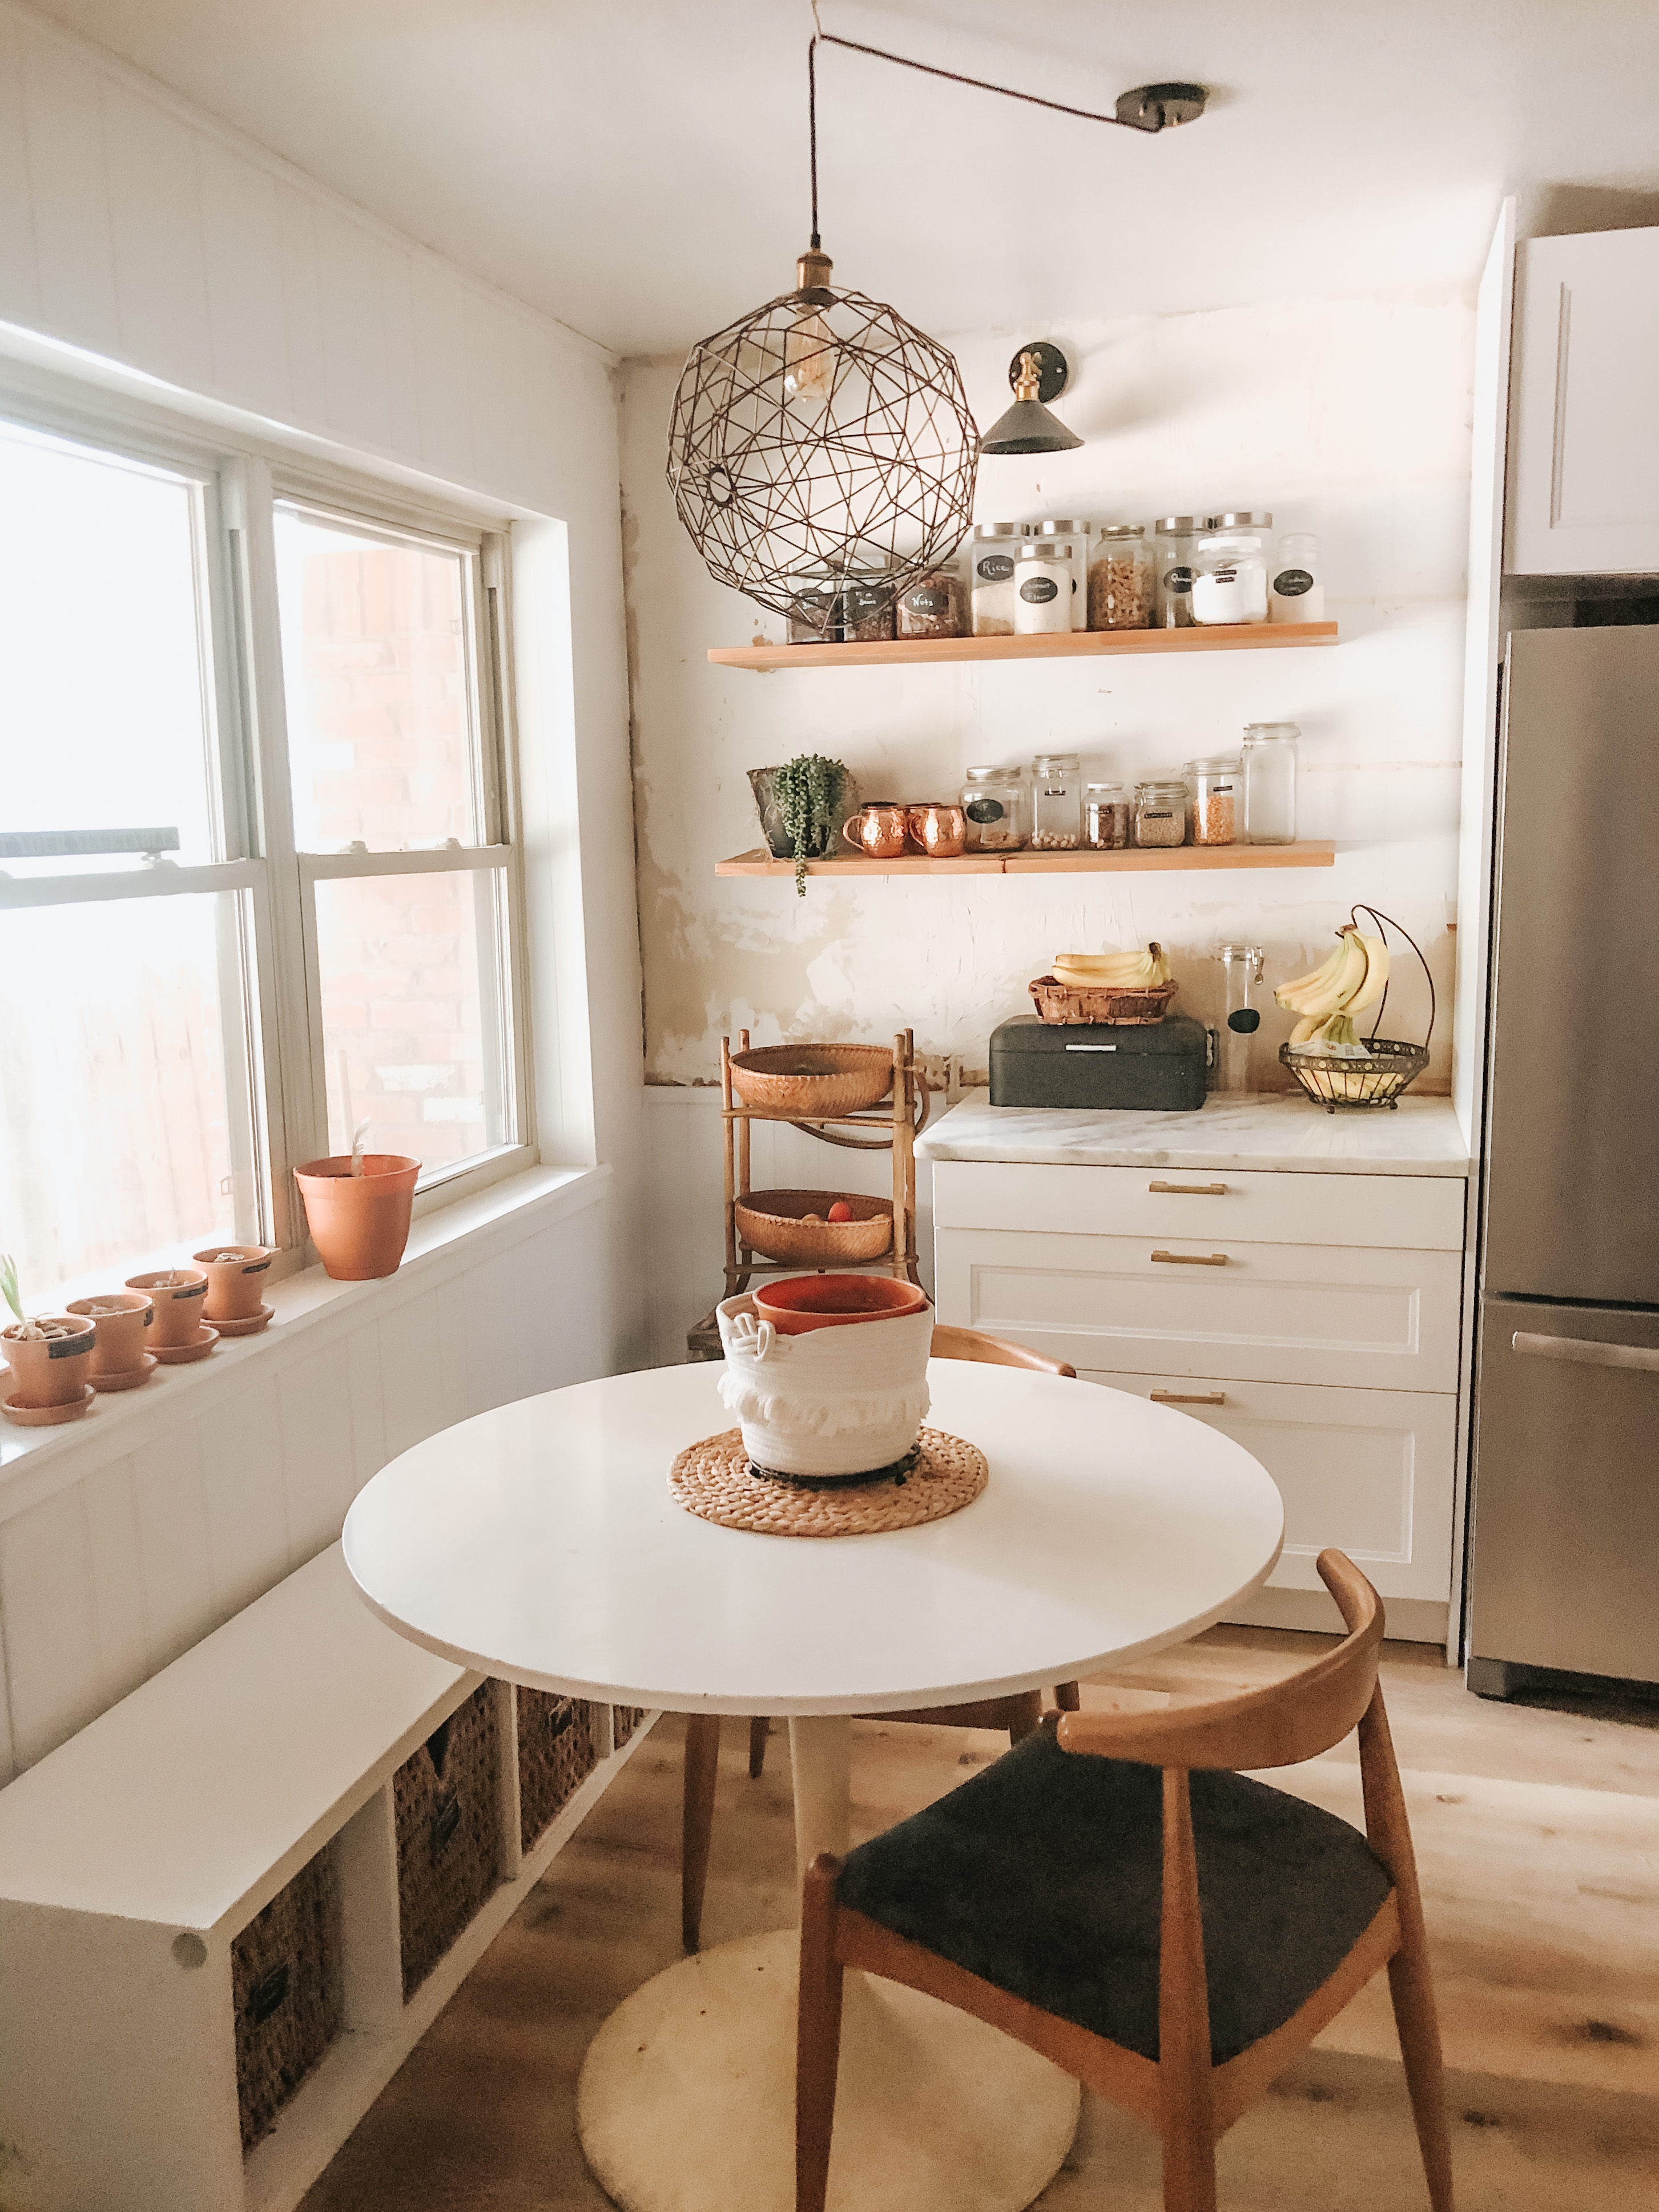
Some of the things we will probably change down the road:
- Our backsplash behind the open shelves isn’t done. Lots of people think that the way it is was intentional– an Anthro unfinished vibe. No, haha. I just ran out of steam. If we change this corner and under the window (see below) then I’m going to wait on this and keep the Anthro warehouse vibe for now, haha.
- In the end, the bar top feels too high for me, and it obstructs some of the view. Eventually I would love to cut that wall down further and have one solid counter height bar/island. This is one of the reasons I haven’t finished the backsplash behind the stove.

- Speaking of the view, I wish we had gone with a downdraft vent hood. This way, we wouldn’t have any obstruction looking out into the room beyond. I would probably go for canned lights too.
- This gas range was always meant to be temporary. The one I REALLY want is wider and has 6 burners and double ovens below. This one was $300, and a good temporary solution that has lasted us 18 months and will last hopefully another year. Dropping $4-5k on a range just isn’t in the budget yet.
- This window is too low to do cabinets under, but I would really love to extend this area into an L-Shape counter area for more storage and food prep/serving when we have company over. It will require replacing the window with something else, which is $$$ and down the road. Once we break down a wall in our living room (different post!) this seating area will have somewhere else to go.
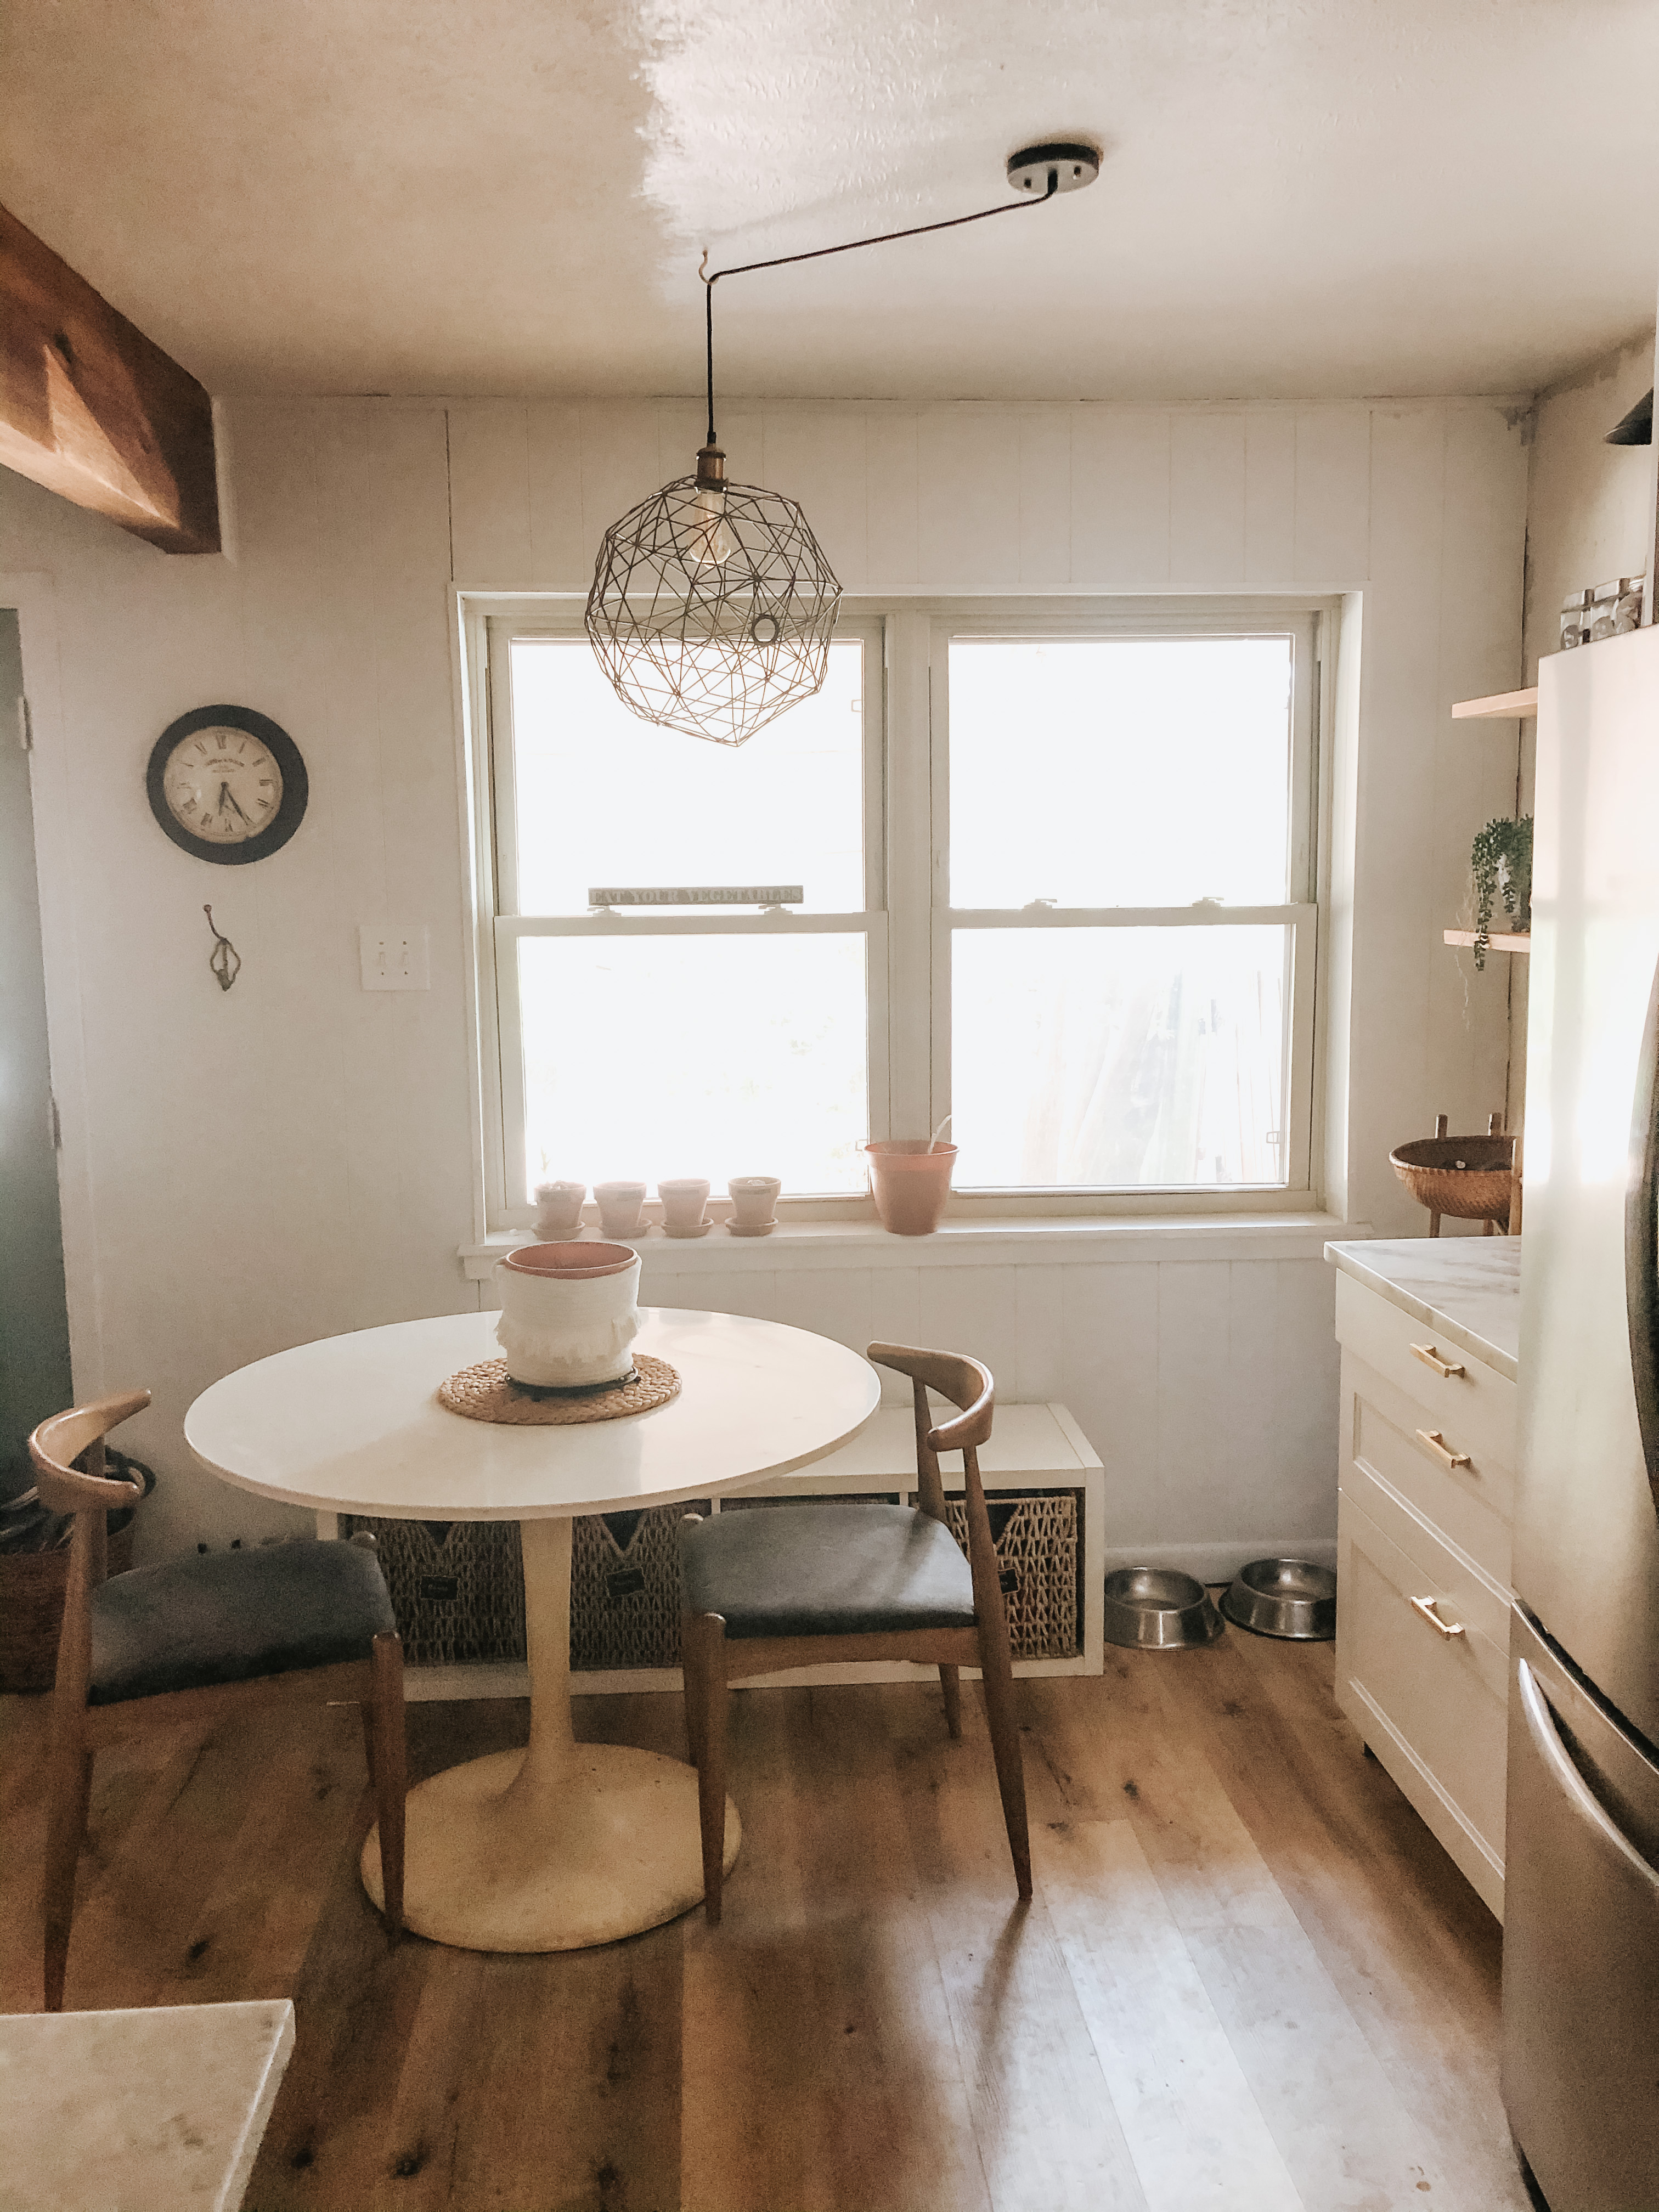
We haven’t finished ANY of the trim or crown molding or end of cabinet pieces. That will help a lot with the edges of the tile and the tops of the cabinets! You can also see that we had some trouble with the under cabinet lights 🙂 That switch turns ON the over sink light but turns OFF the under cabinet one and vice versa. Jesse almost lost his mind with that one, so we waited and just haven’t come back around to it yet 🙂
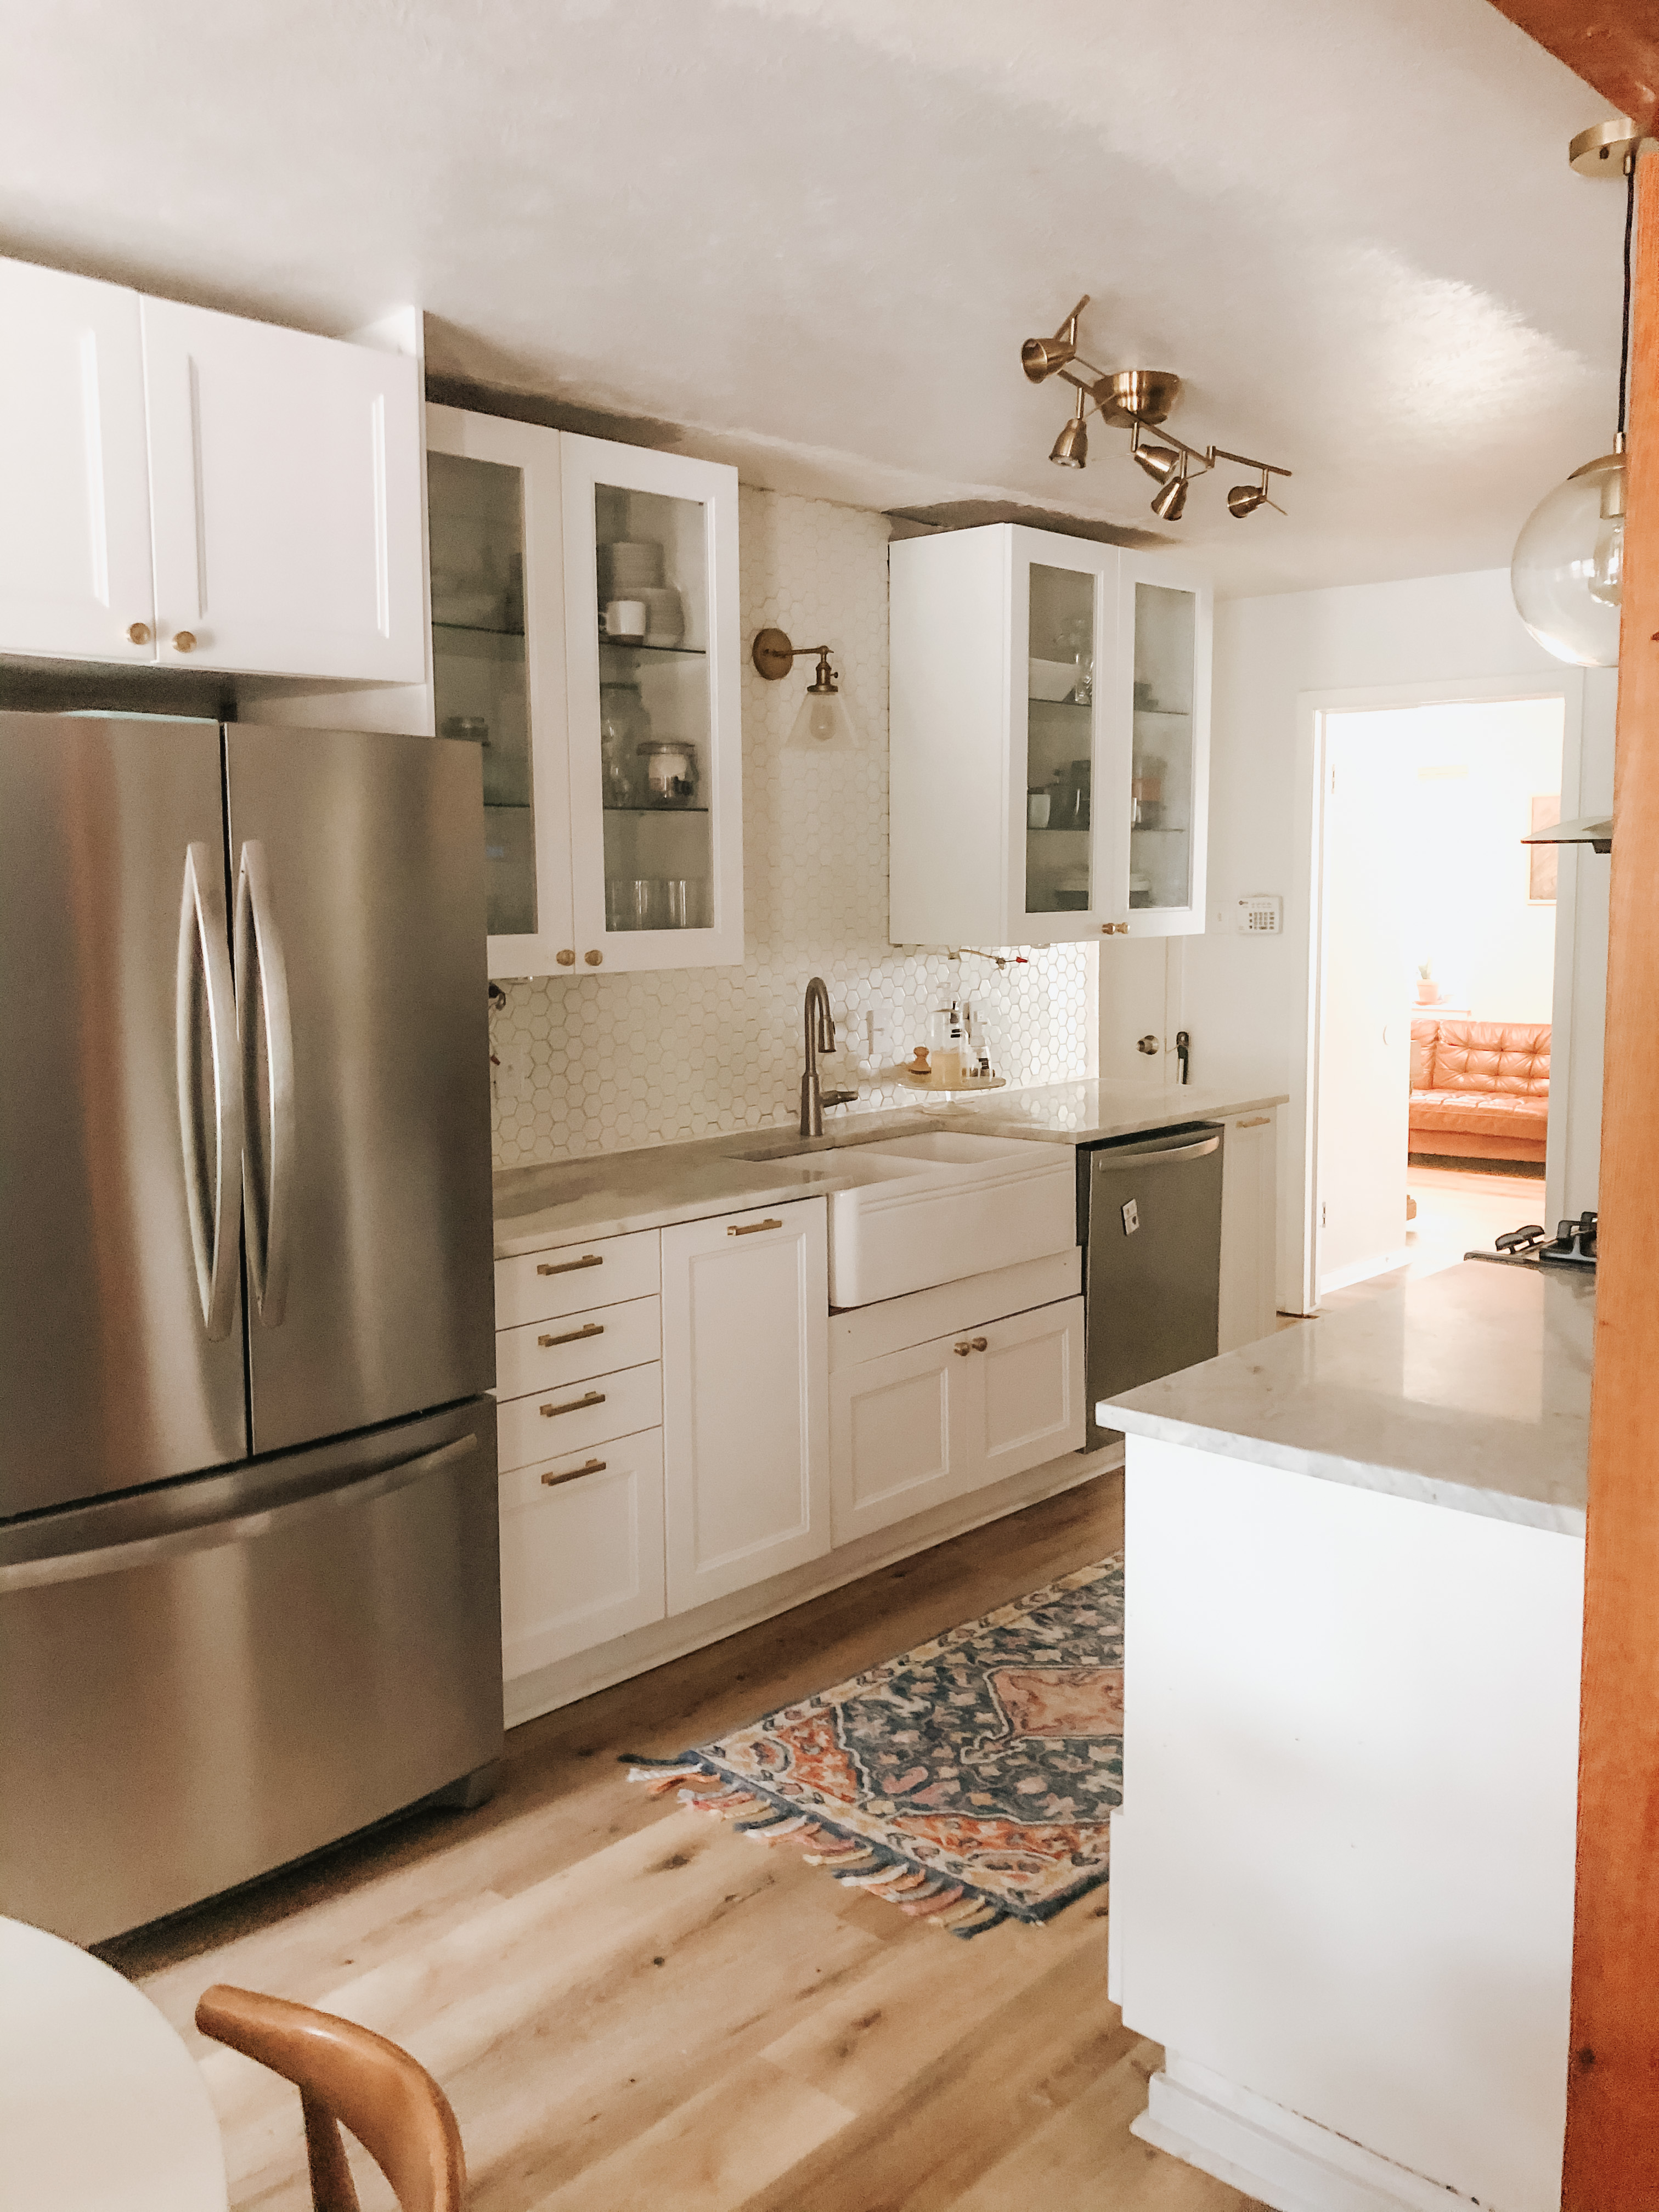
Lastly, the roof is all kinds of different textures due to all of the construction. Our last step will be to re-texture it as one smooth matte.

There you have it! We will have a Part 2 once this kitchen is complete! Leave any questions in the comments and I will do my best to get to them!