When we first moved into this house about 15 months ago, I had NO CLUE what to do with the ginormous living/dining/family area that was basically one giant loft sized room. When I first put down our rug from our old house that used to take up the entire living room, it looked comically sad, like someone had put a doormat on the ground. Even the AT&T guy who came to install our internet laughed at it!
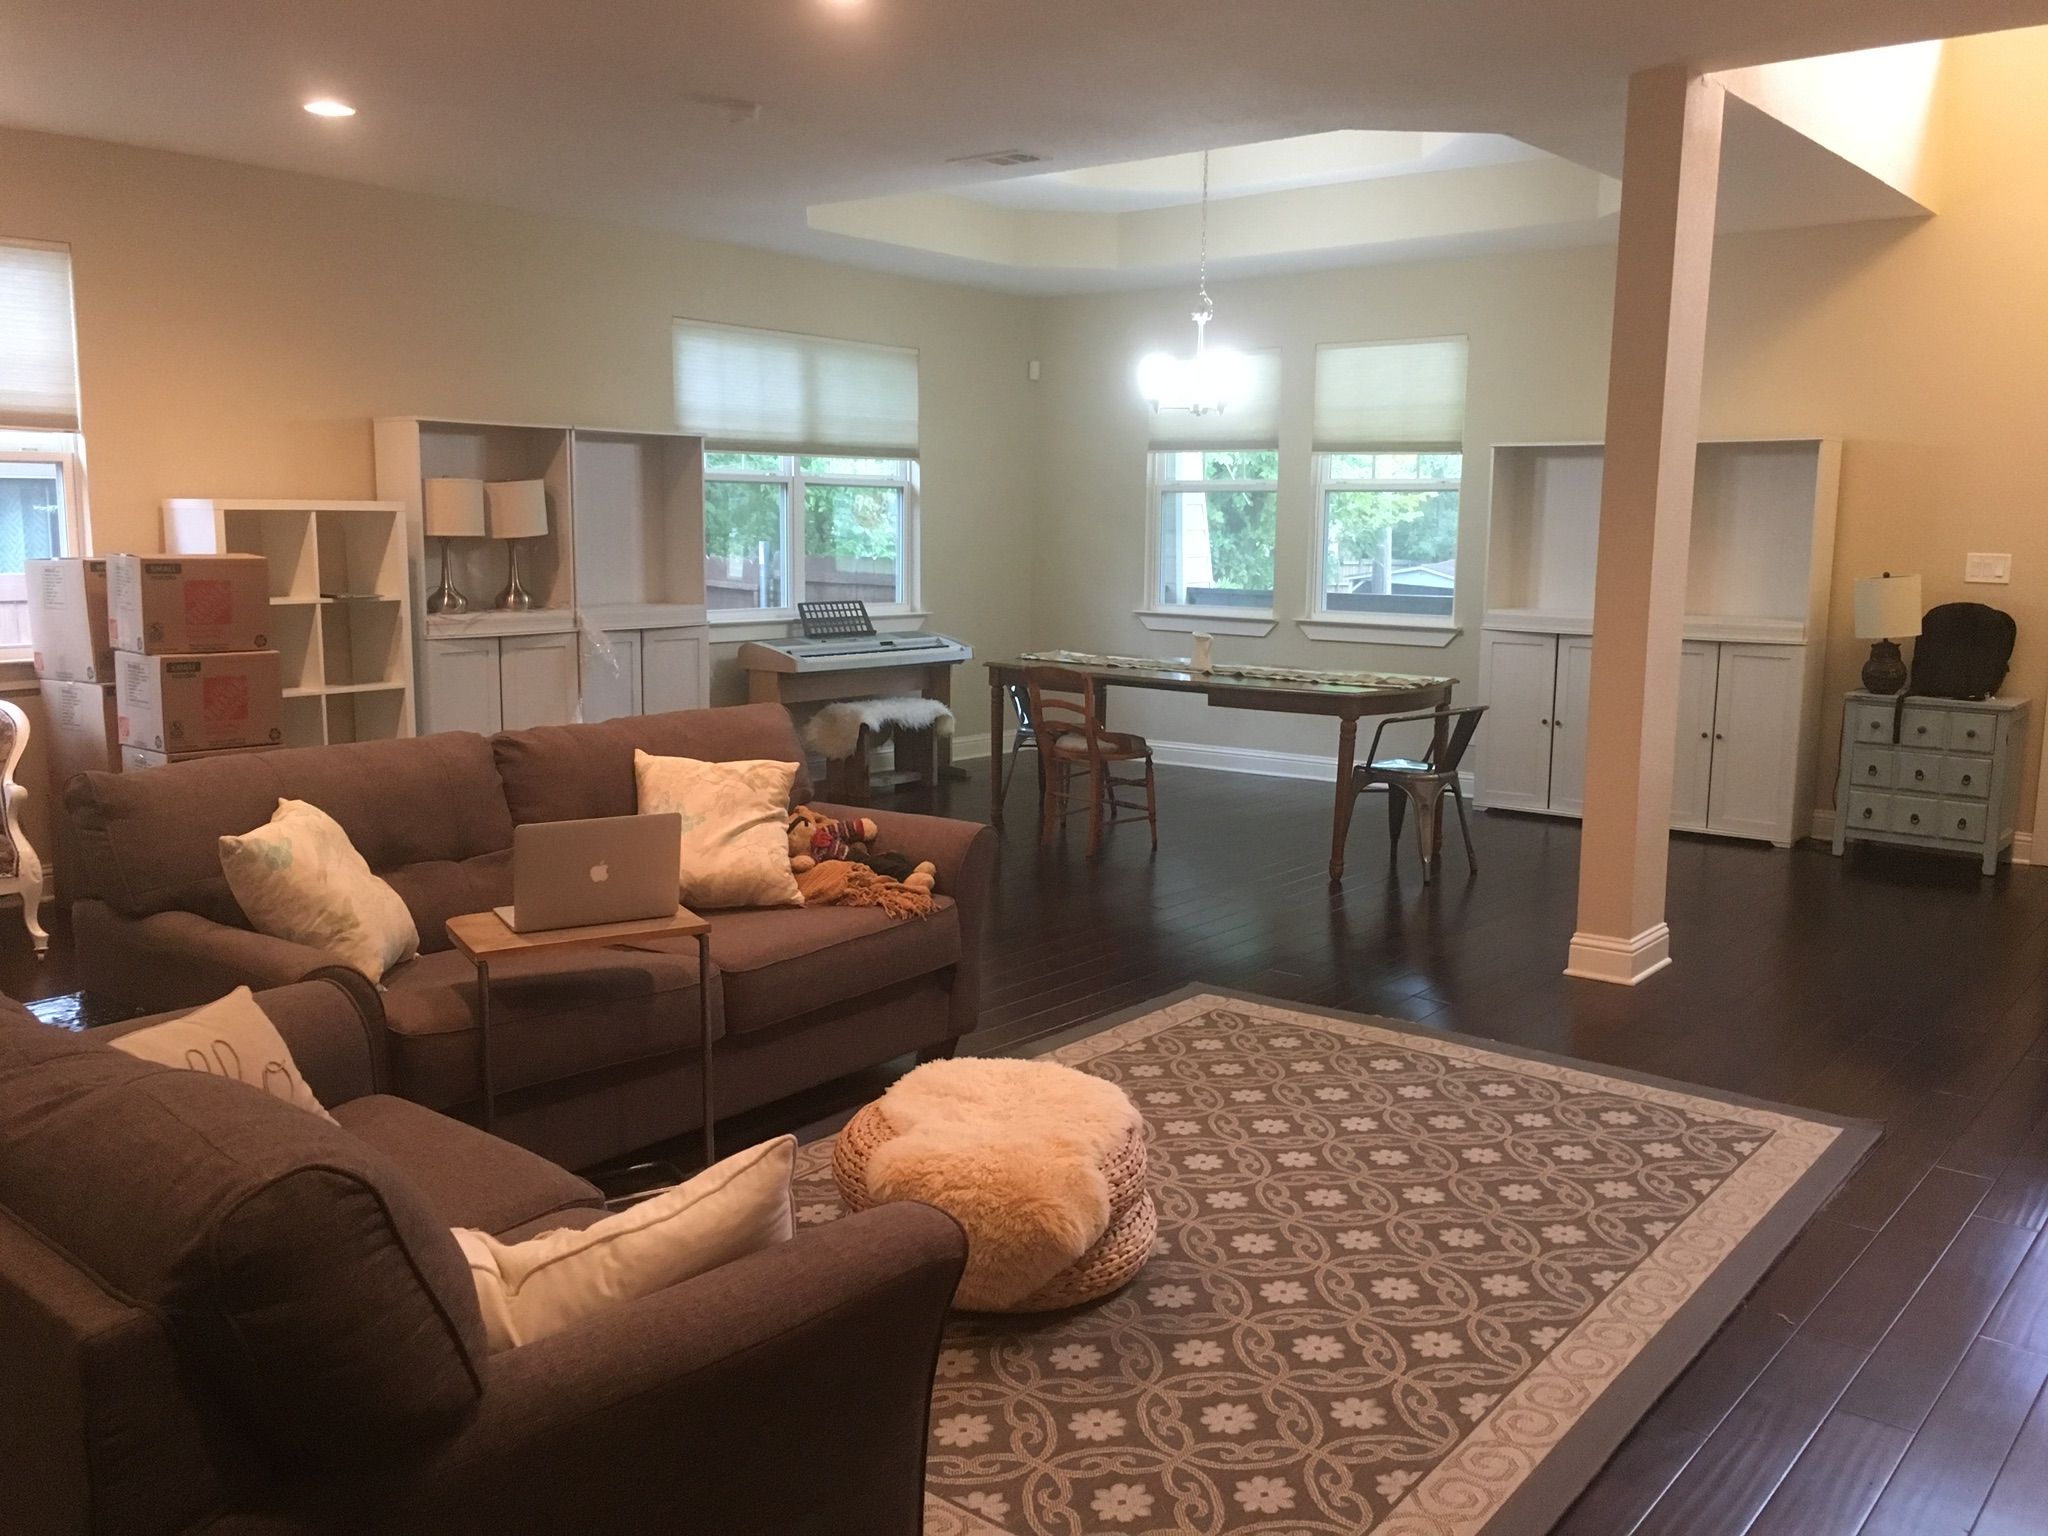
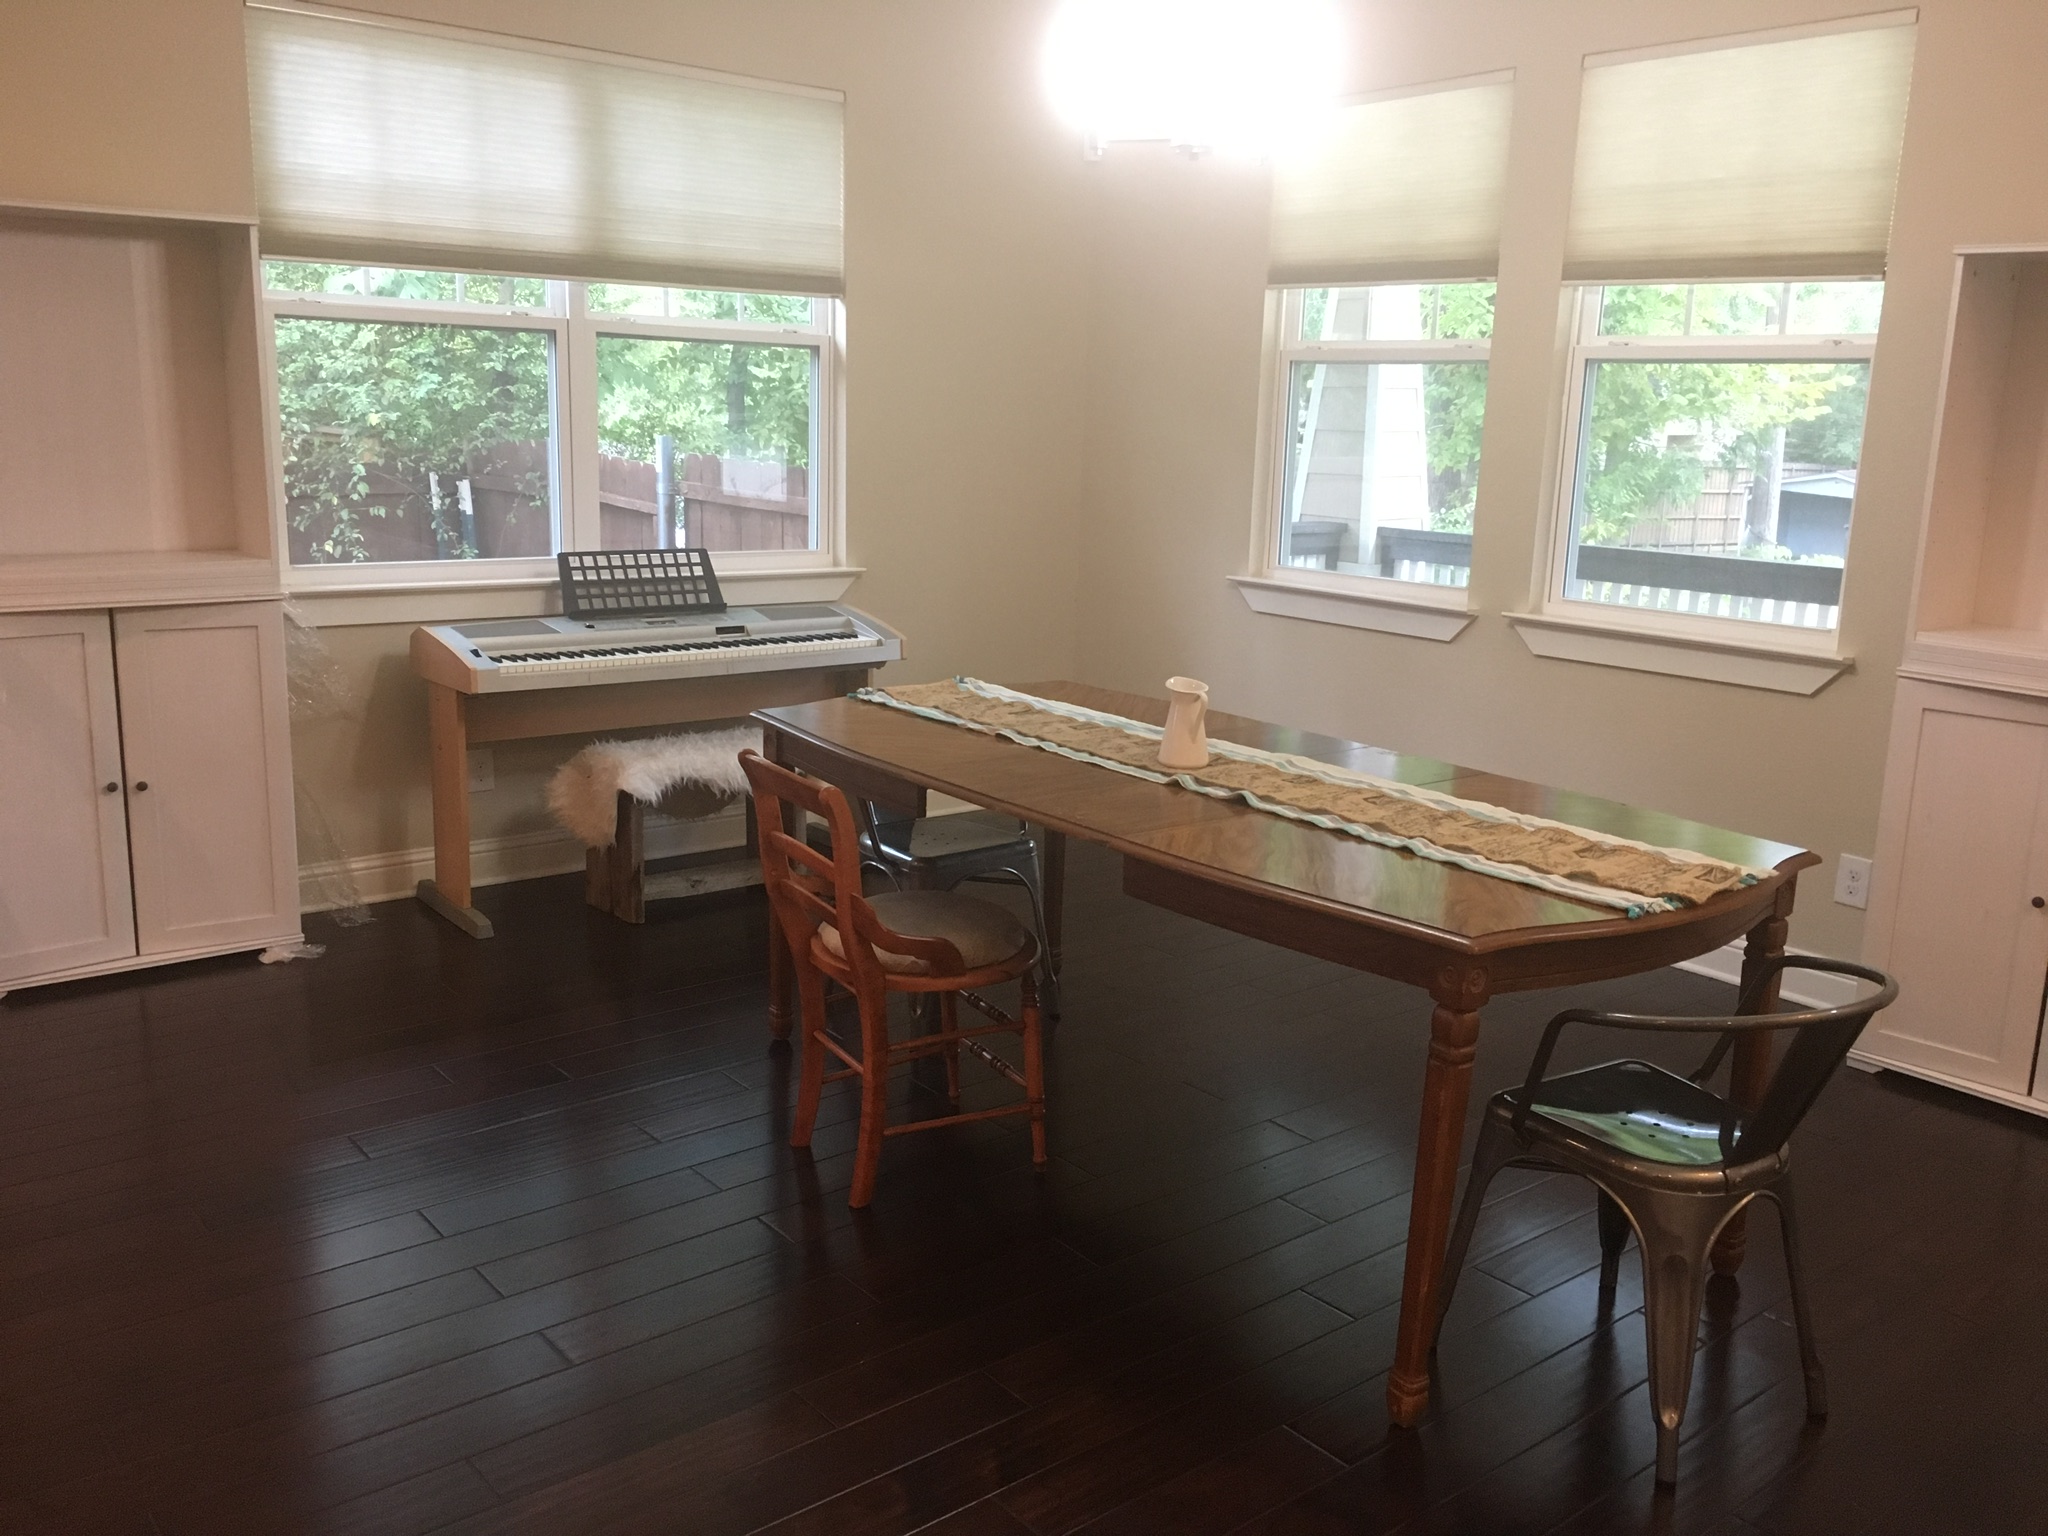
I had NO idea what I was doing, decor wise, and for the first couple months I was terribly homesick! While I appreciated how new this house was (built just 4 years ago, so the insulation is fantastic!), I missed the quaint homey character of our little 1940s house. This new giant room, in particular, felt like it was actively trying to swallow our stuff. I felt really lost and like I couldn’t even get comfortable.
Over the past year, we’ve played with things and moved things around to no end trying to find what “fits”. We’ve sold off a lot of our cheap dwarfishly sized Ikea stuff, and opted for only real wood and jute fibers (I have done wayyyy to much reading about formaldehyde and off-gassing to knowingly buy stuff that was going to pollute our indoor air!).
This area by the front door started out as our dining room, mostly because that seemed to be how the house builder intended it (there’s a coffered ceiling and a chandelier here).
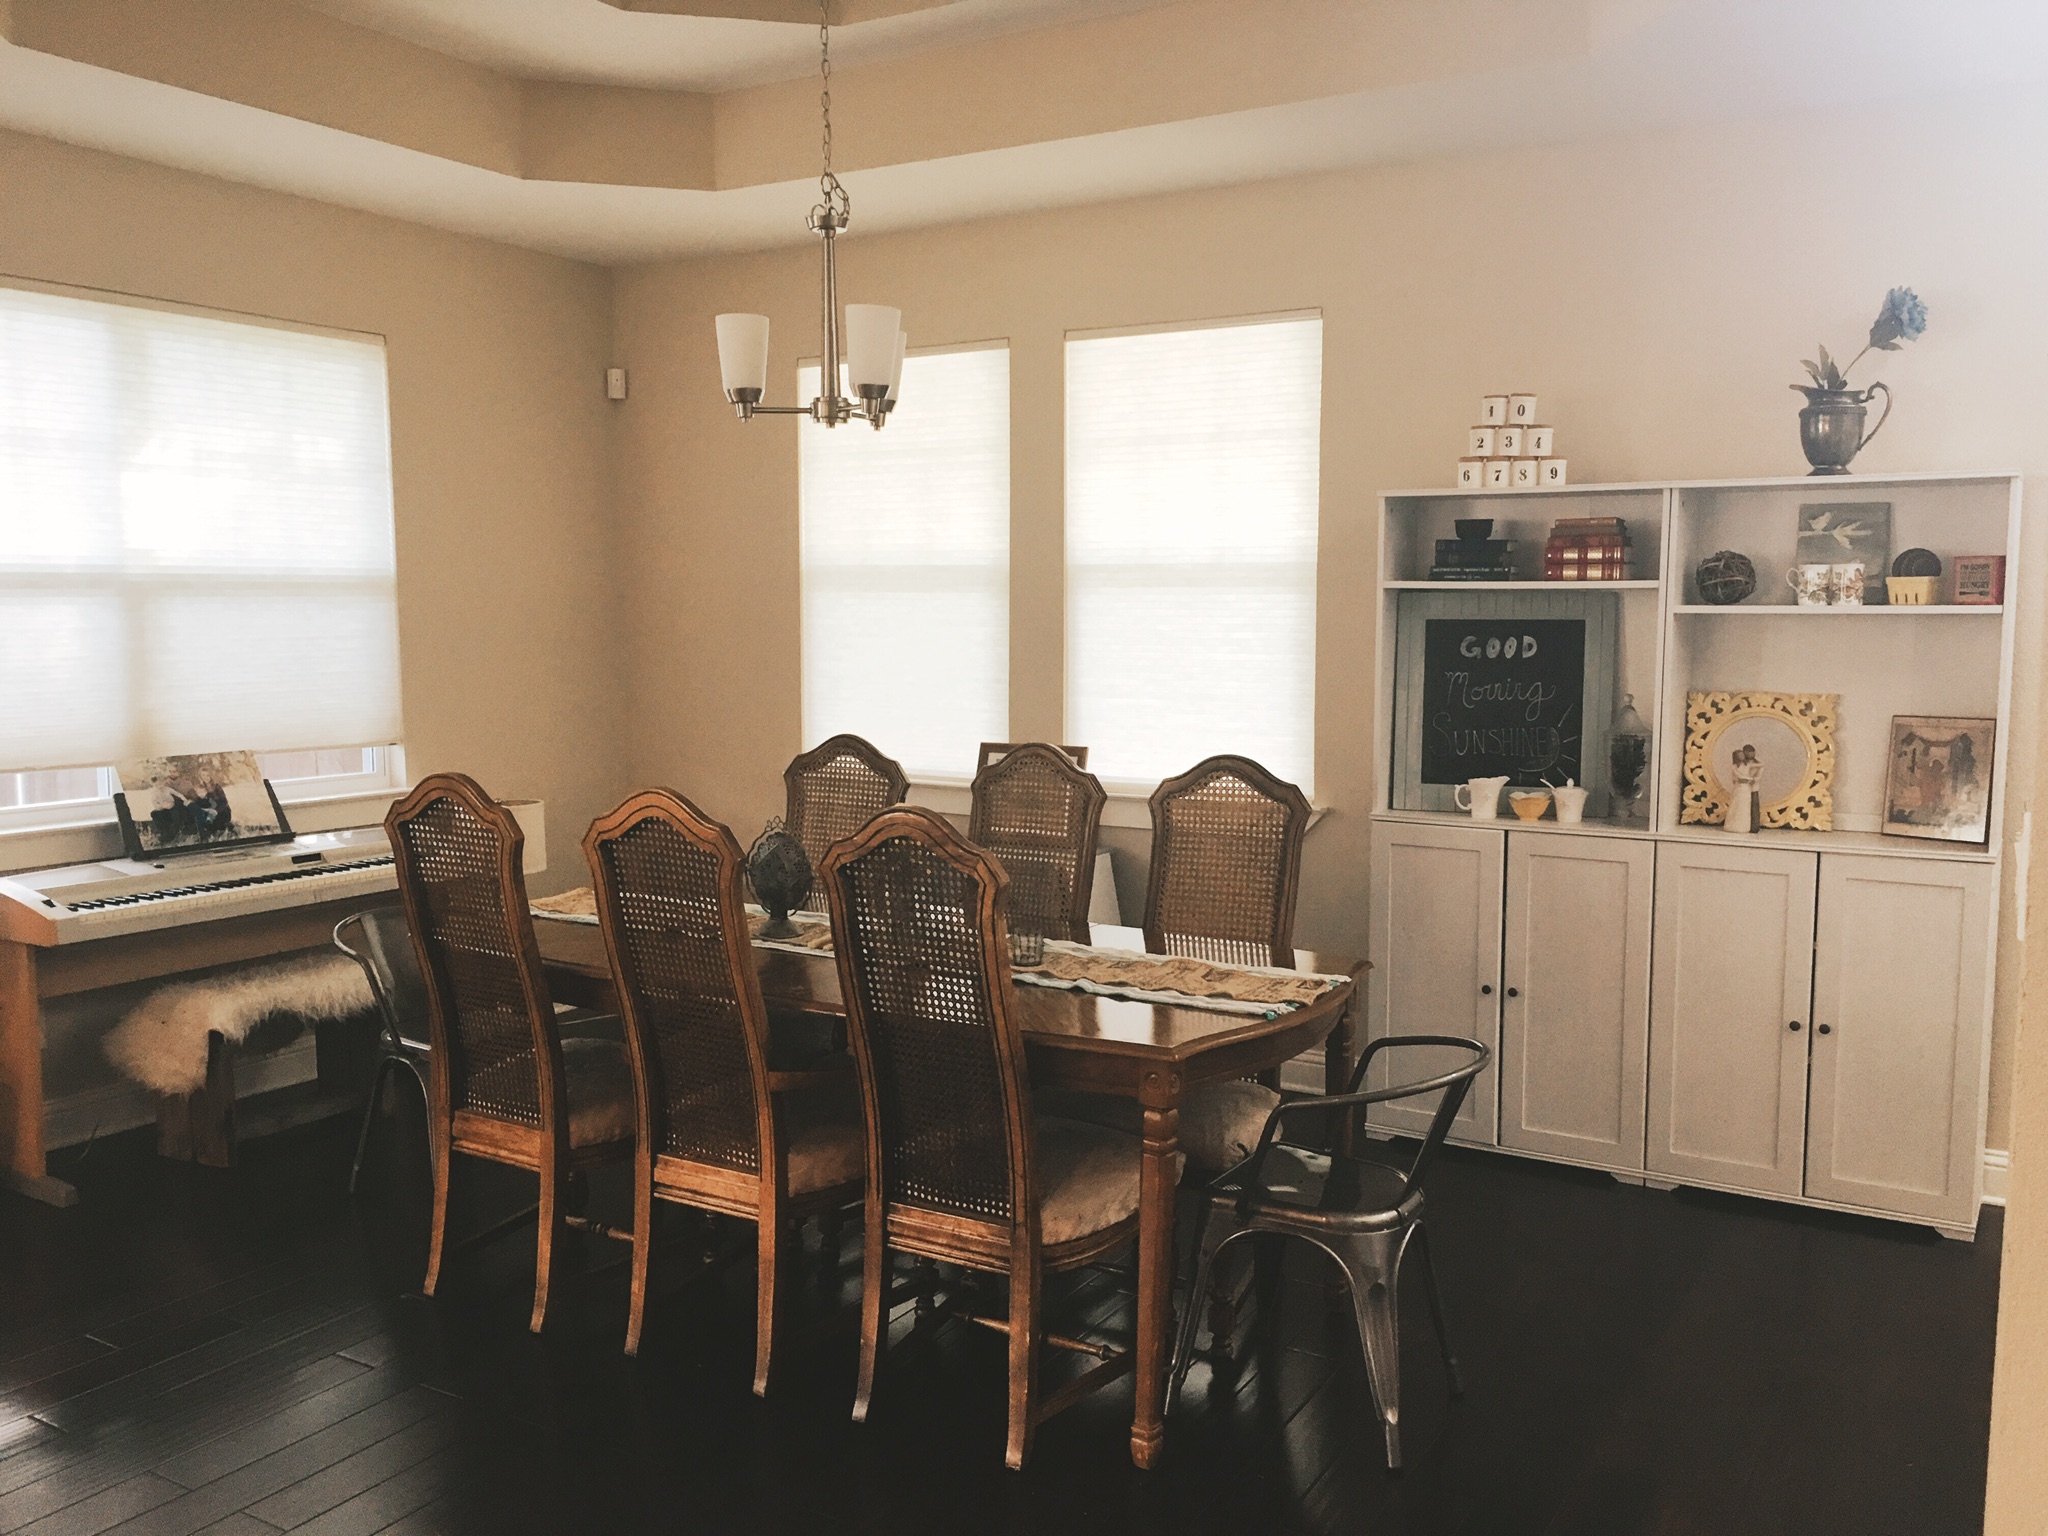
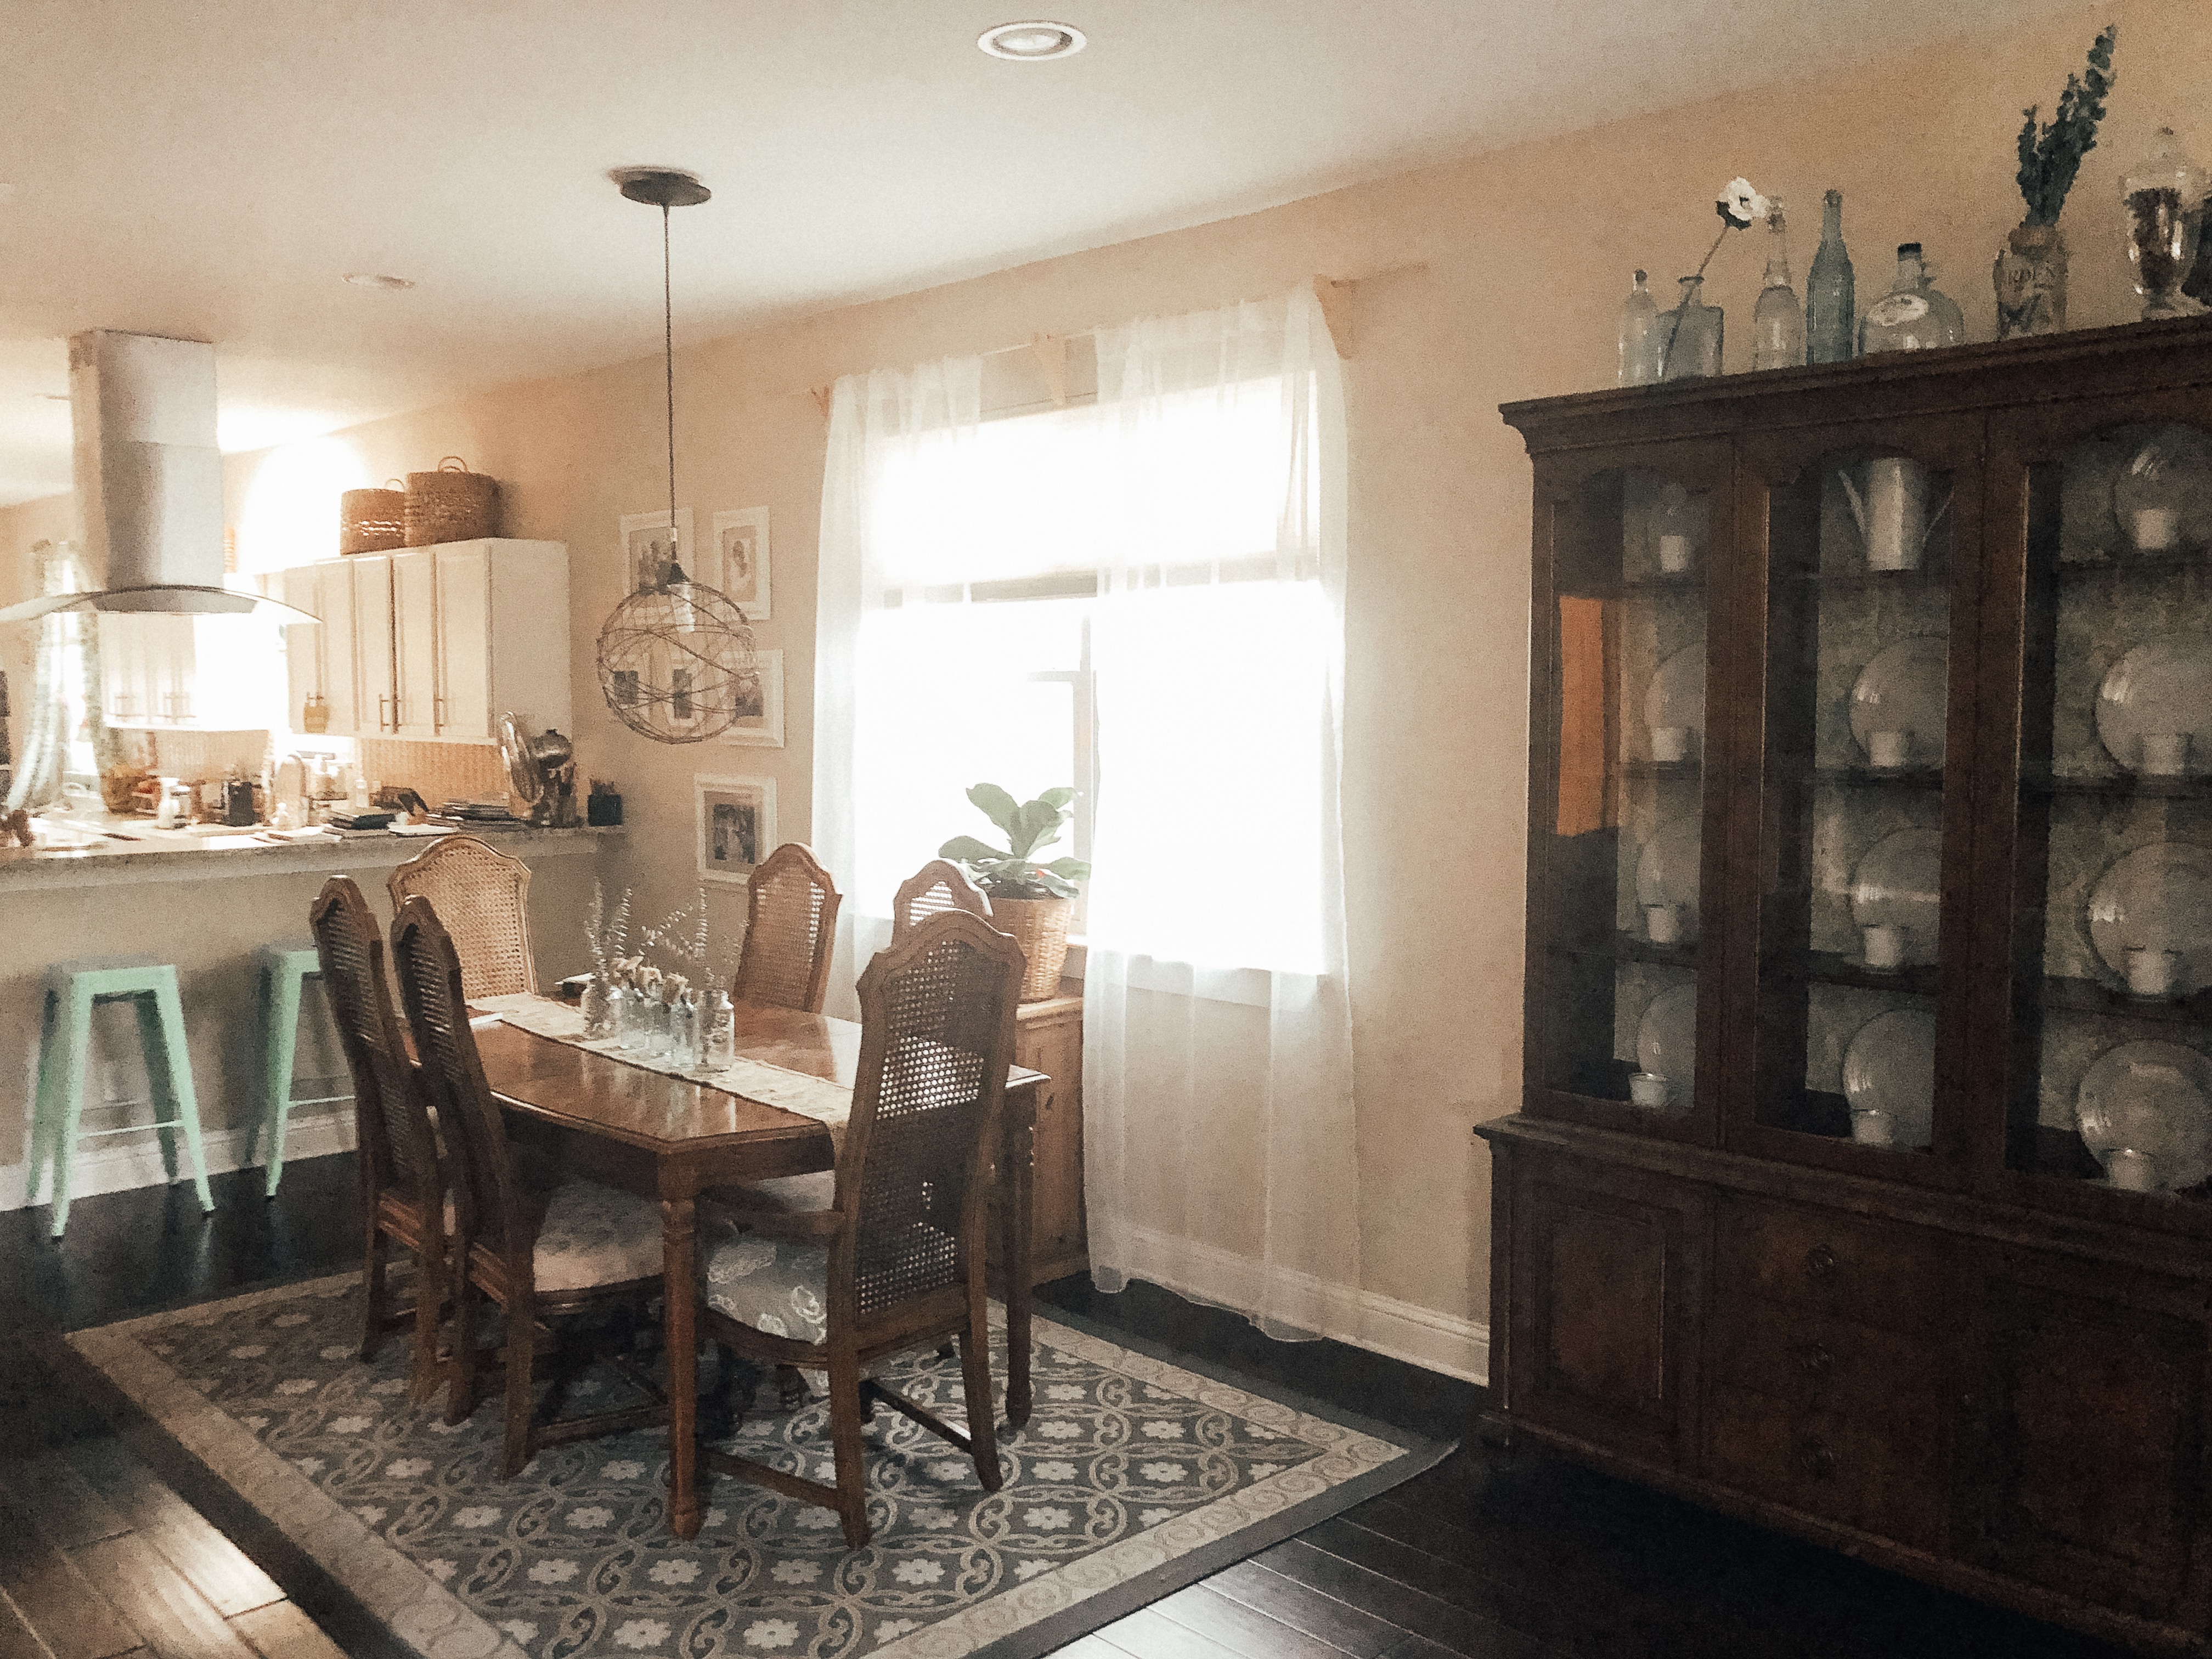
It only took hosting ONE time before we decided to pull the plug on this location for the dining room. Basically, the dining room table and the kitchen were on opposite end of the house, haha! And carrying stuff back and forth was awkward and weird. So we moved the dining table behind the couches/living area, and used our old living room rug to section off the space. There was no chandelier, but I got this easy conversion light kit from Home Depot, and a pendant light from World Market (similar one here, ours was a return without any hardware, and we got it for a fraction of the original price!). As far as curtains go, there are a billion windows in this house and so we bought wood dowels and brackets from Home Depot and made our own curtain rods using this tutorial! Paired with these sheer curtains from Ikea, we were able to do each set of windows for under $30, vs what I calculated to be around $60-75 for normal curtain rods plus curtains. It might not seem like much, until you’re multiplying it by 10-15 different window sets!
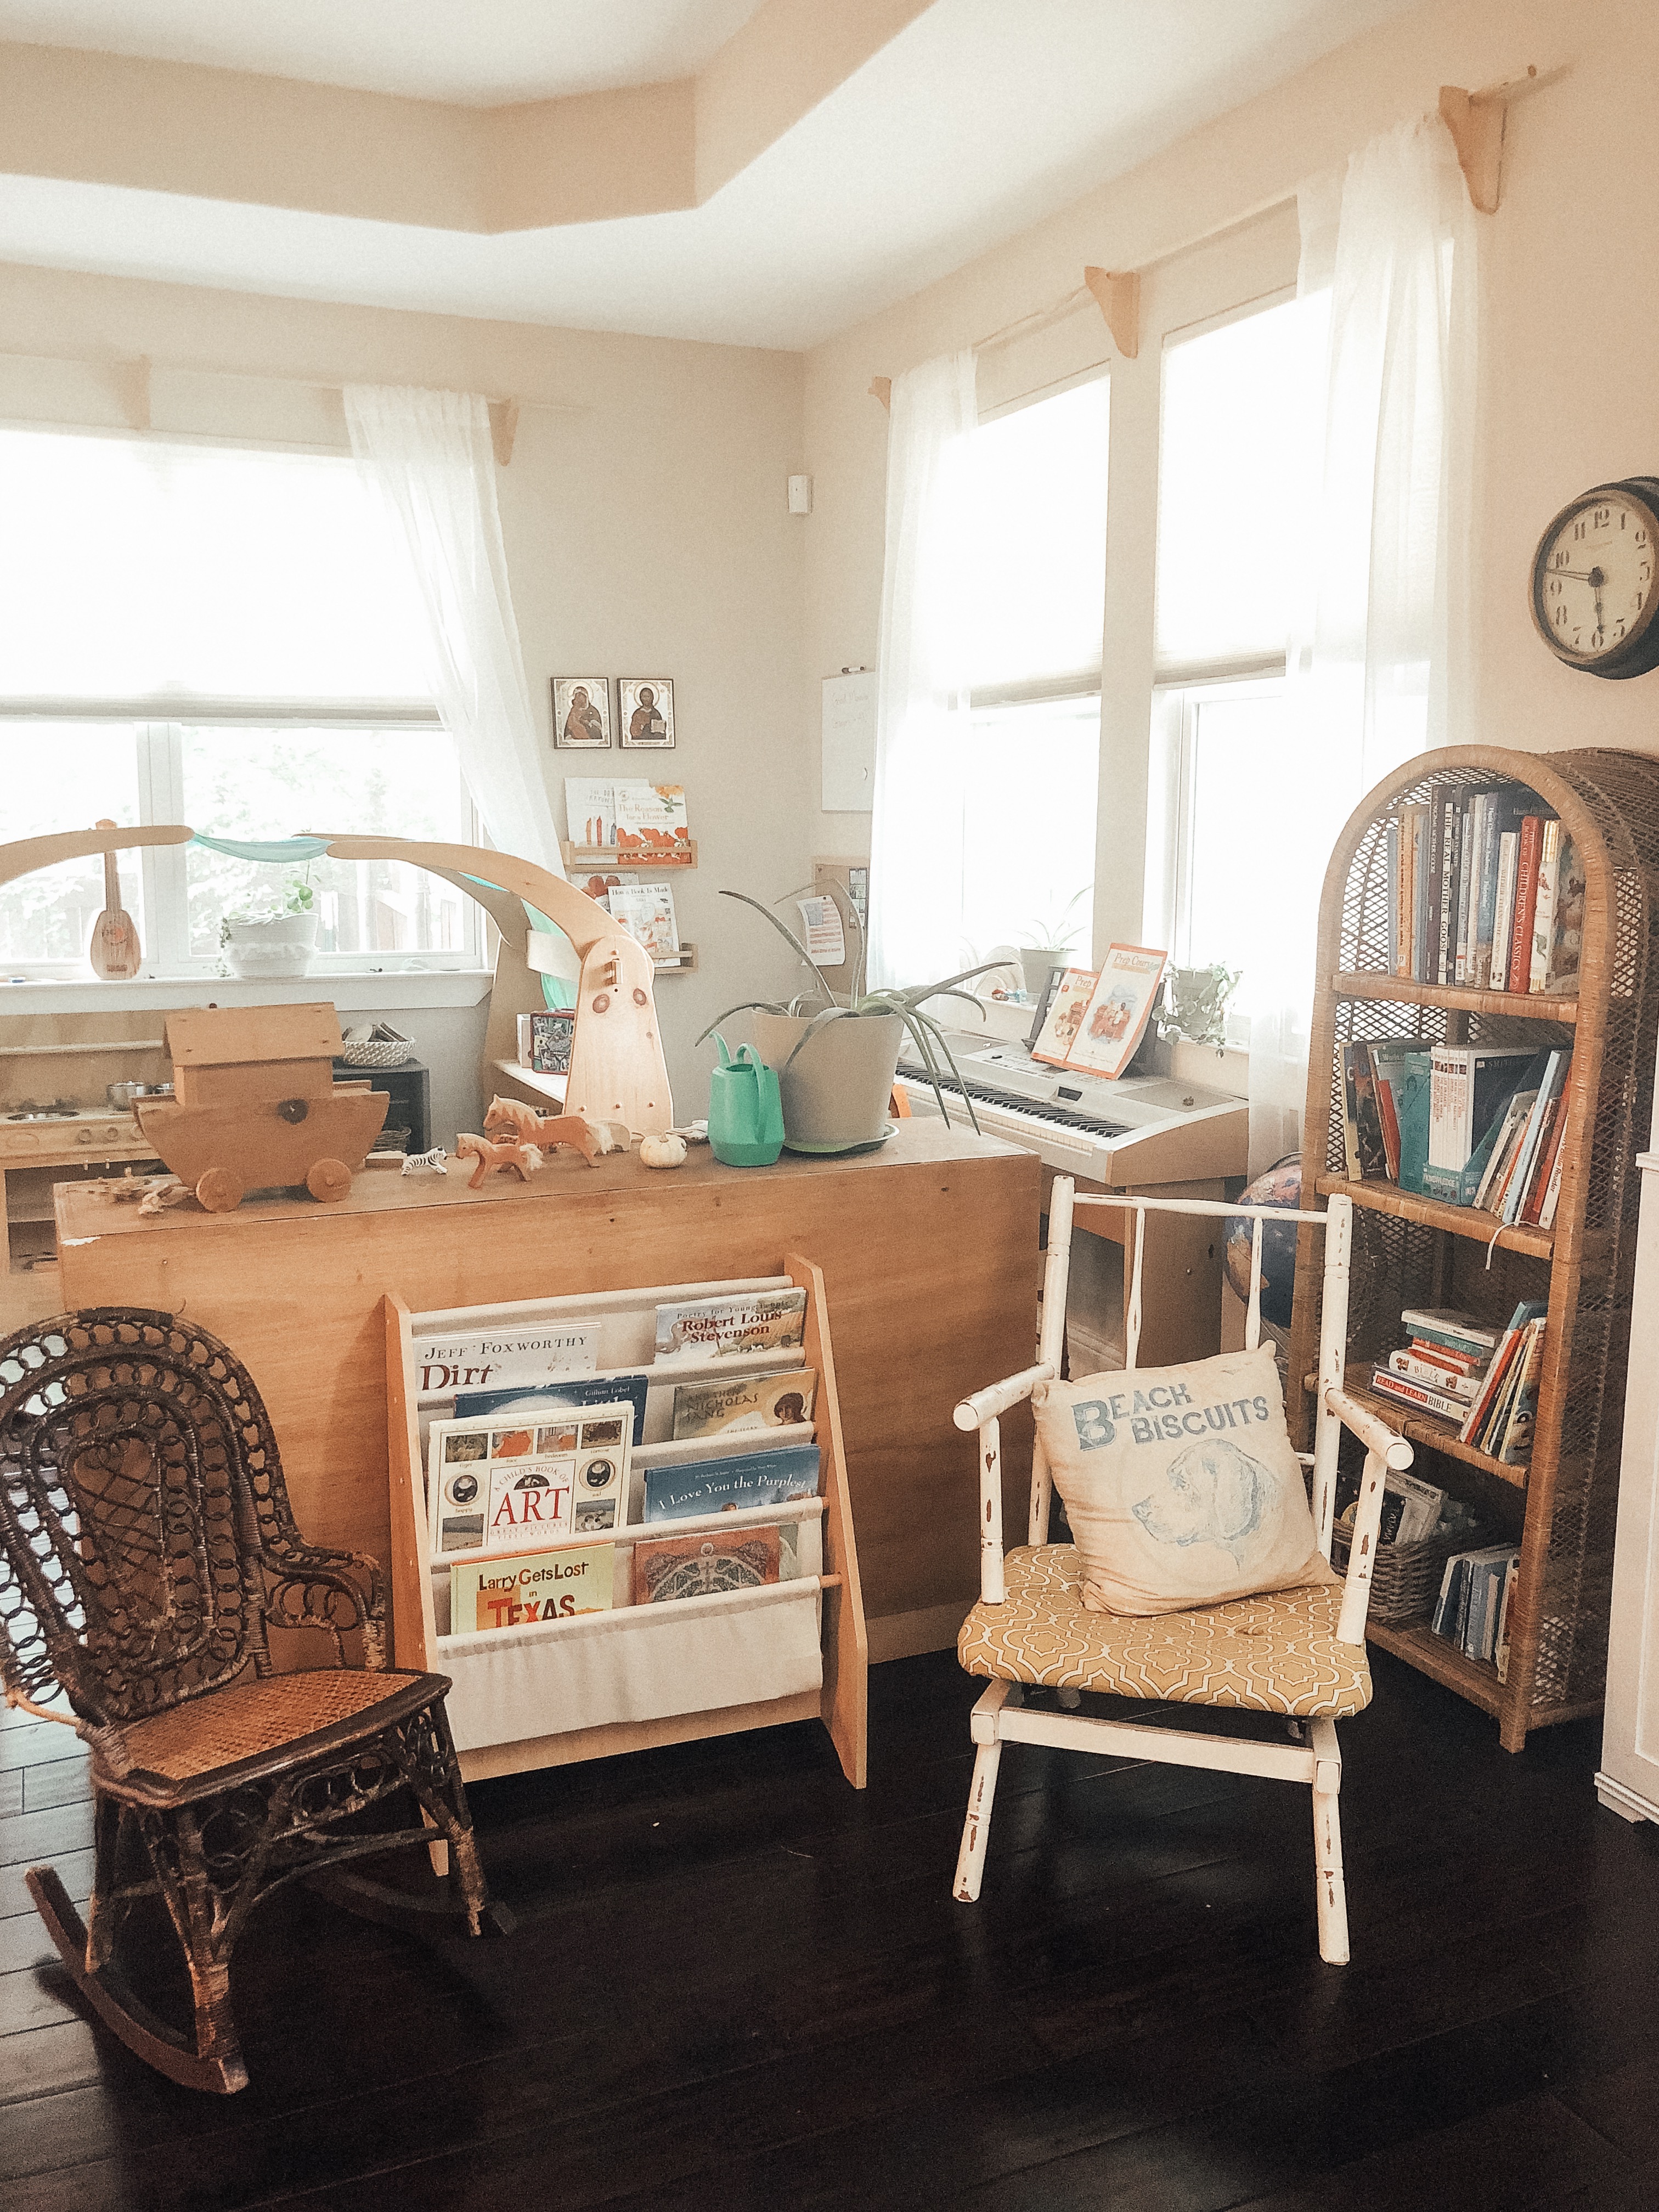
But enough about the dining room. We weren’t sure what to do with this front corner after moving the table, since it was clearly designated as a dining area with the ceiling and chandelier. Rather than un-install the chandelier, we simply moved it higher so that it wasn’t as visible. We decided on making it a play area for the boys, especially since Thomas had his cute closet bedroom for a while, so we slowly started filling out the space.
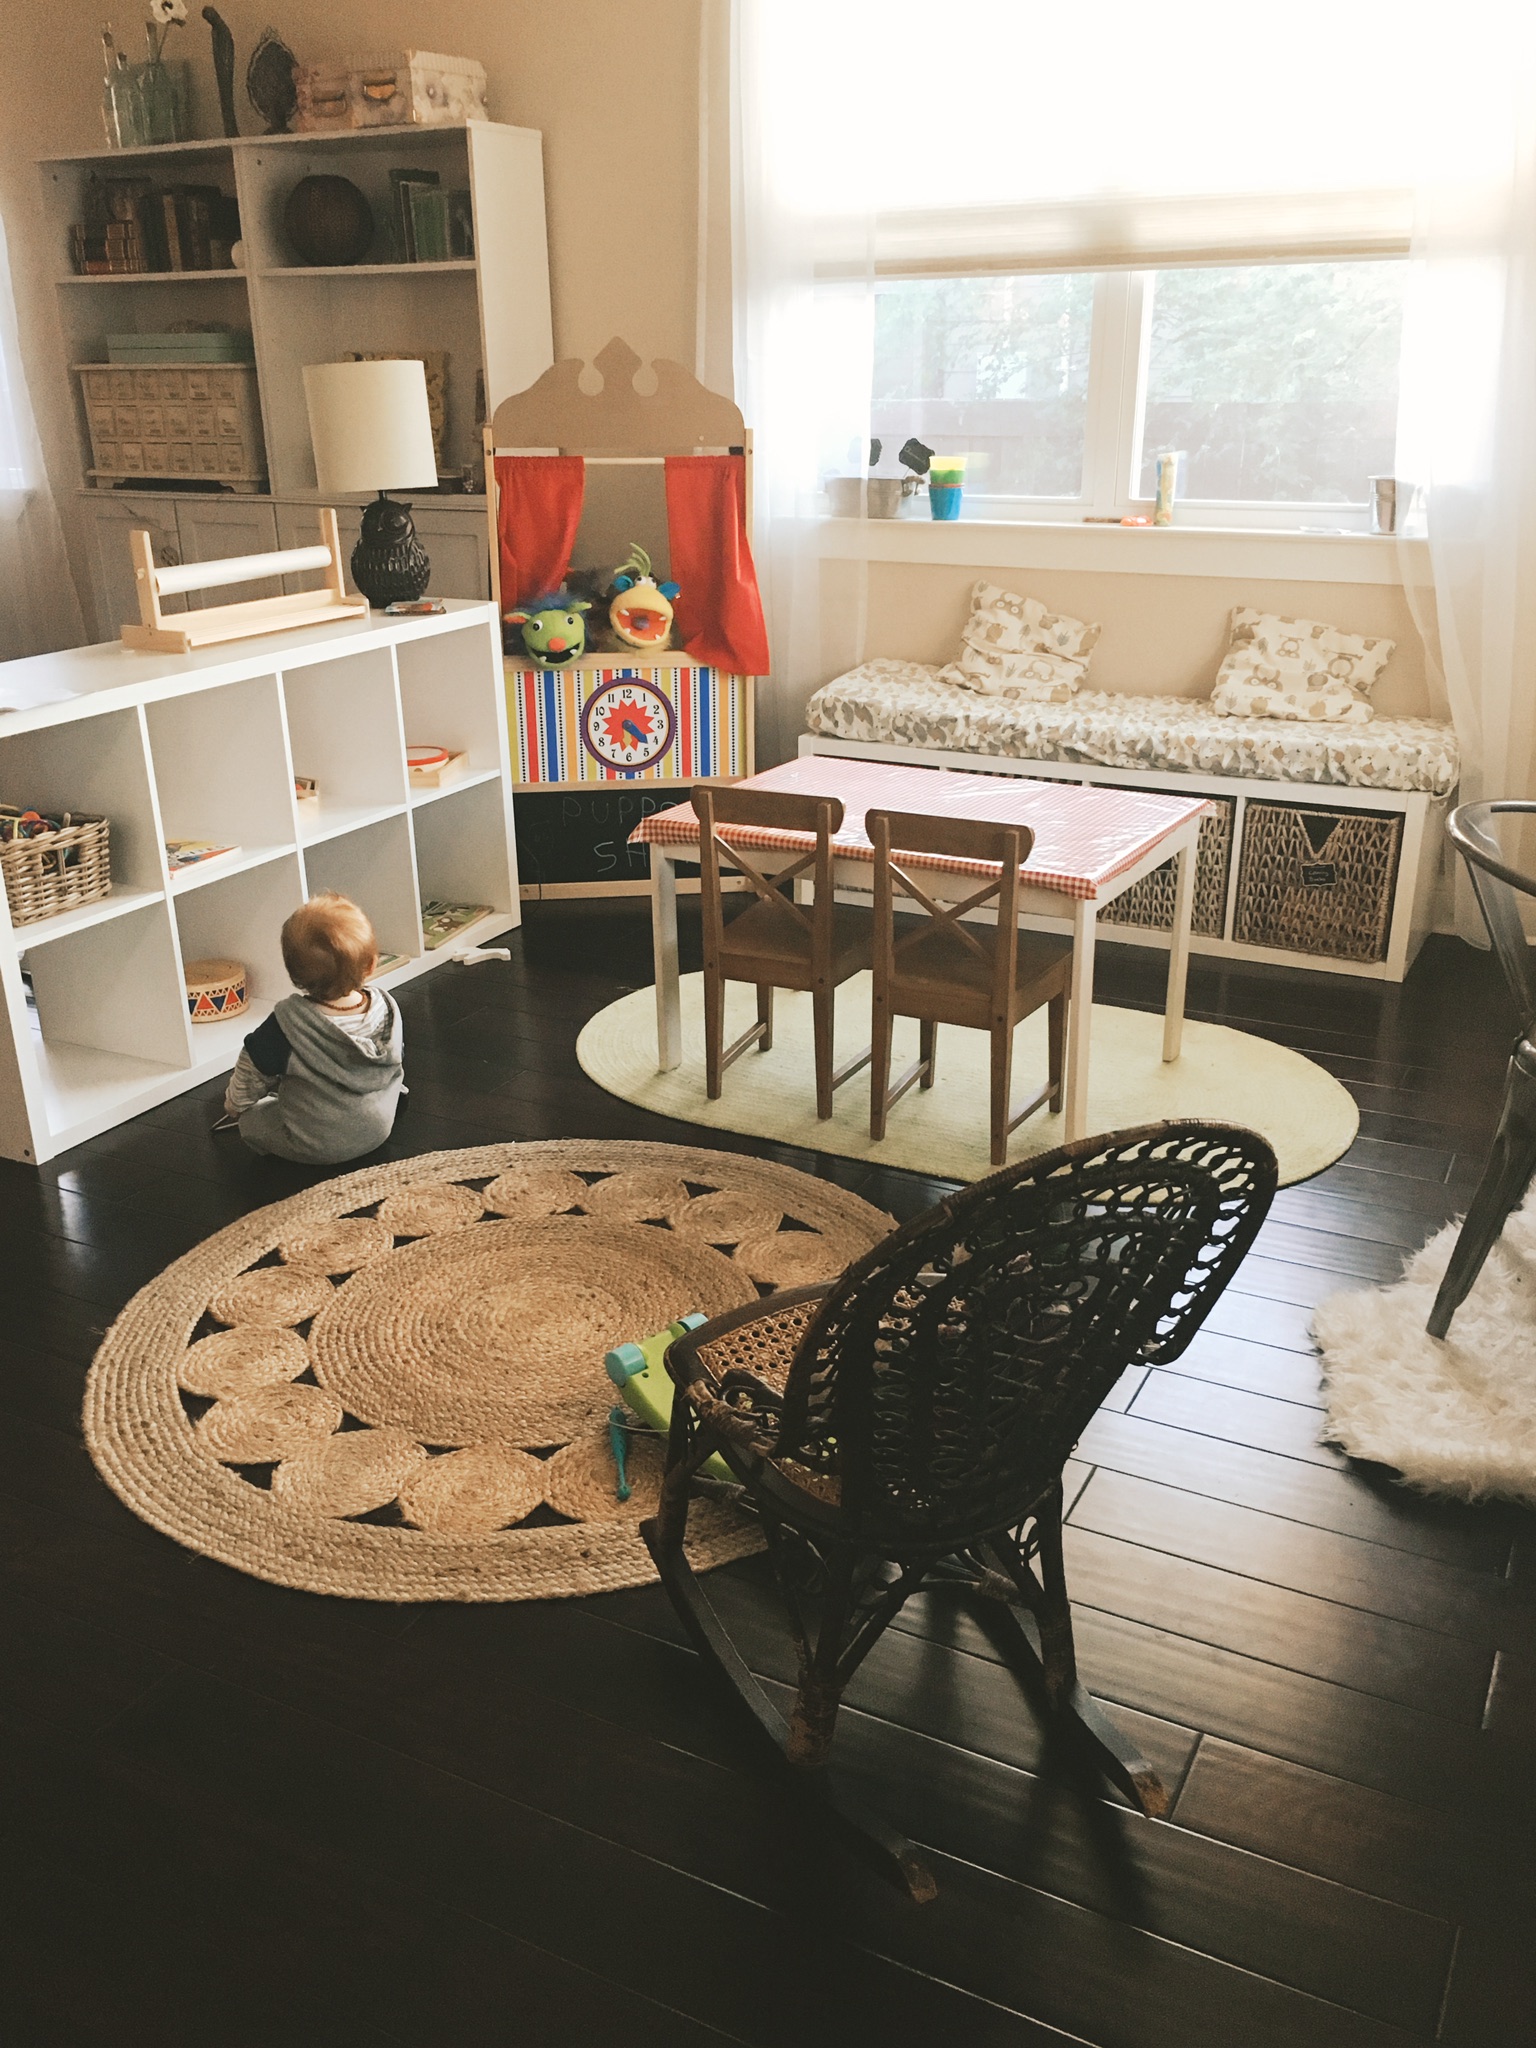
I started getting rid of most of our particleboard furniture, and the puppet show got moved into the older boys’ room. A bit of patience on Craigslist can get you some nice homemade wooden bookshelves, I’ve found!
Right as you walk in the front door, you see the reading nook in front of the play area. I try to keep the rattan bookshelf organized so I can find what we need. The top shelf is all of our Waldorf fairy tales and poetry, the second shelf is full of easy readers for the older boys, and the last two shelves are Thomas’ board books. I have a whole other bookshelf of books stored away behind that white door to the right, so these are all on rotation.

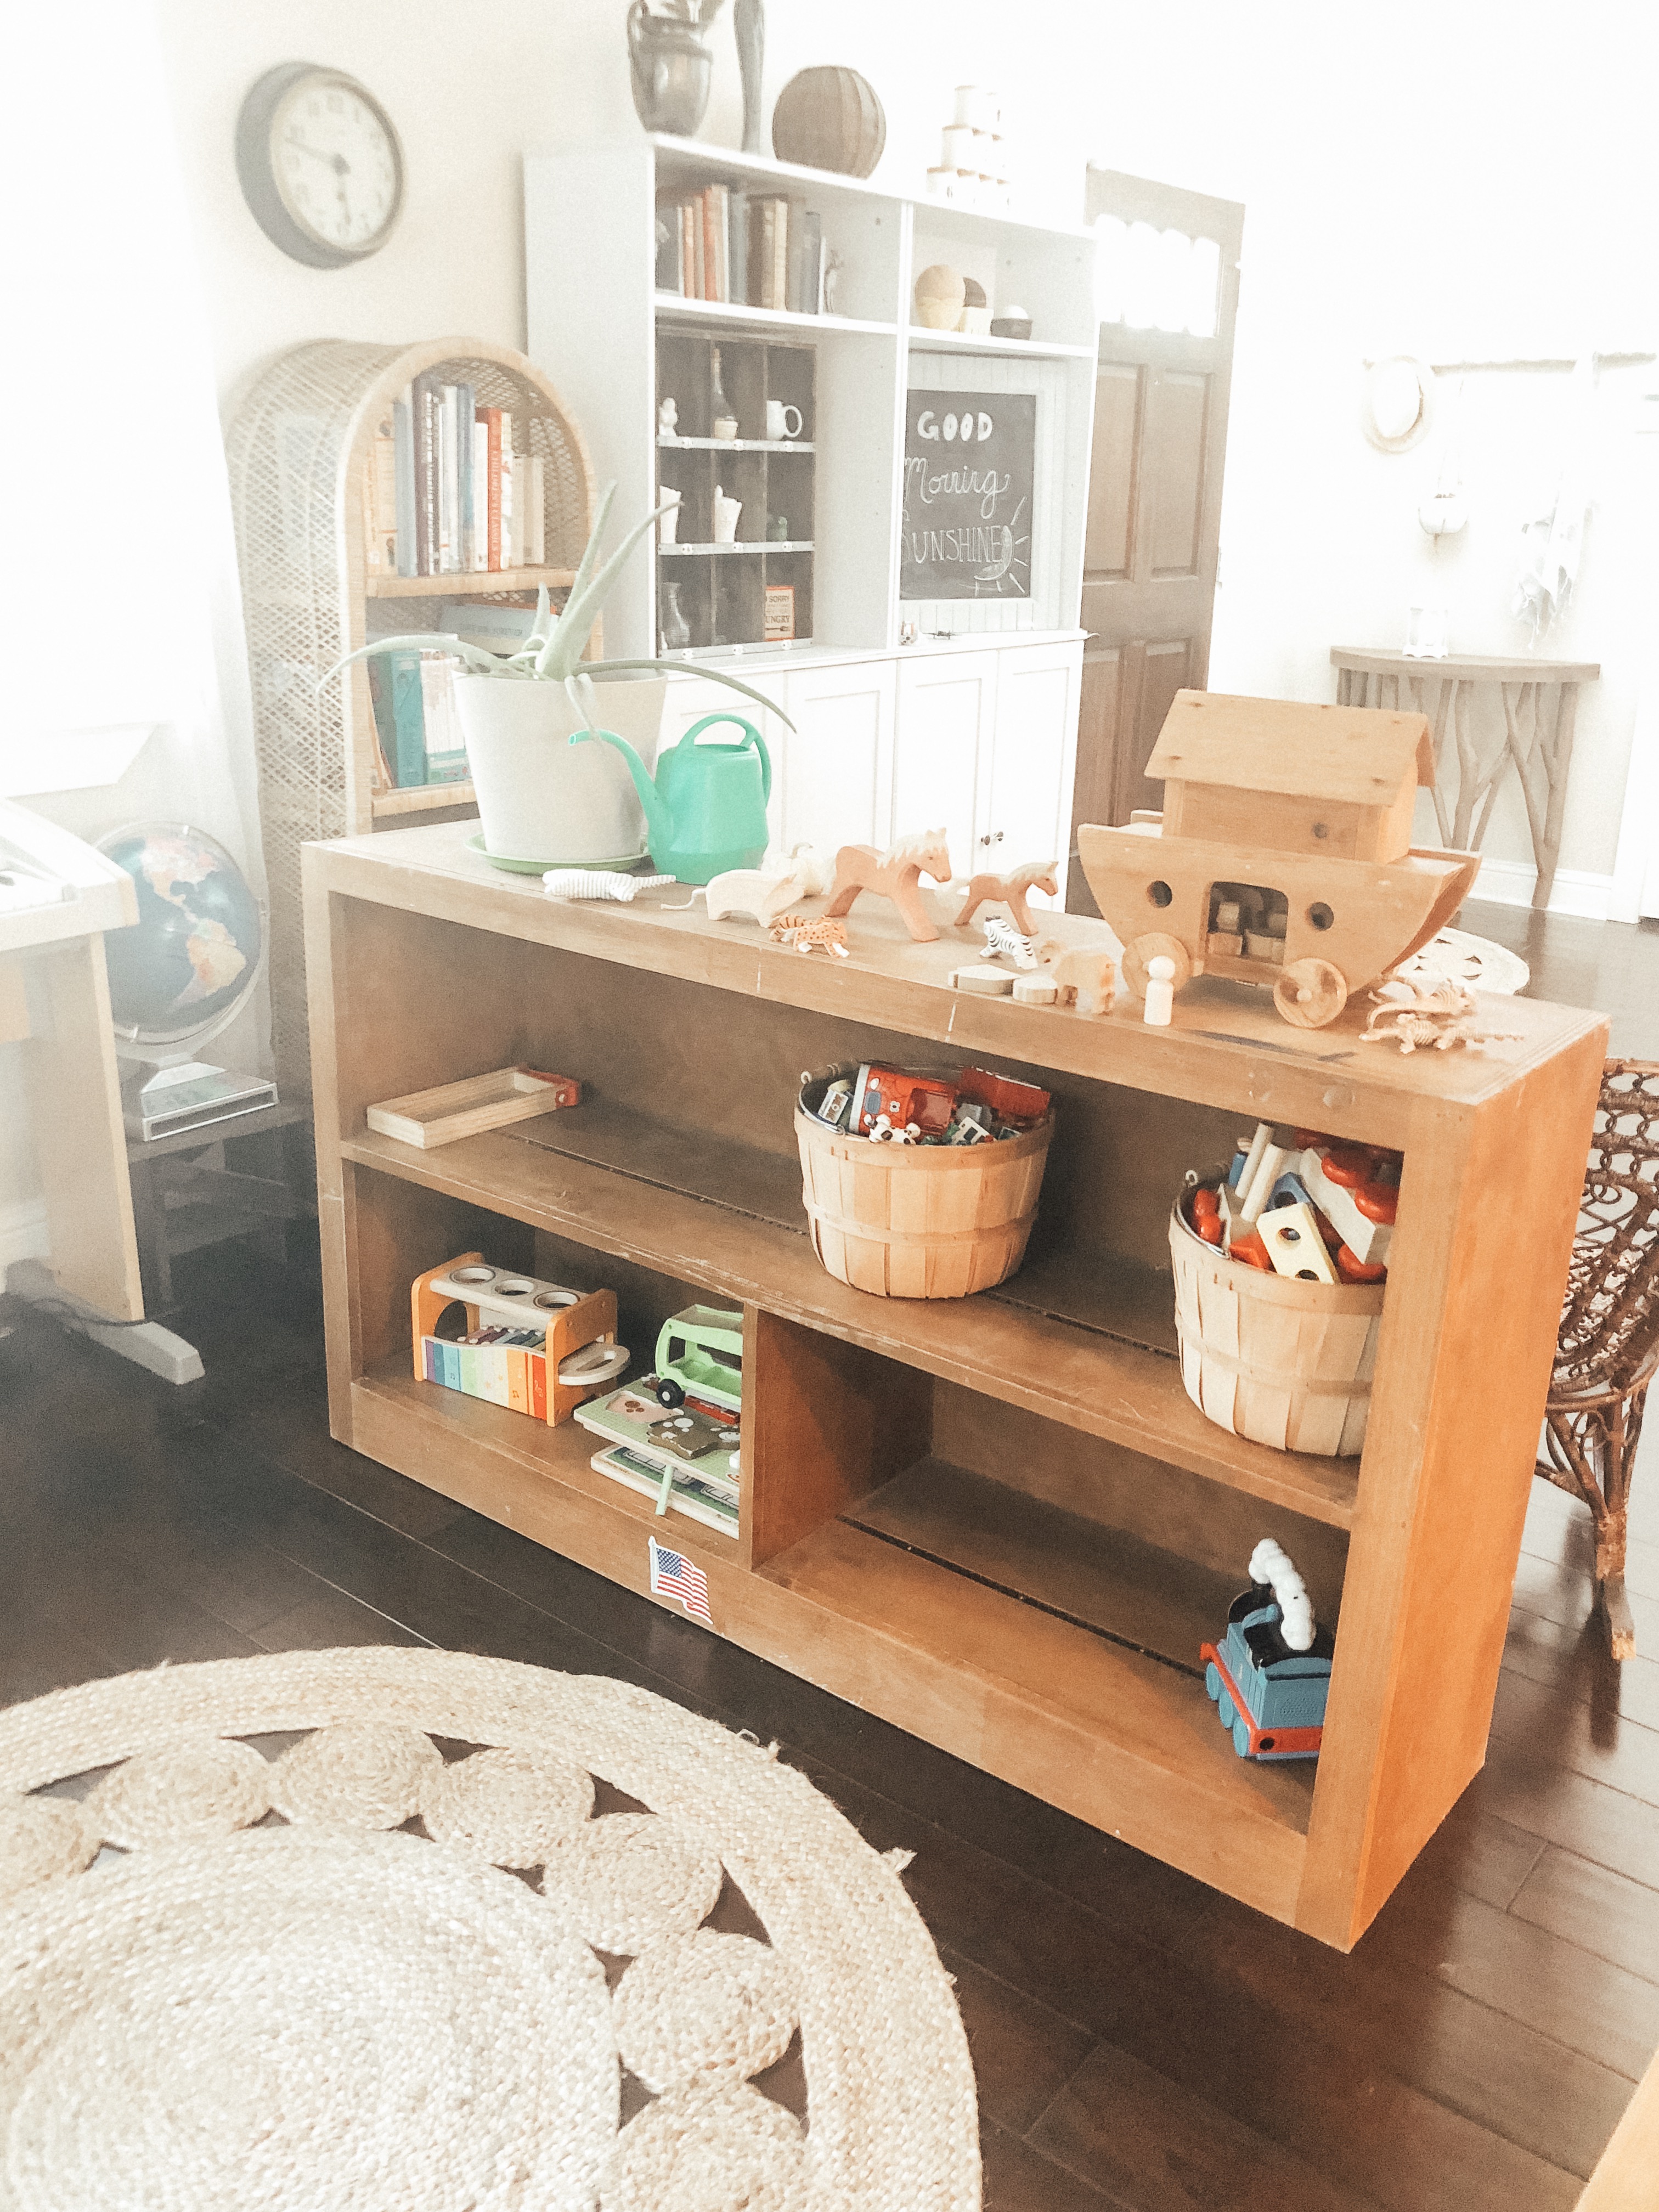
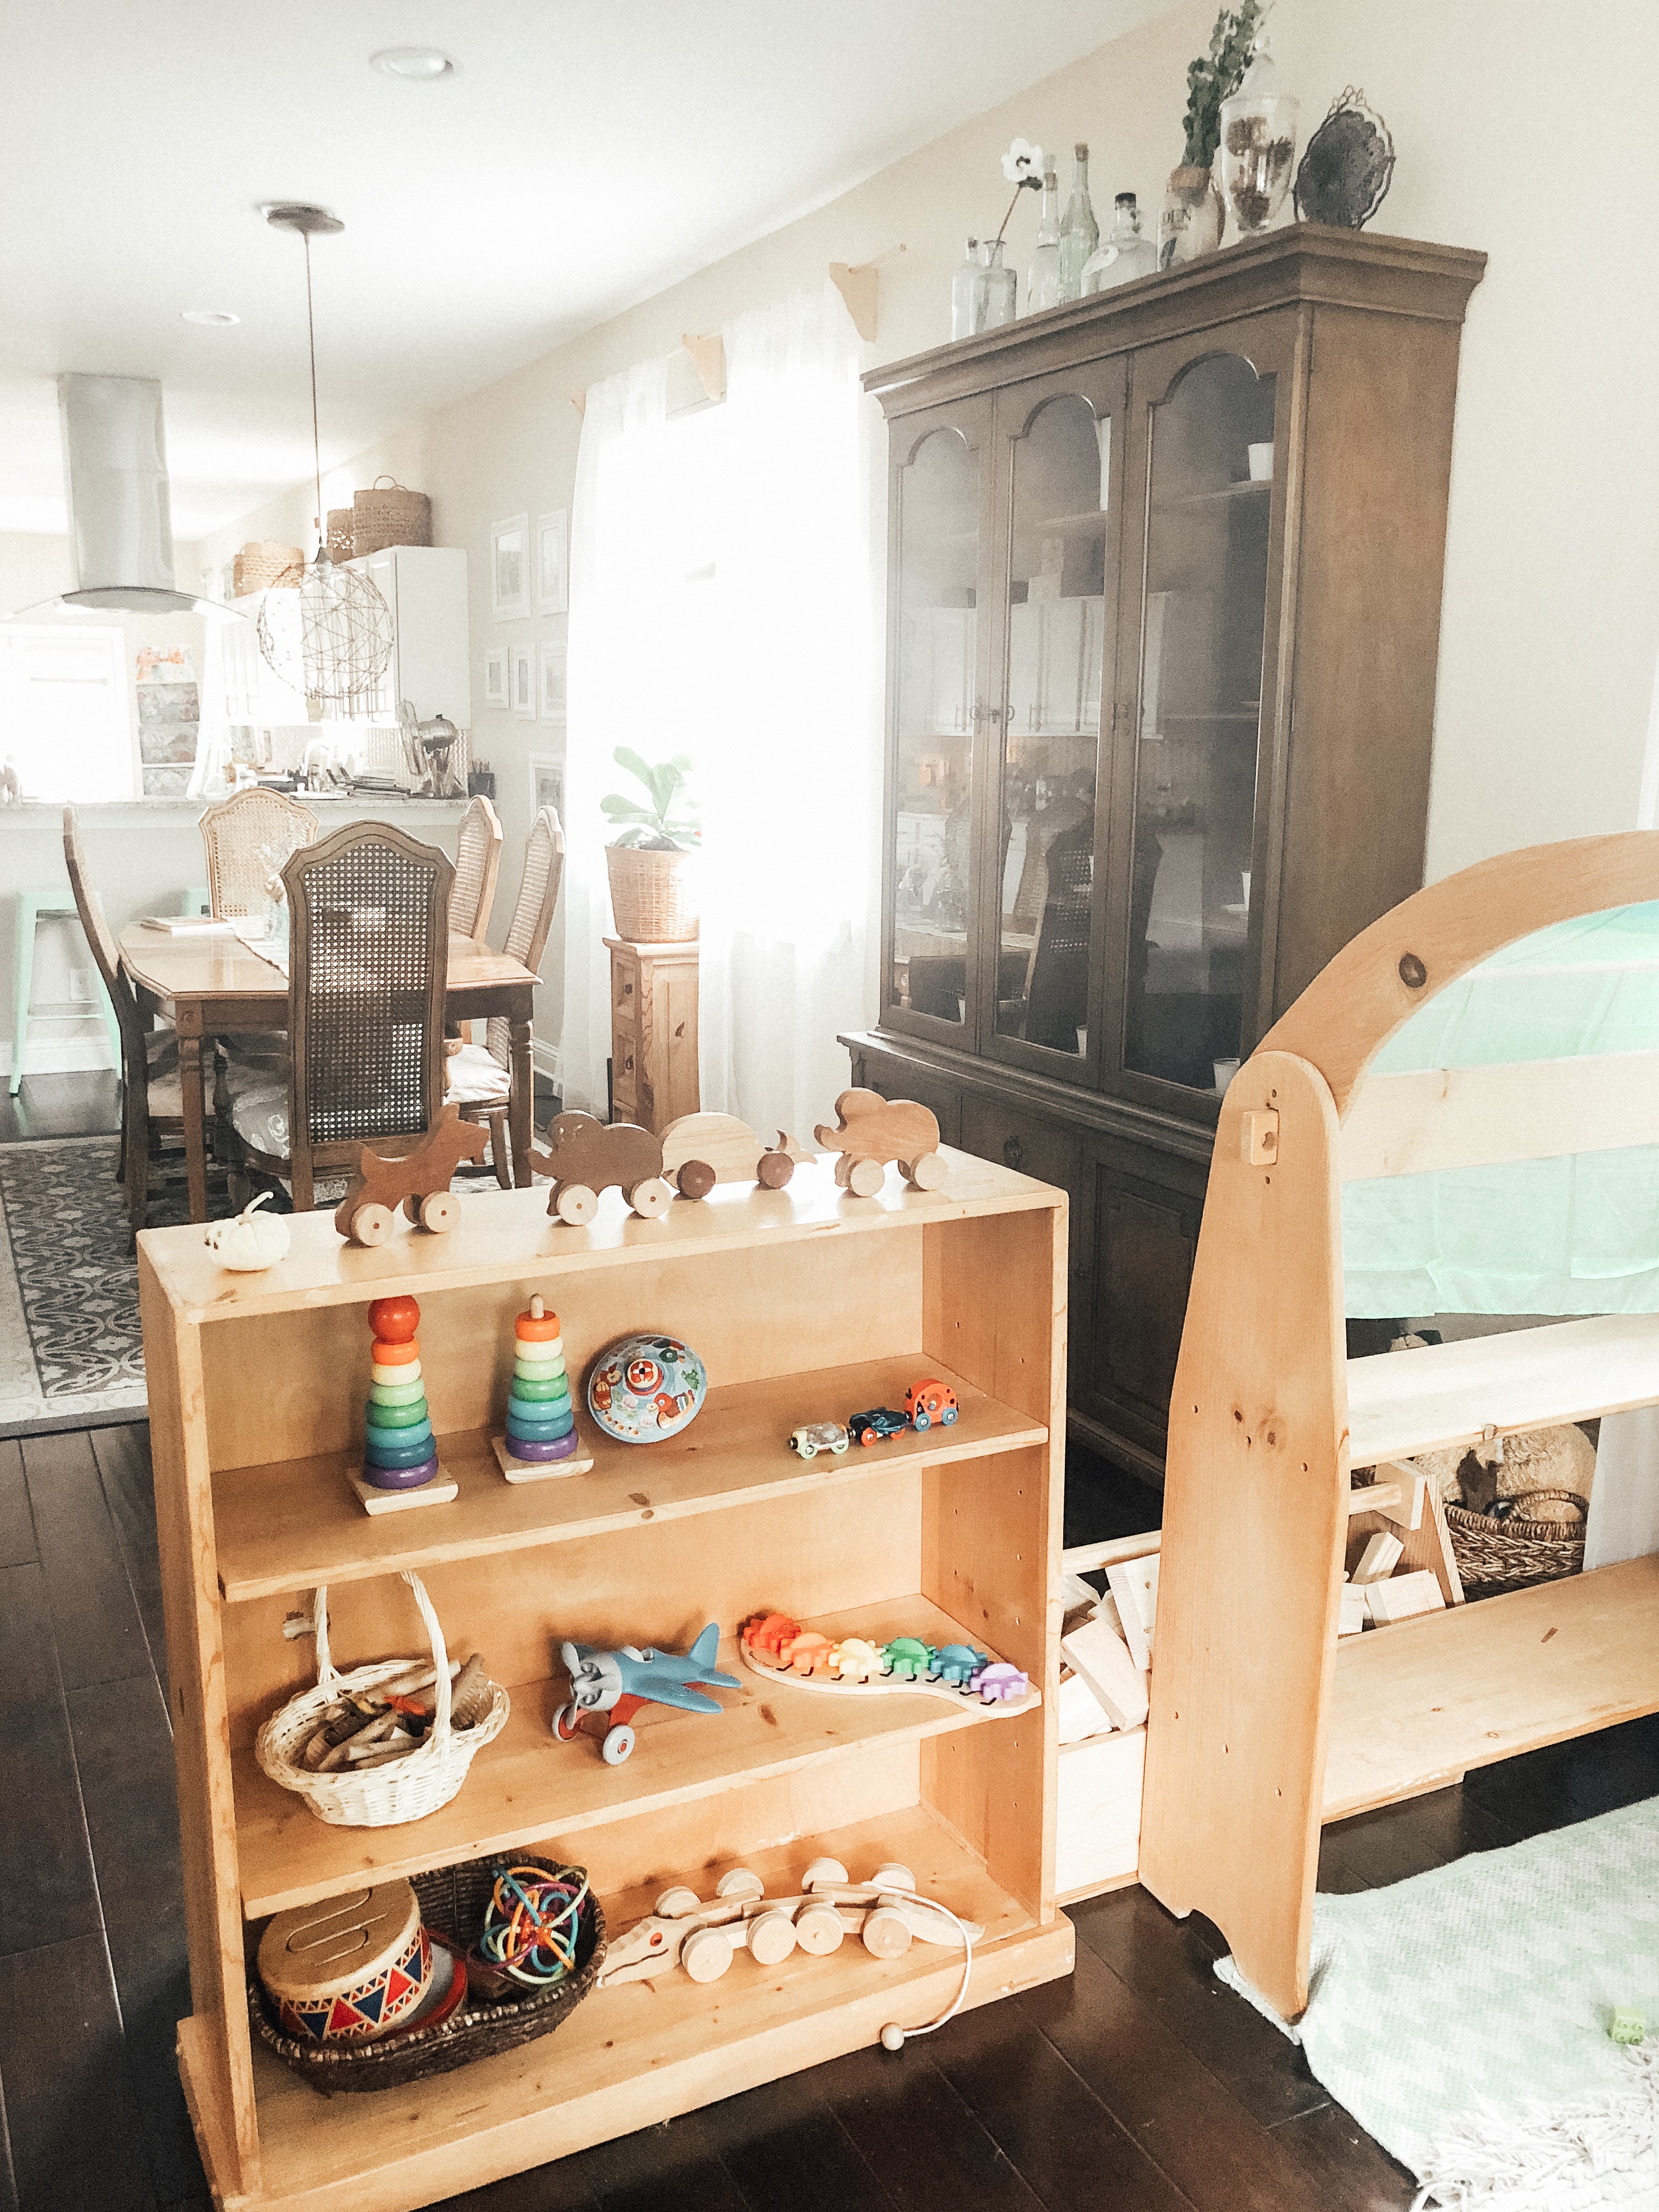
This is the other side of the bookshelf behind the rocking chairs! We don’t have many toys here yet, and I’m find if the shelf basically stays this empty 🙂 Mostly puzzles, duplos and wood trains! These toys all used to be in Thomas’ room, but he always brought them out here anyways, so now his bedroom has ZERO toys in it and I can keep all the toys in the house consolidated into one spot!
I also love our Waldorf playstand, and love watching Thomas use his play kitchen (he’s the funniest imitator!).
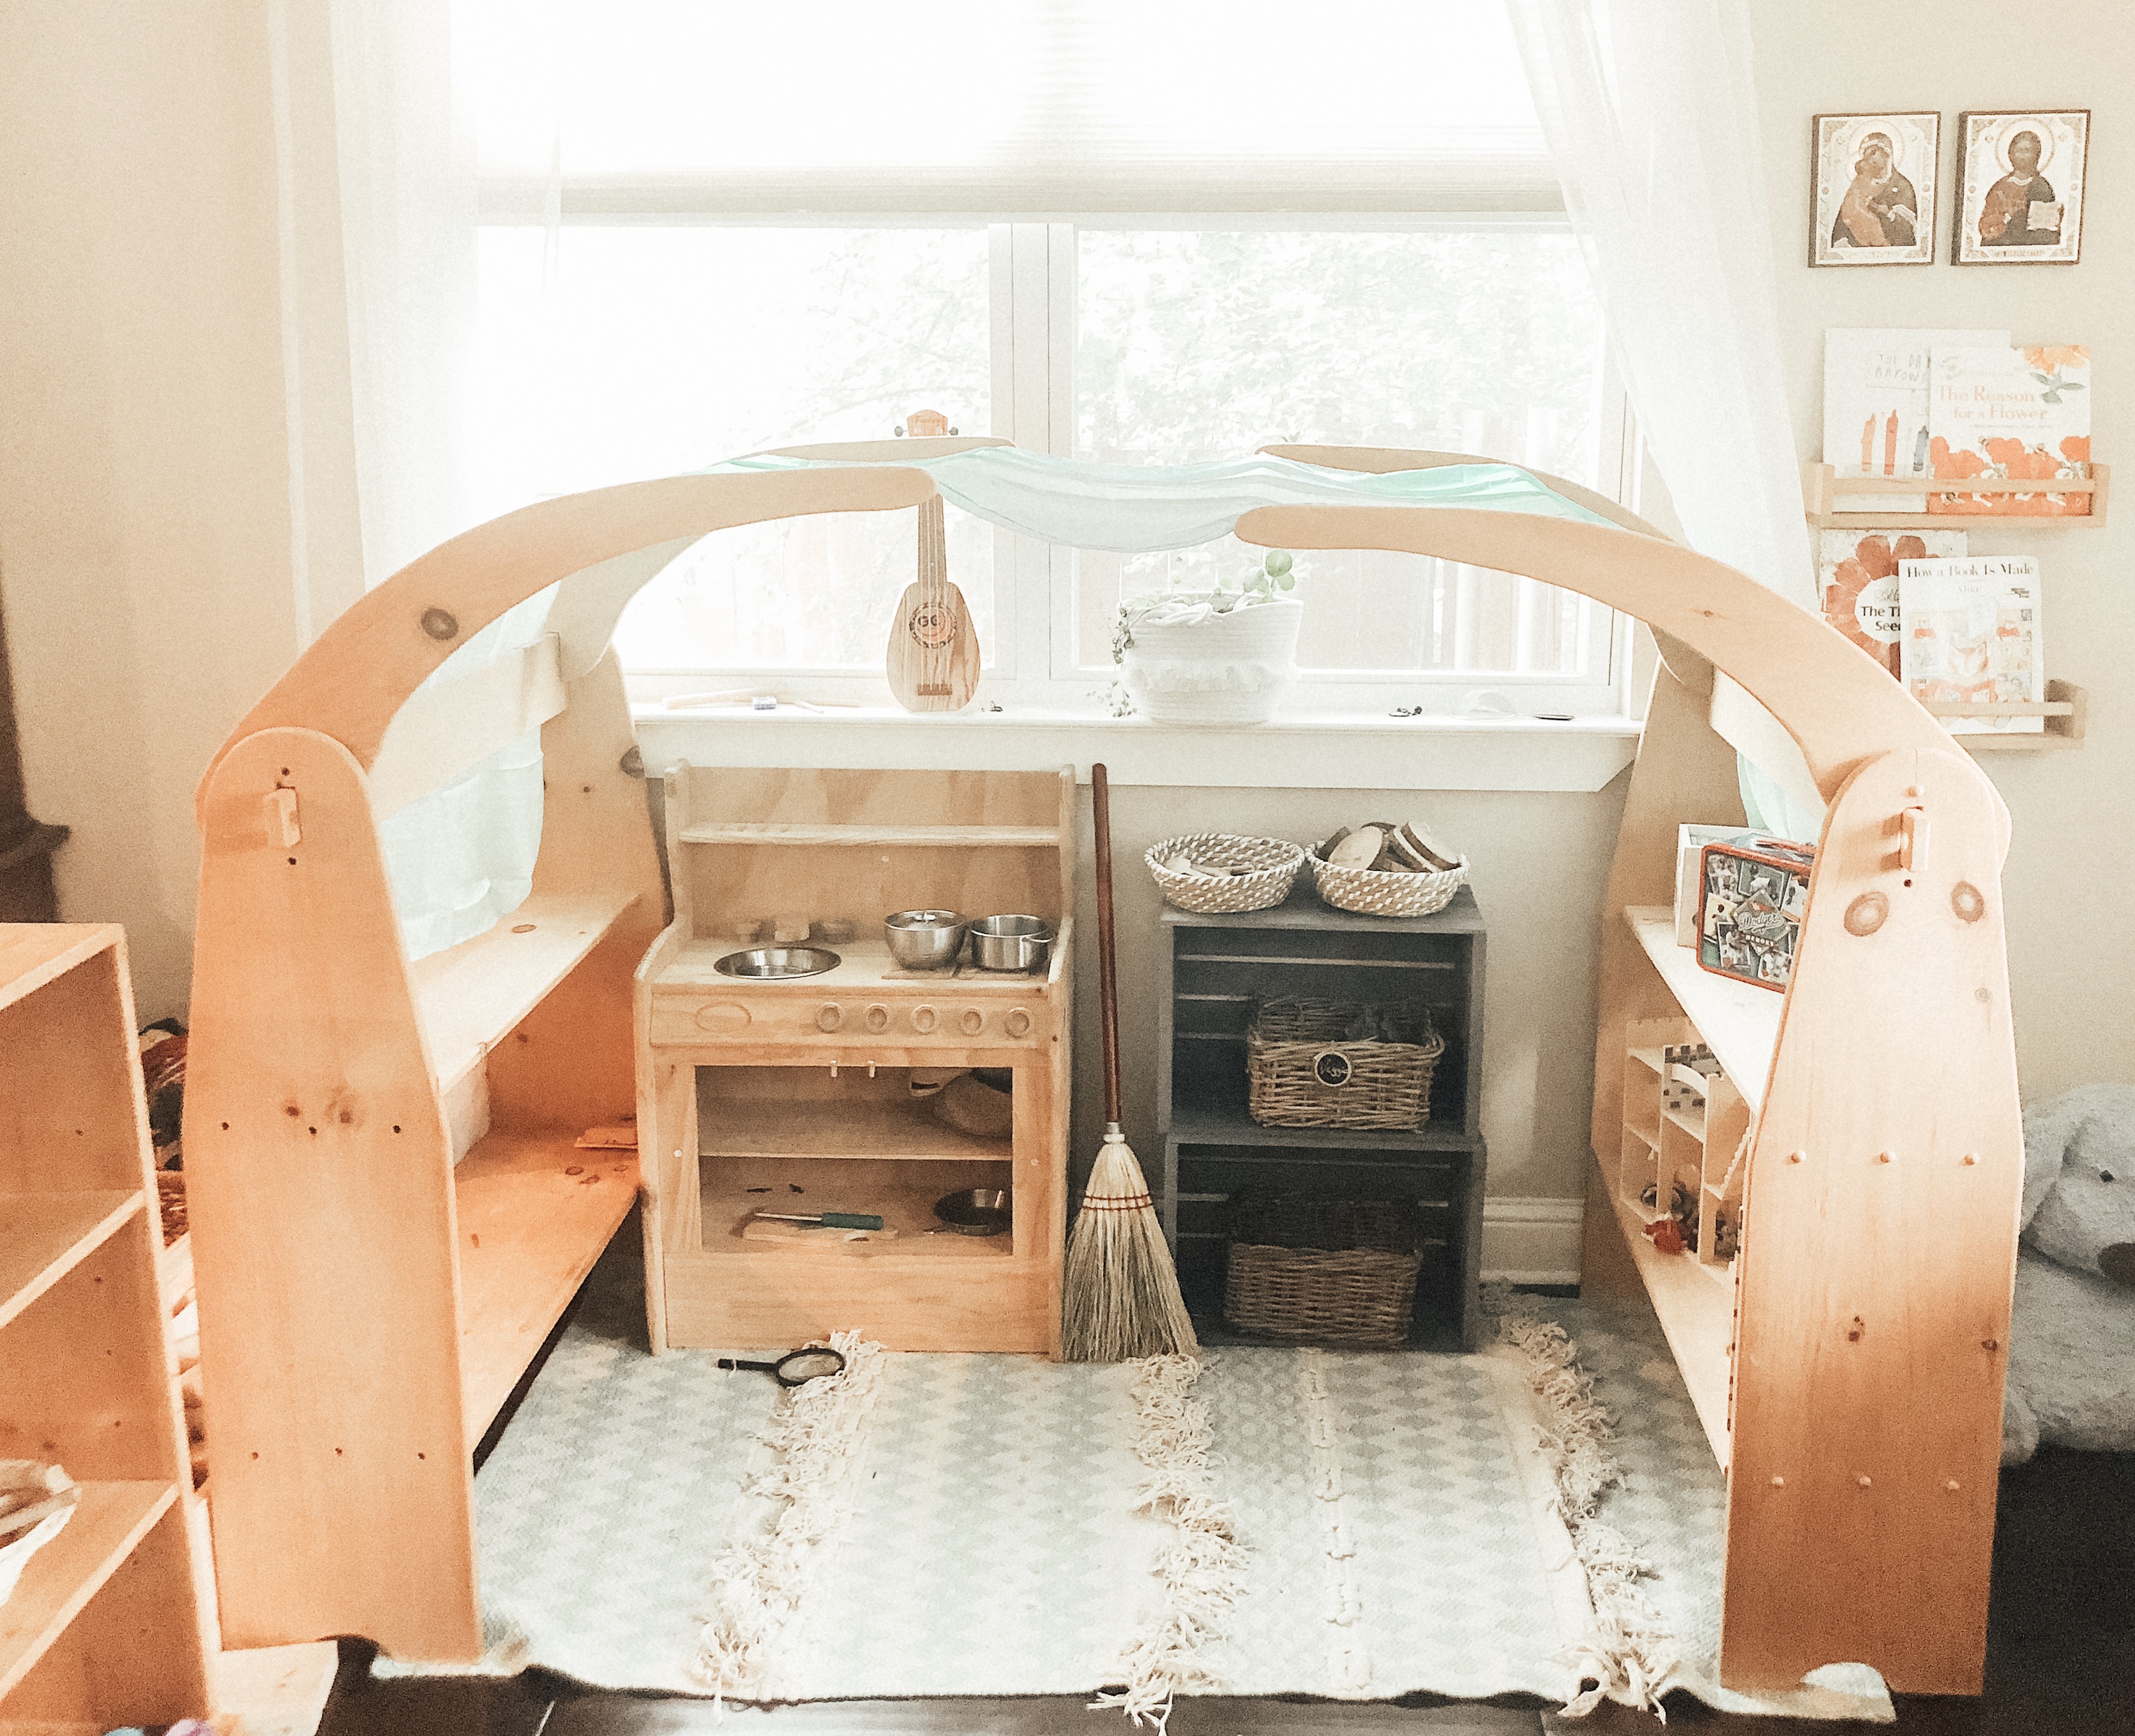
To the left of the playstand is one of the wooden bookshelves, as you look into the dining area. These are literally the extent of 75% of Thomas’ toys. I rotate a few others in every now and then and he has a few at Grandma’s house, but I hate clutter and try to only keep what he plays with, haha!
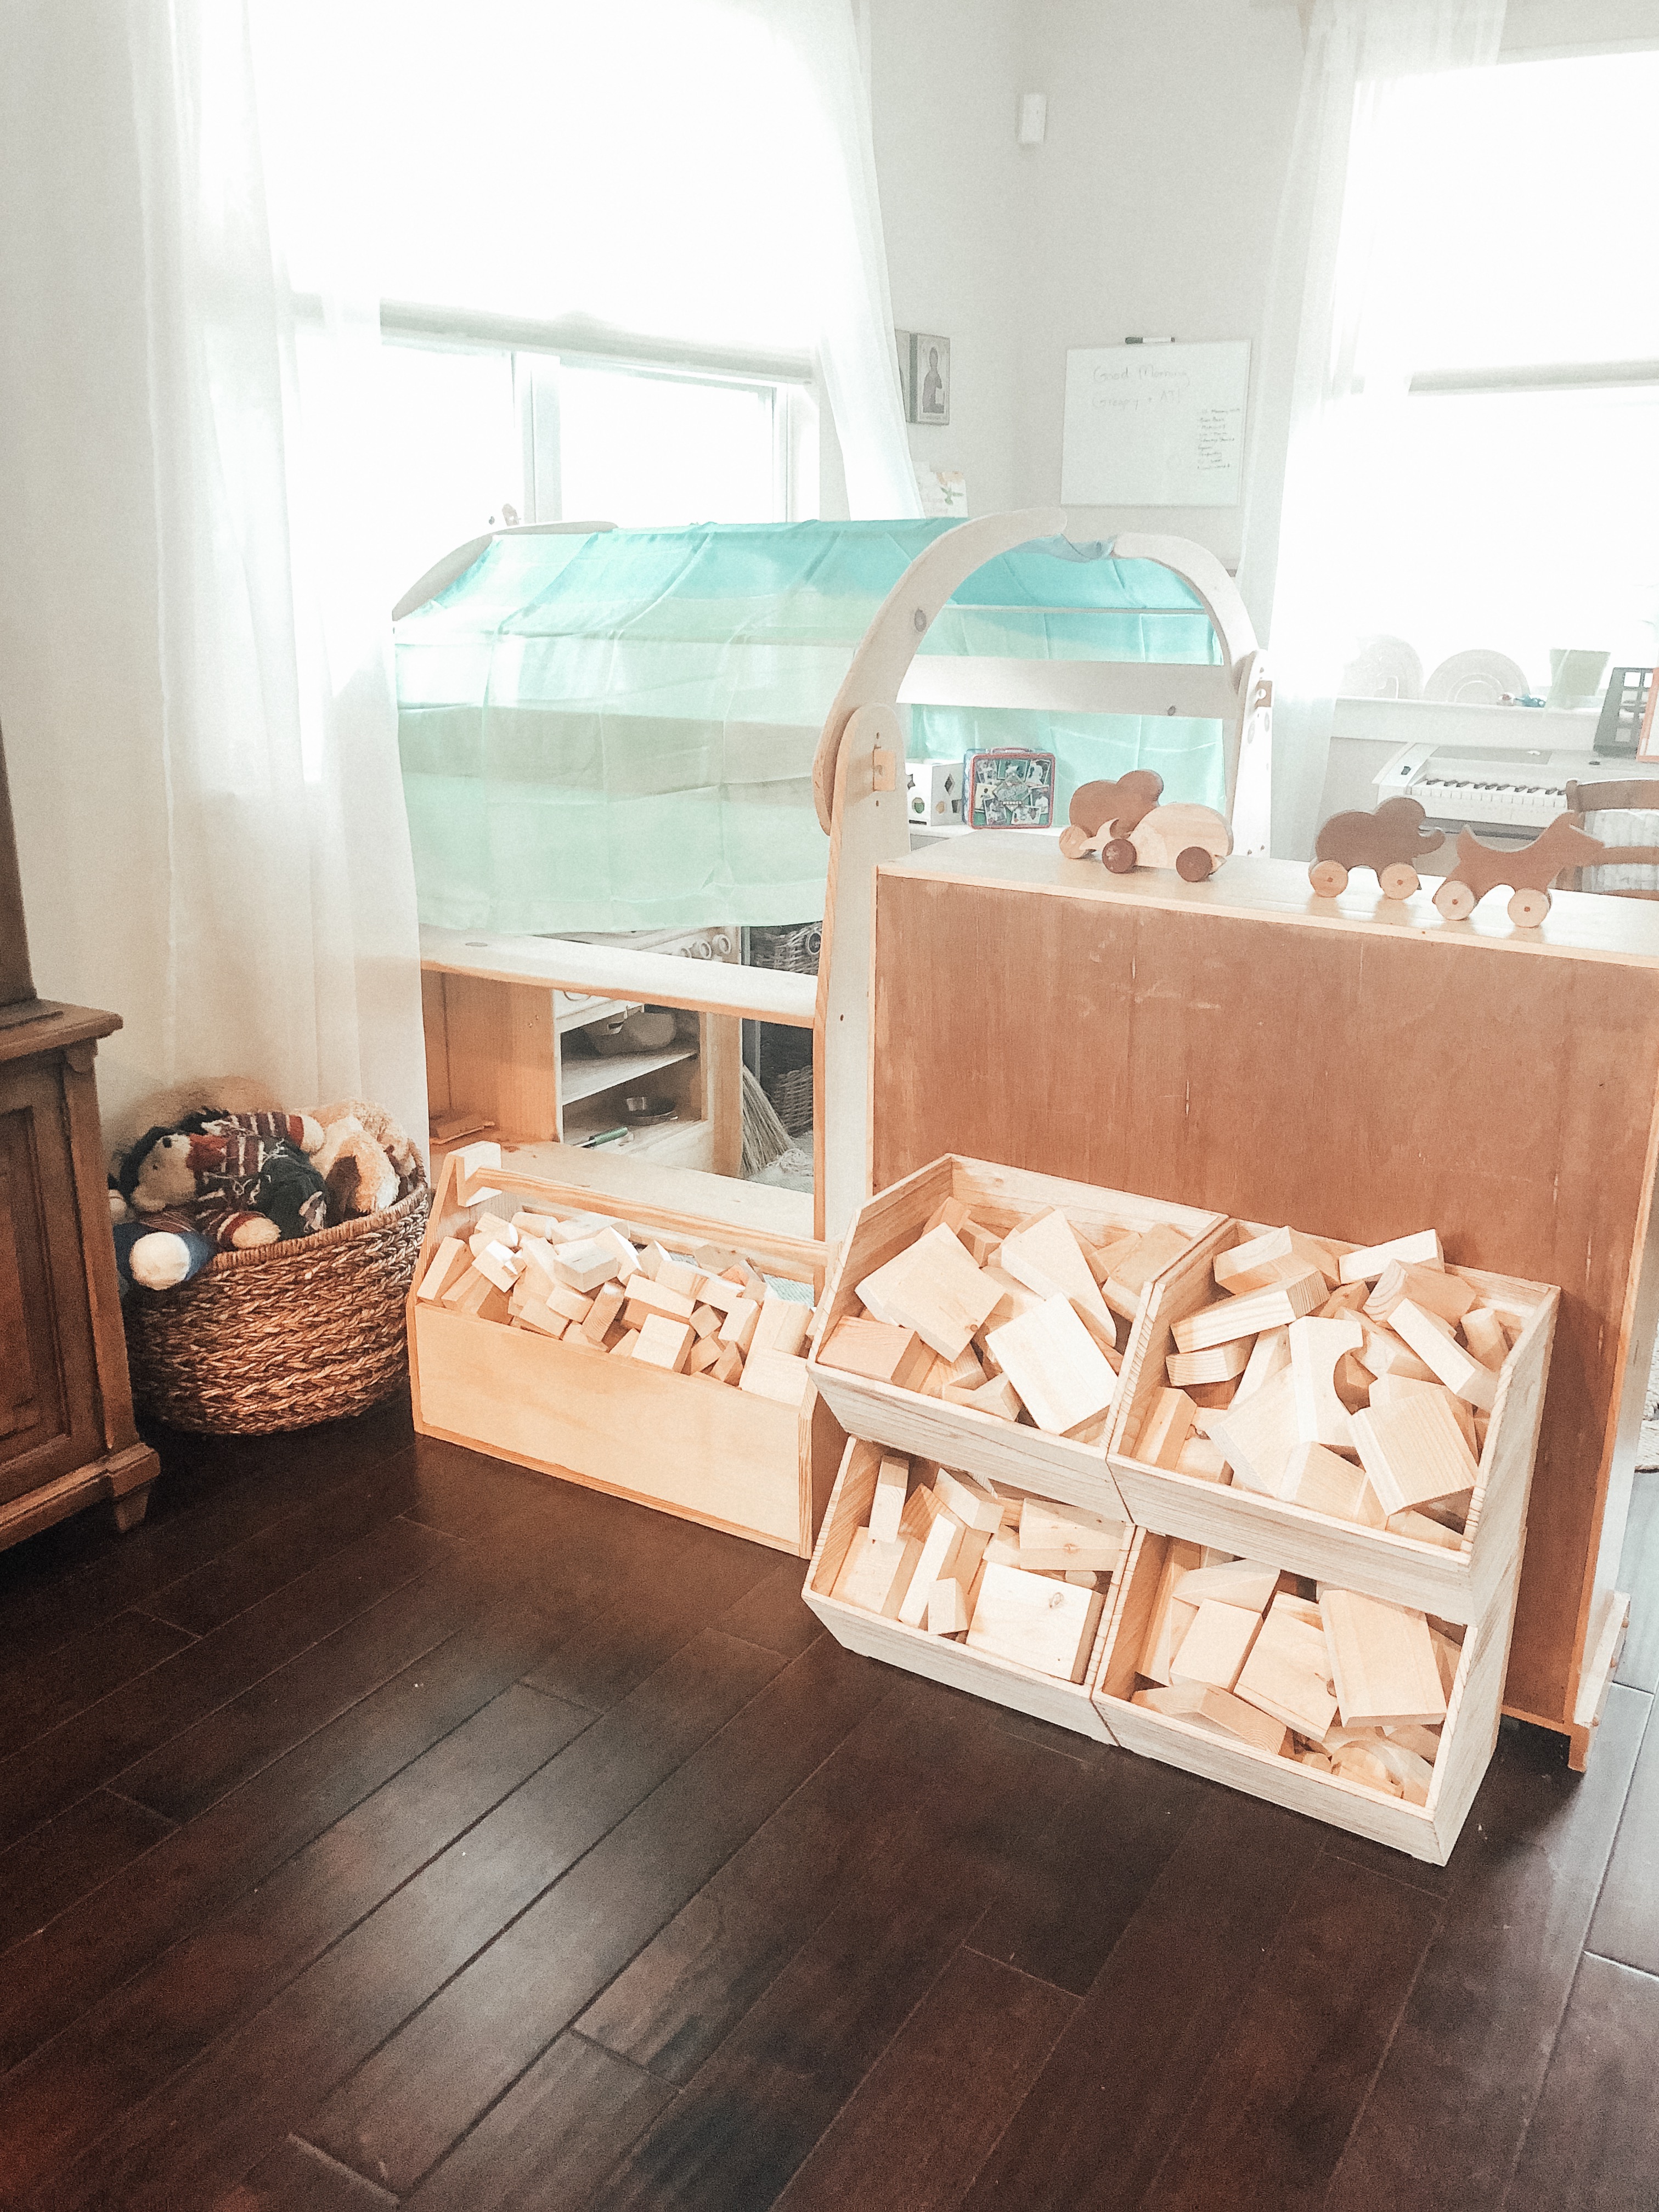
Behind this bookshelf is our homemade block creation area. Thomas’ godmother does woodworking, and she brought us HUNDREDS of these wood blocks, made with the softest birch and pine. There is no limit to what she can do with highly rated worm drive circular saws. Word has it her husband is currently make castle turrets too!
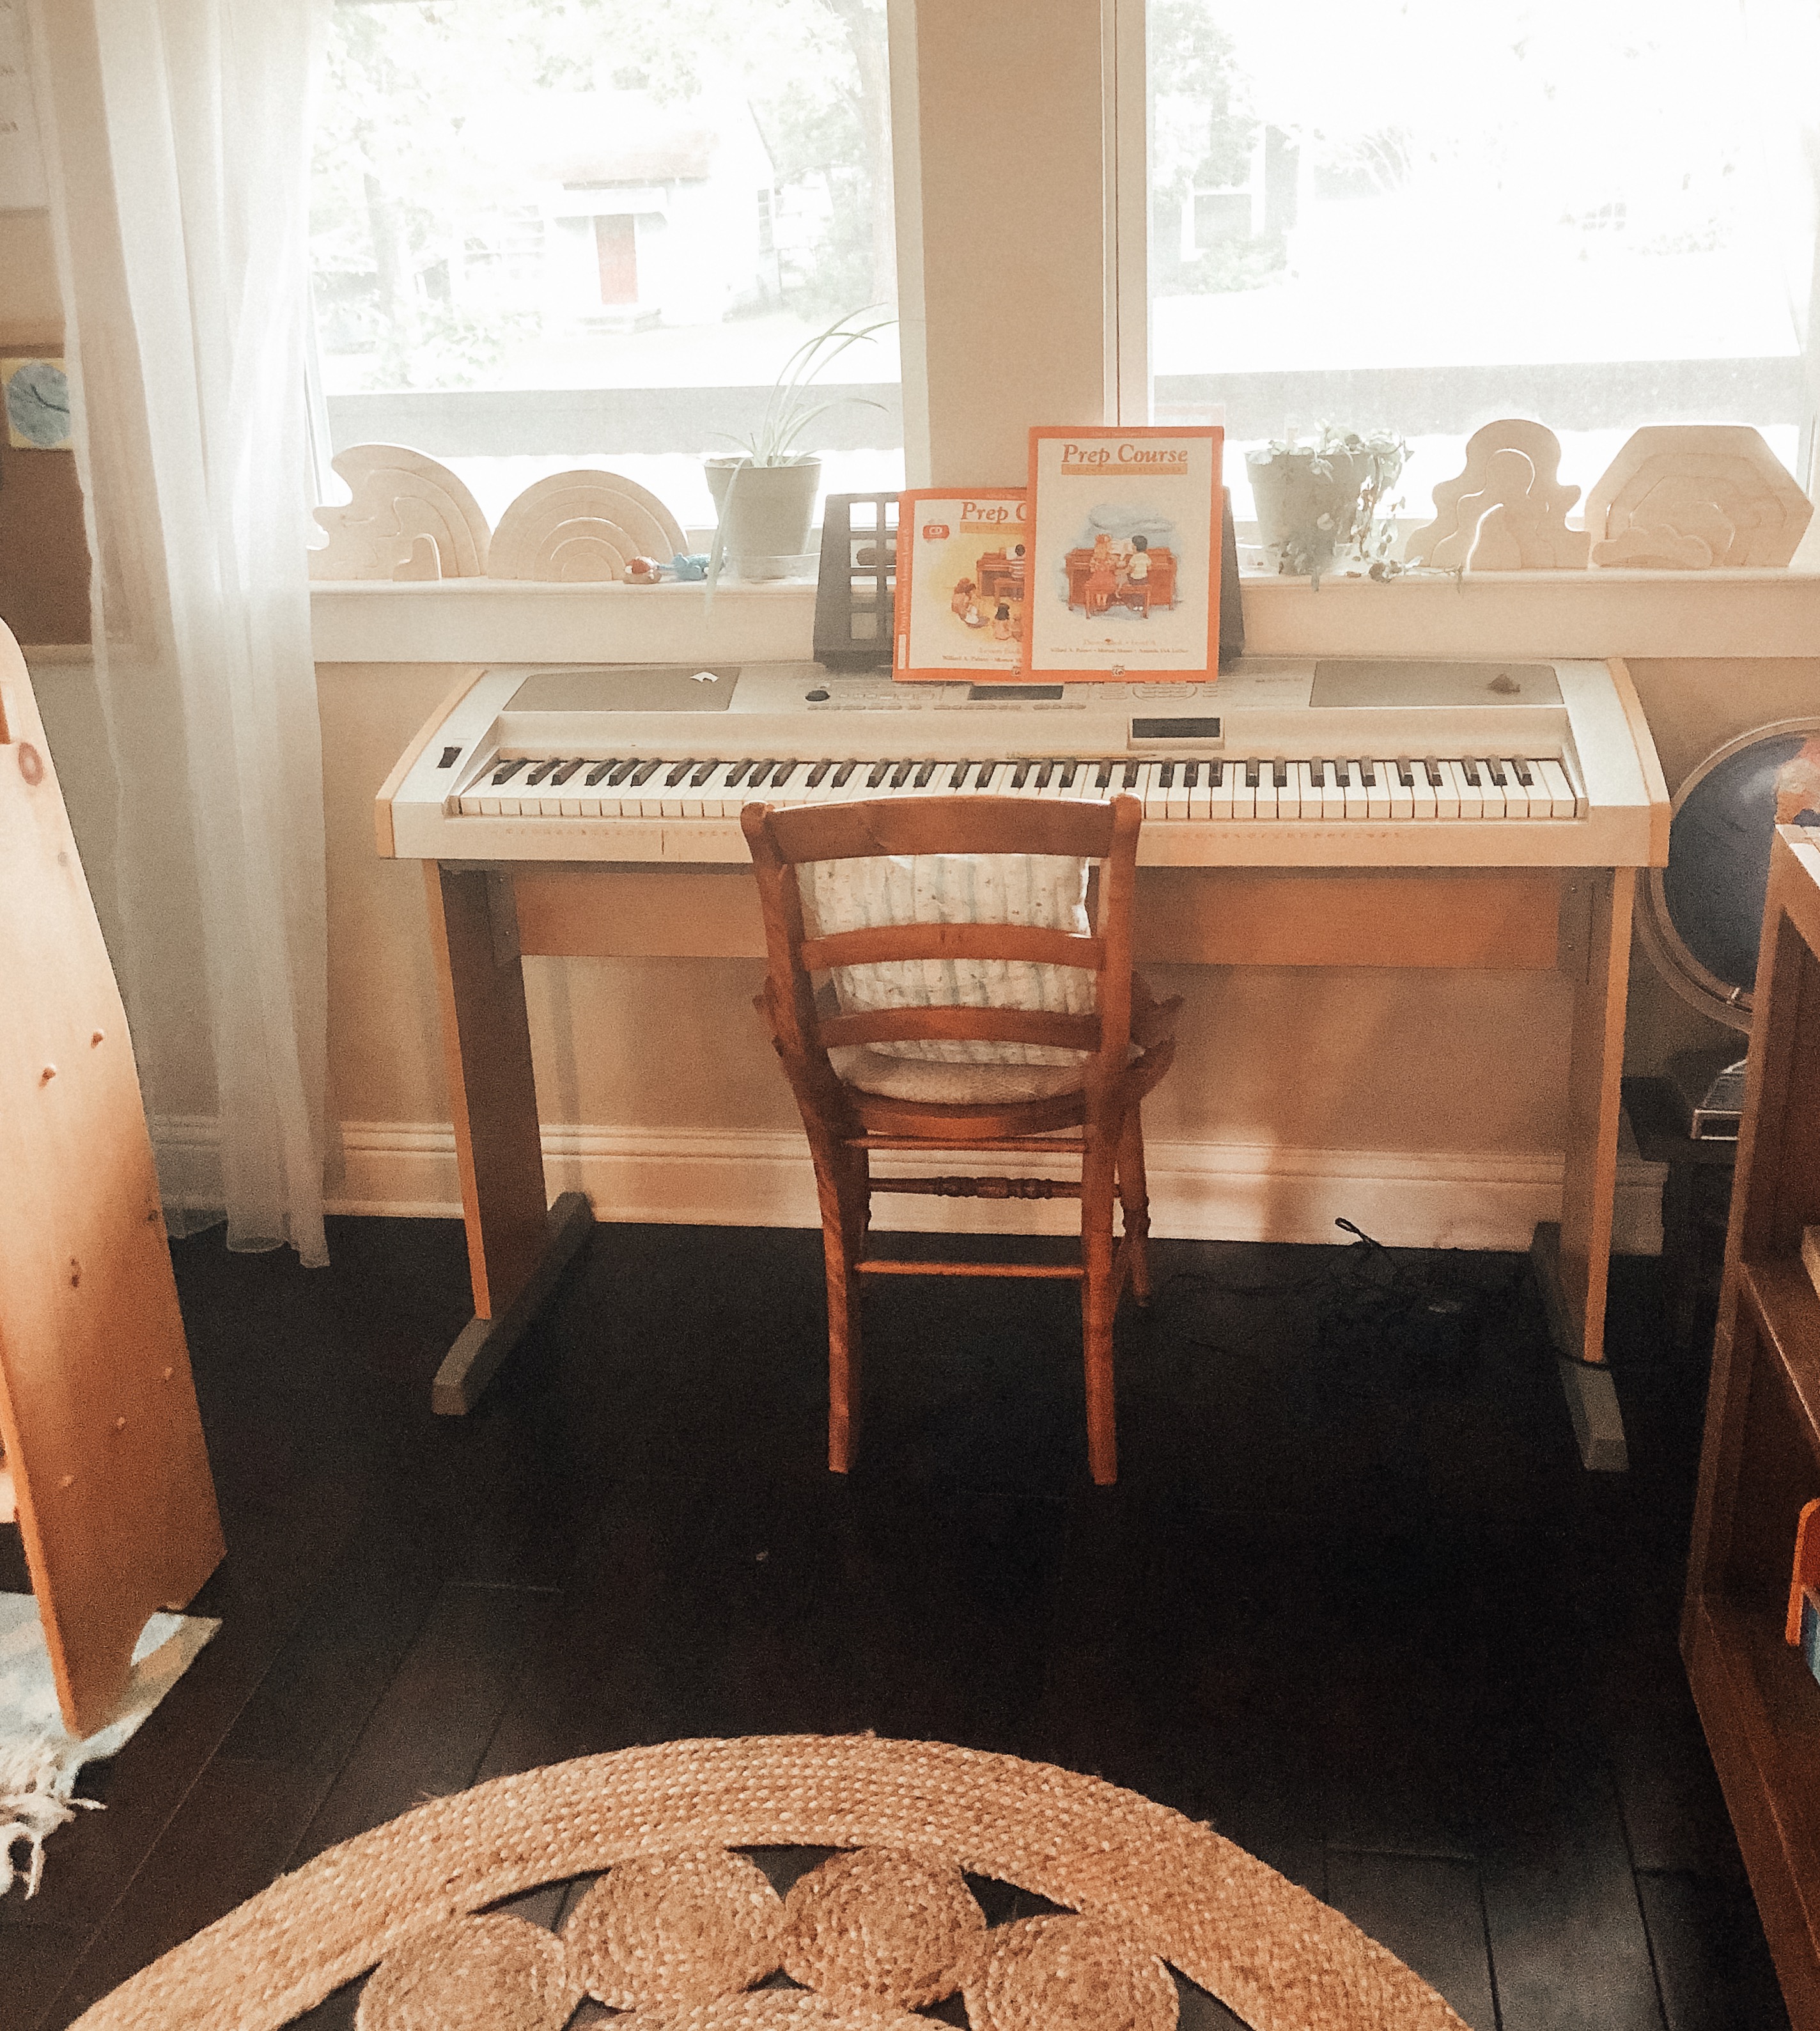
Last but not least is our piano! This windowsill is also where we keep our wooden element stackers and our potted plants. I used to be a piano teacher full-time (you can read my overview of piano curriculums here, it’s still one of my most widely read posts!), and I’m just now starting to teach the boys.
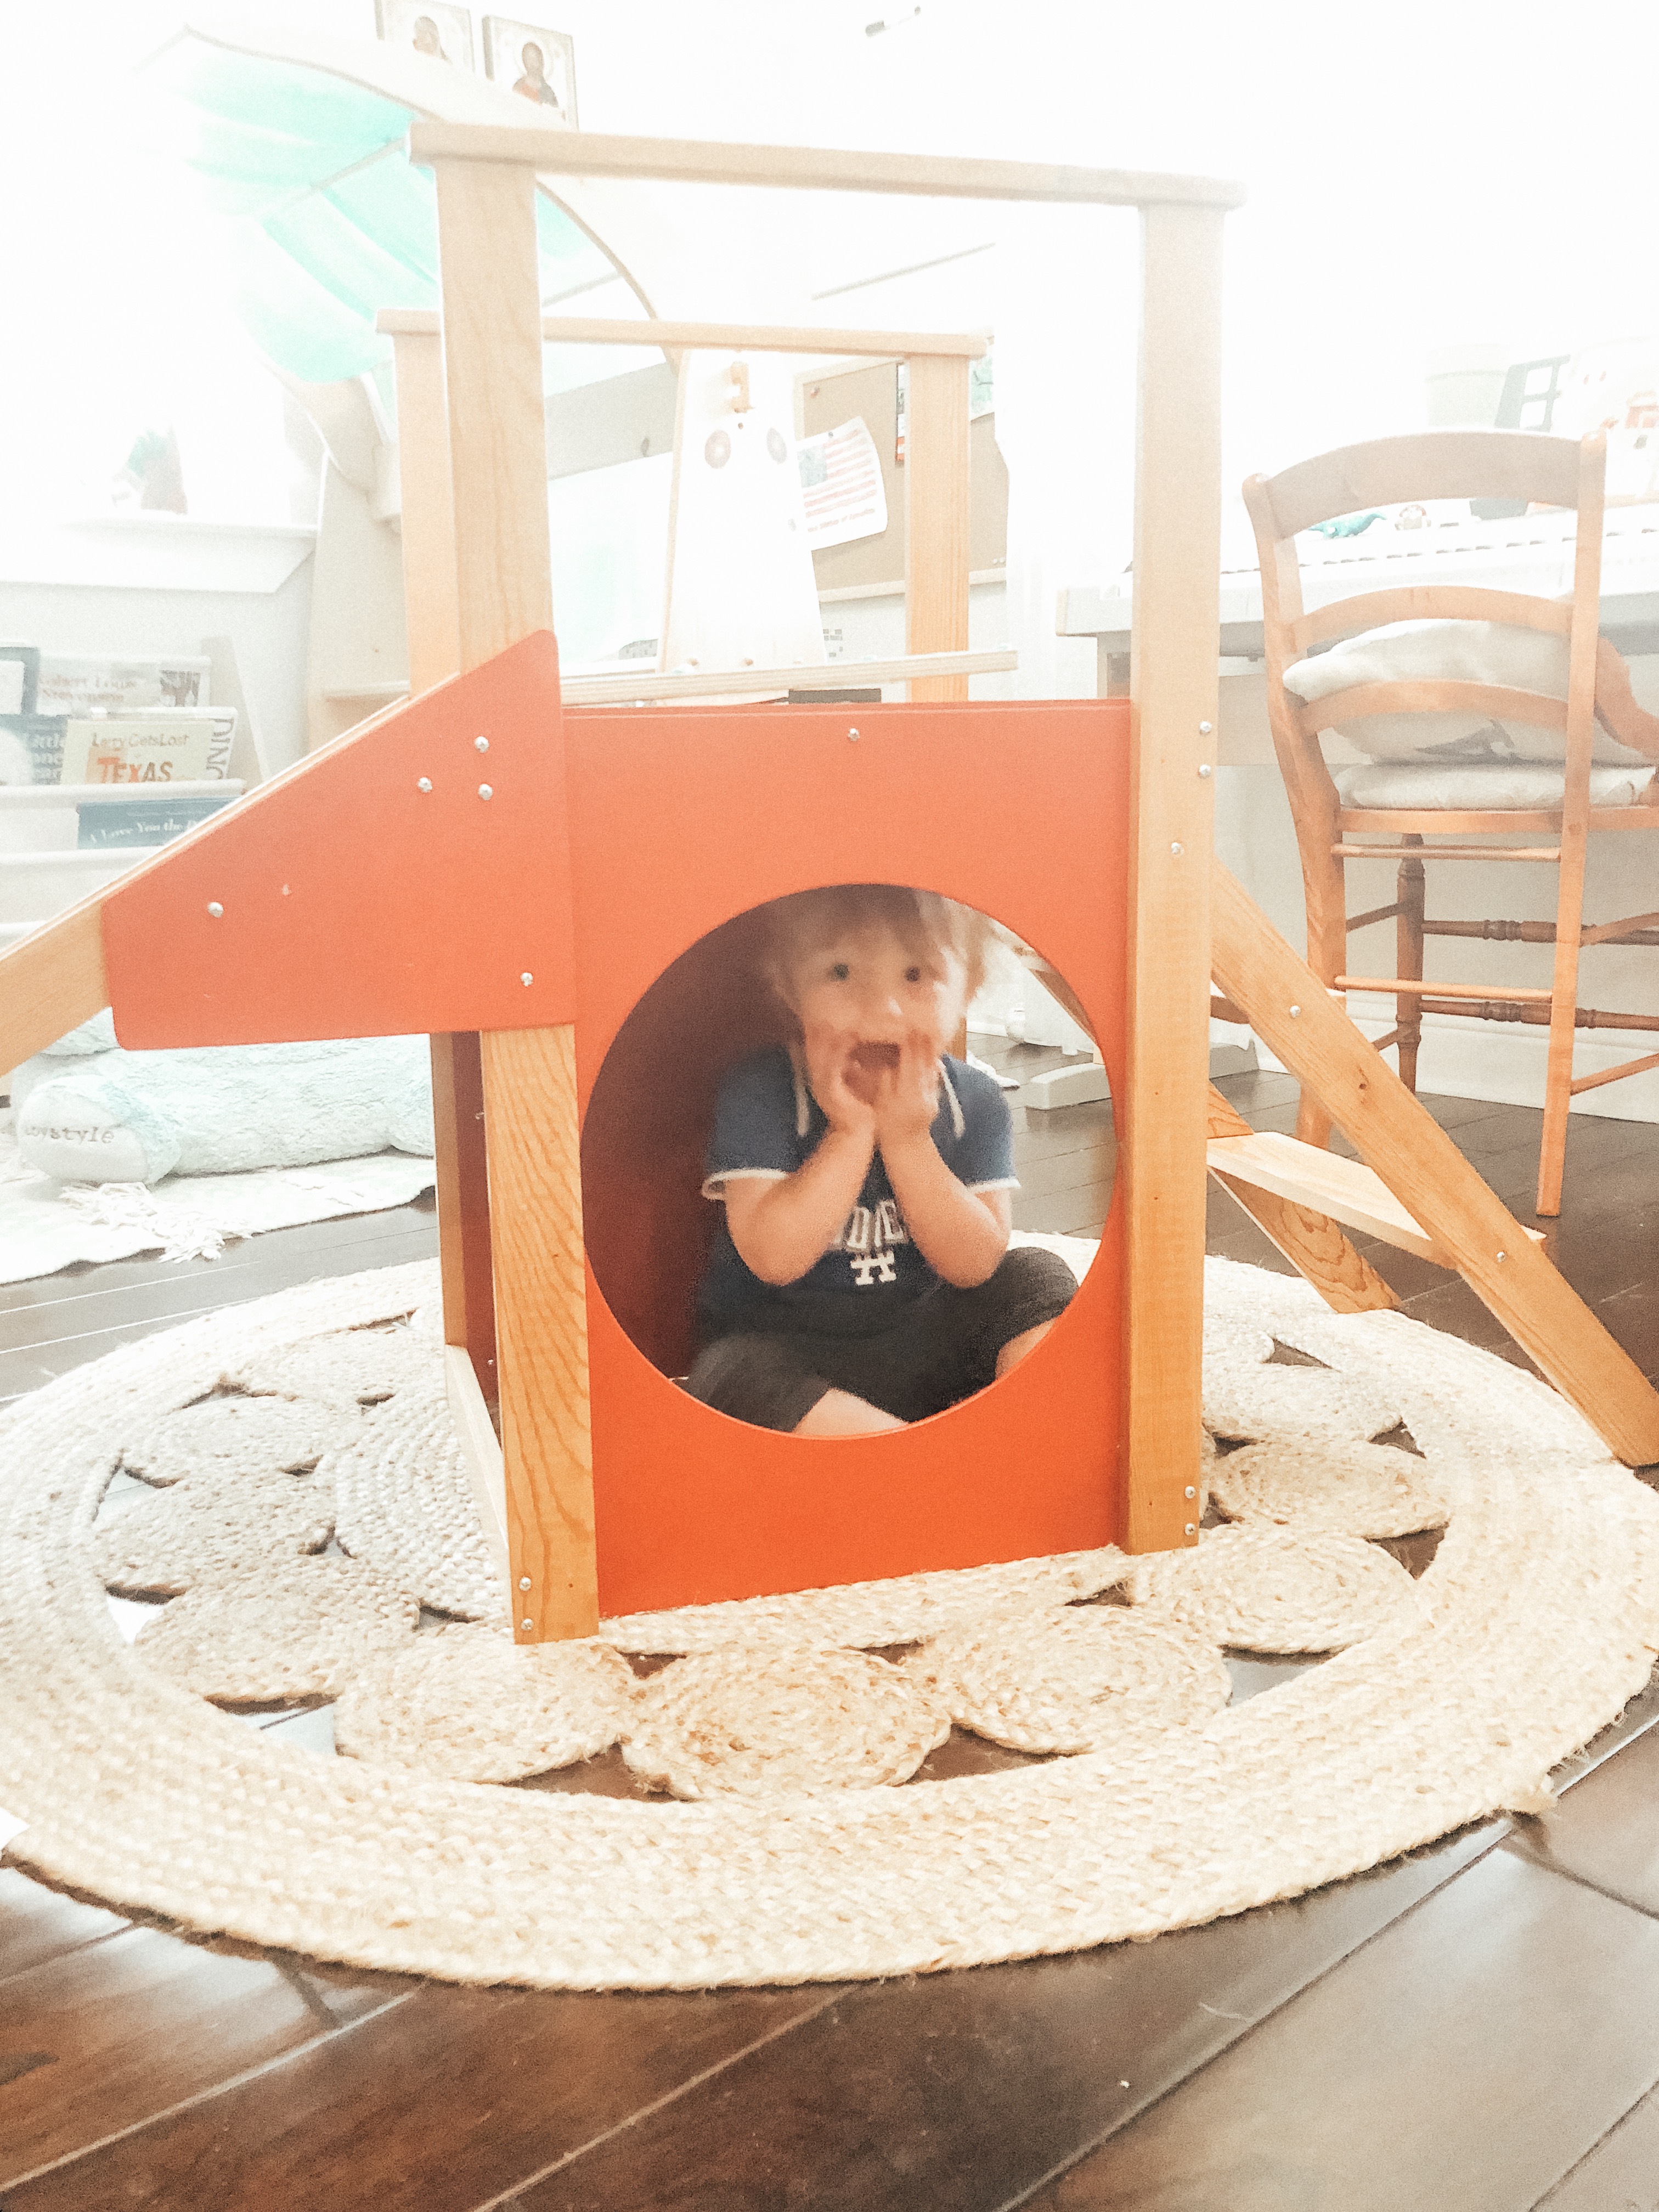
For a little while, we had an indoor red slide that took up residence in the middle of this room! But since Thomas was hurtling himself down this thing and bumping himself on the wood floors, I moved it into his carpeted bedroom 🙂 It’s literally the only toy in there right now! We were planning on moving him in with his older brothers, but last night was a disaster so we’ll see.
Thanks for reading through our playroom tour!
Related posts We Are Moving! |
 Our Cottage Dining Room |
 House Tour: Our Living Room |
 Our Townhouse Living Room |
It looks great Kelly! Isn’t it funny how living in a space helps you figure out where to put things? I think it is fine to experiment for awhile and come to an understanding of how we live and what our priorities are. Just because a designer or architect had something in mind doesn’t mean it has to be that way. I agree that having the table so far from the kitchen was maybe not the best idea. Big rooms are tricky, but you’ve done a great job:)