It’s been raining a ton here in TX– and by, “a ton”, I mean that the governor has declared several counties in TX a disaster zone because of all the flooding. Apparently, the satellites are even noticing a difference all the way from space because so much of TX is now greener than it’s been in a LONG time!
Now that we have a giant un-landscaped (for now) backyard, we also have a lot of mud. My boys are 4 and 3, so mud and puddles basically sound like Disneyland. We have a coat/shoe/outdoor stuff storage area in the Expedit near our front door, but we haven’t yet had a place for muddy boots.
It was starting to become a problem, and I kept thinking that it would soon dry up and we wouldn’t even need our rain boots anymore.
That was…weeks ago.
With lots of rain in the forecast all summer (thanks, El Nino!), I decided to finally get a boot tray.
Um…when did boot trays become SO stinking expensive! Has anyone but me noticed this? I wanted a galvanized steel one to match our house, but $30 was the cheapest I found at Target. YEAH RIGHT. $30 isn’t a lot of money in the big scheme of things, but just for a boot tray? Why? WHY?
After much looking, I realized that a boot tray just has to have two main functions: not be too shallow or deep, and also have ridges for letting the water/mud drain and dry. I decided that I would just find a way to make one.
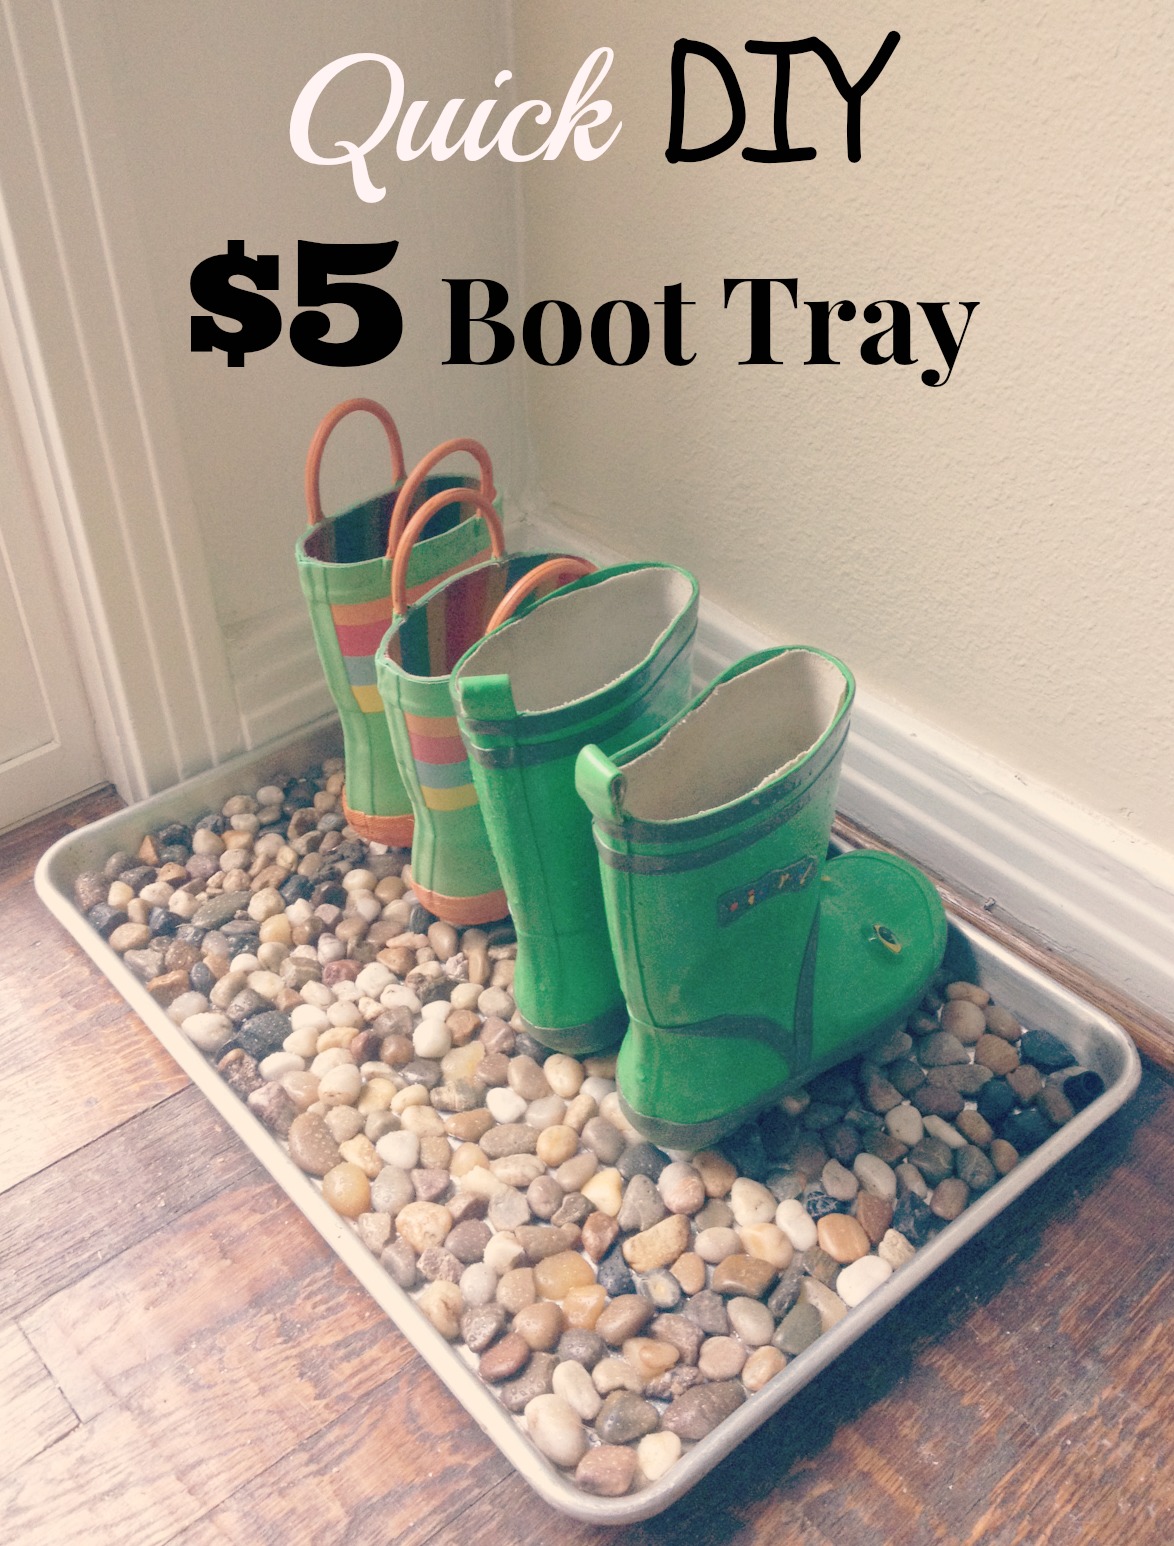
So, given the fact that my grad classes are now DONE, I got inspired by Jenn at Clean and Scentsible, and adapted her tutorial to get the matching “galvanized steel” look I was going for. Instead of using a tray, I found a sturdy old rectangle cooking pan in our possession. Just like her, I realized that if I just dumped the rocks in there, it would be about two seconds before my boys started throwing them all around the house. Enter: Super Glue!
Using our neighborhood $ Store (this took $2 of rocks and $3 of glue), I was able to put this together in under 2 hours while watching TV with Jesse. Granted, the smell of the glue was a bit annoying so we had to put it outside to dry, but such a better idea than spending $30 at Target! Just make sure that your tray is sturdy enough– those little rocks may not look heavy, but trust me, all together they really are!
So, there you are! I hope you enjoyed our $5 DIY Boot Tray 🙂